We were sent some beautiful batiks by Michael Miller Fabrics for the Peek into Batiks Monthly Sew Along. Check out the program here Peek into Batiks
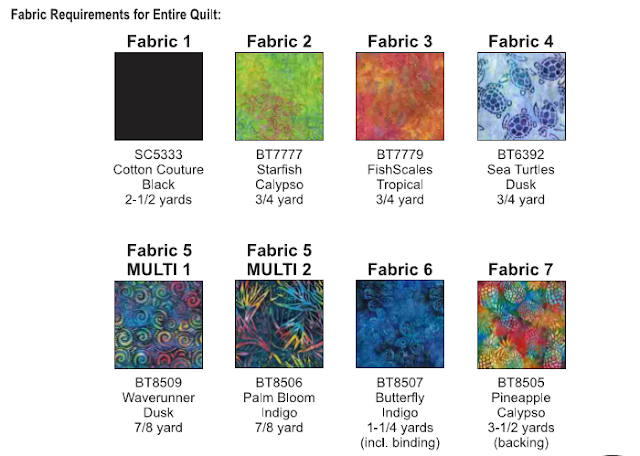
These are the fabrics being used. I LOVE THEM! While waiting for the program to start, we just couldn’t keep our hands off.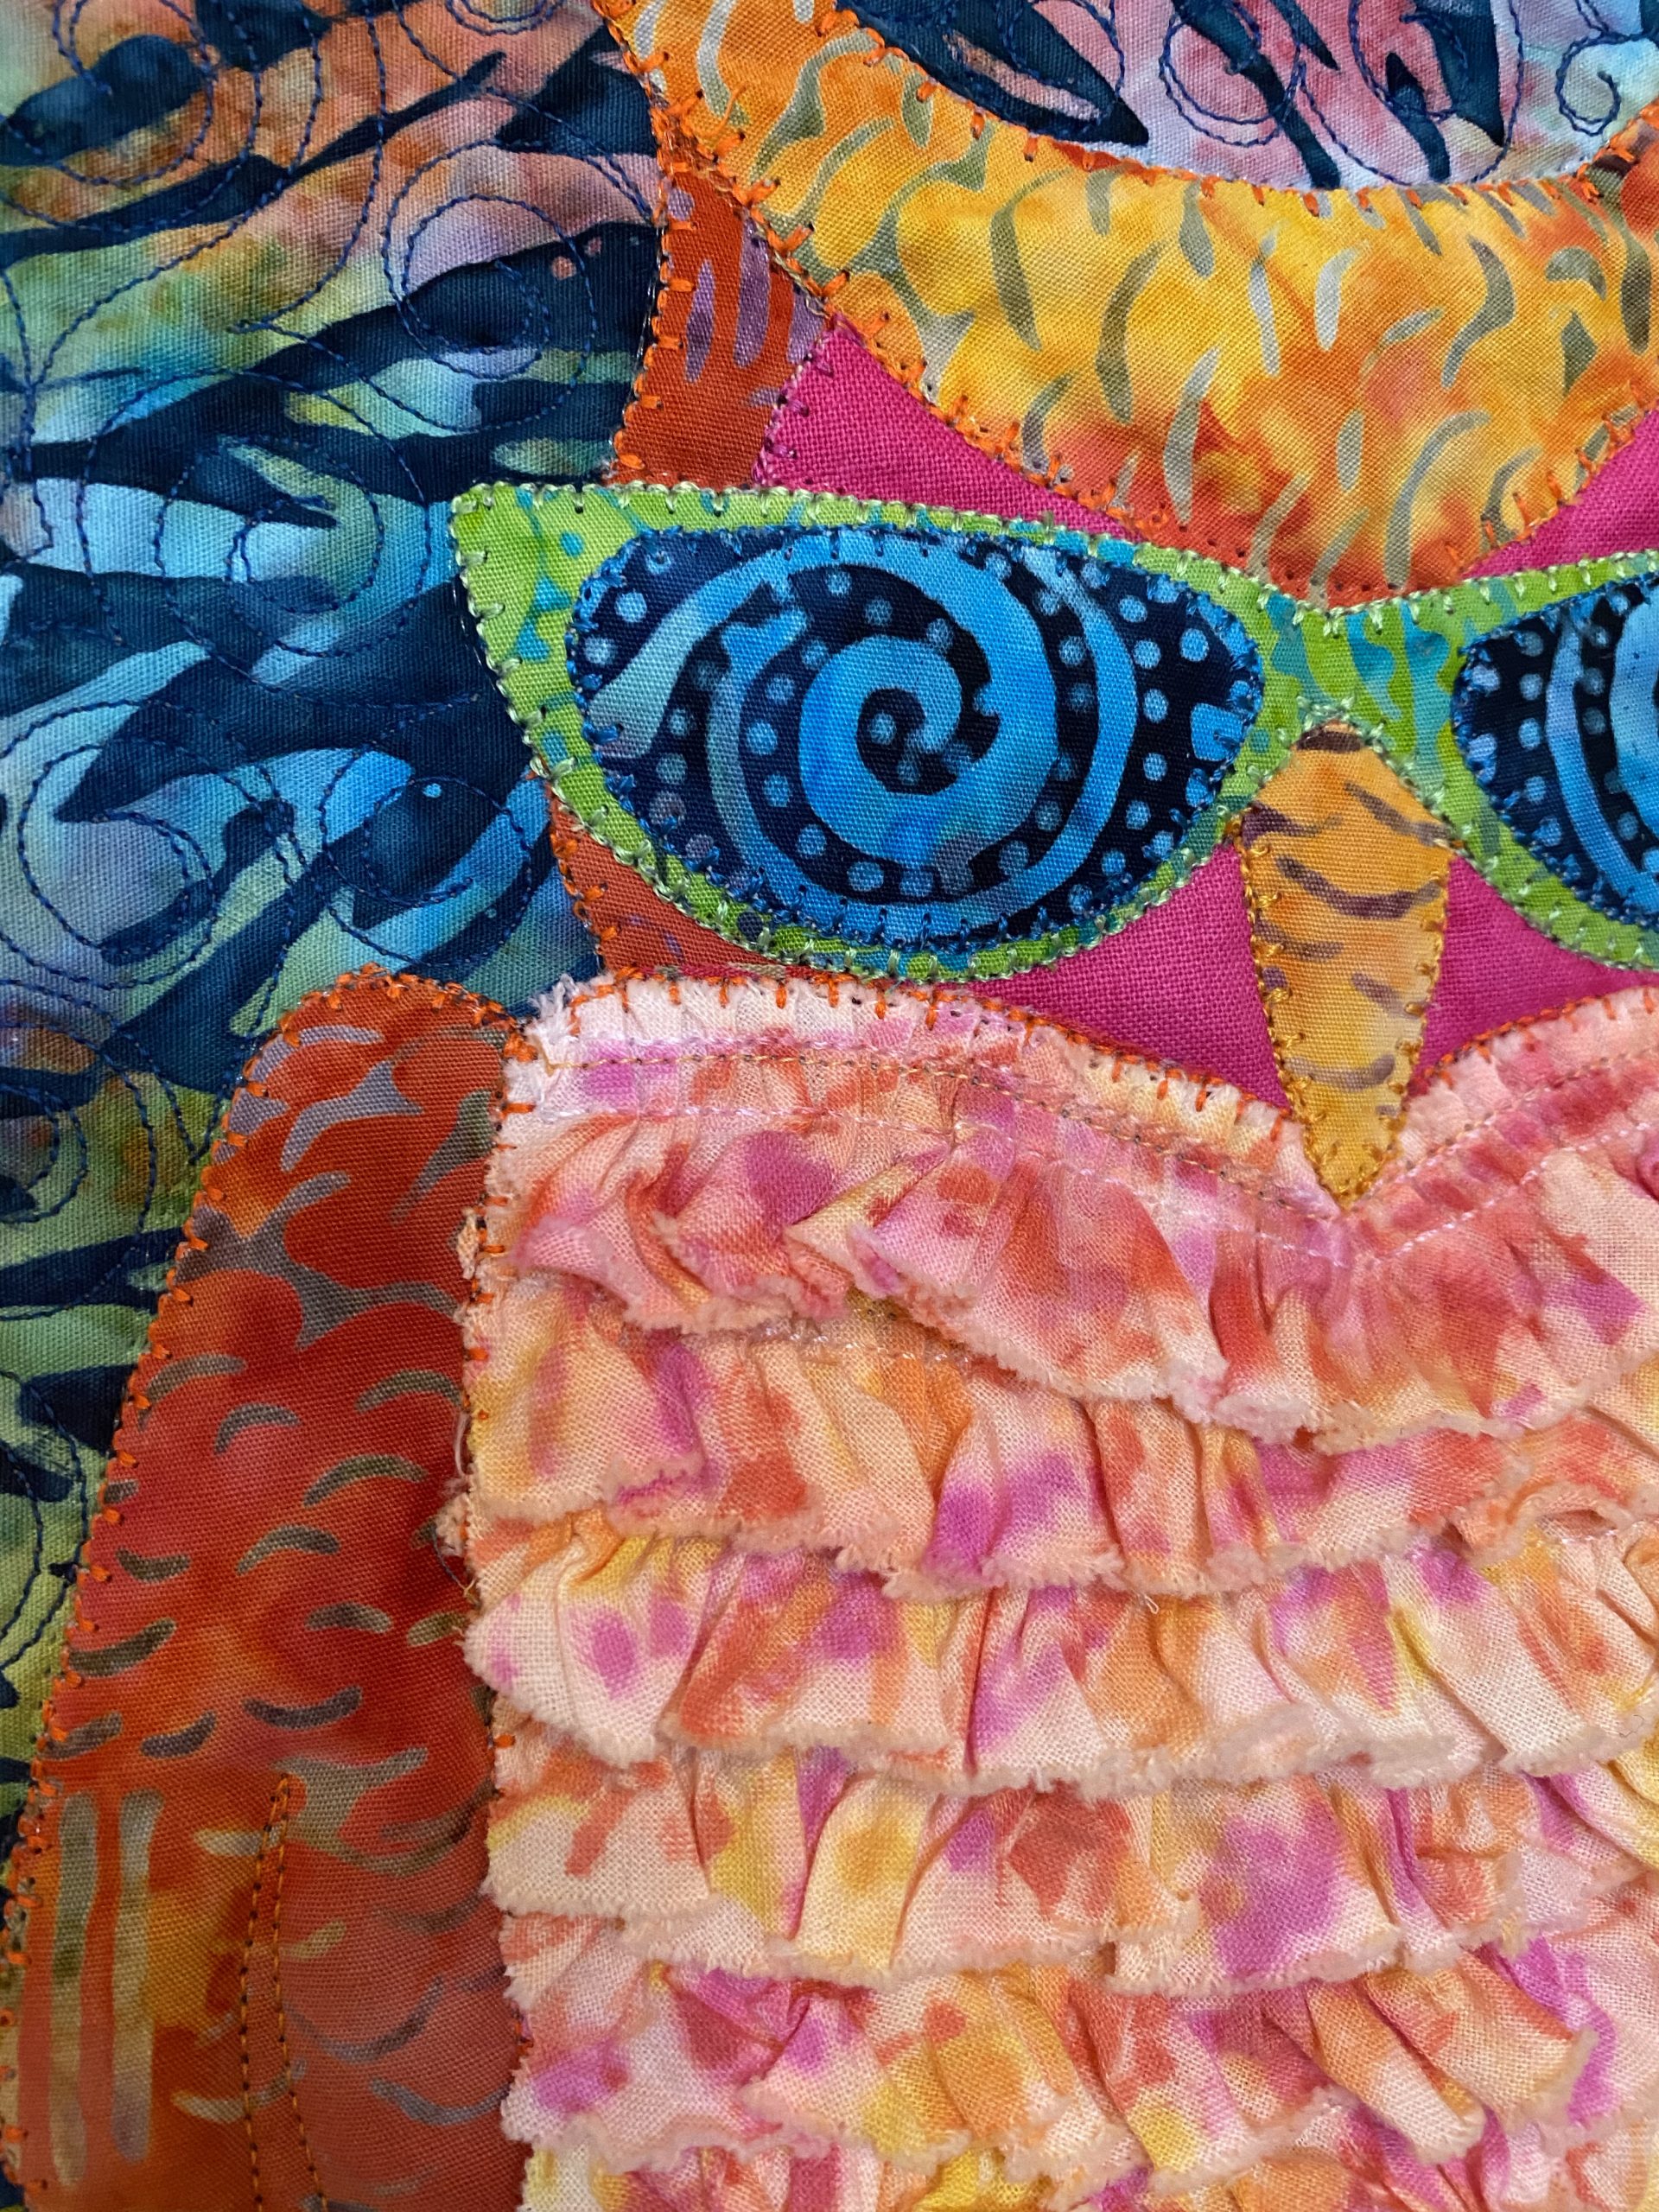
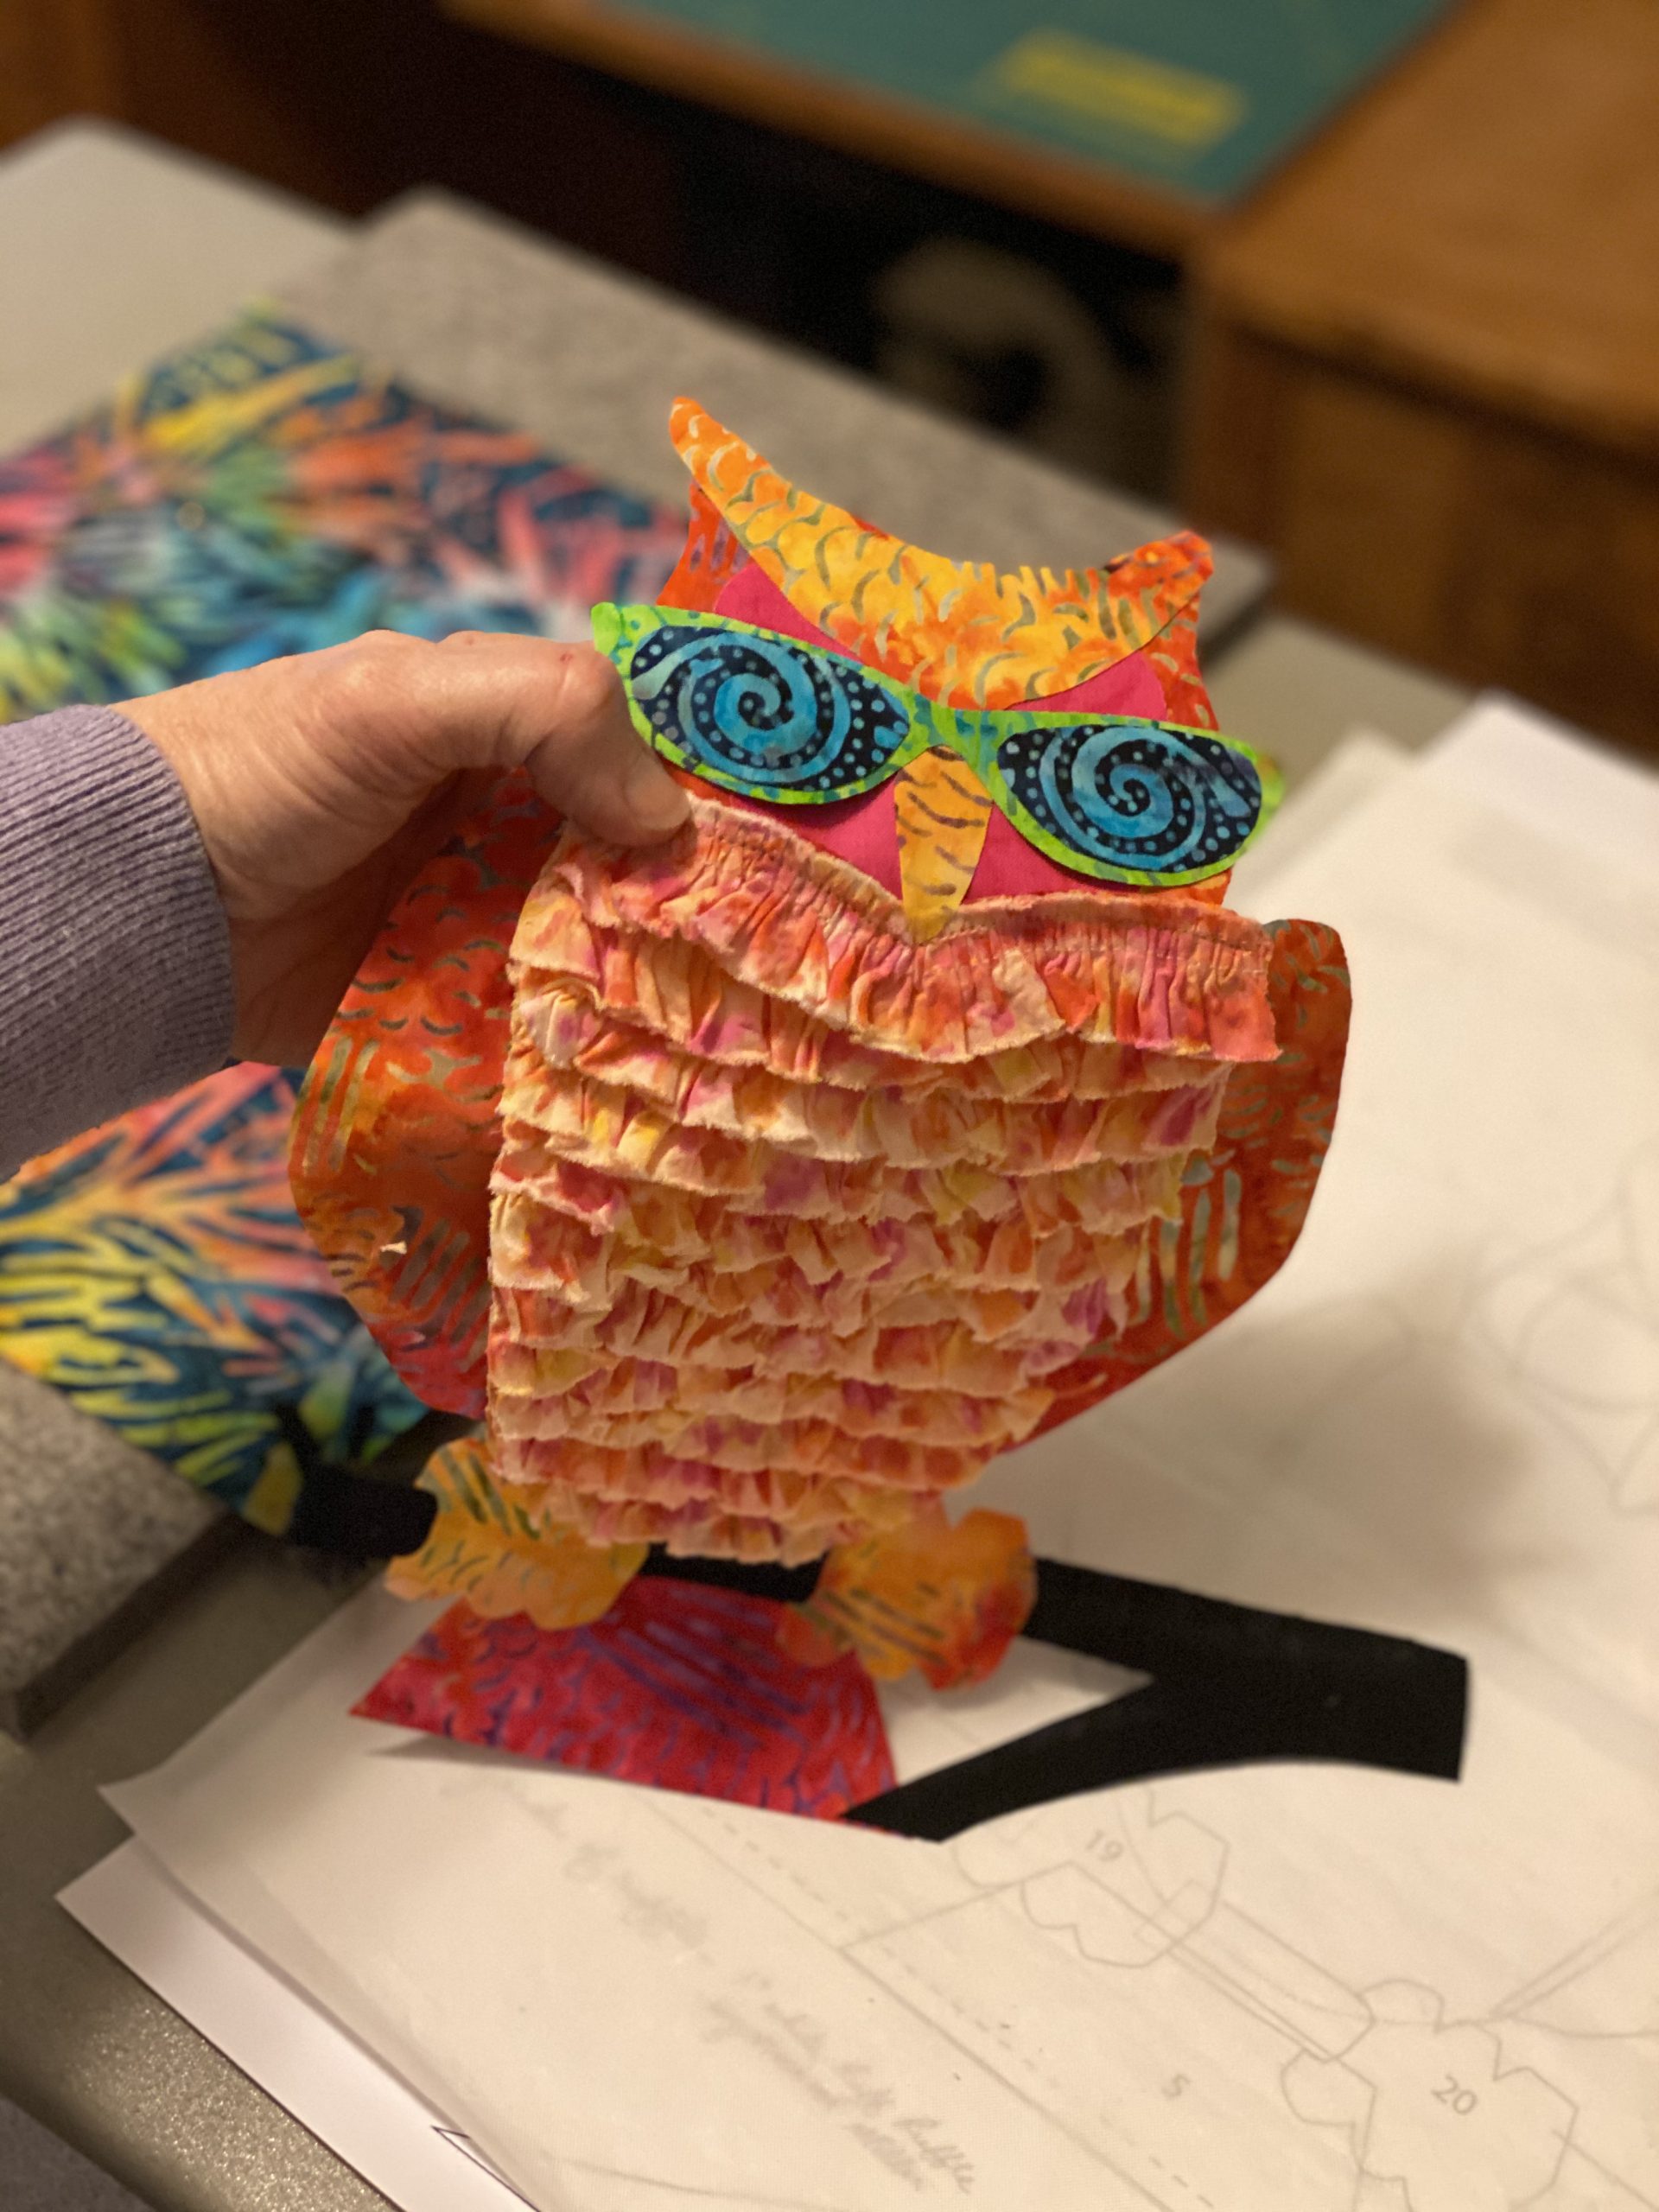
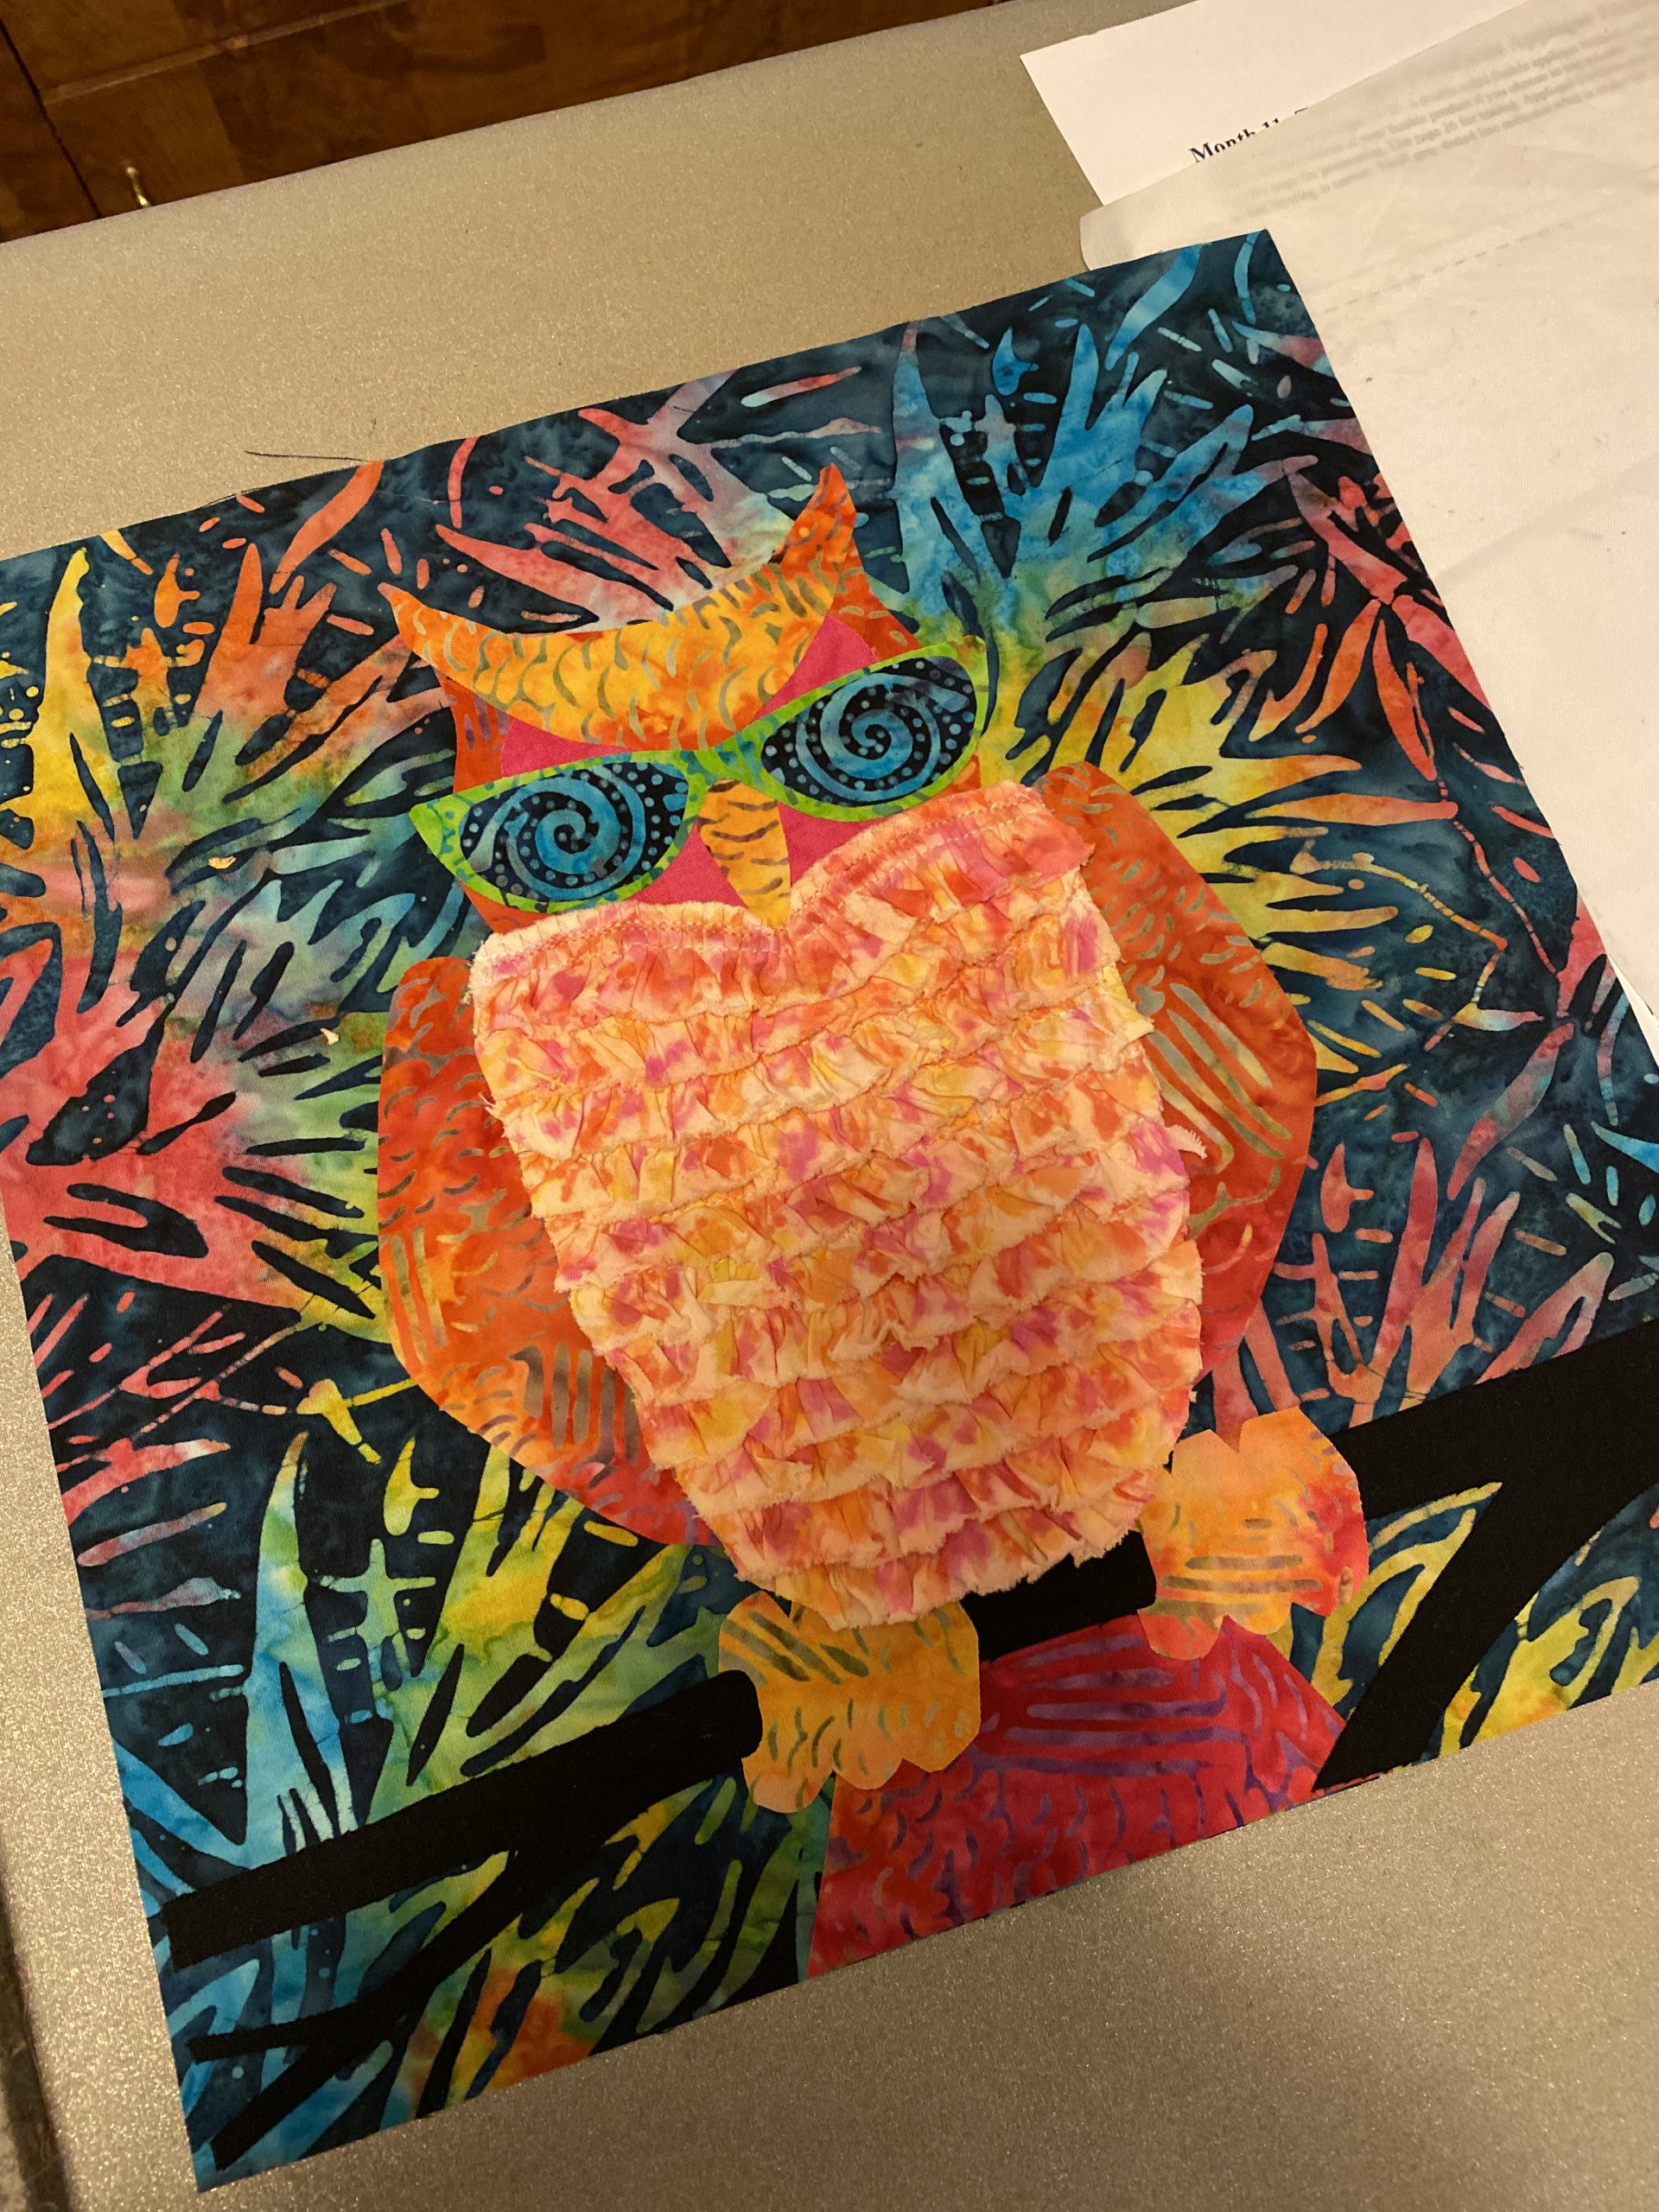
 We made this cute 12 1/2″ block, “Don’t Ruffle My Feathers”.
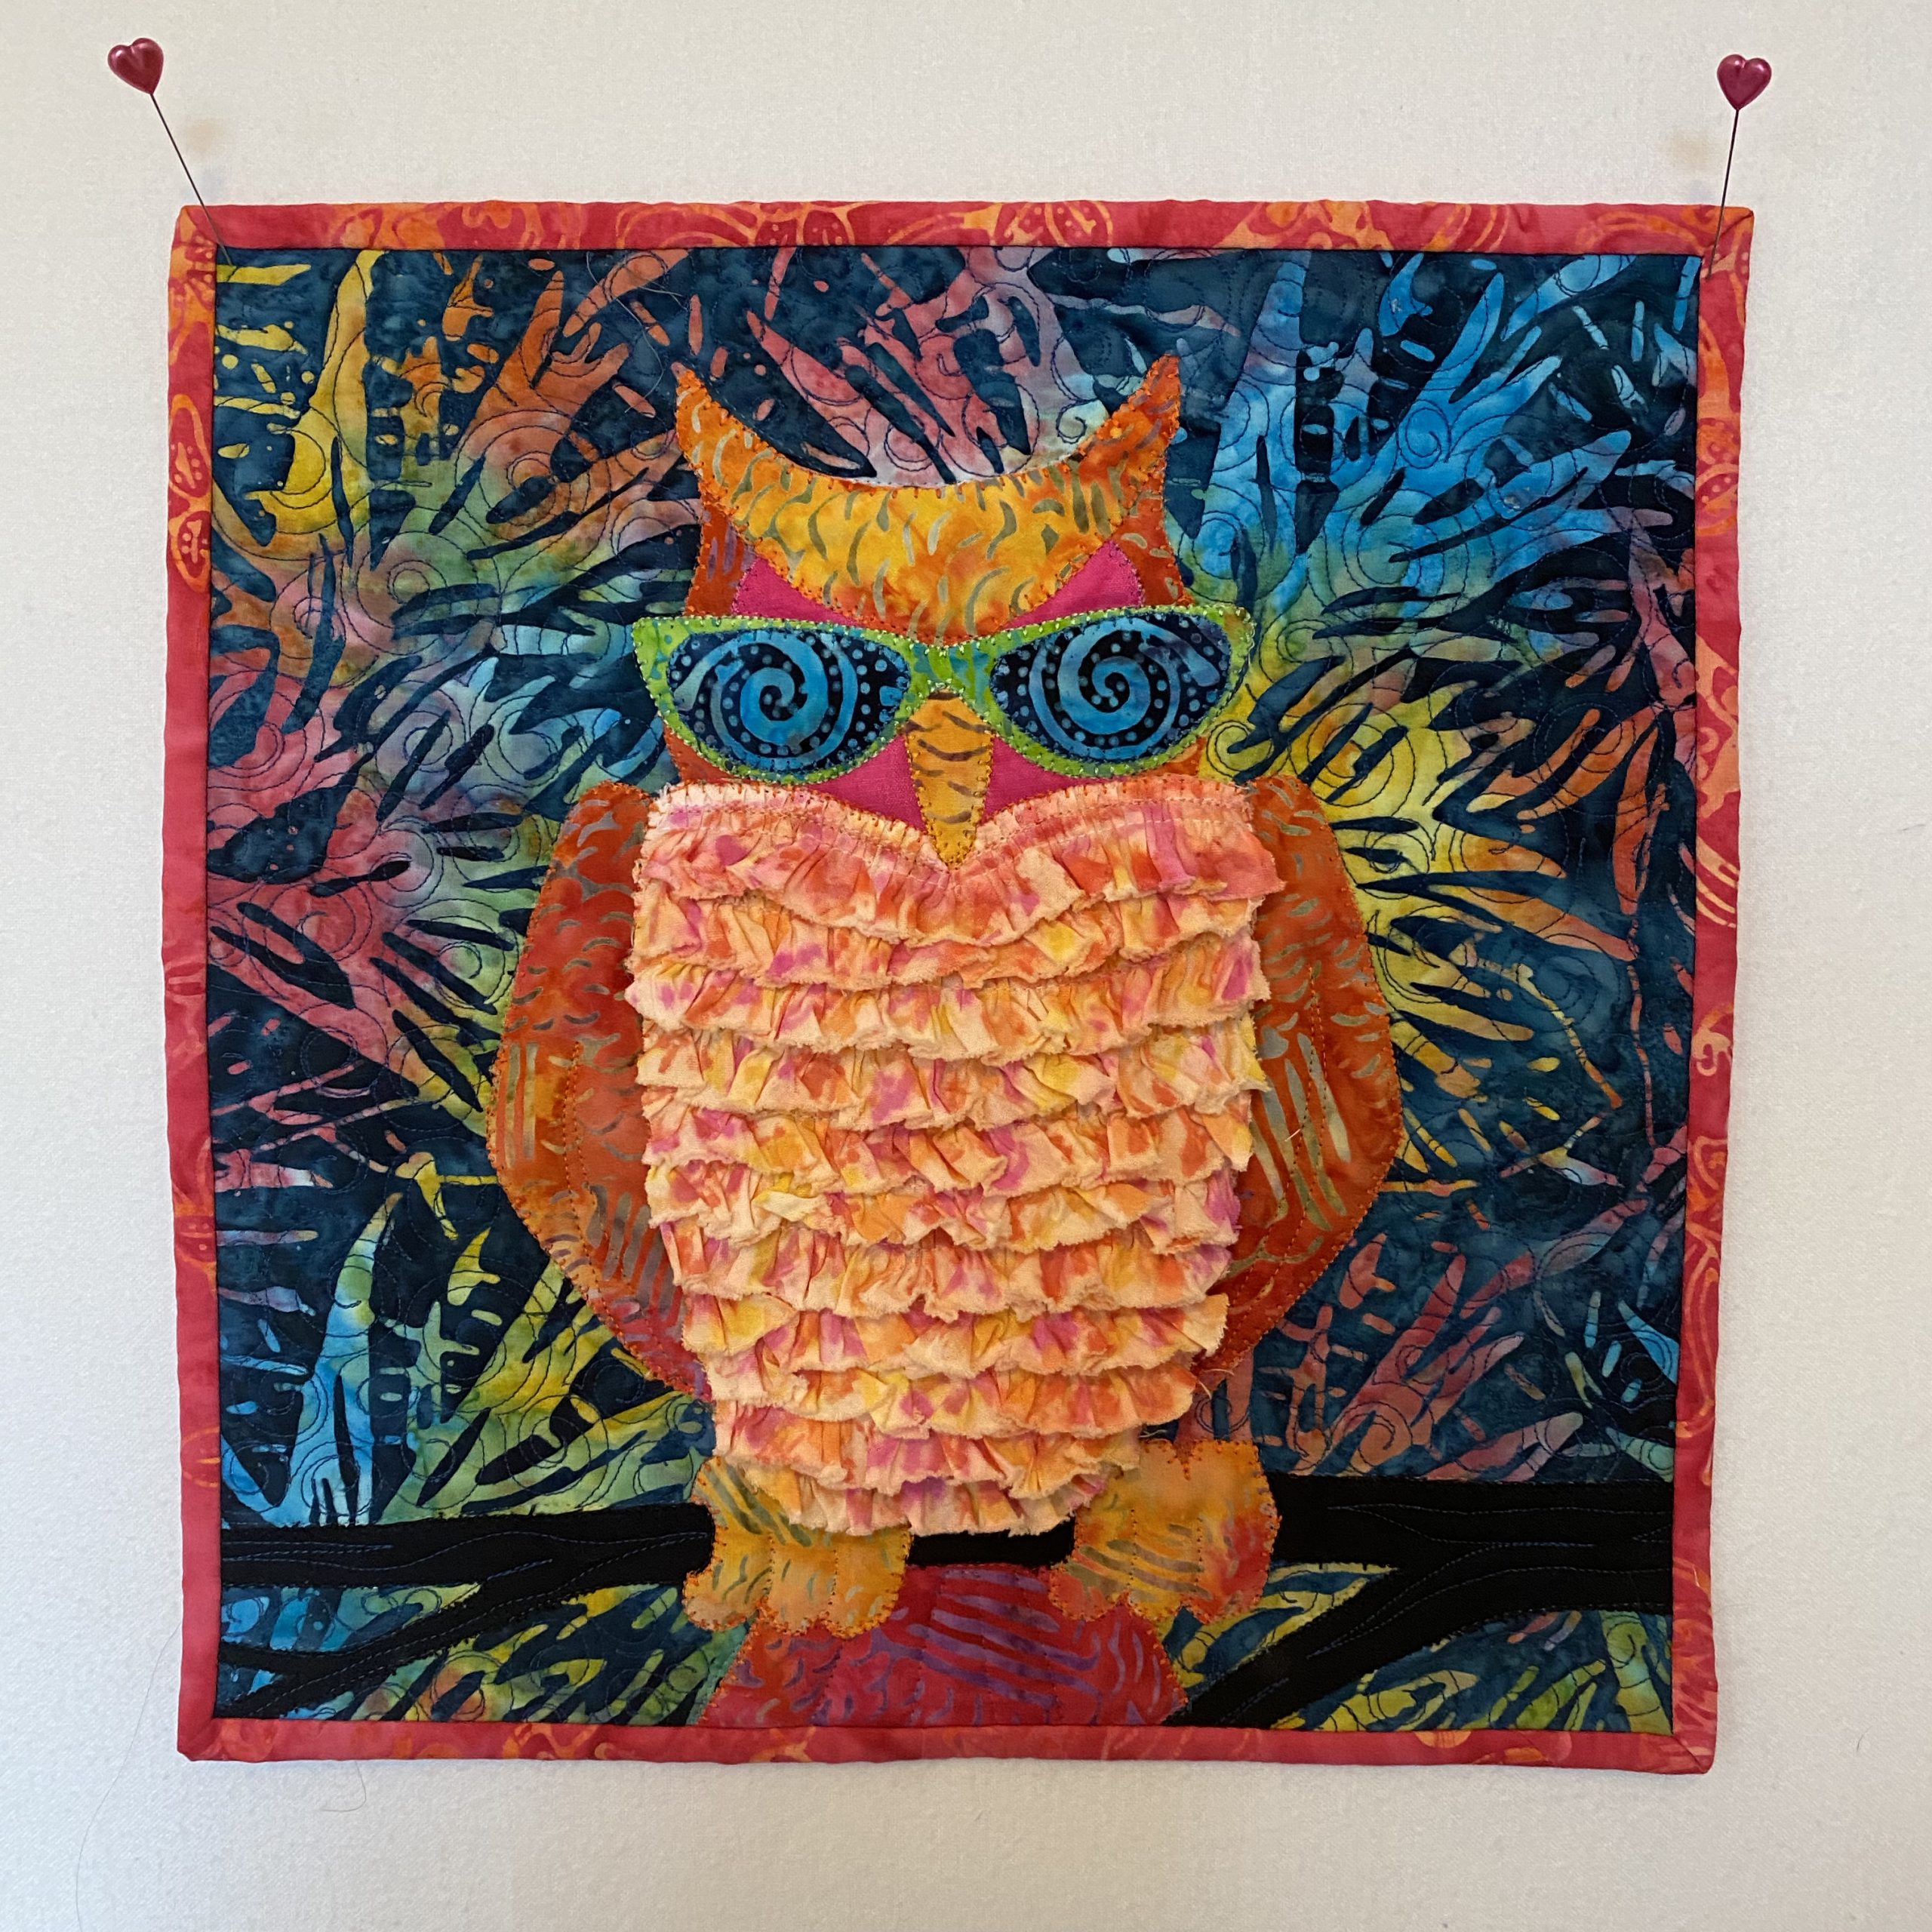
In the Michael Miller Ambassador box we received in December, there was a bunch of ruffles included, 1″ Ruff Ruffles. My first response to the ruffle was, “What the heck am I suppose to do with this?”. Challenge accepted. We used the ruffle for the owl’s chest! The ruffle is a 100% cotton with a raw edge. Lora decided to try a permanent marker dye technique she had read about. Too fun!
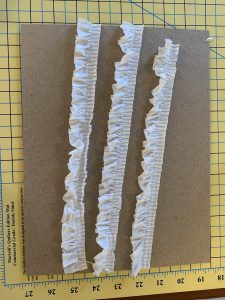
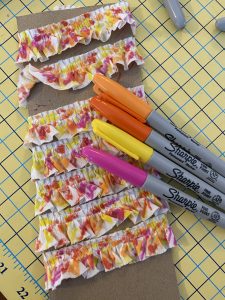
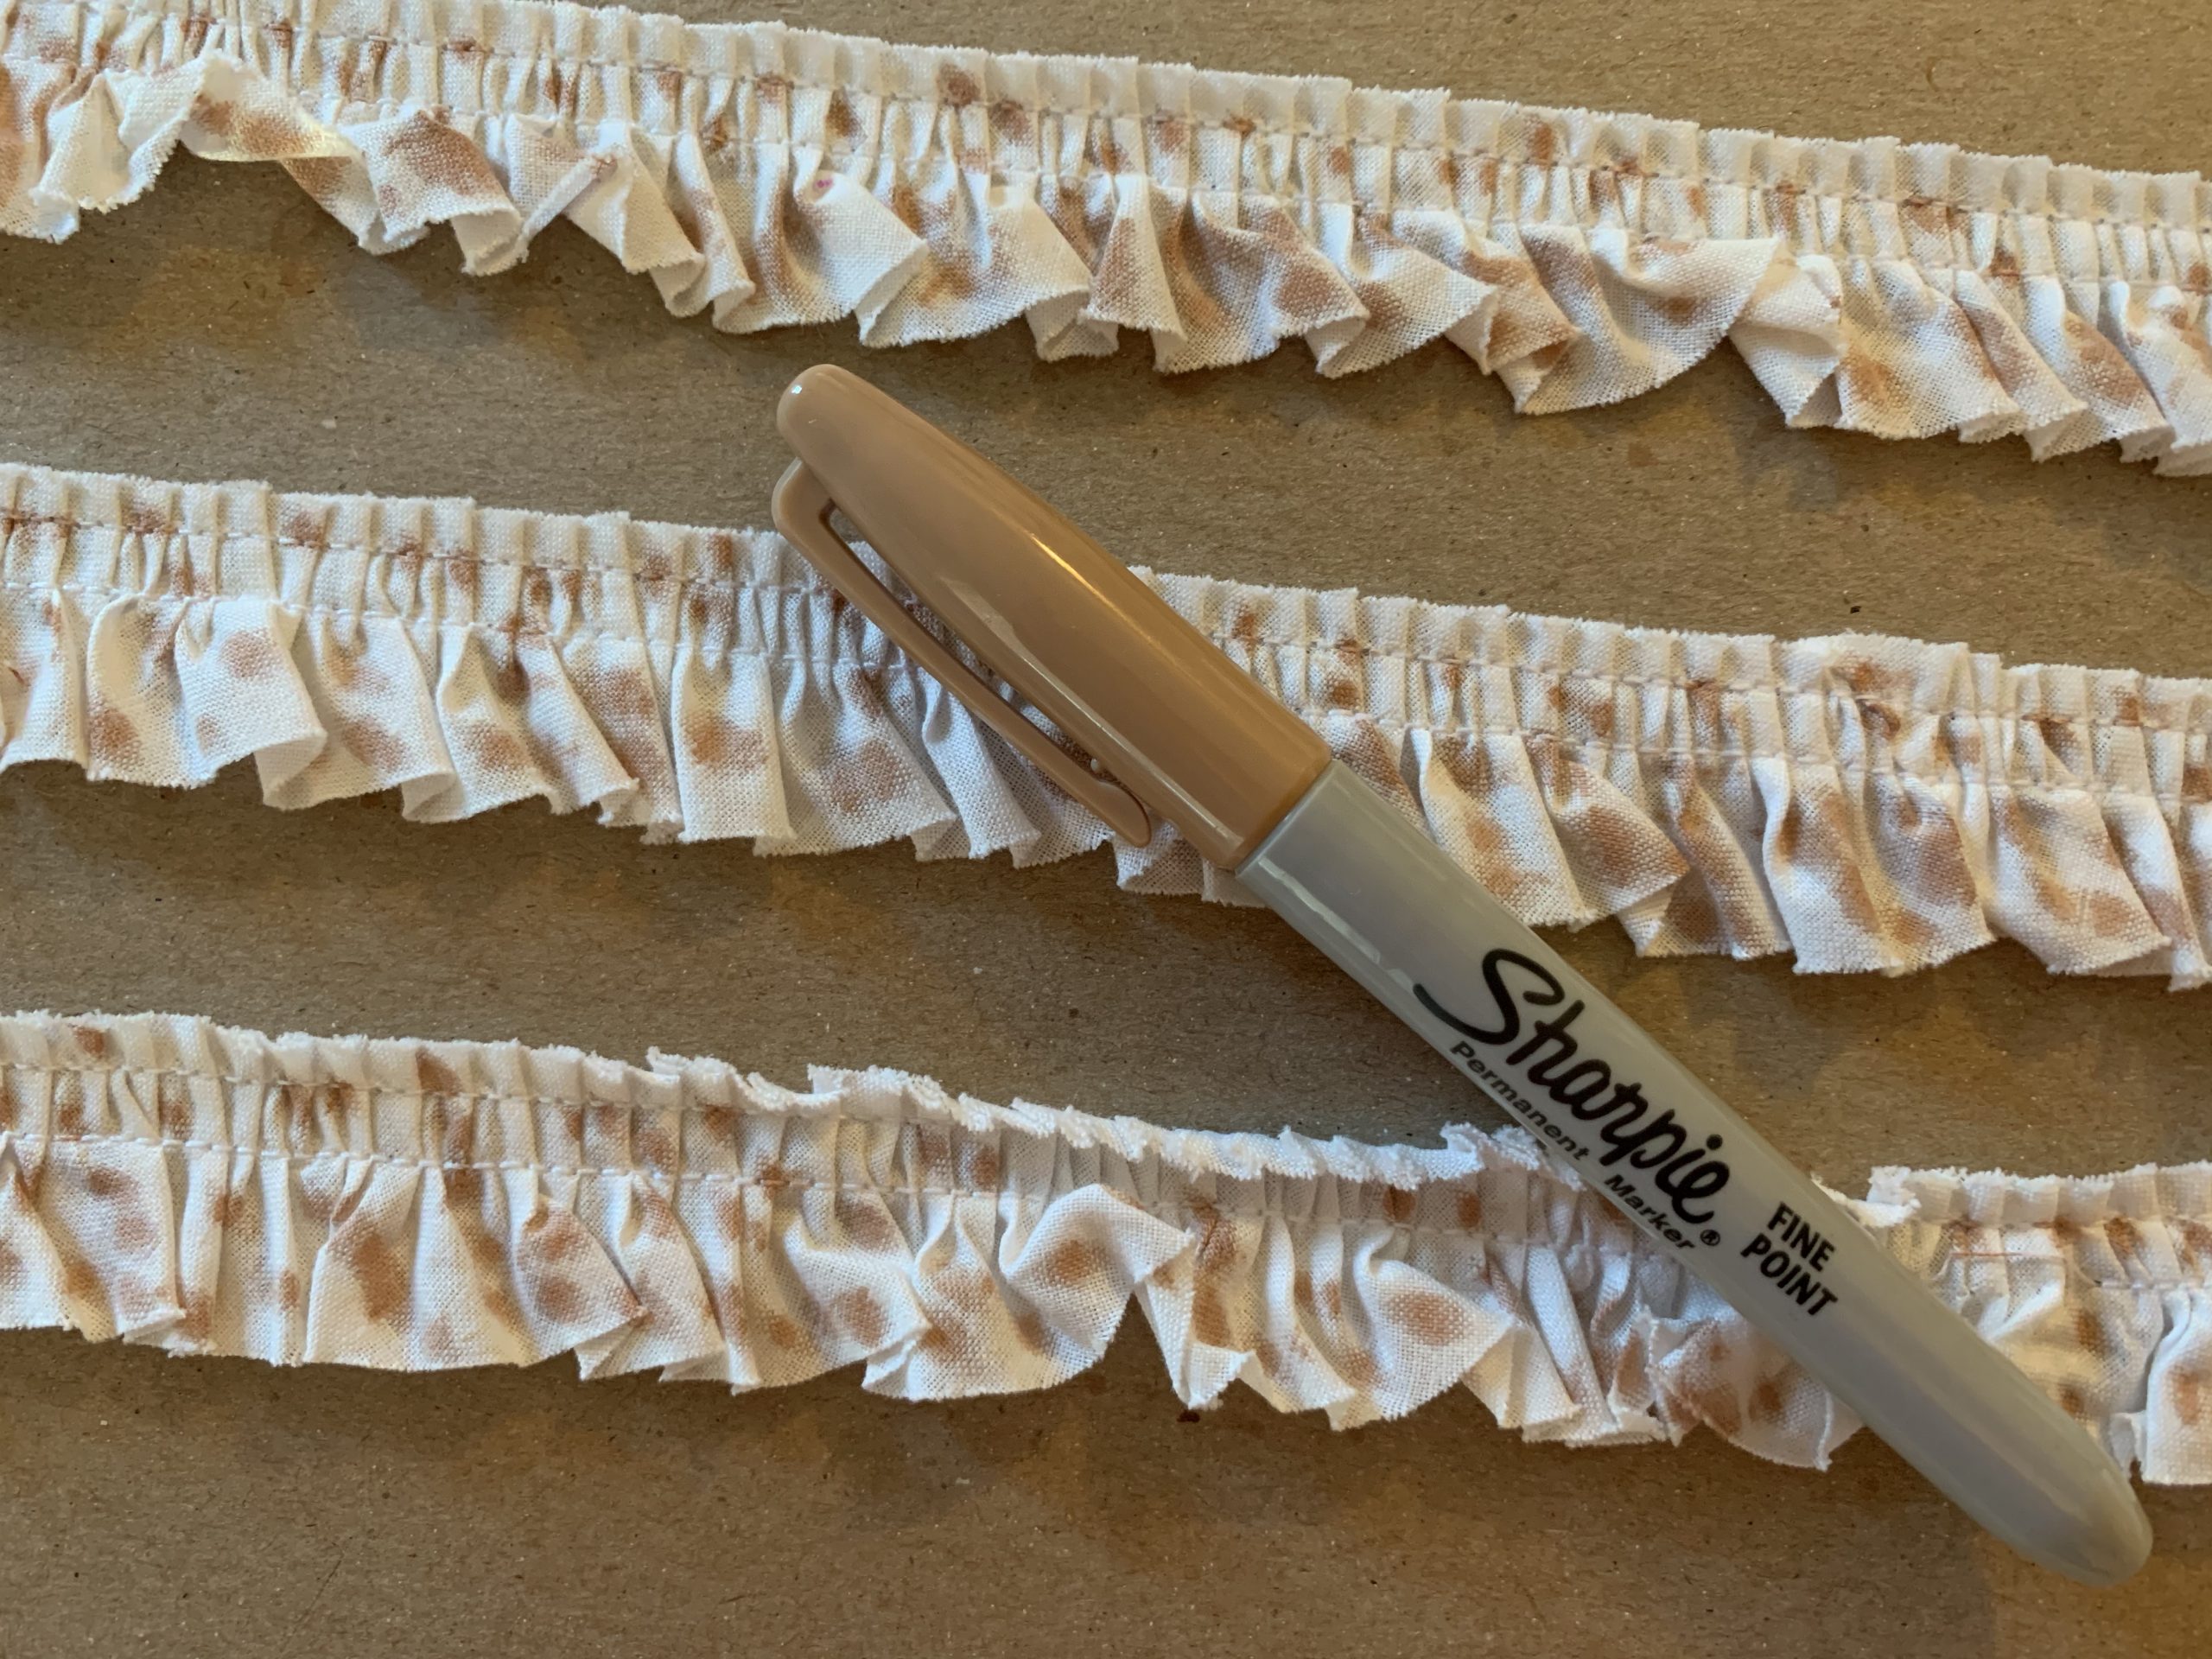
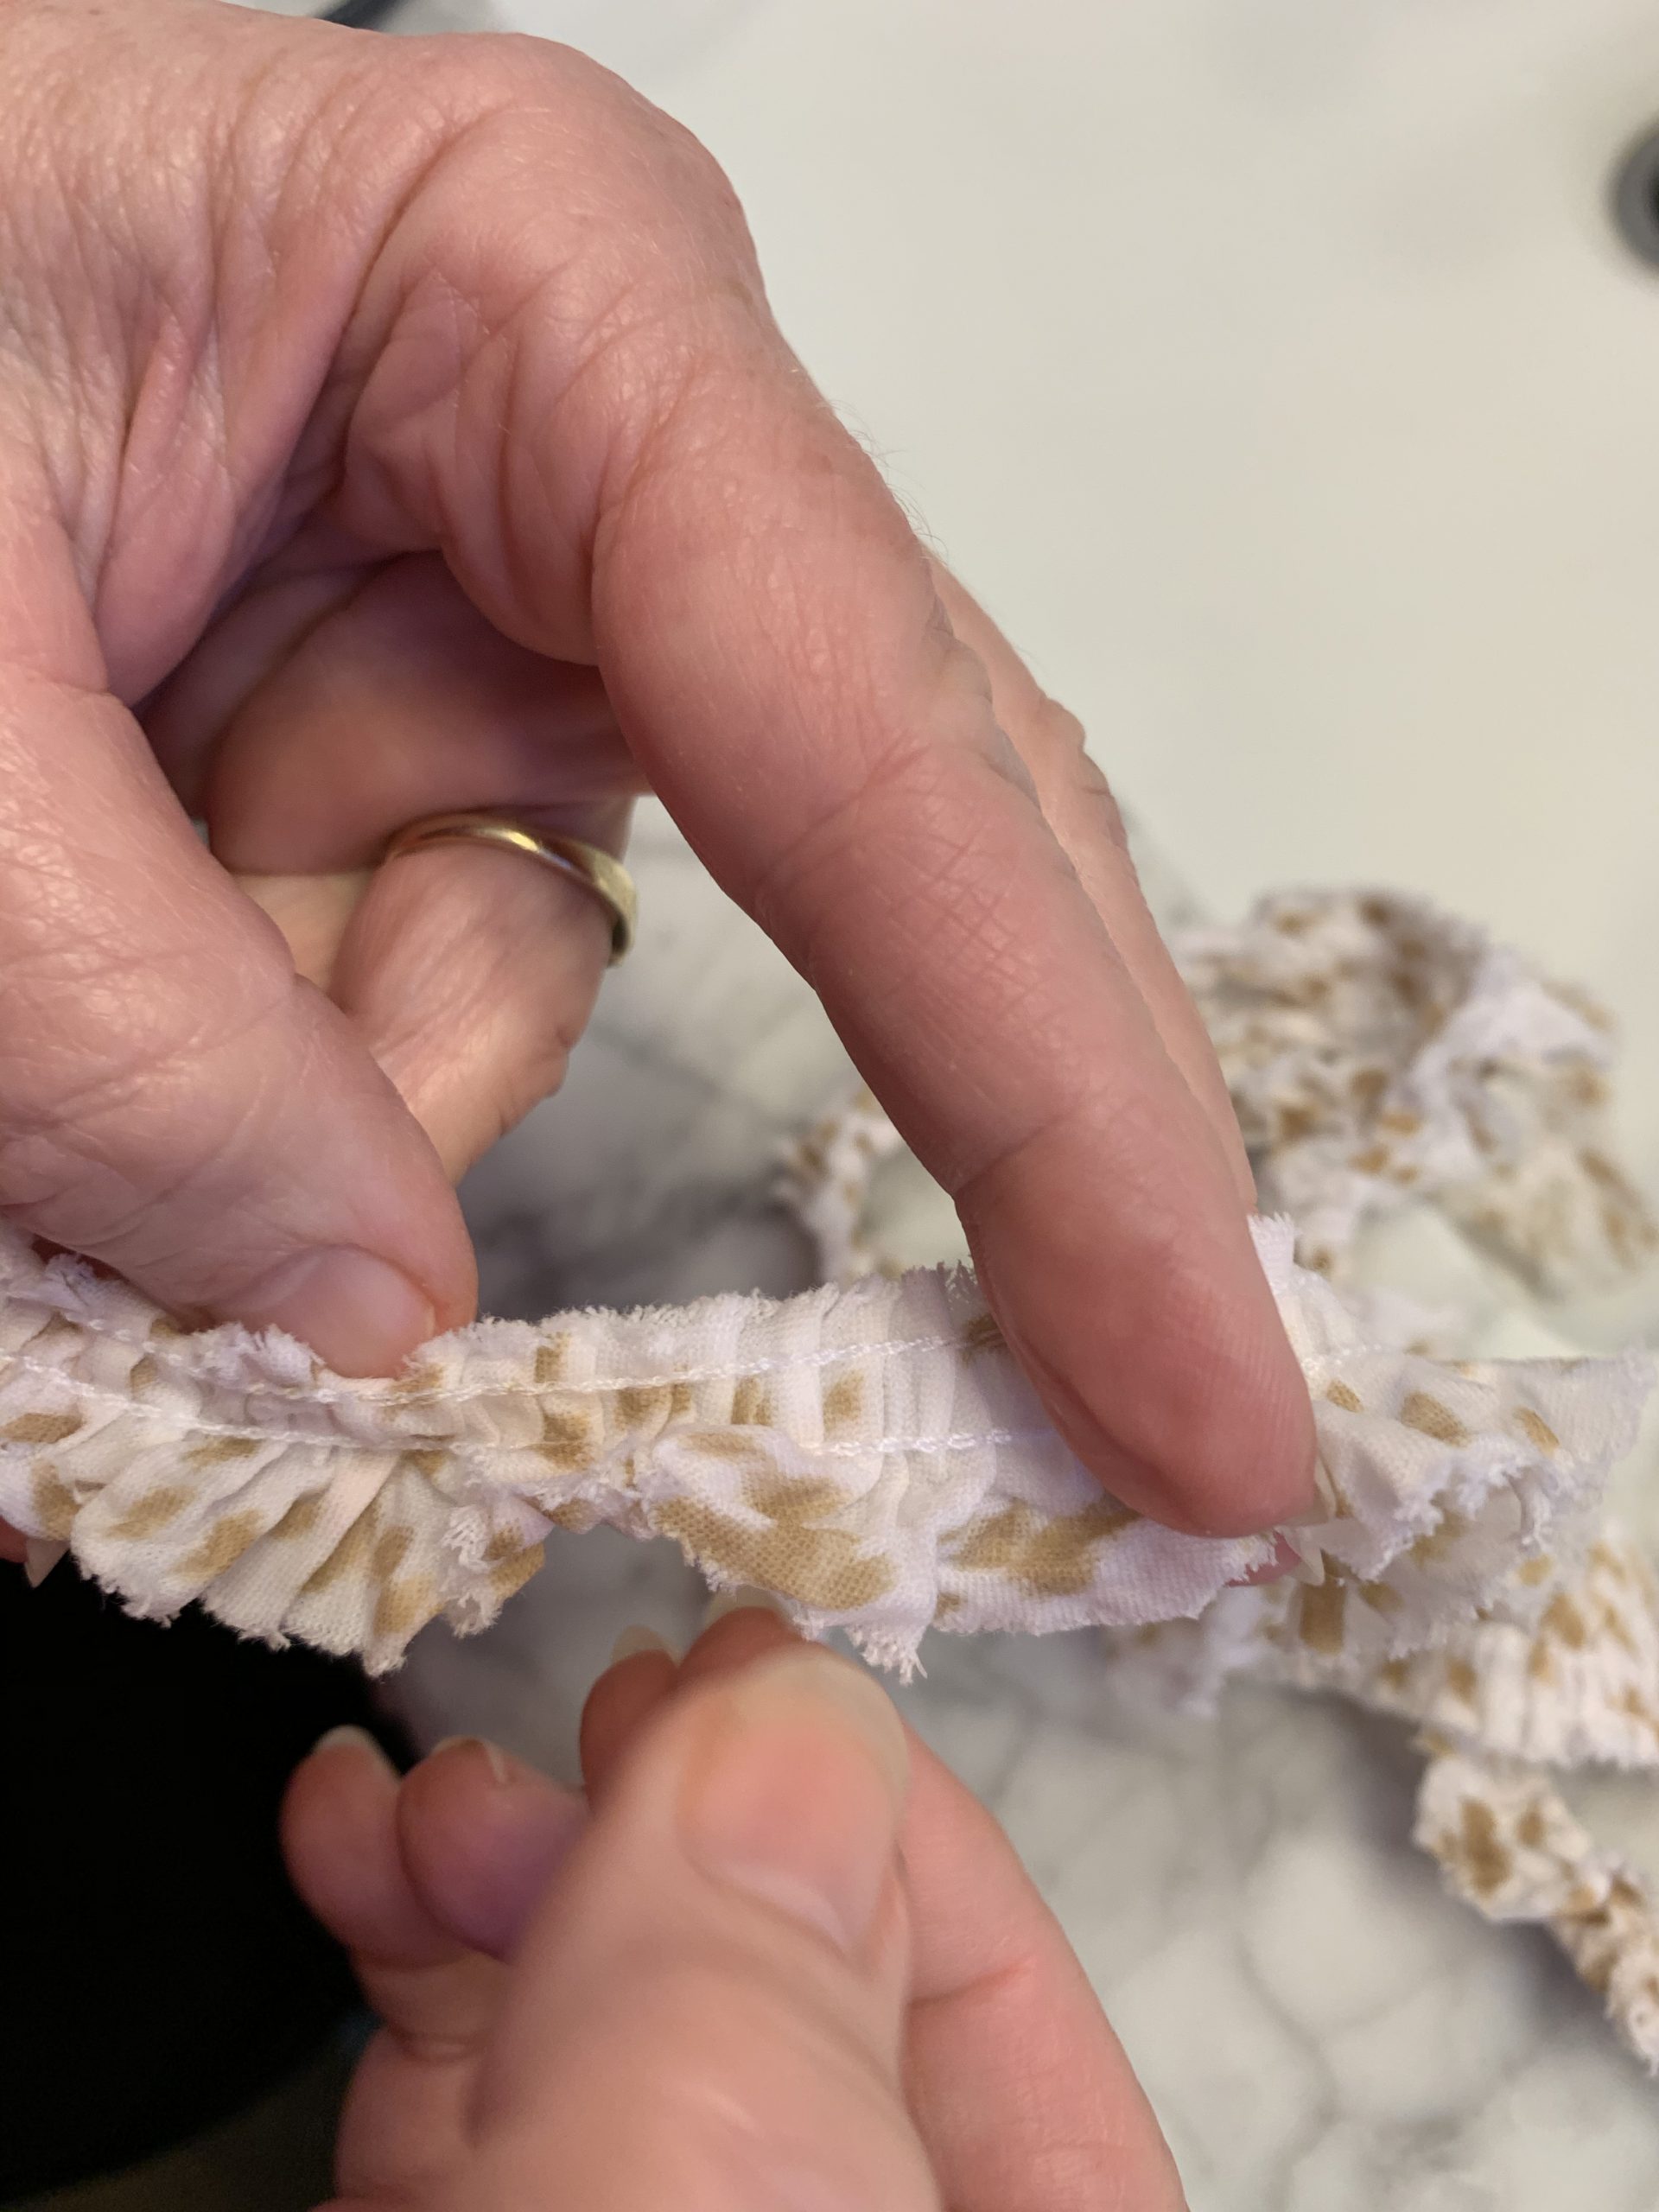
You’ll need about 2 yards of ruffle. Start by wrapping the ruffle around a piece of cardboard. Then select Sharpie Markers in the colors you’d like to dye your ruffle. My ruffle is with tan speckles. Lora’s ruffle is yellow, orange, and pink to match the batik she wanted to use.
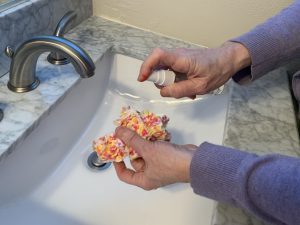
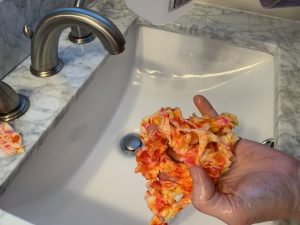
After you speckled the heck out of the white ruffle, spray or sprinkle Rubbing Alcohol on the dyed ruffle. This blurs the pen inks. Rinse with water until the water runs clear. Allow to dry.
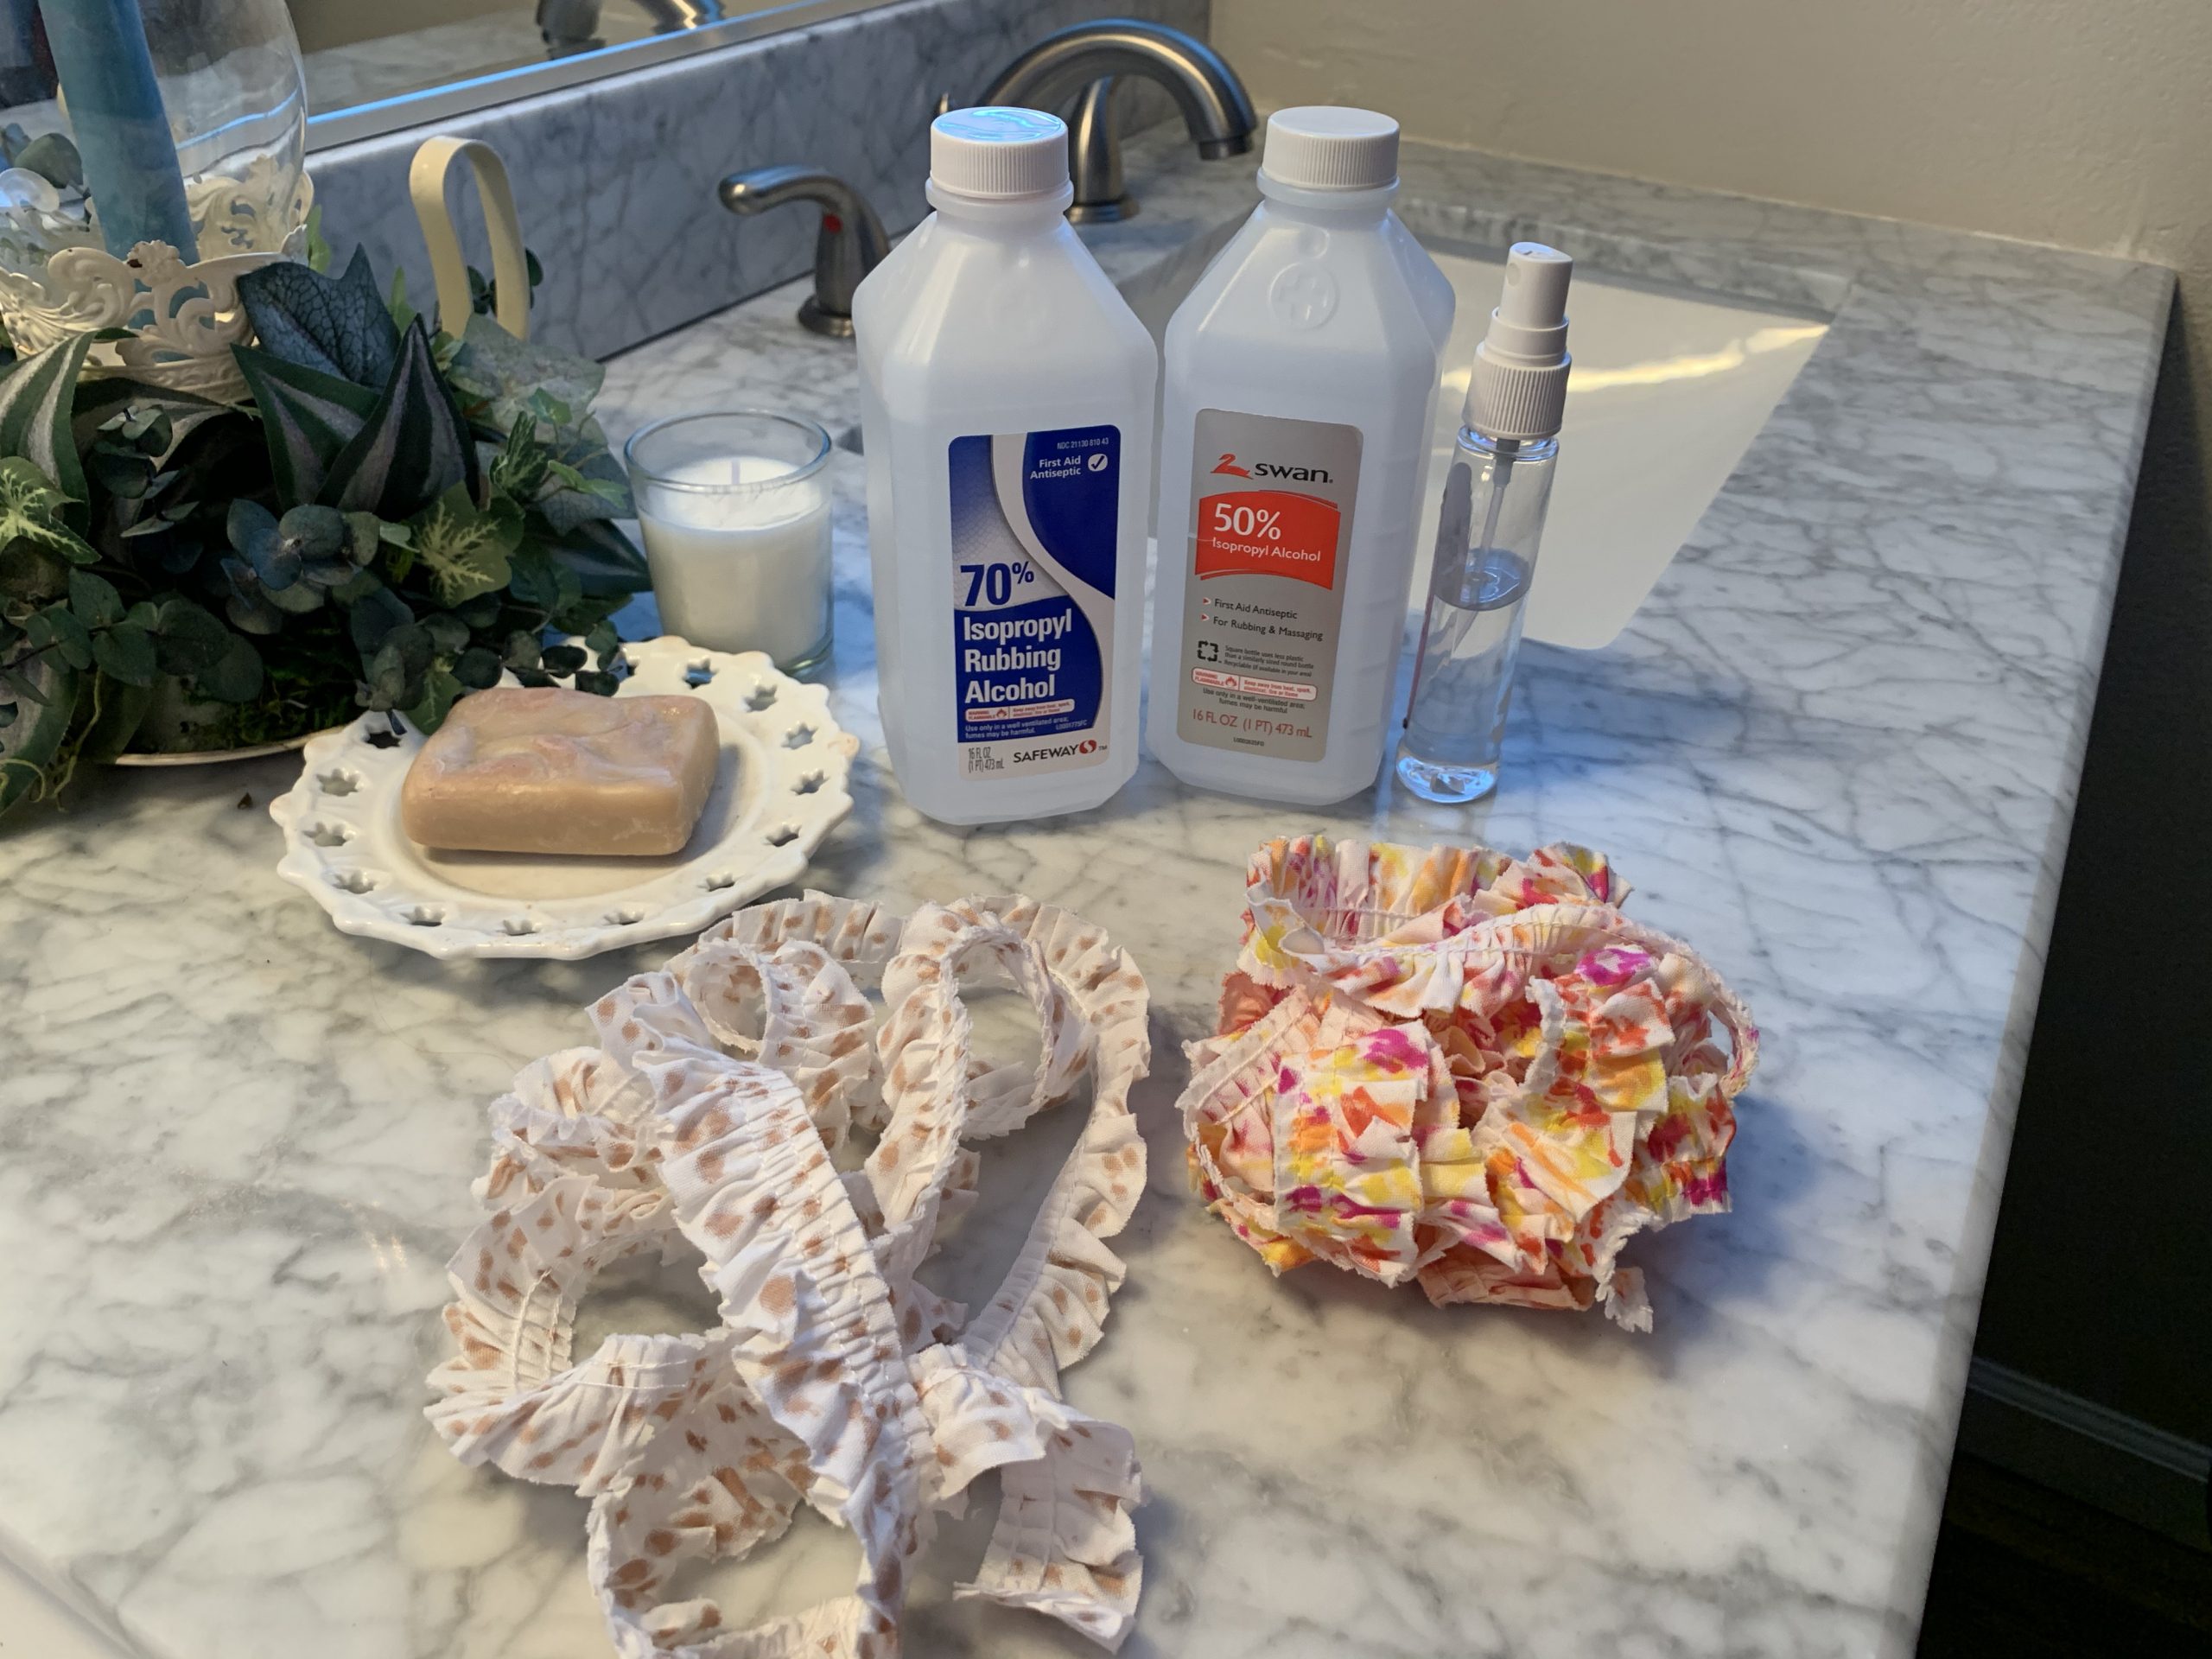
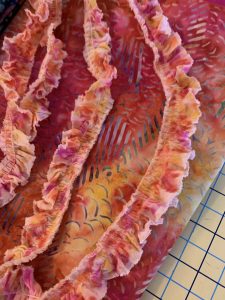
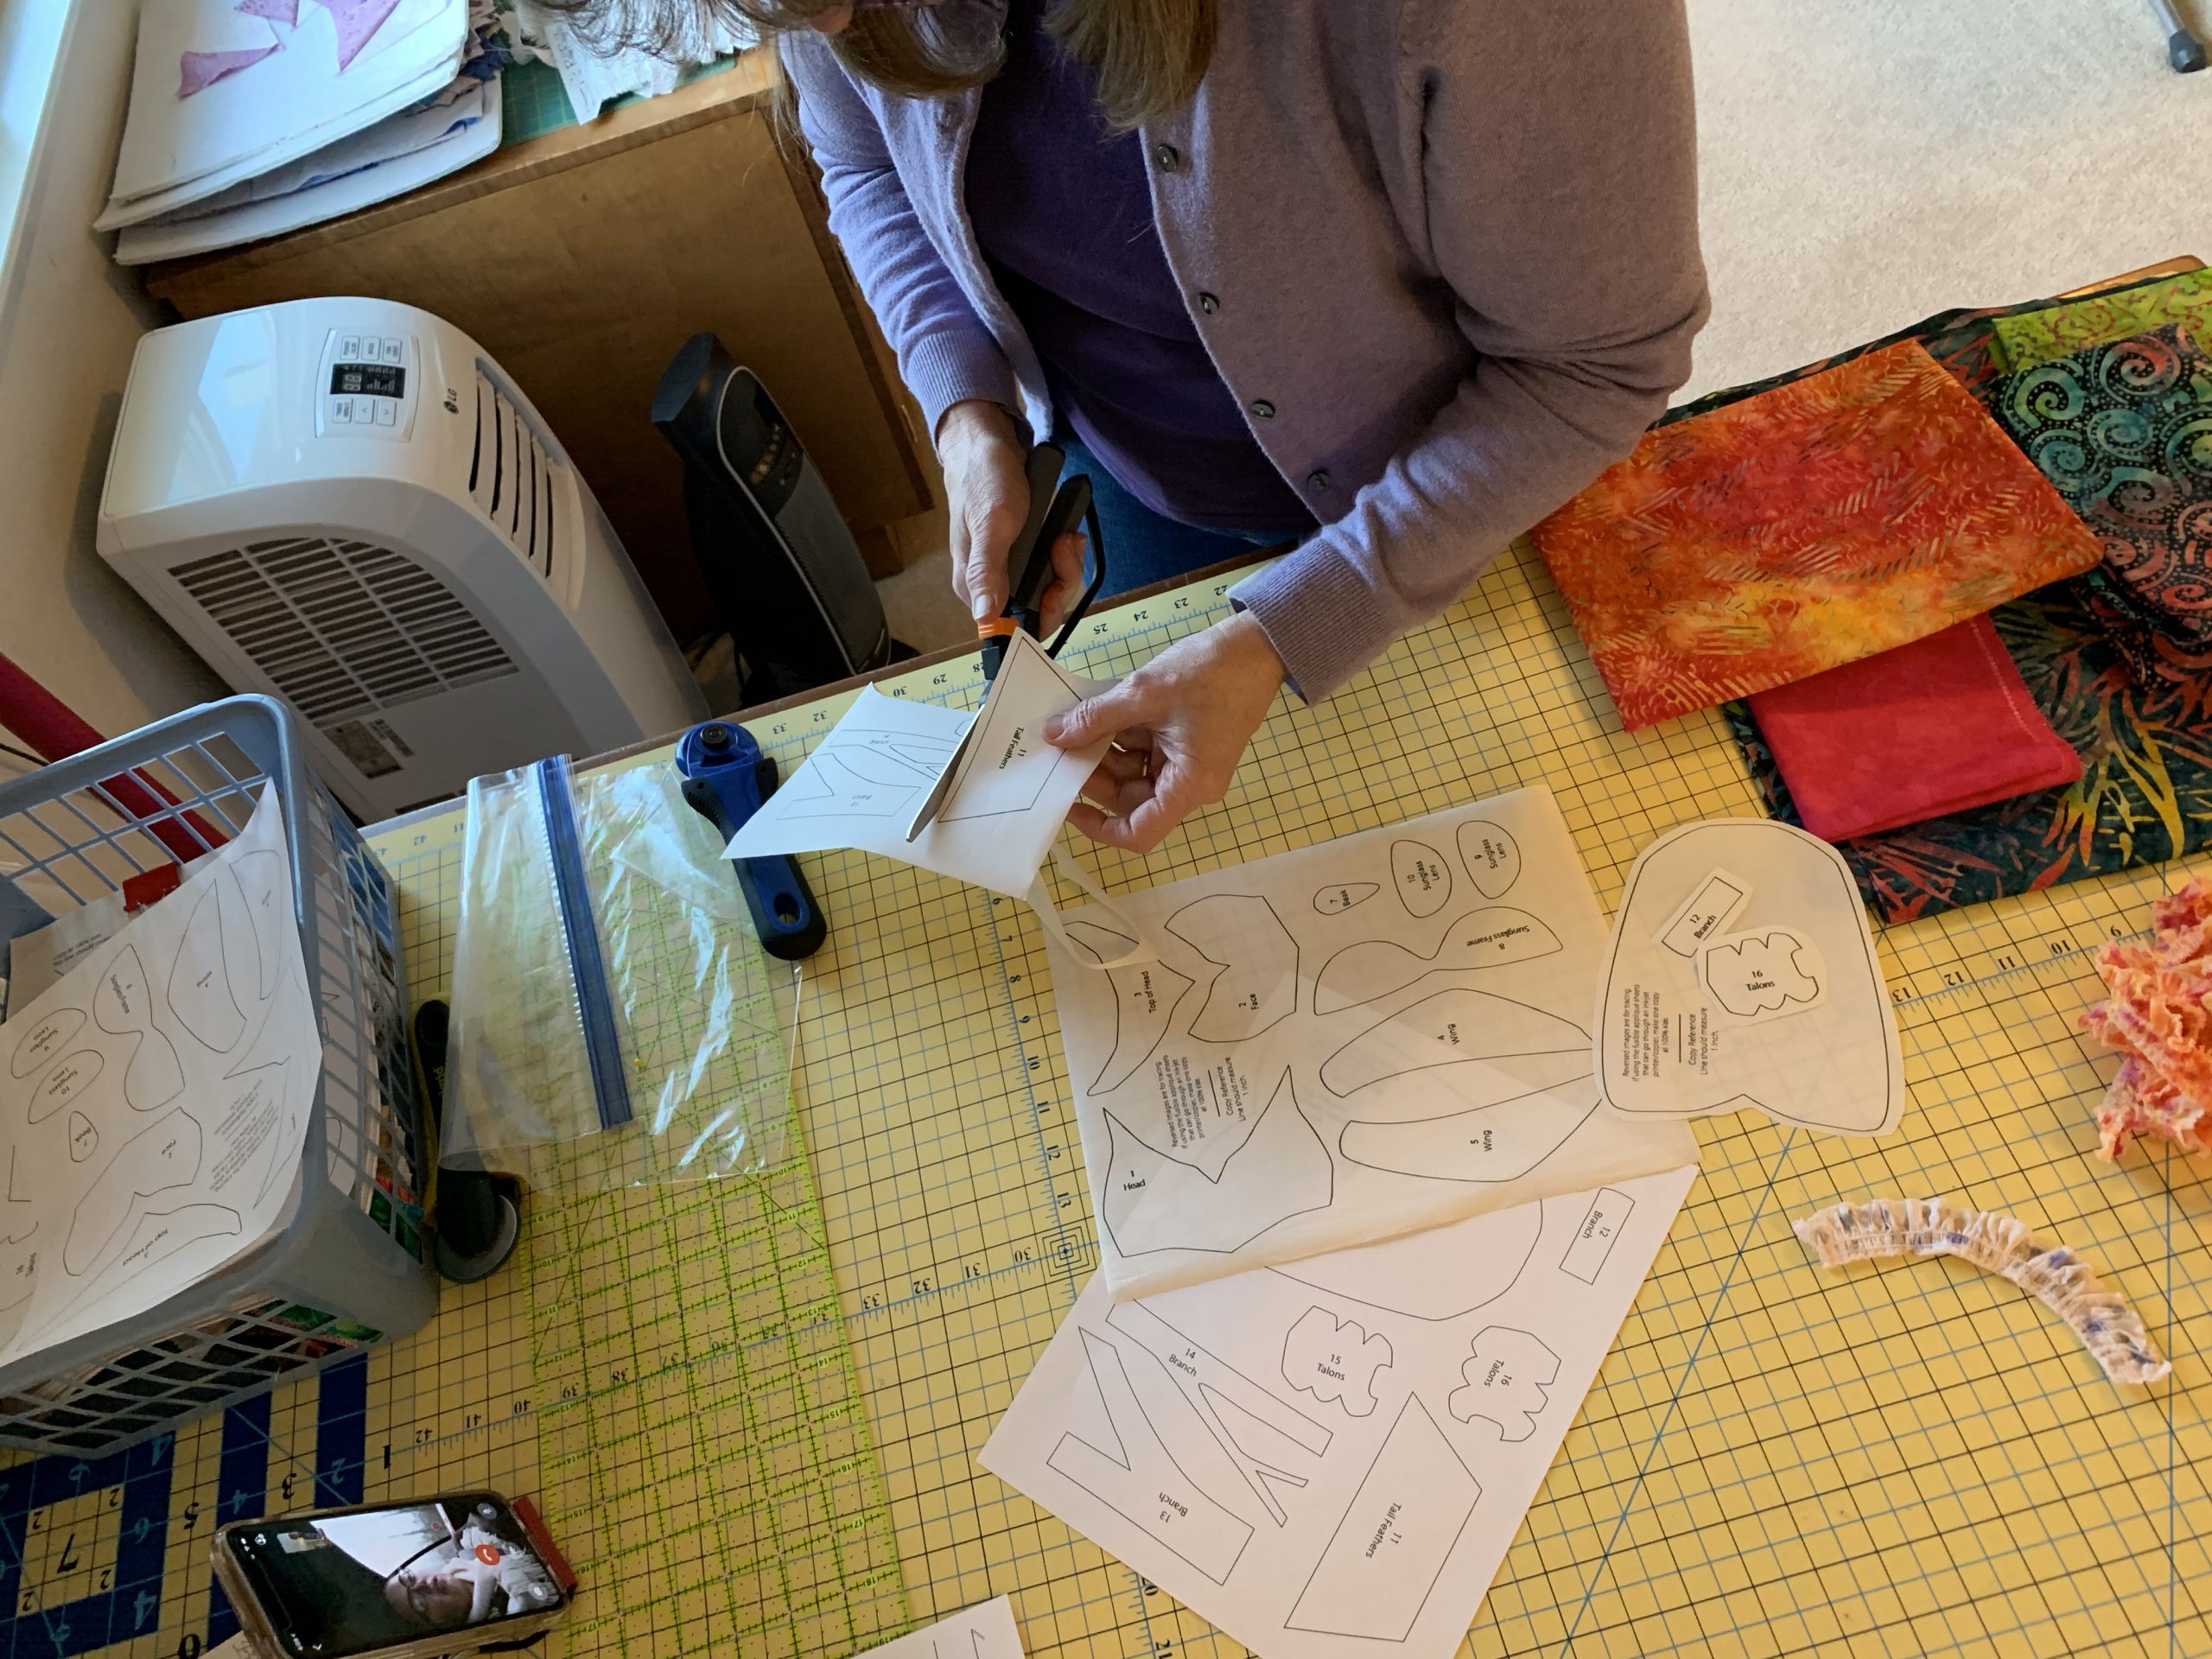
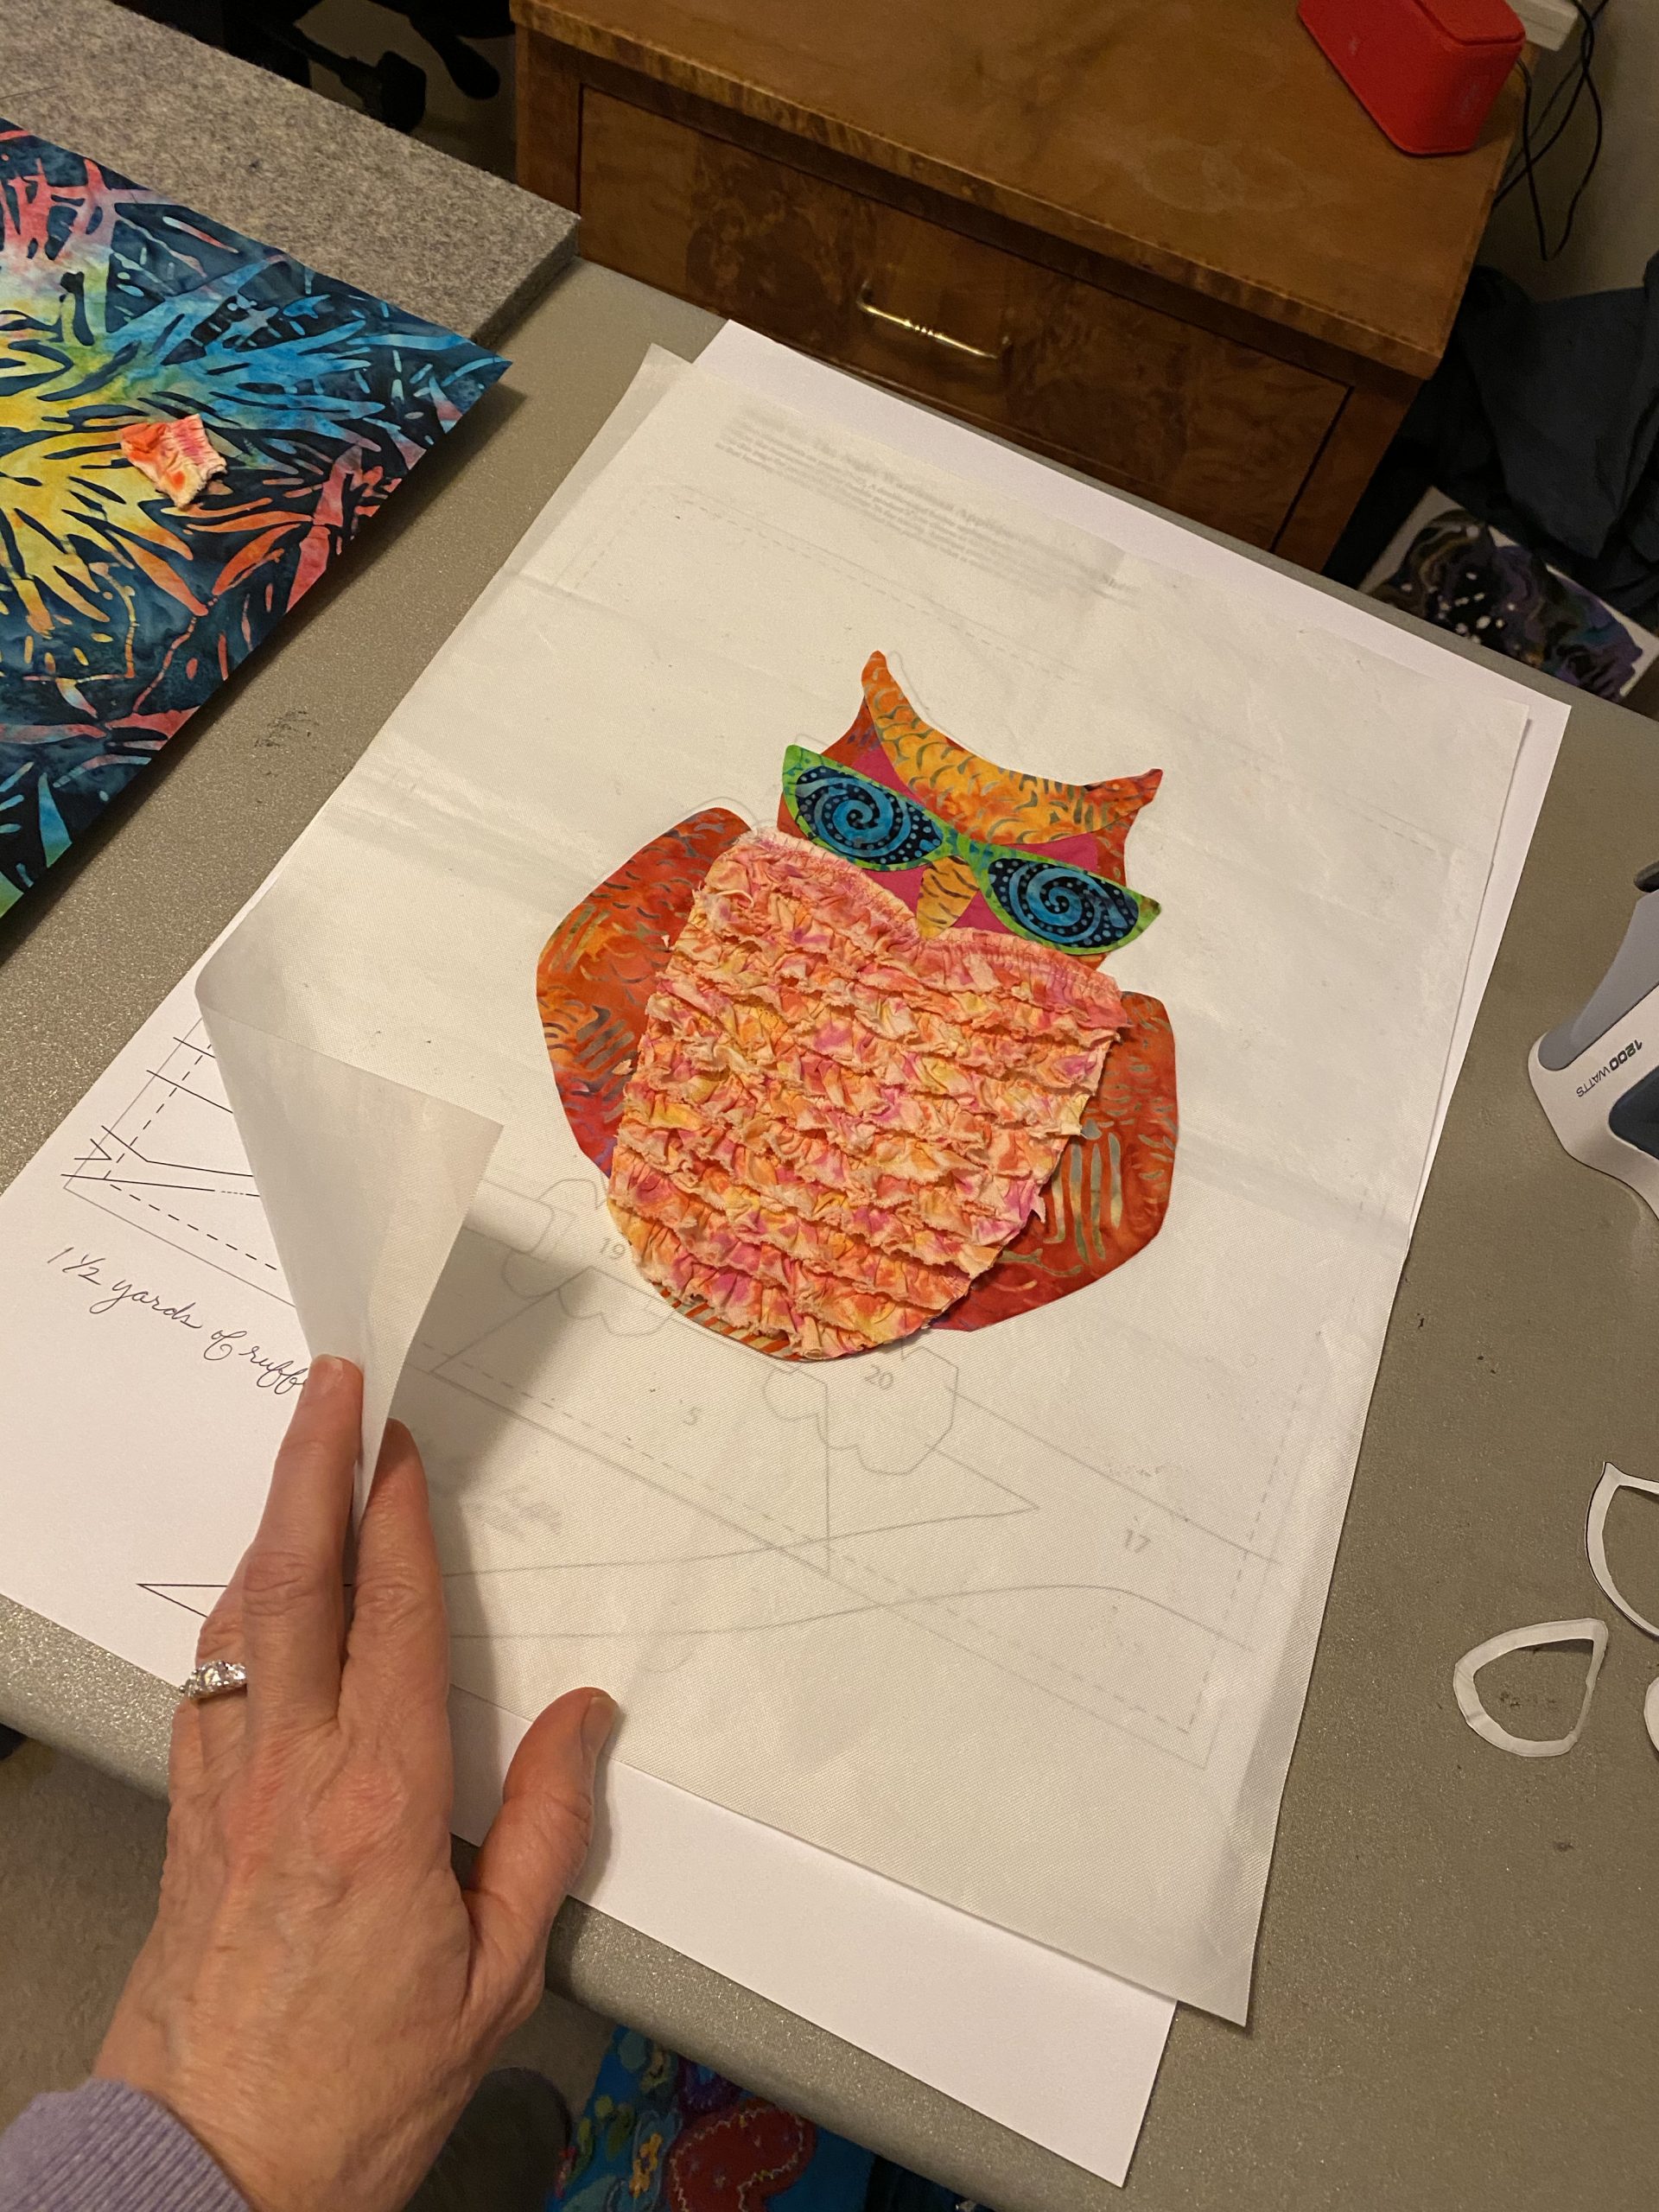
Lora’s ruffle turned out great! It matched the batik fabulously. While you’re waiting for the ruffle to dry. Print out the appliqué pieces here. 12×12.DontRufflyMyFeathersOwl.Applique, DontRuffleMyFeathersOwl.AppliqueSheet1, DontRuffleMyFeathersOwl.AppliqueSheet2 (Limited time only so don’t wait to download!) Be sure to tile at 100% size the 12×12 sheet and print 100% size the pieces sheets. Cut your background square at 12 1/2″.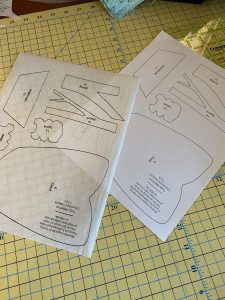
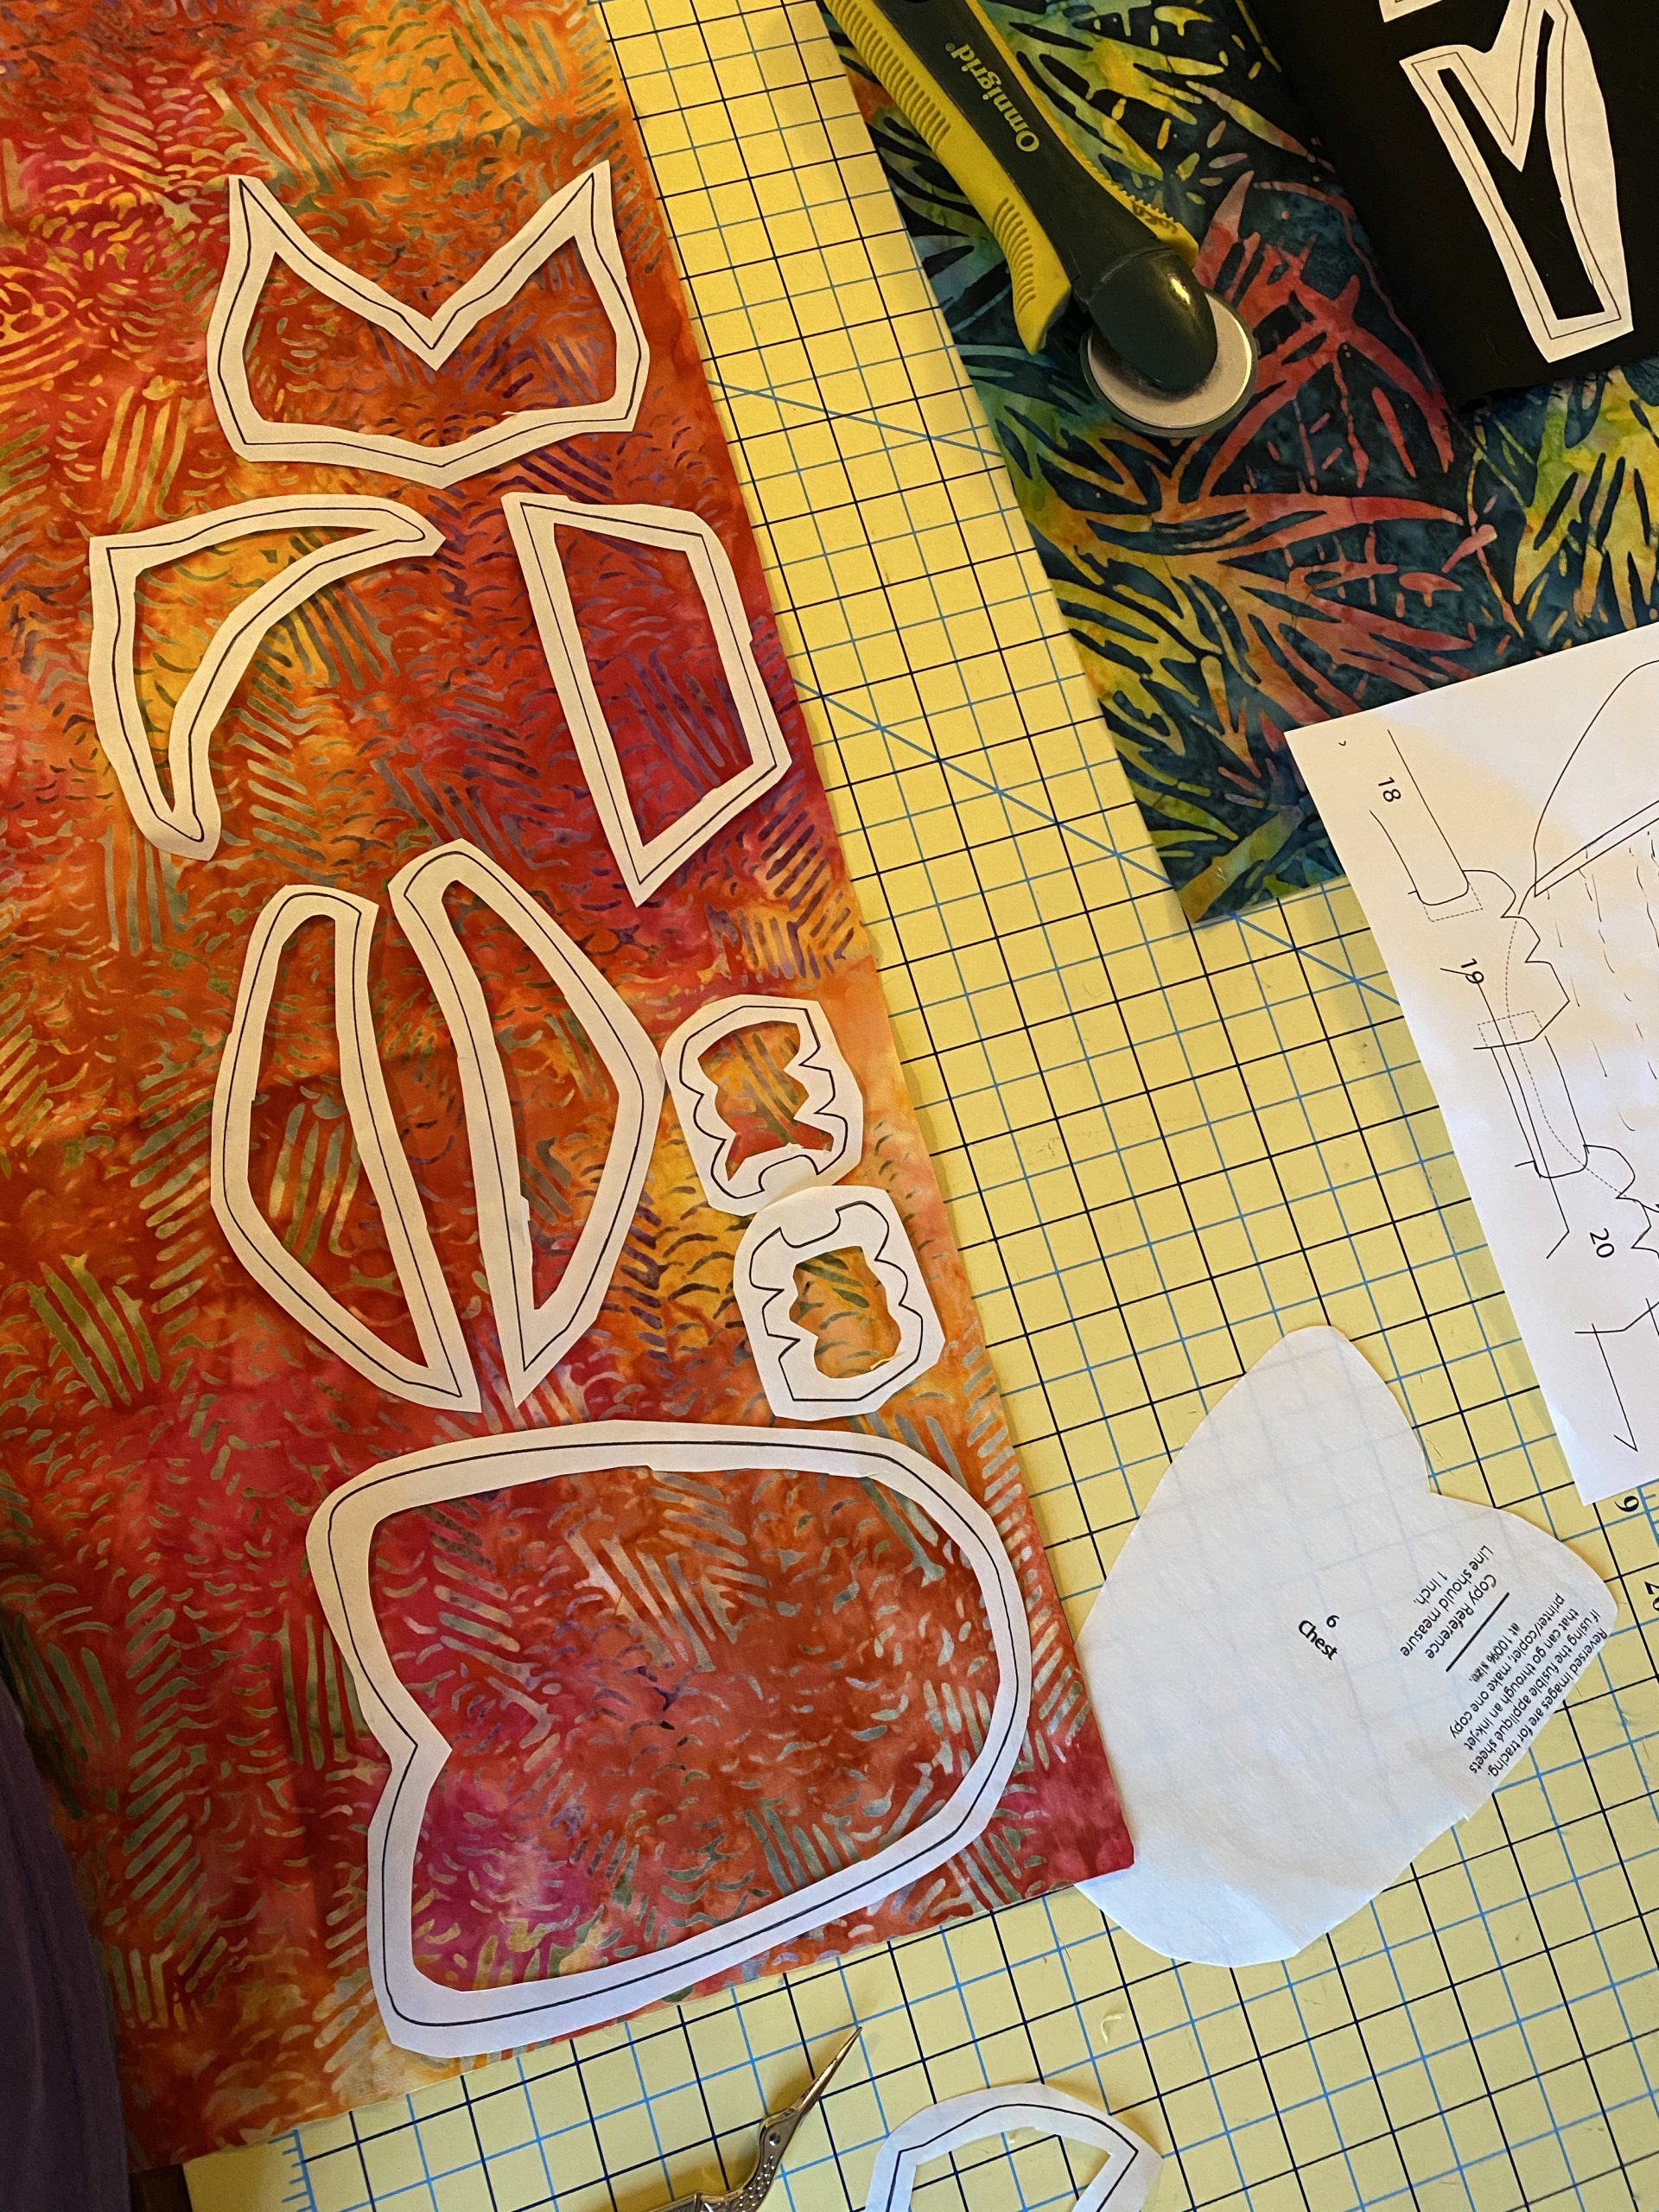
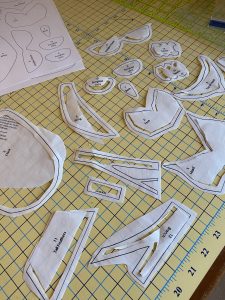 Fuse for just a couple seconds to the wrong side of your fabric. Trim out on the line.
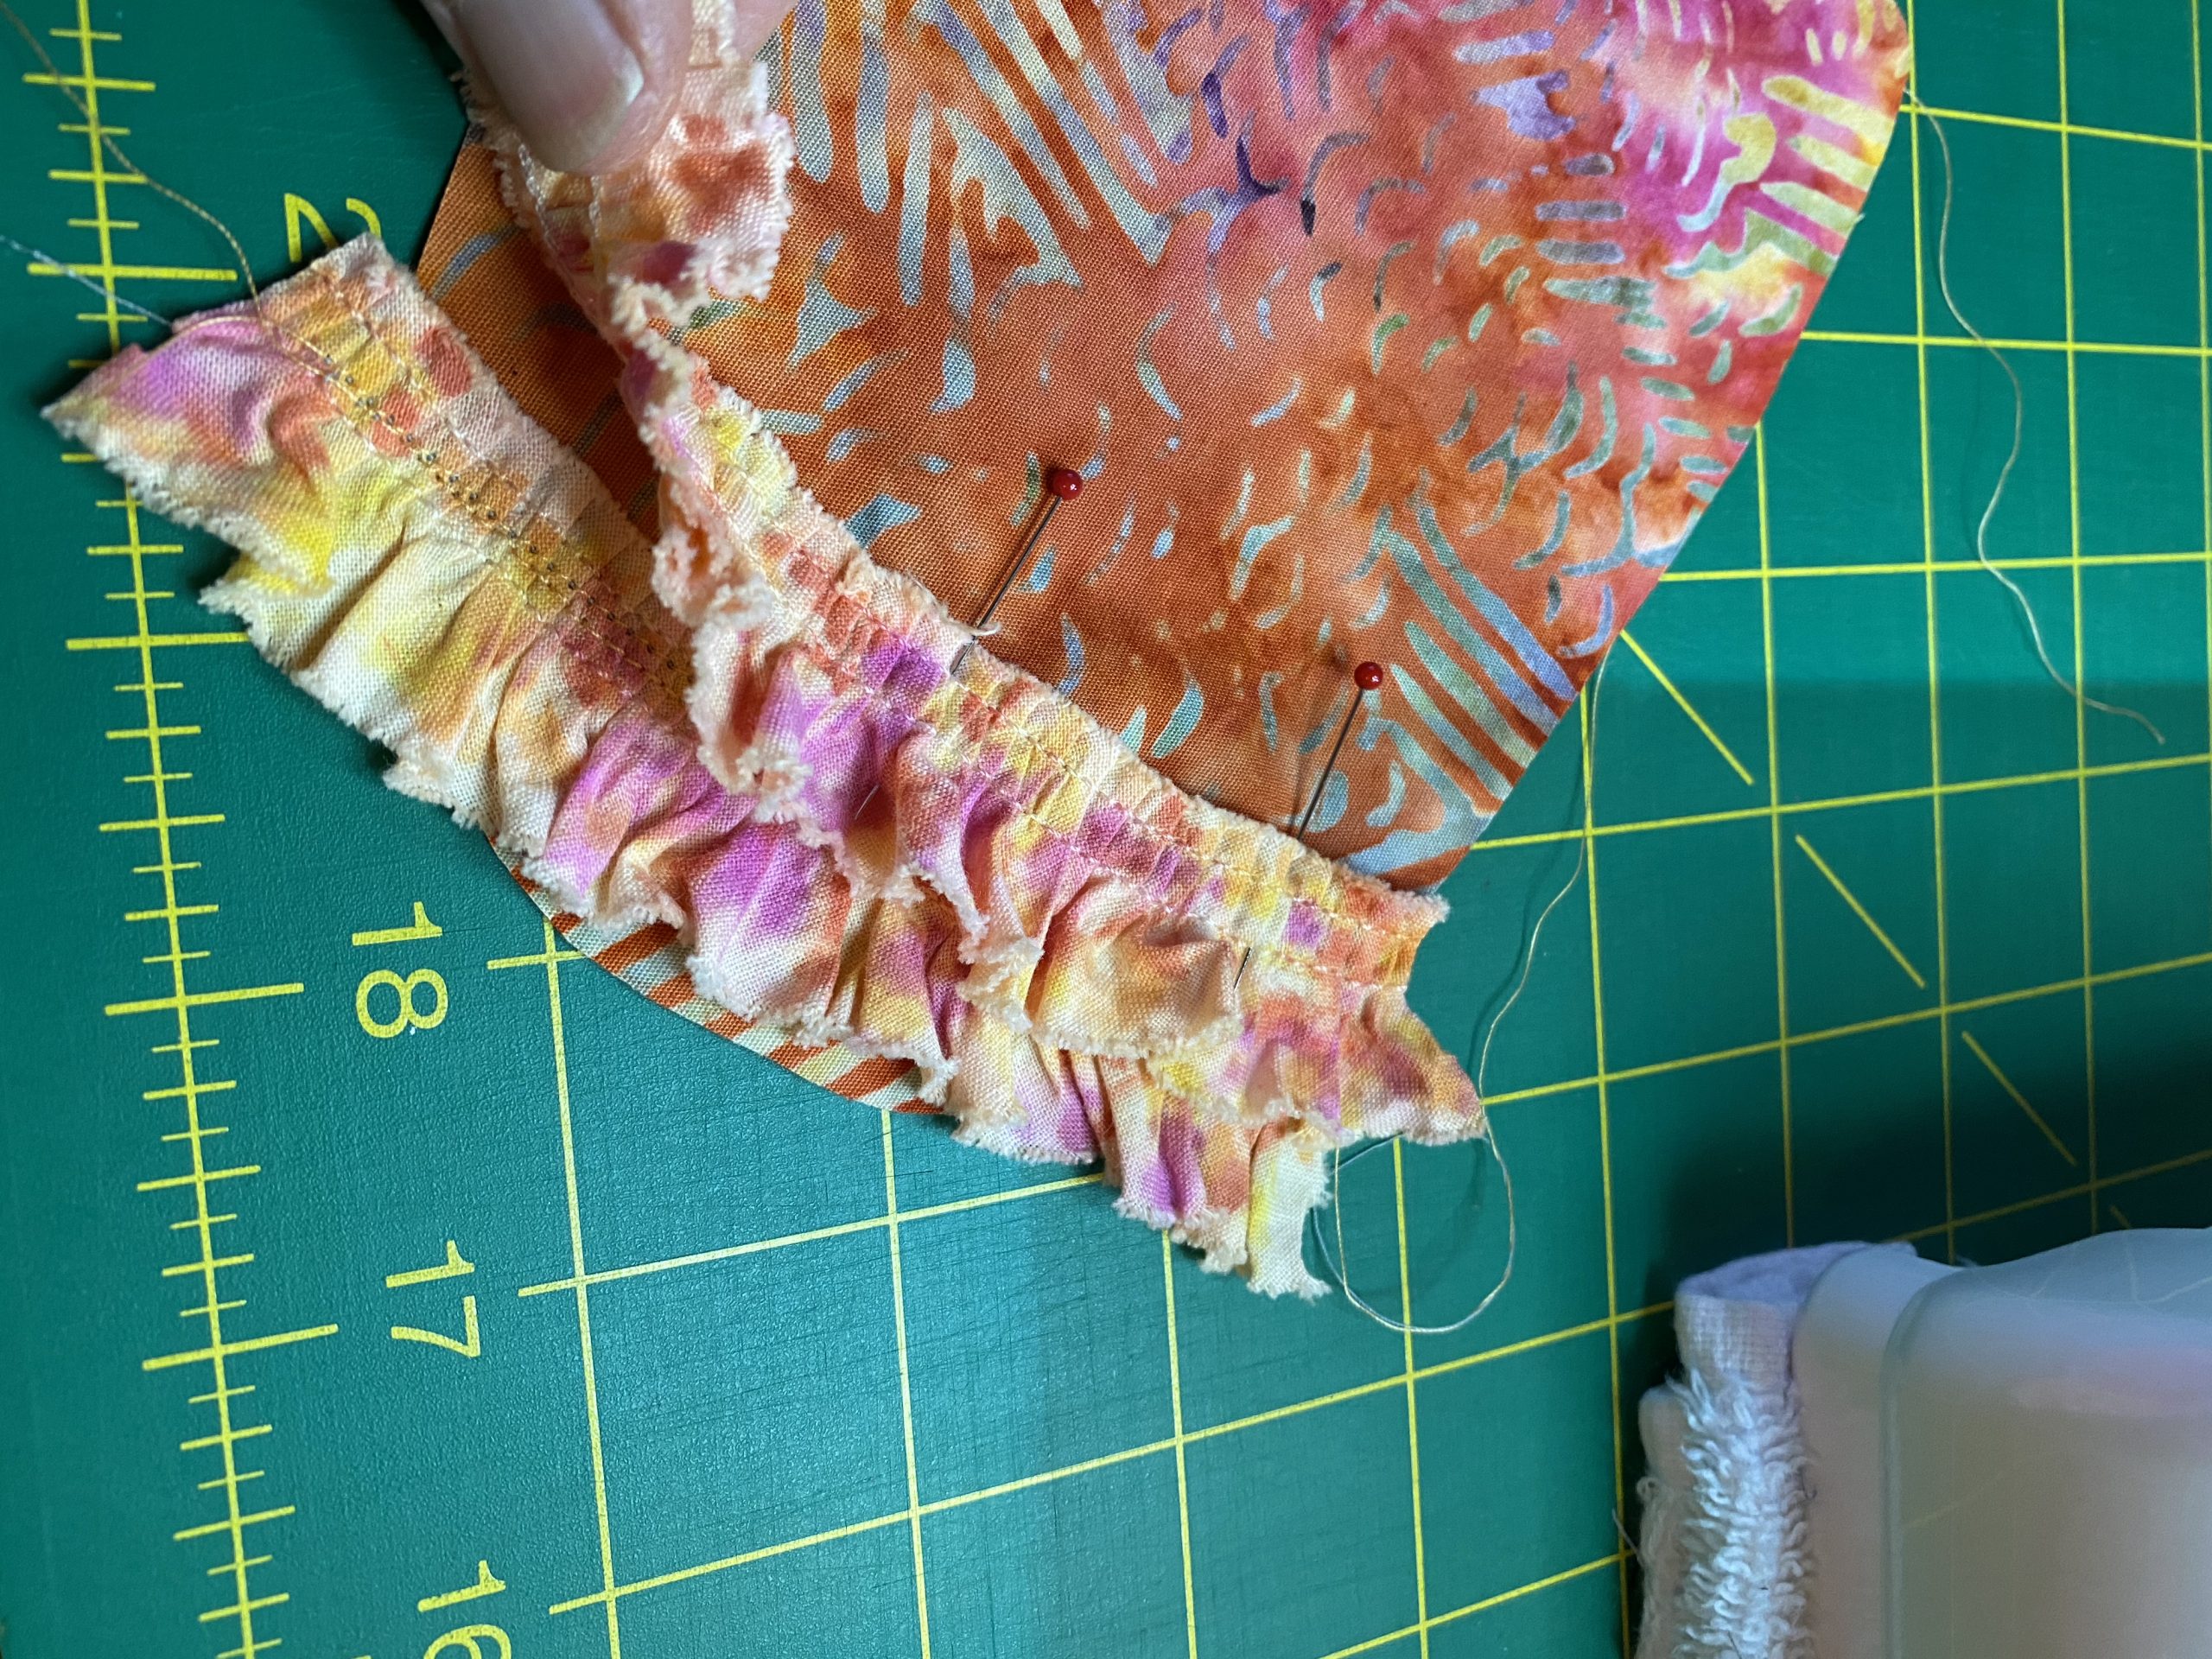
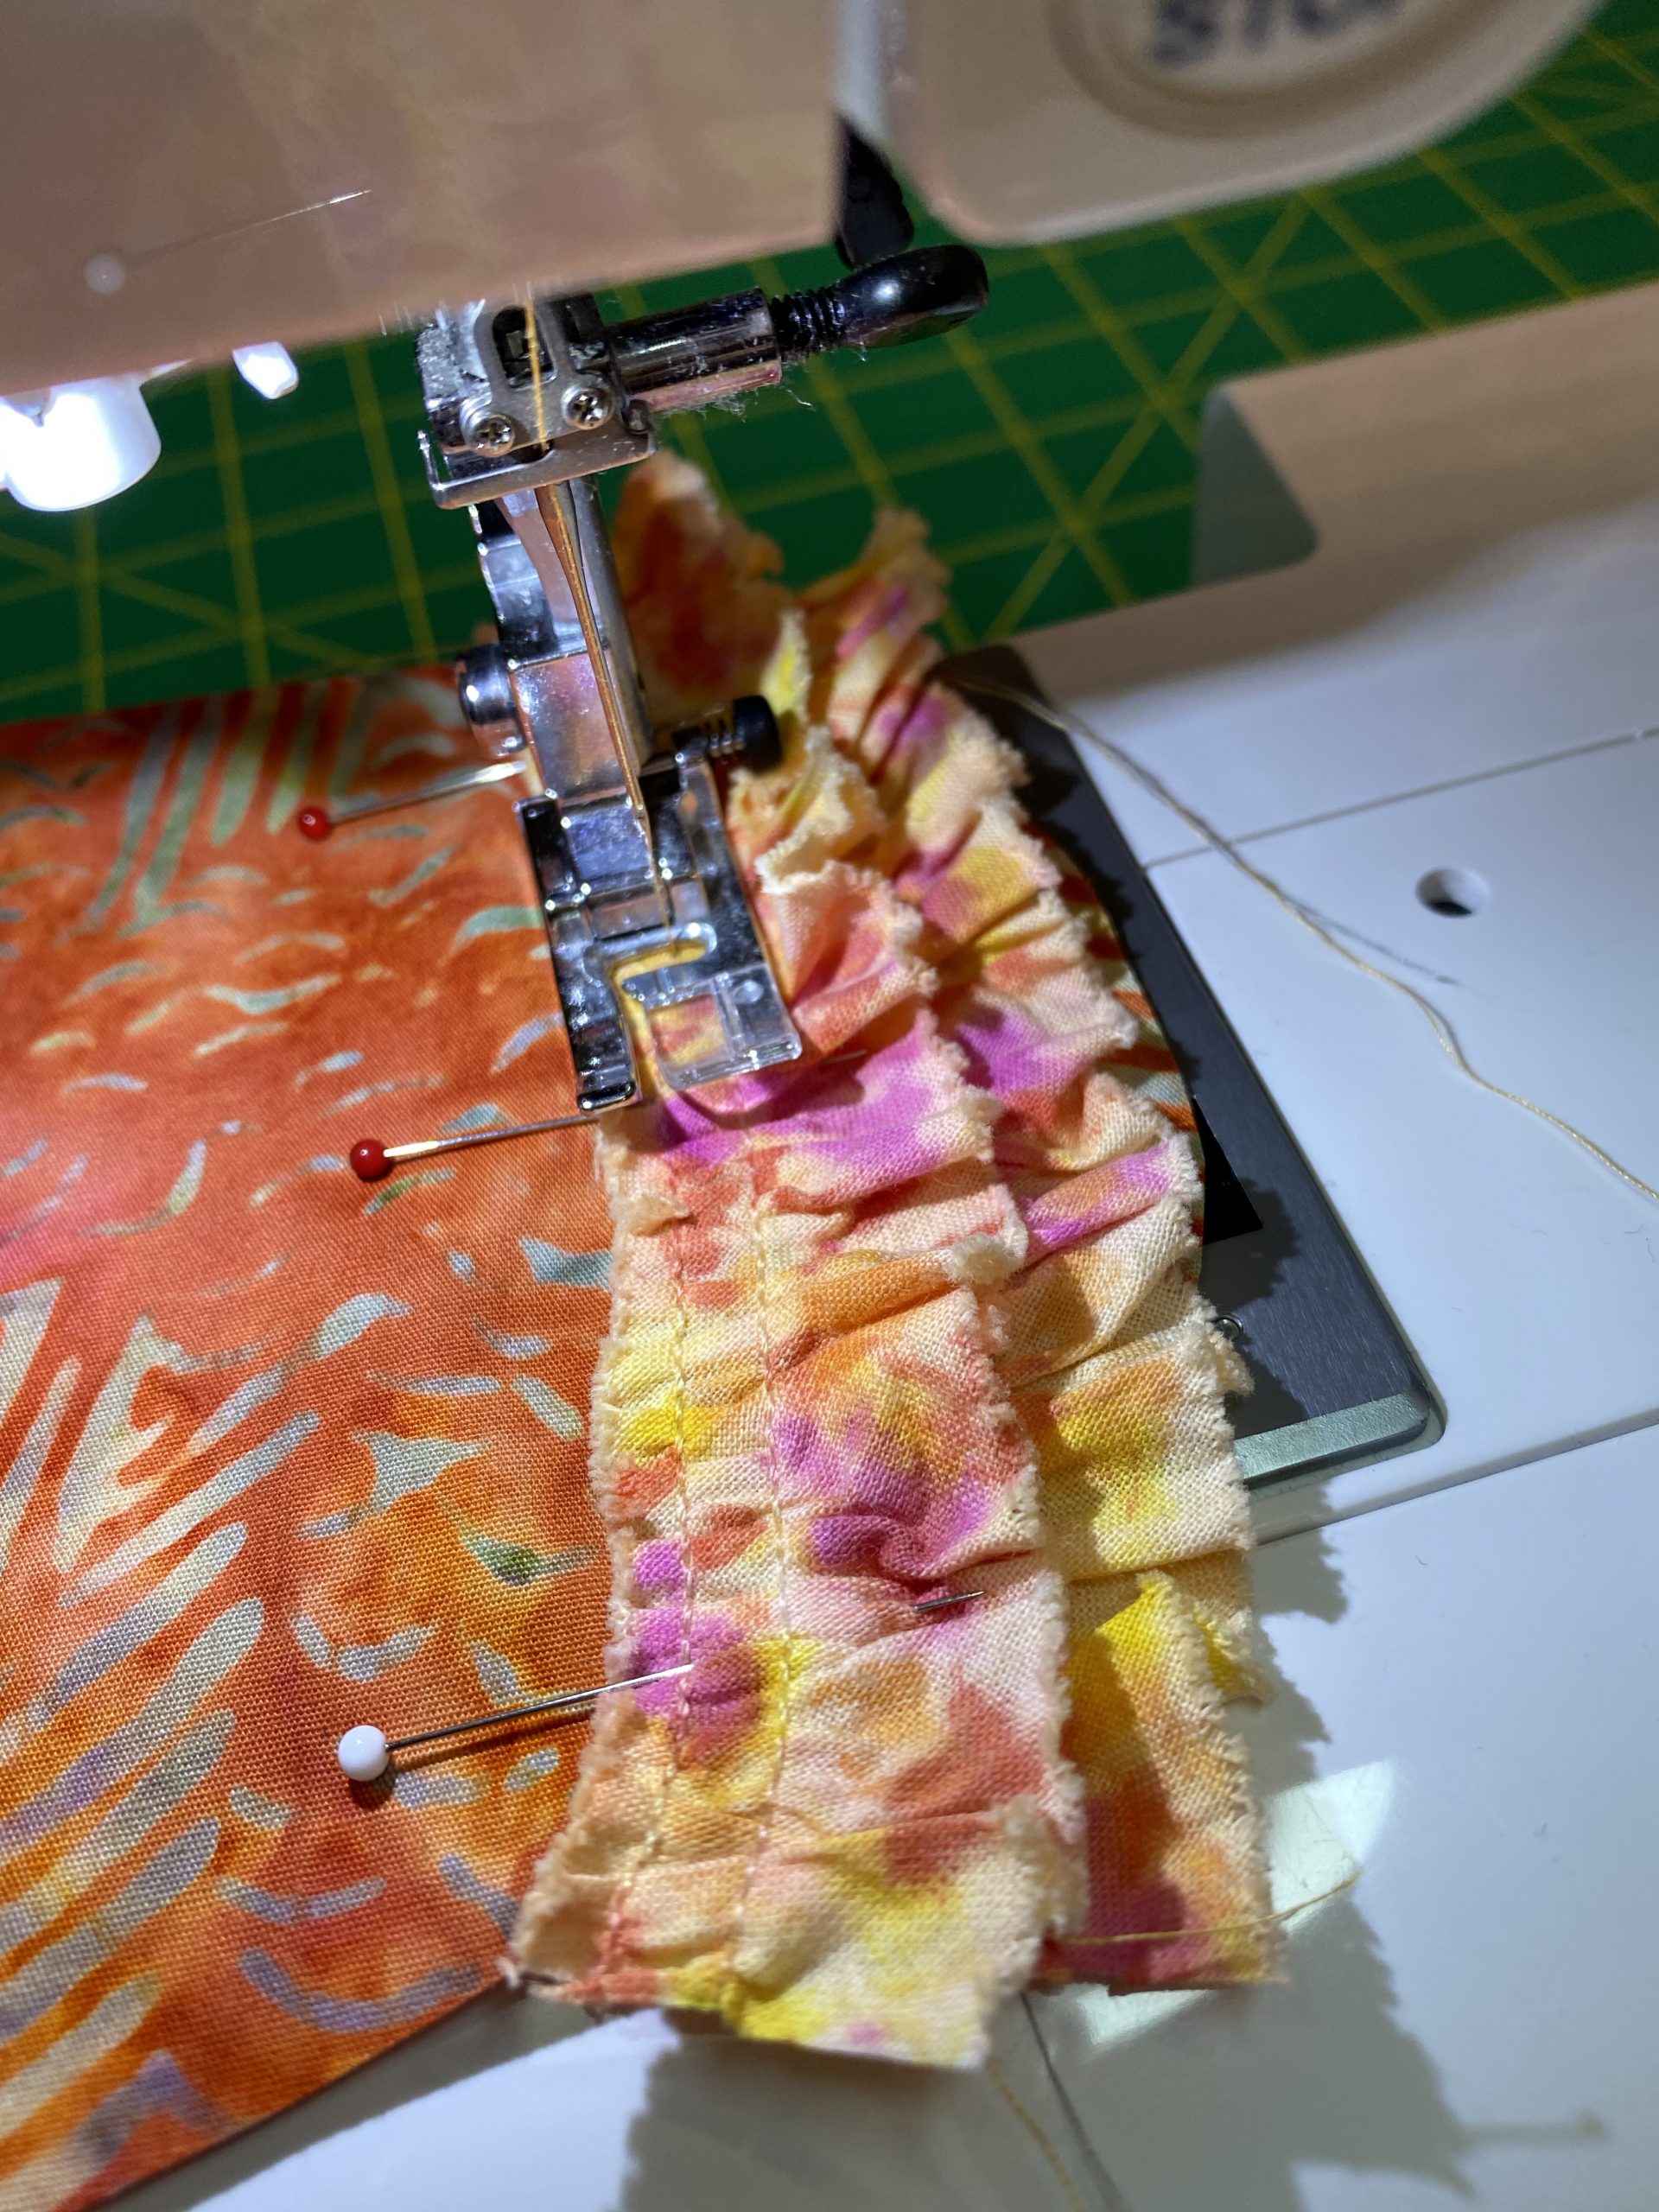
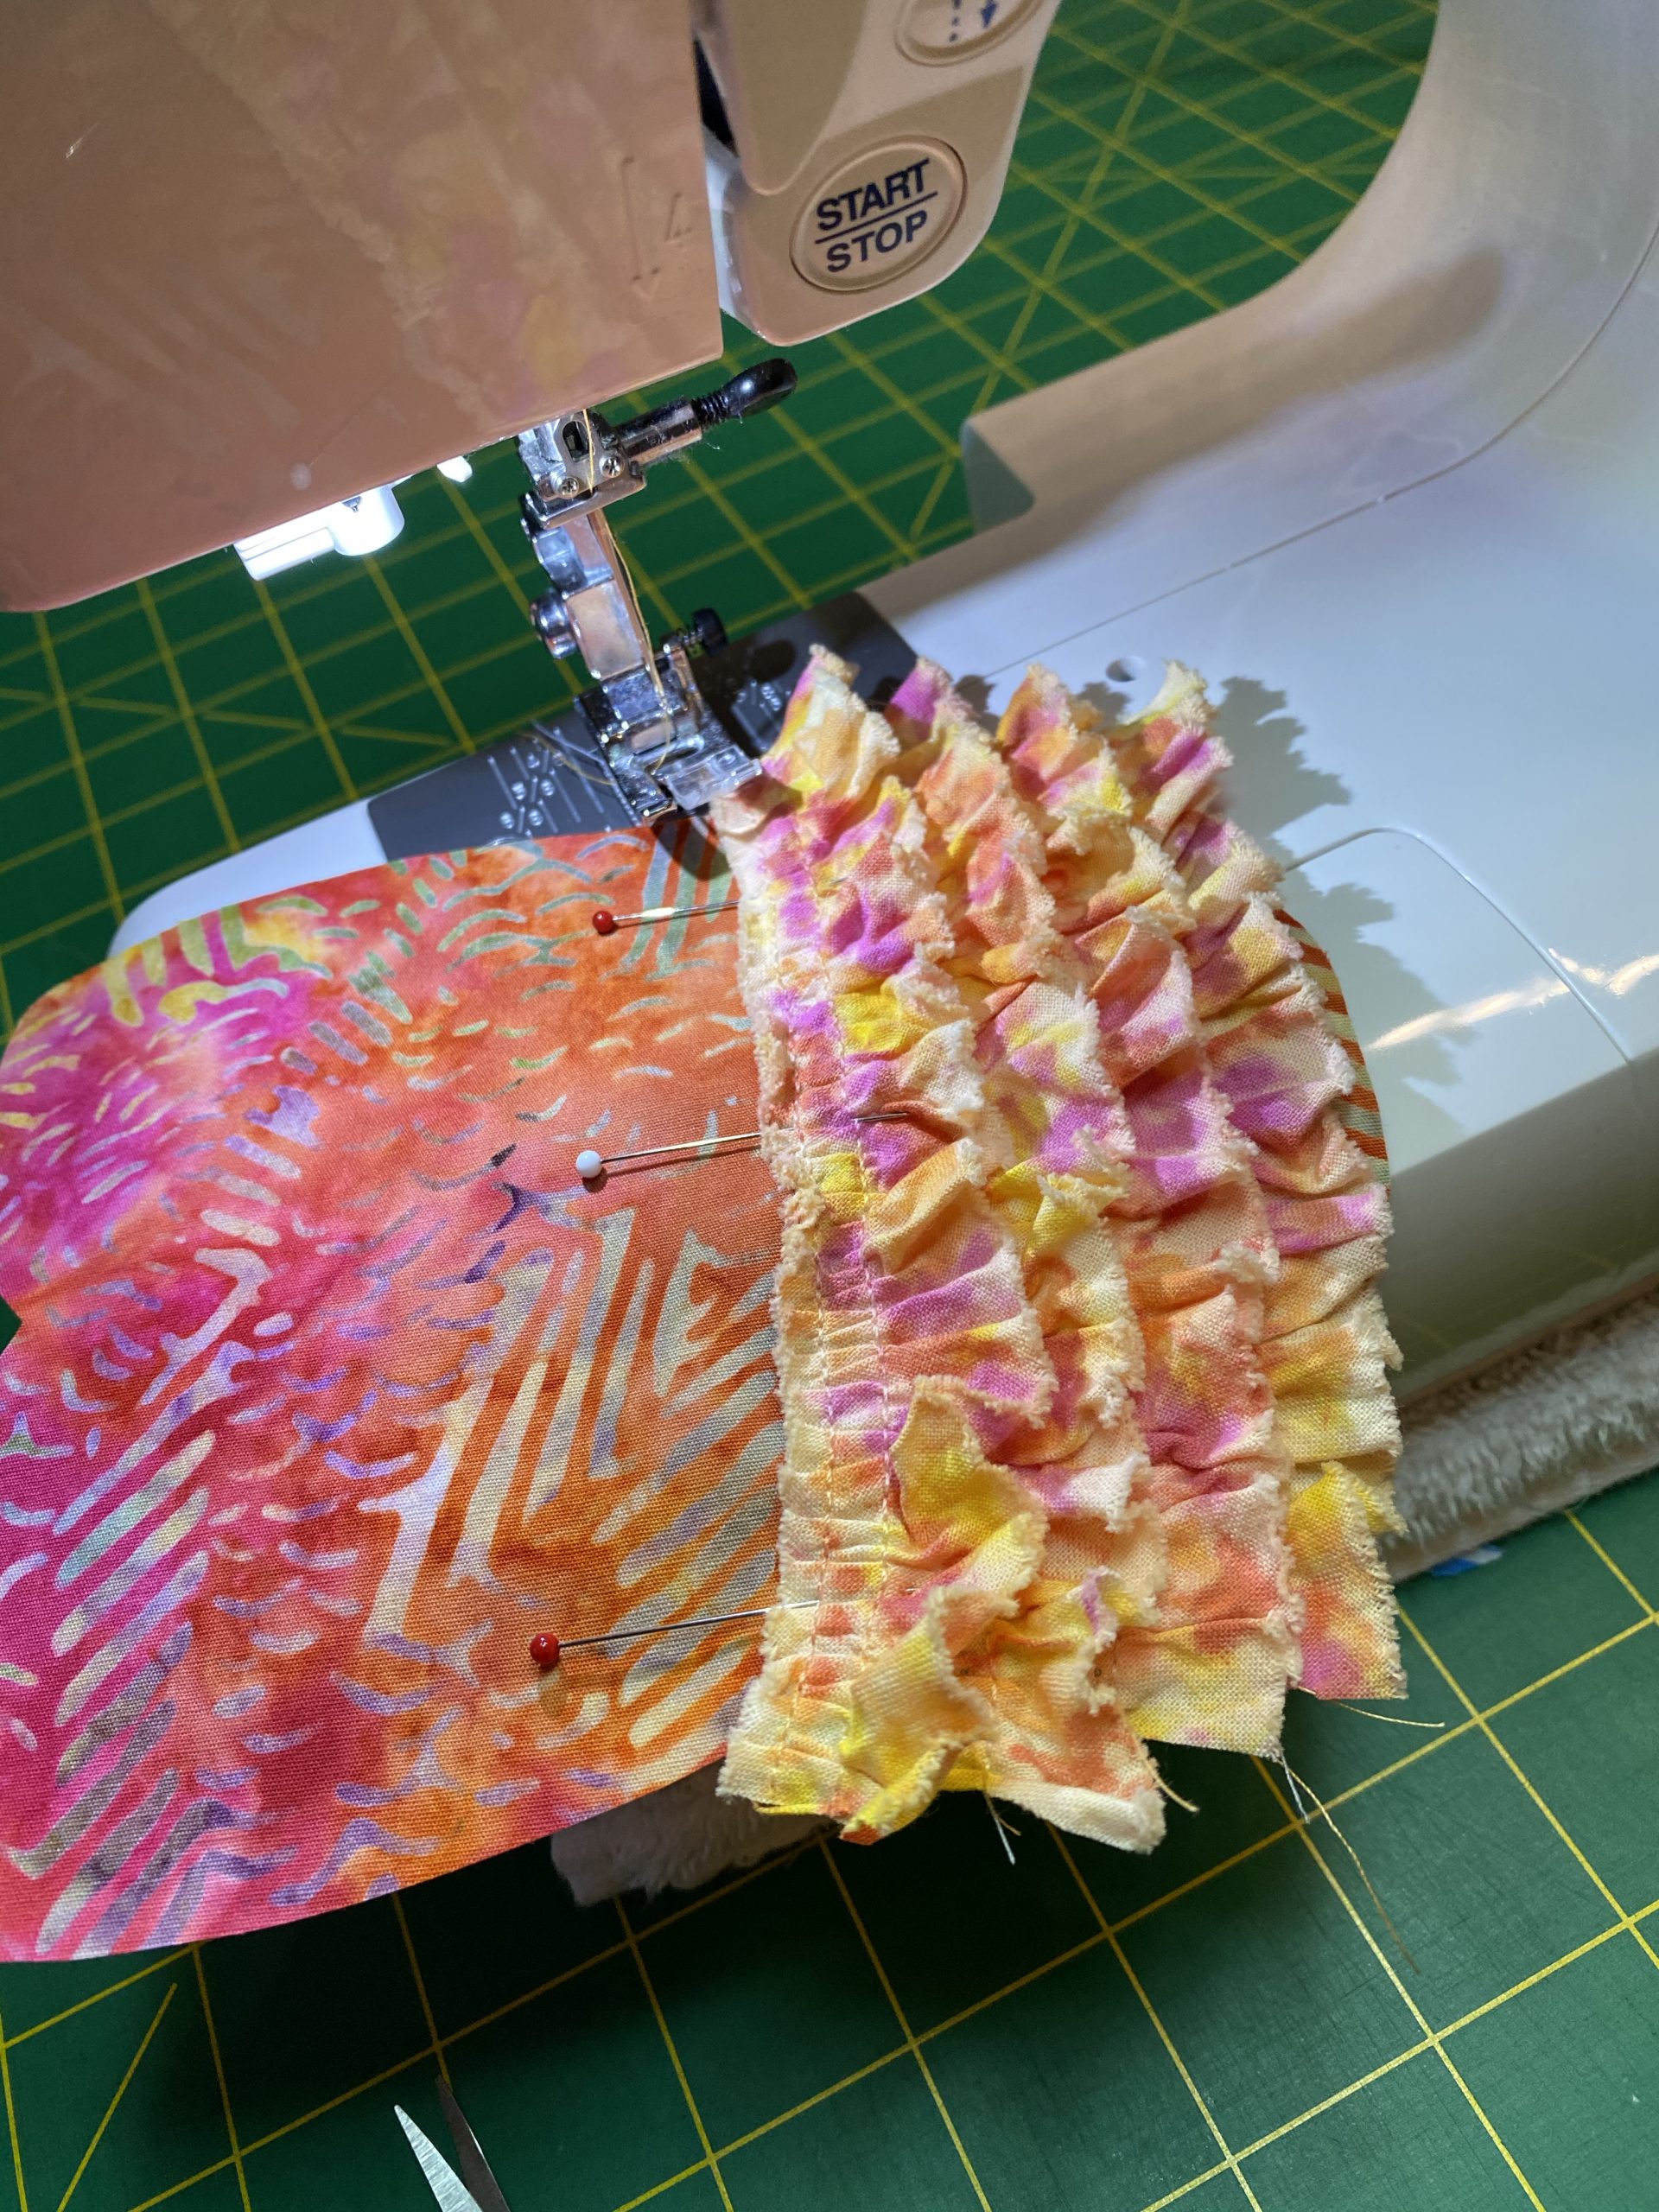
 Trim your dyed ruffle just a bit wider than the chest of the owl. Beginning at the bottom, sew a ruffle on about every inch allowing about half an inch of ruffle to show with each layer. Lora added 11 rows of ruffle.
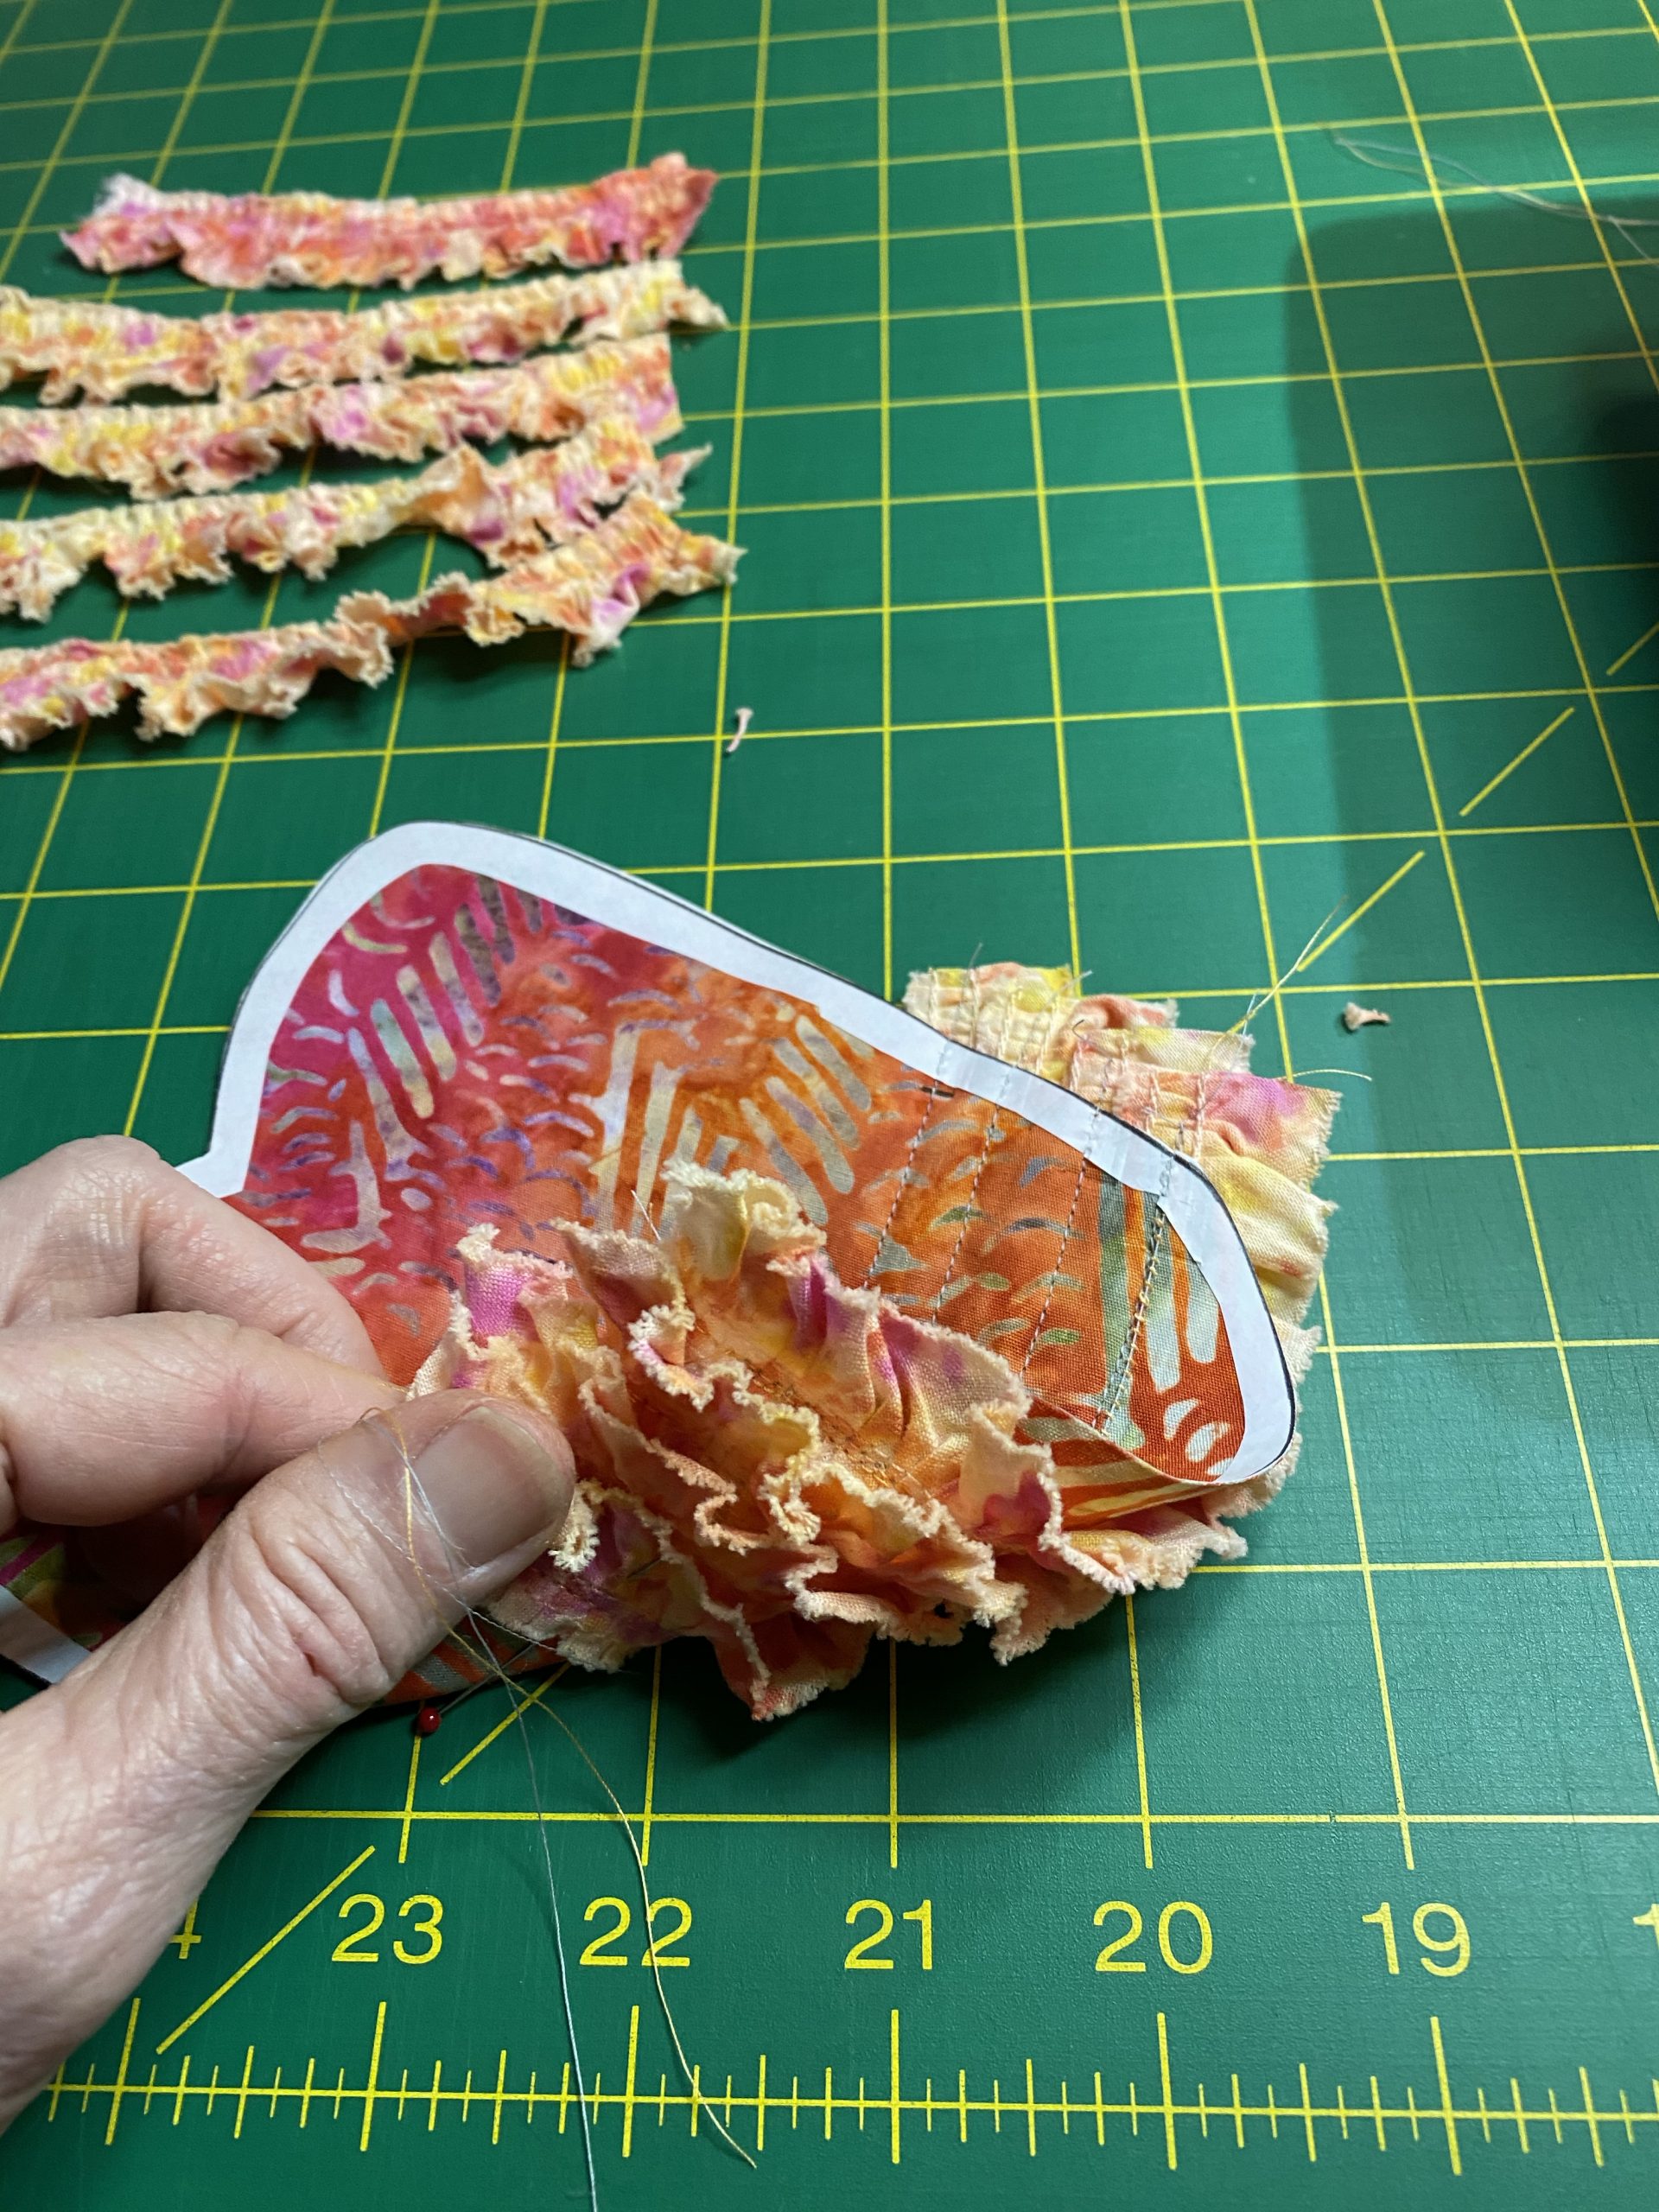
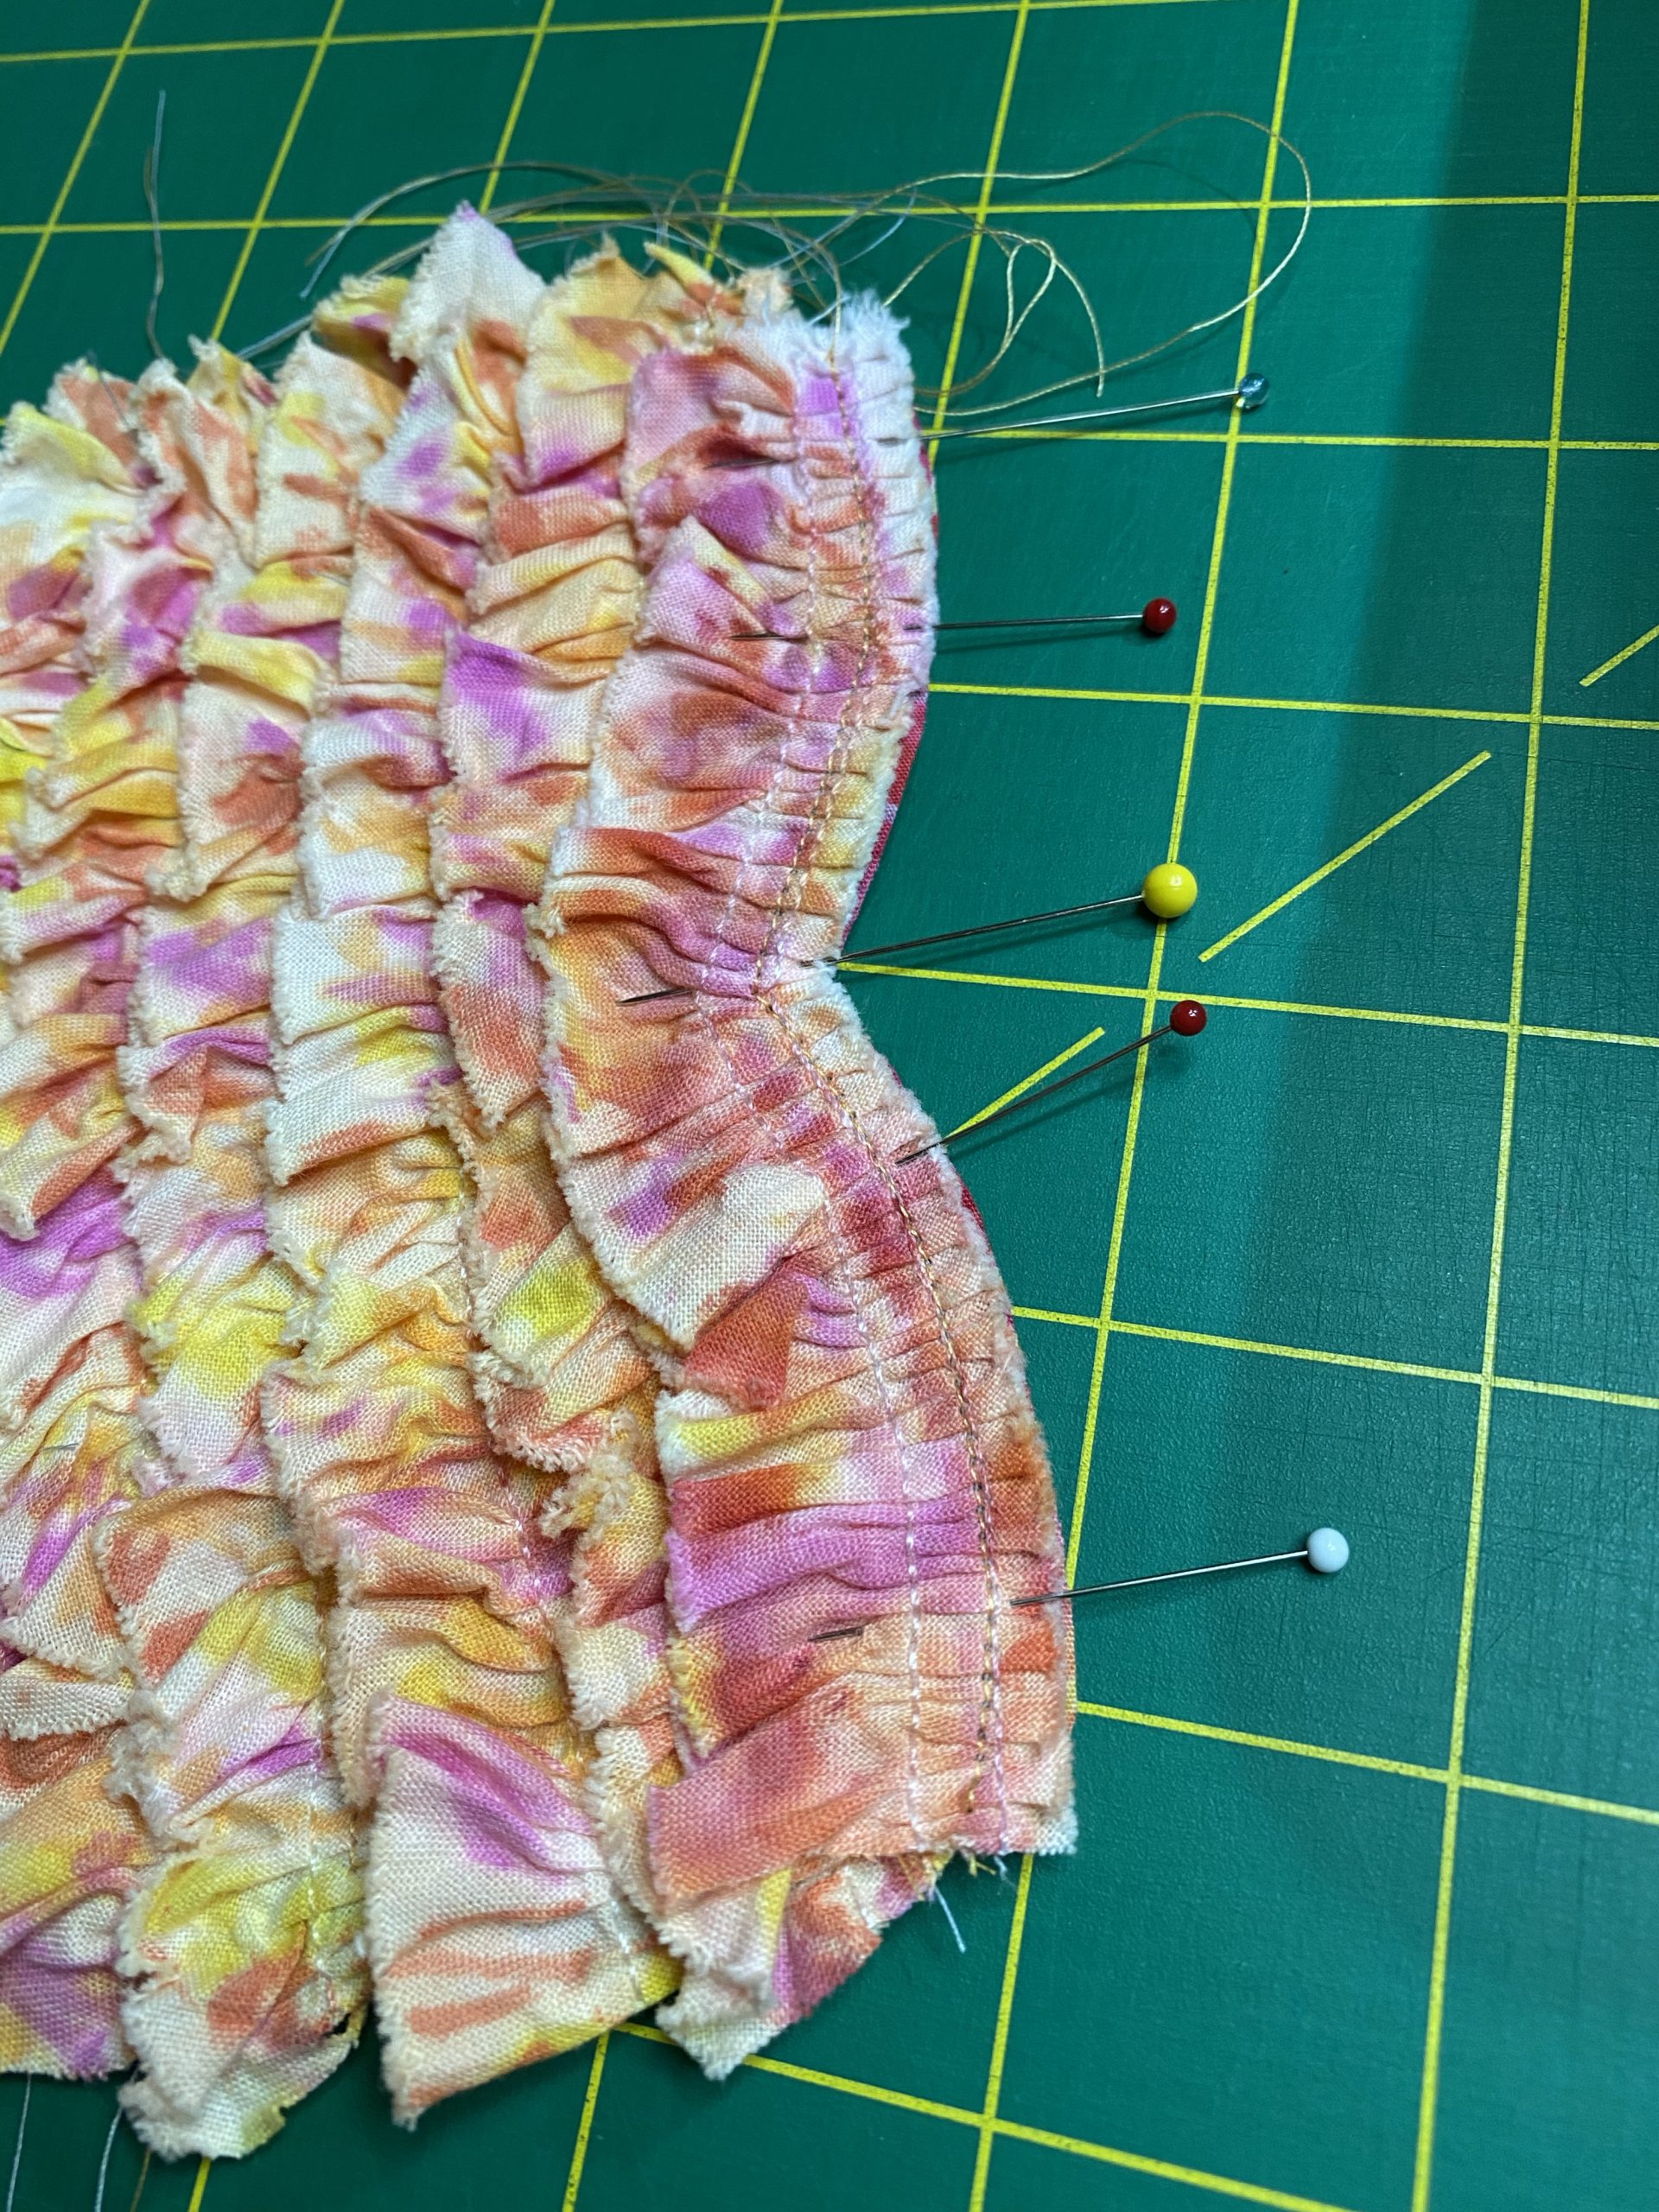
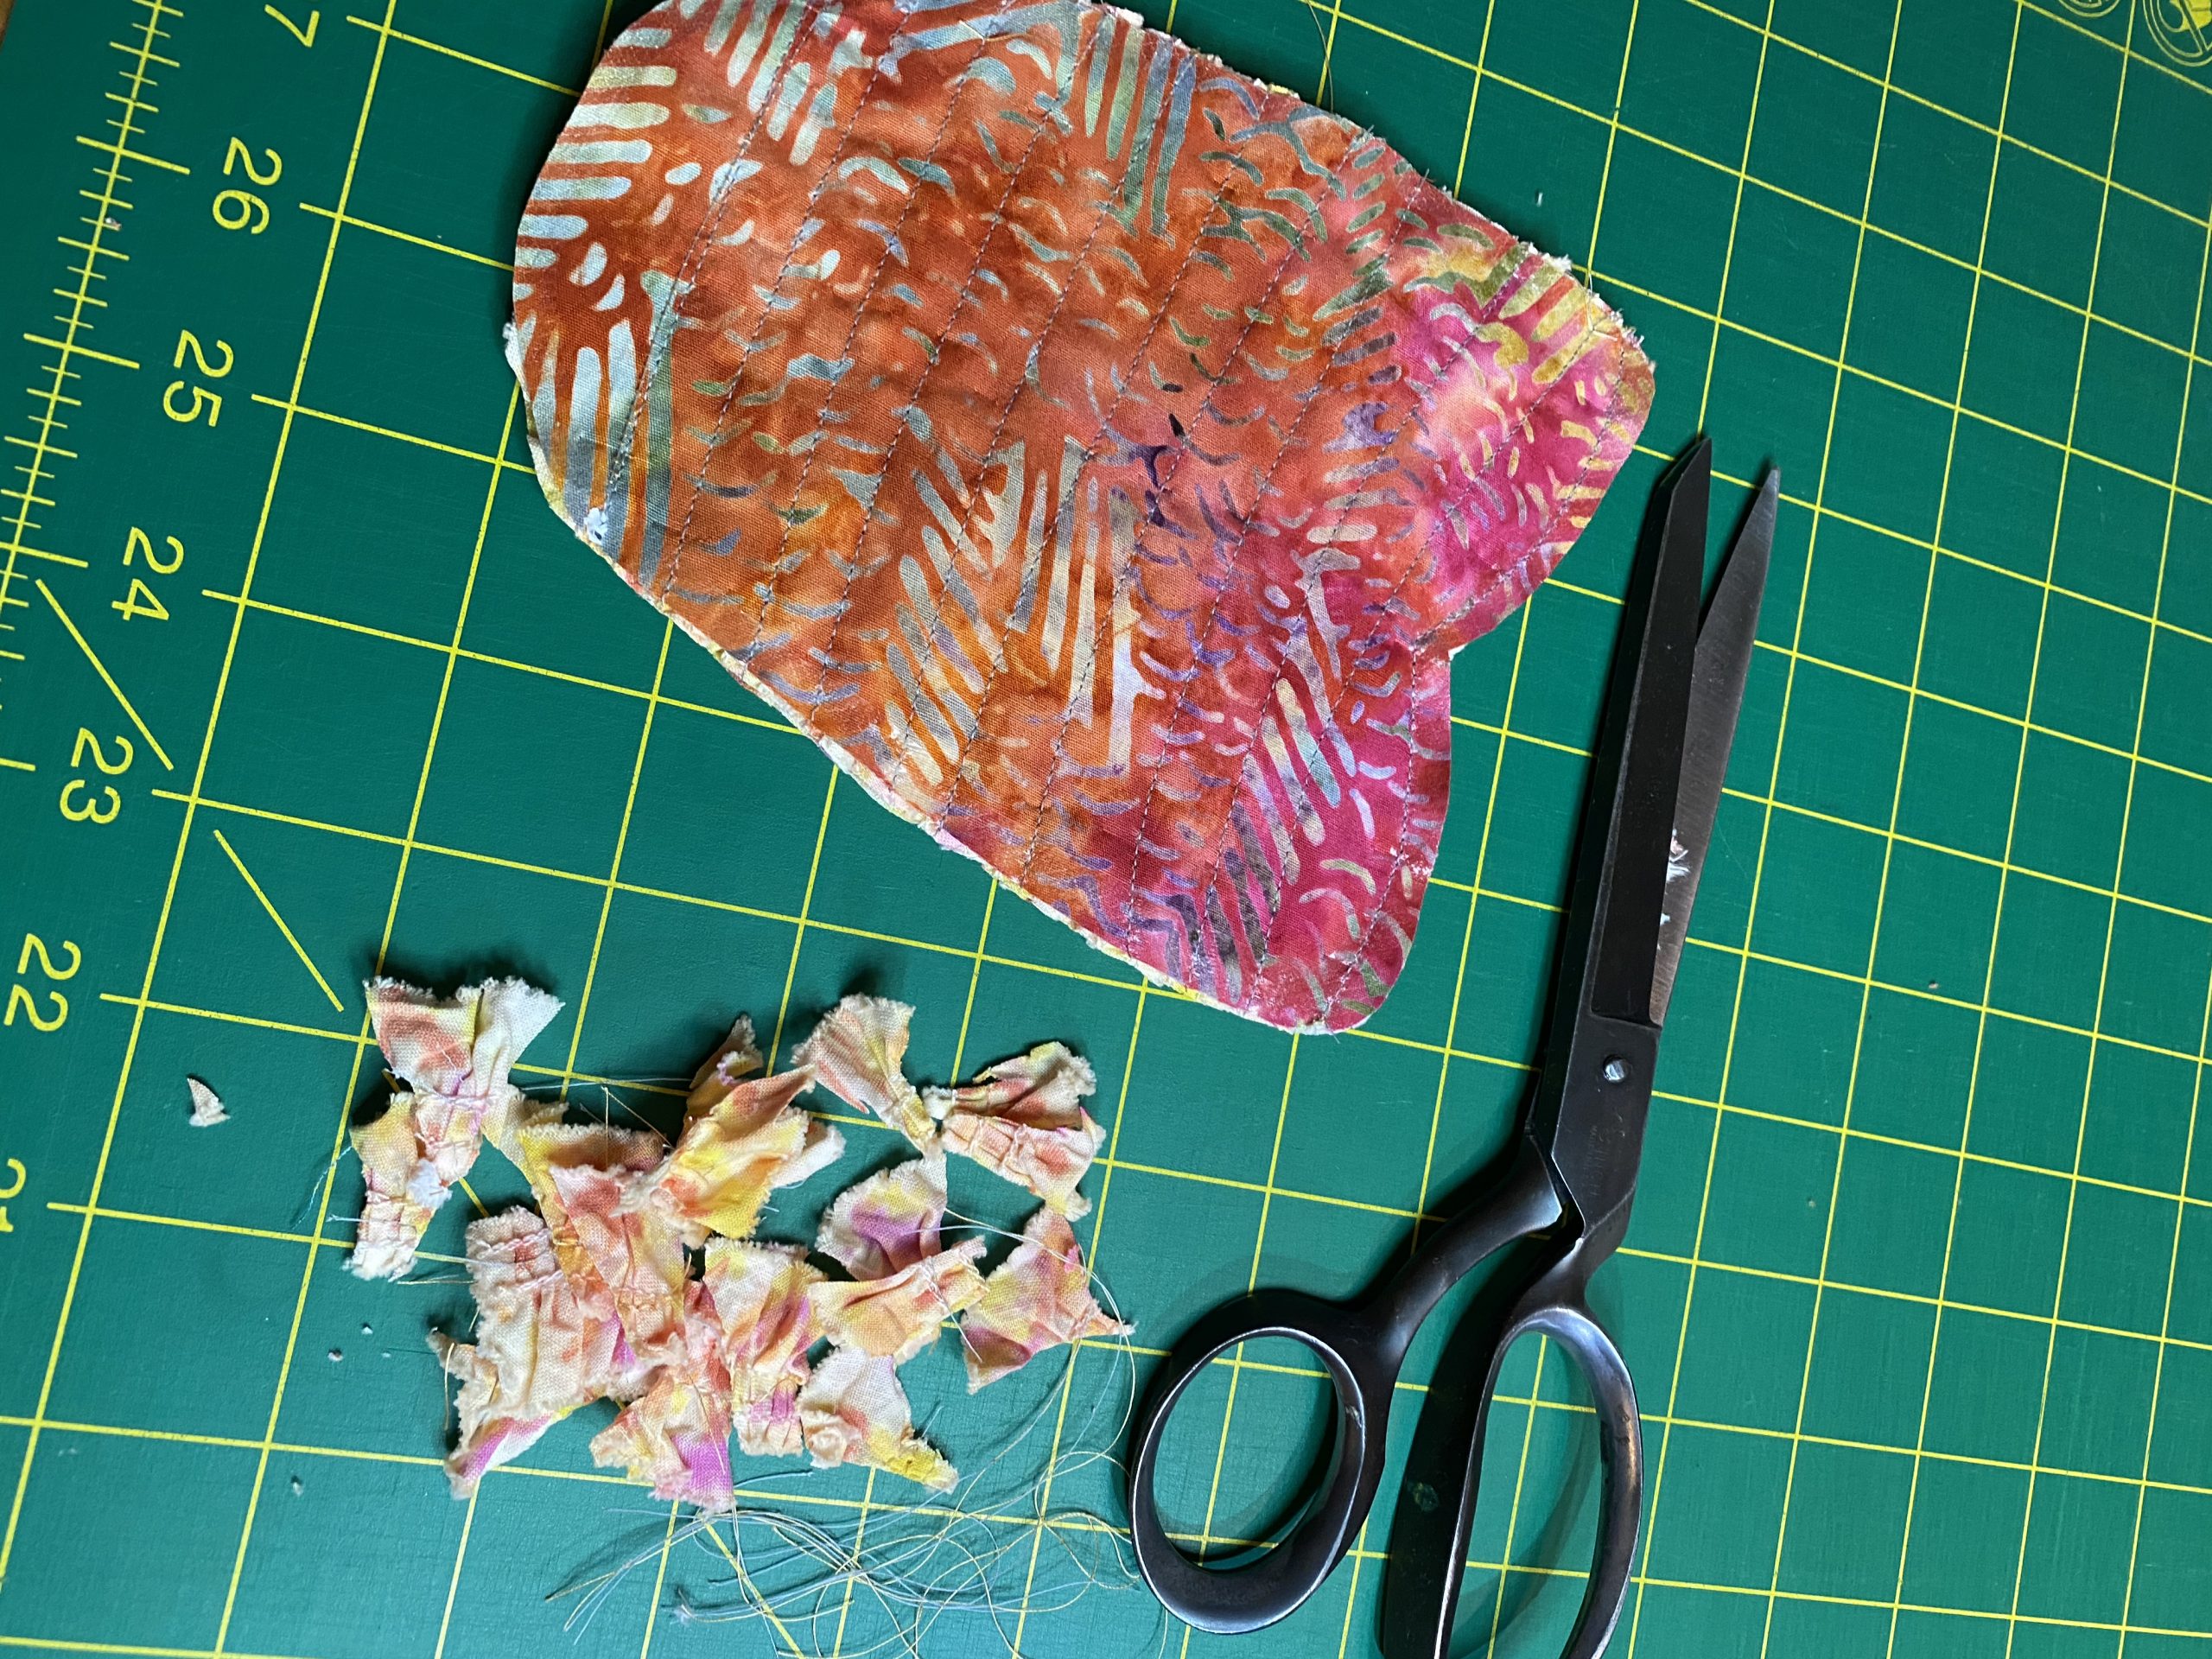
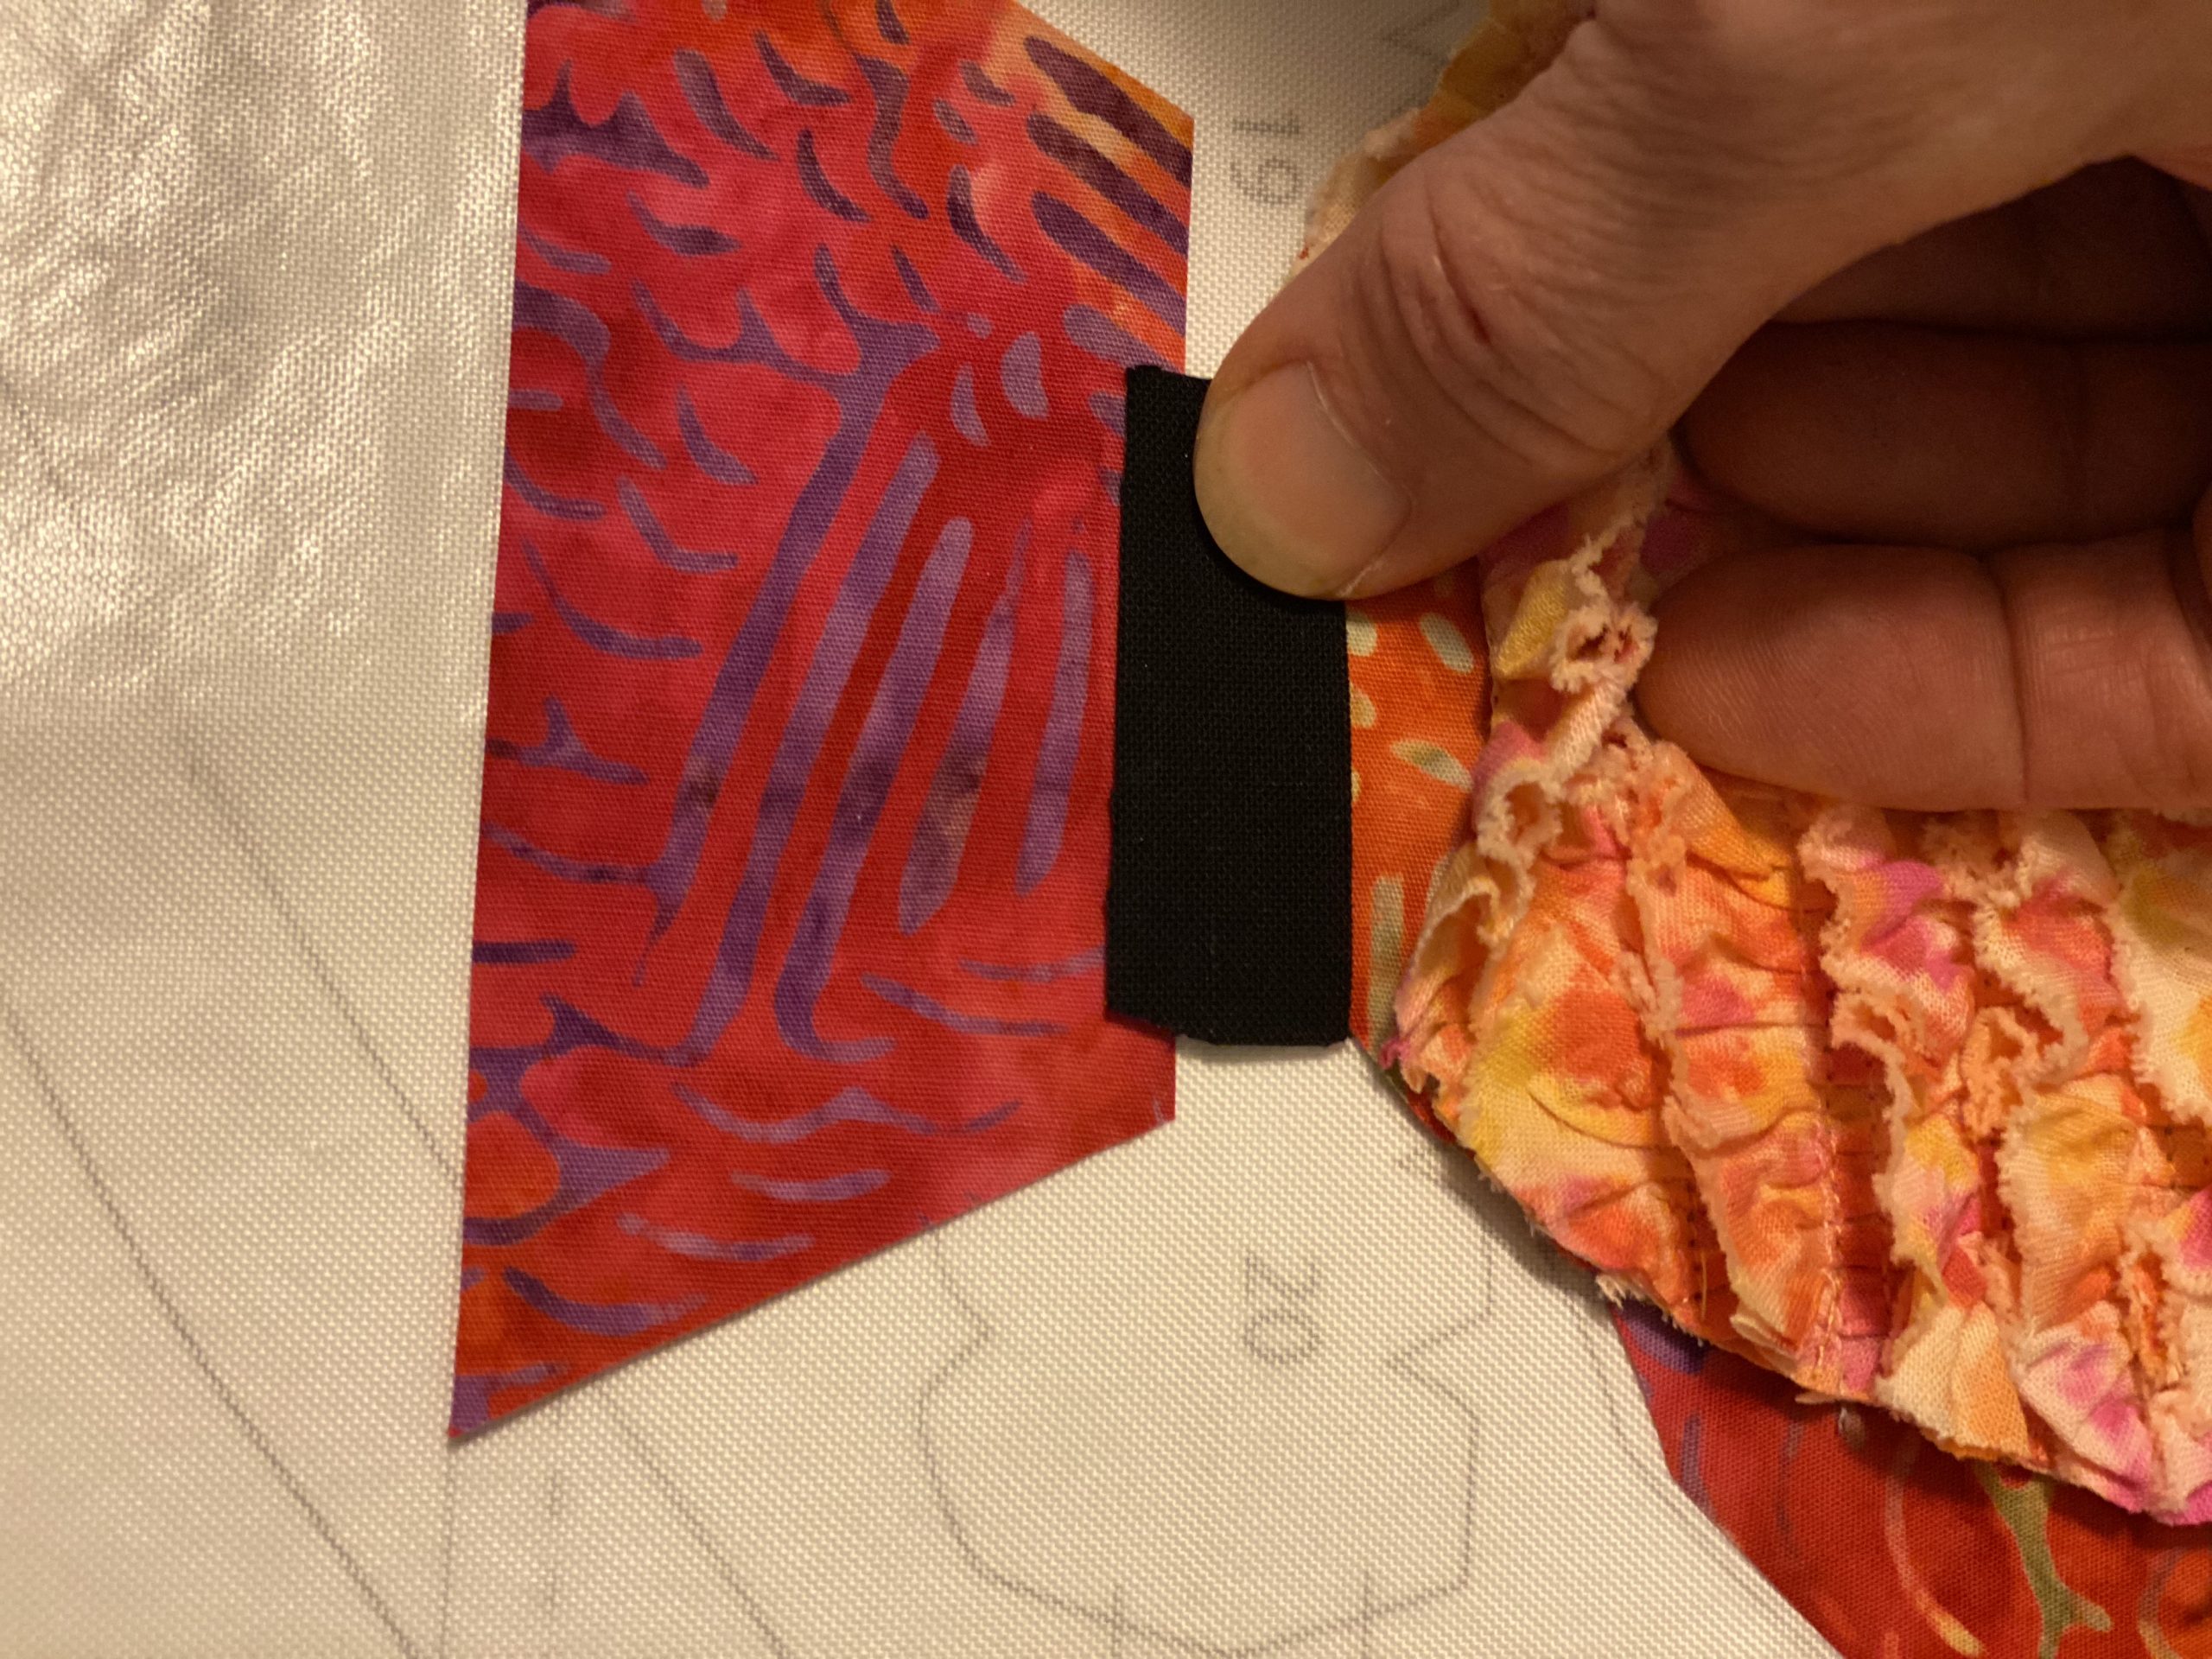
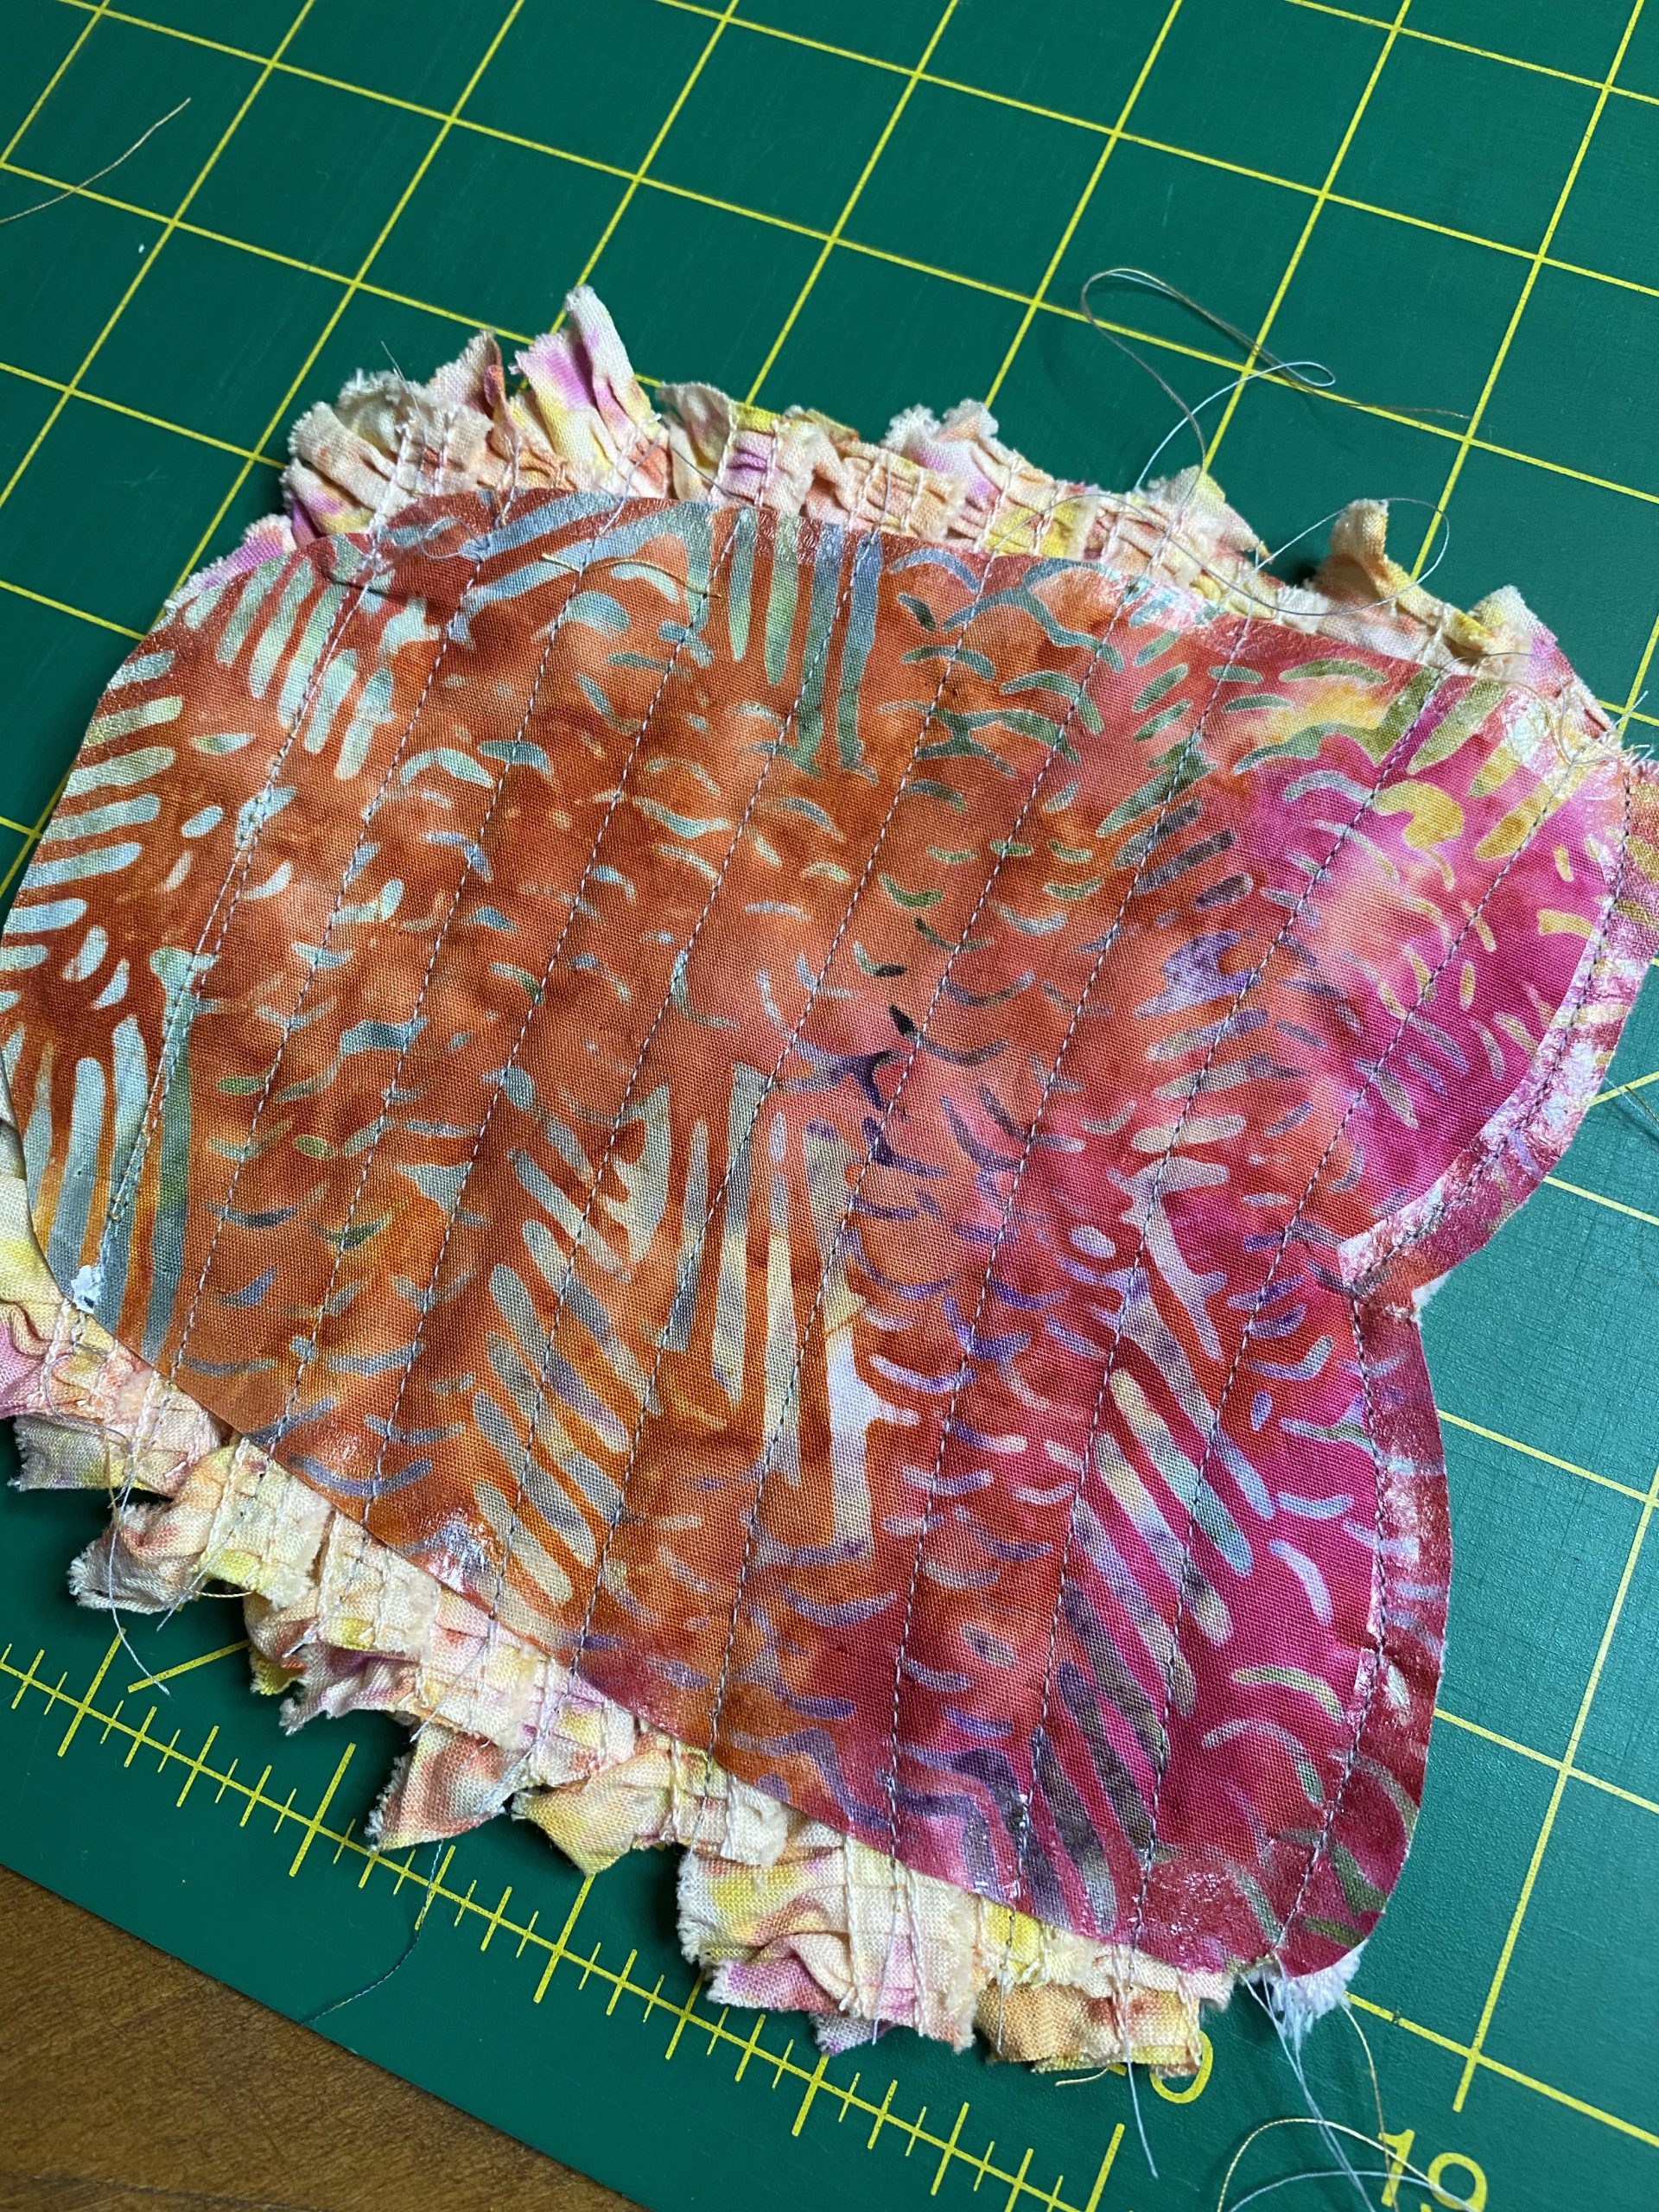 Trim off the excess ruffle on each side. Remove the fusible paper around the edge and it is ready to fuse to your background!
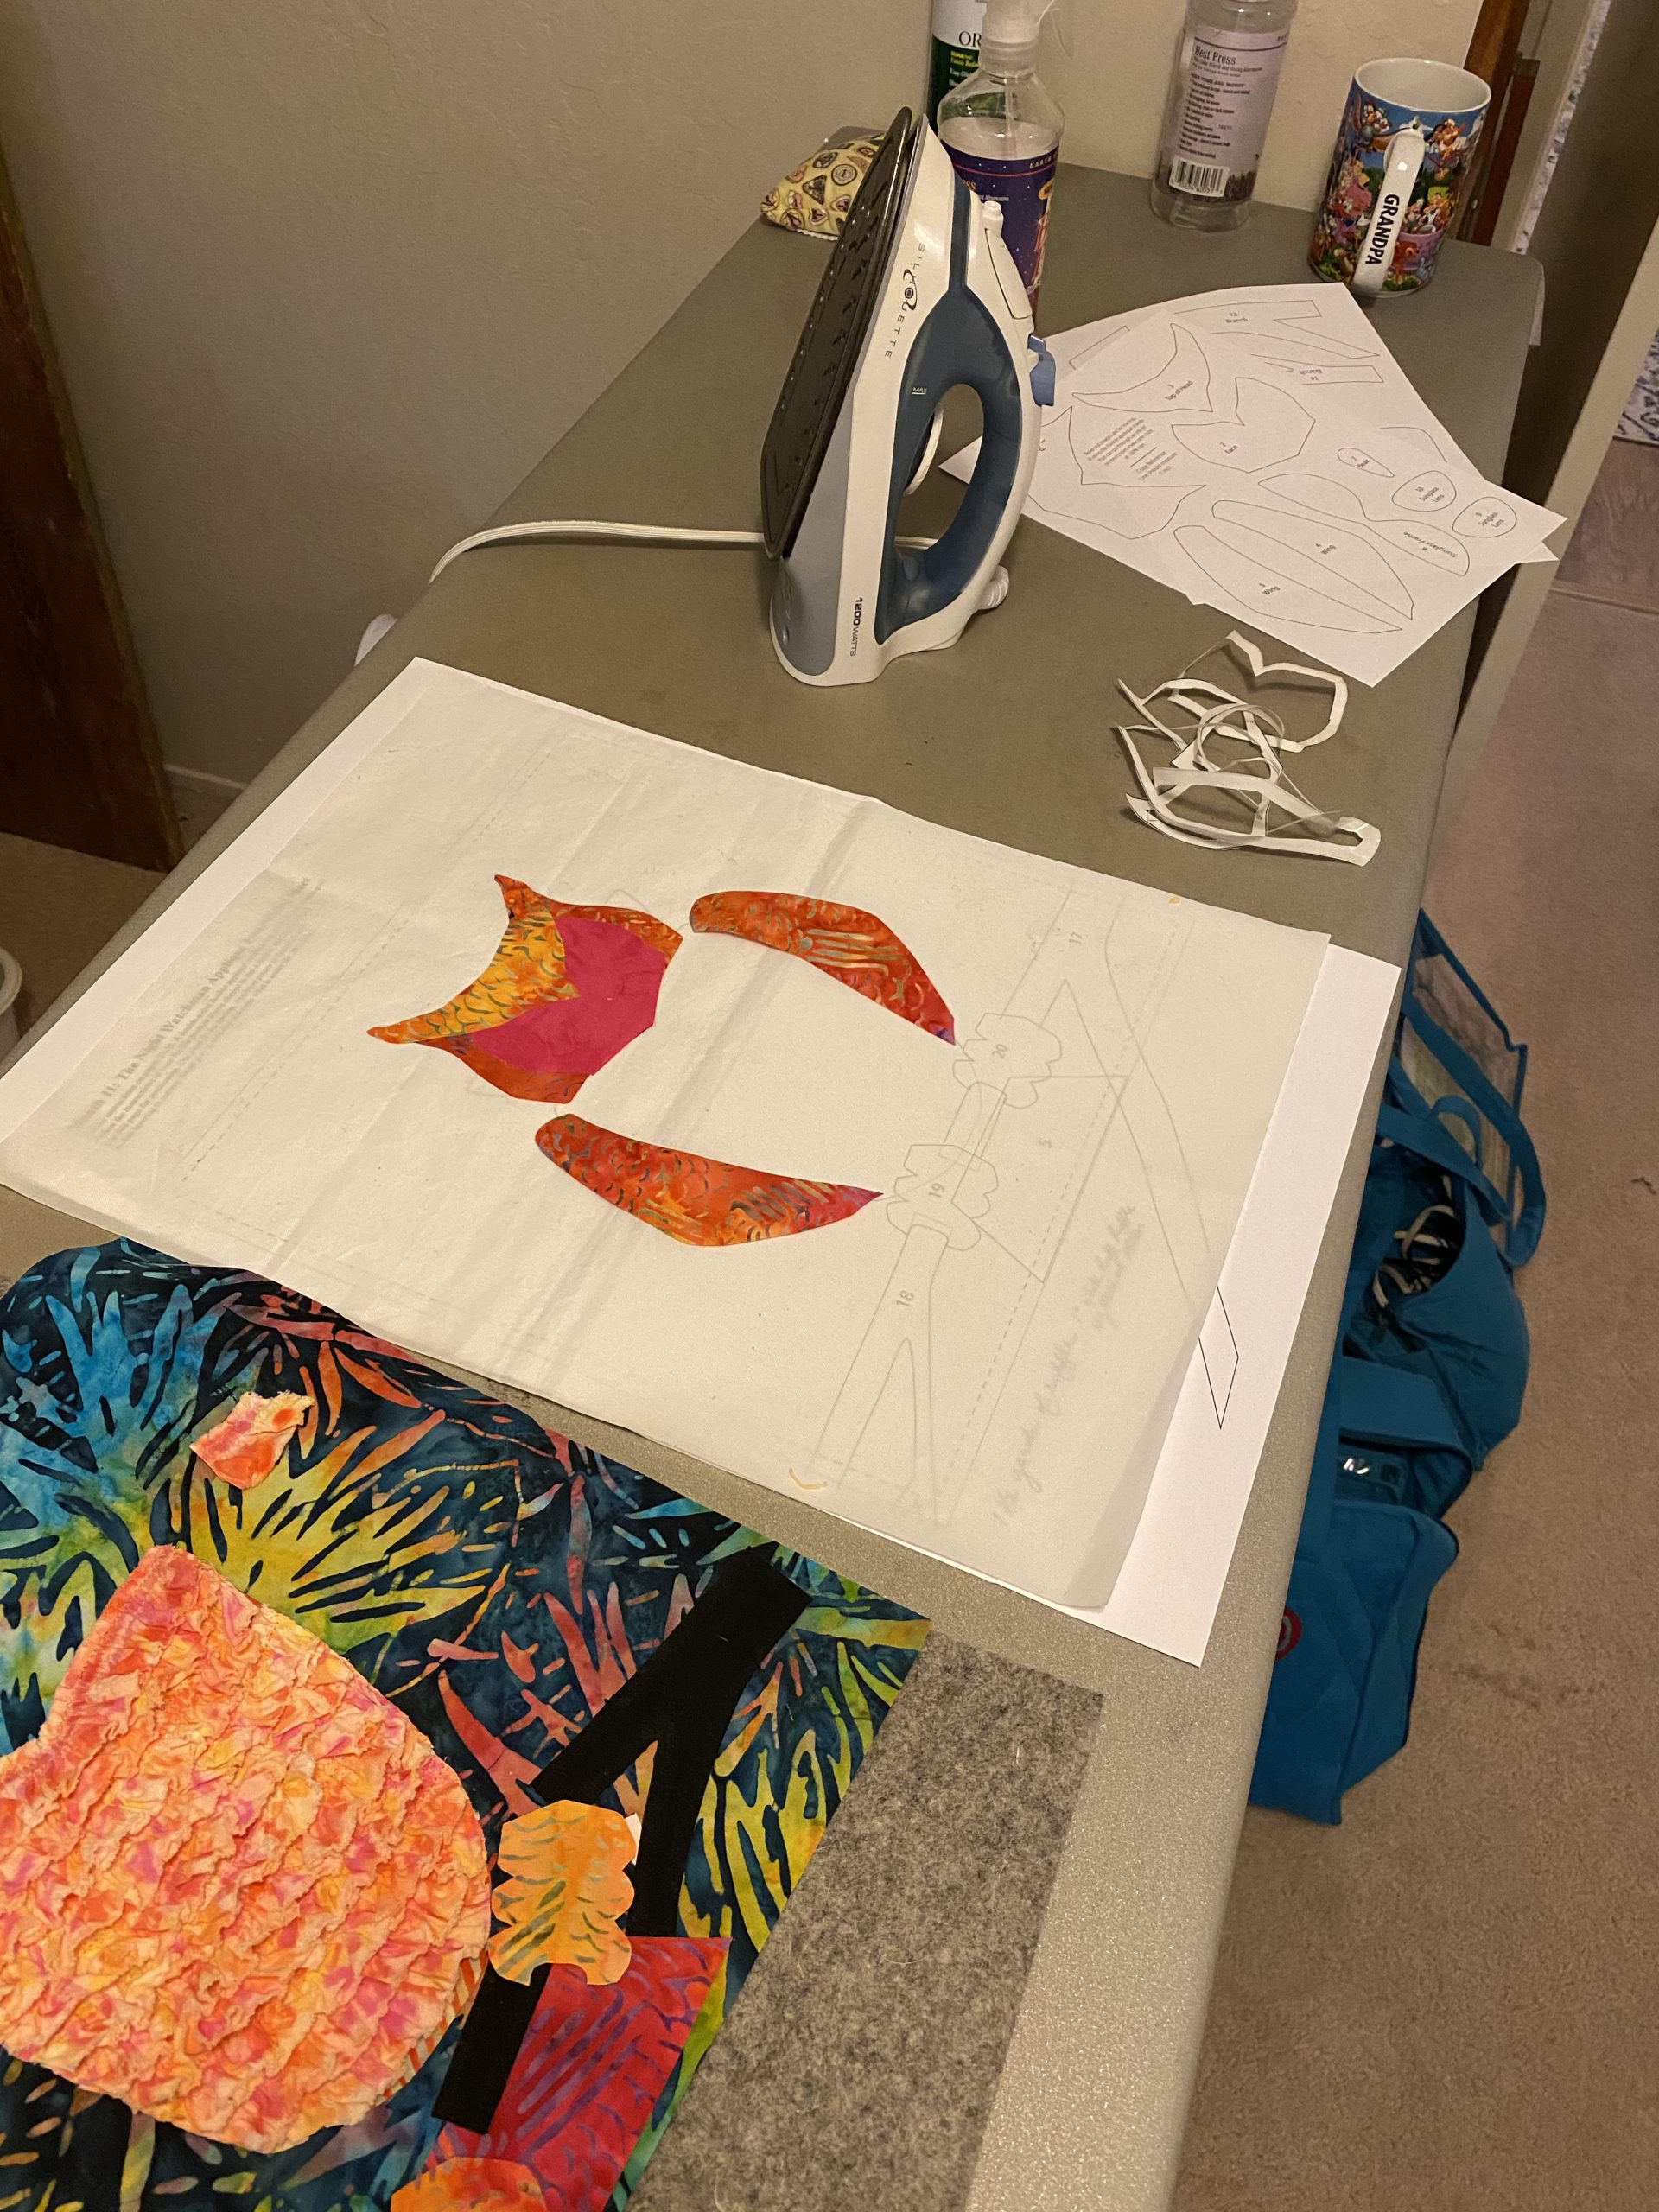
 Since the background is dark, it is easier to layer your appliqué pieces on a white fusible teflon sheet on top of the 12×12 positioning sheet. Position your owl and branch pieces and then lightly fuse the pieces together with a light tap of the iron. Just enough to hold the pieces together. Then peel the entire fused unit off the teflon sheet. Lay on the 12 1/2″ square and fuse into place.
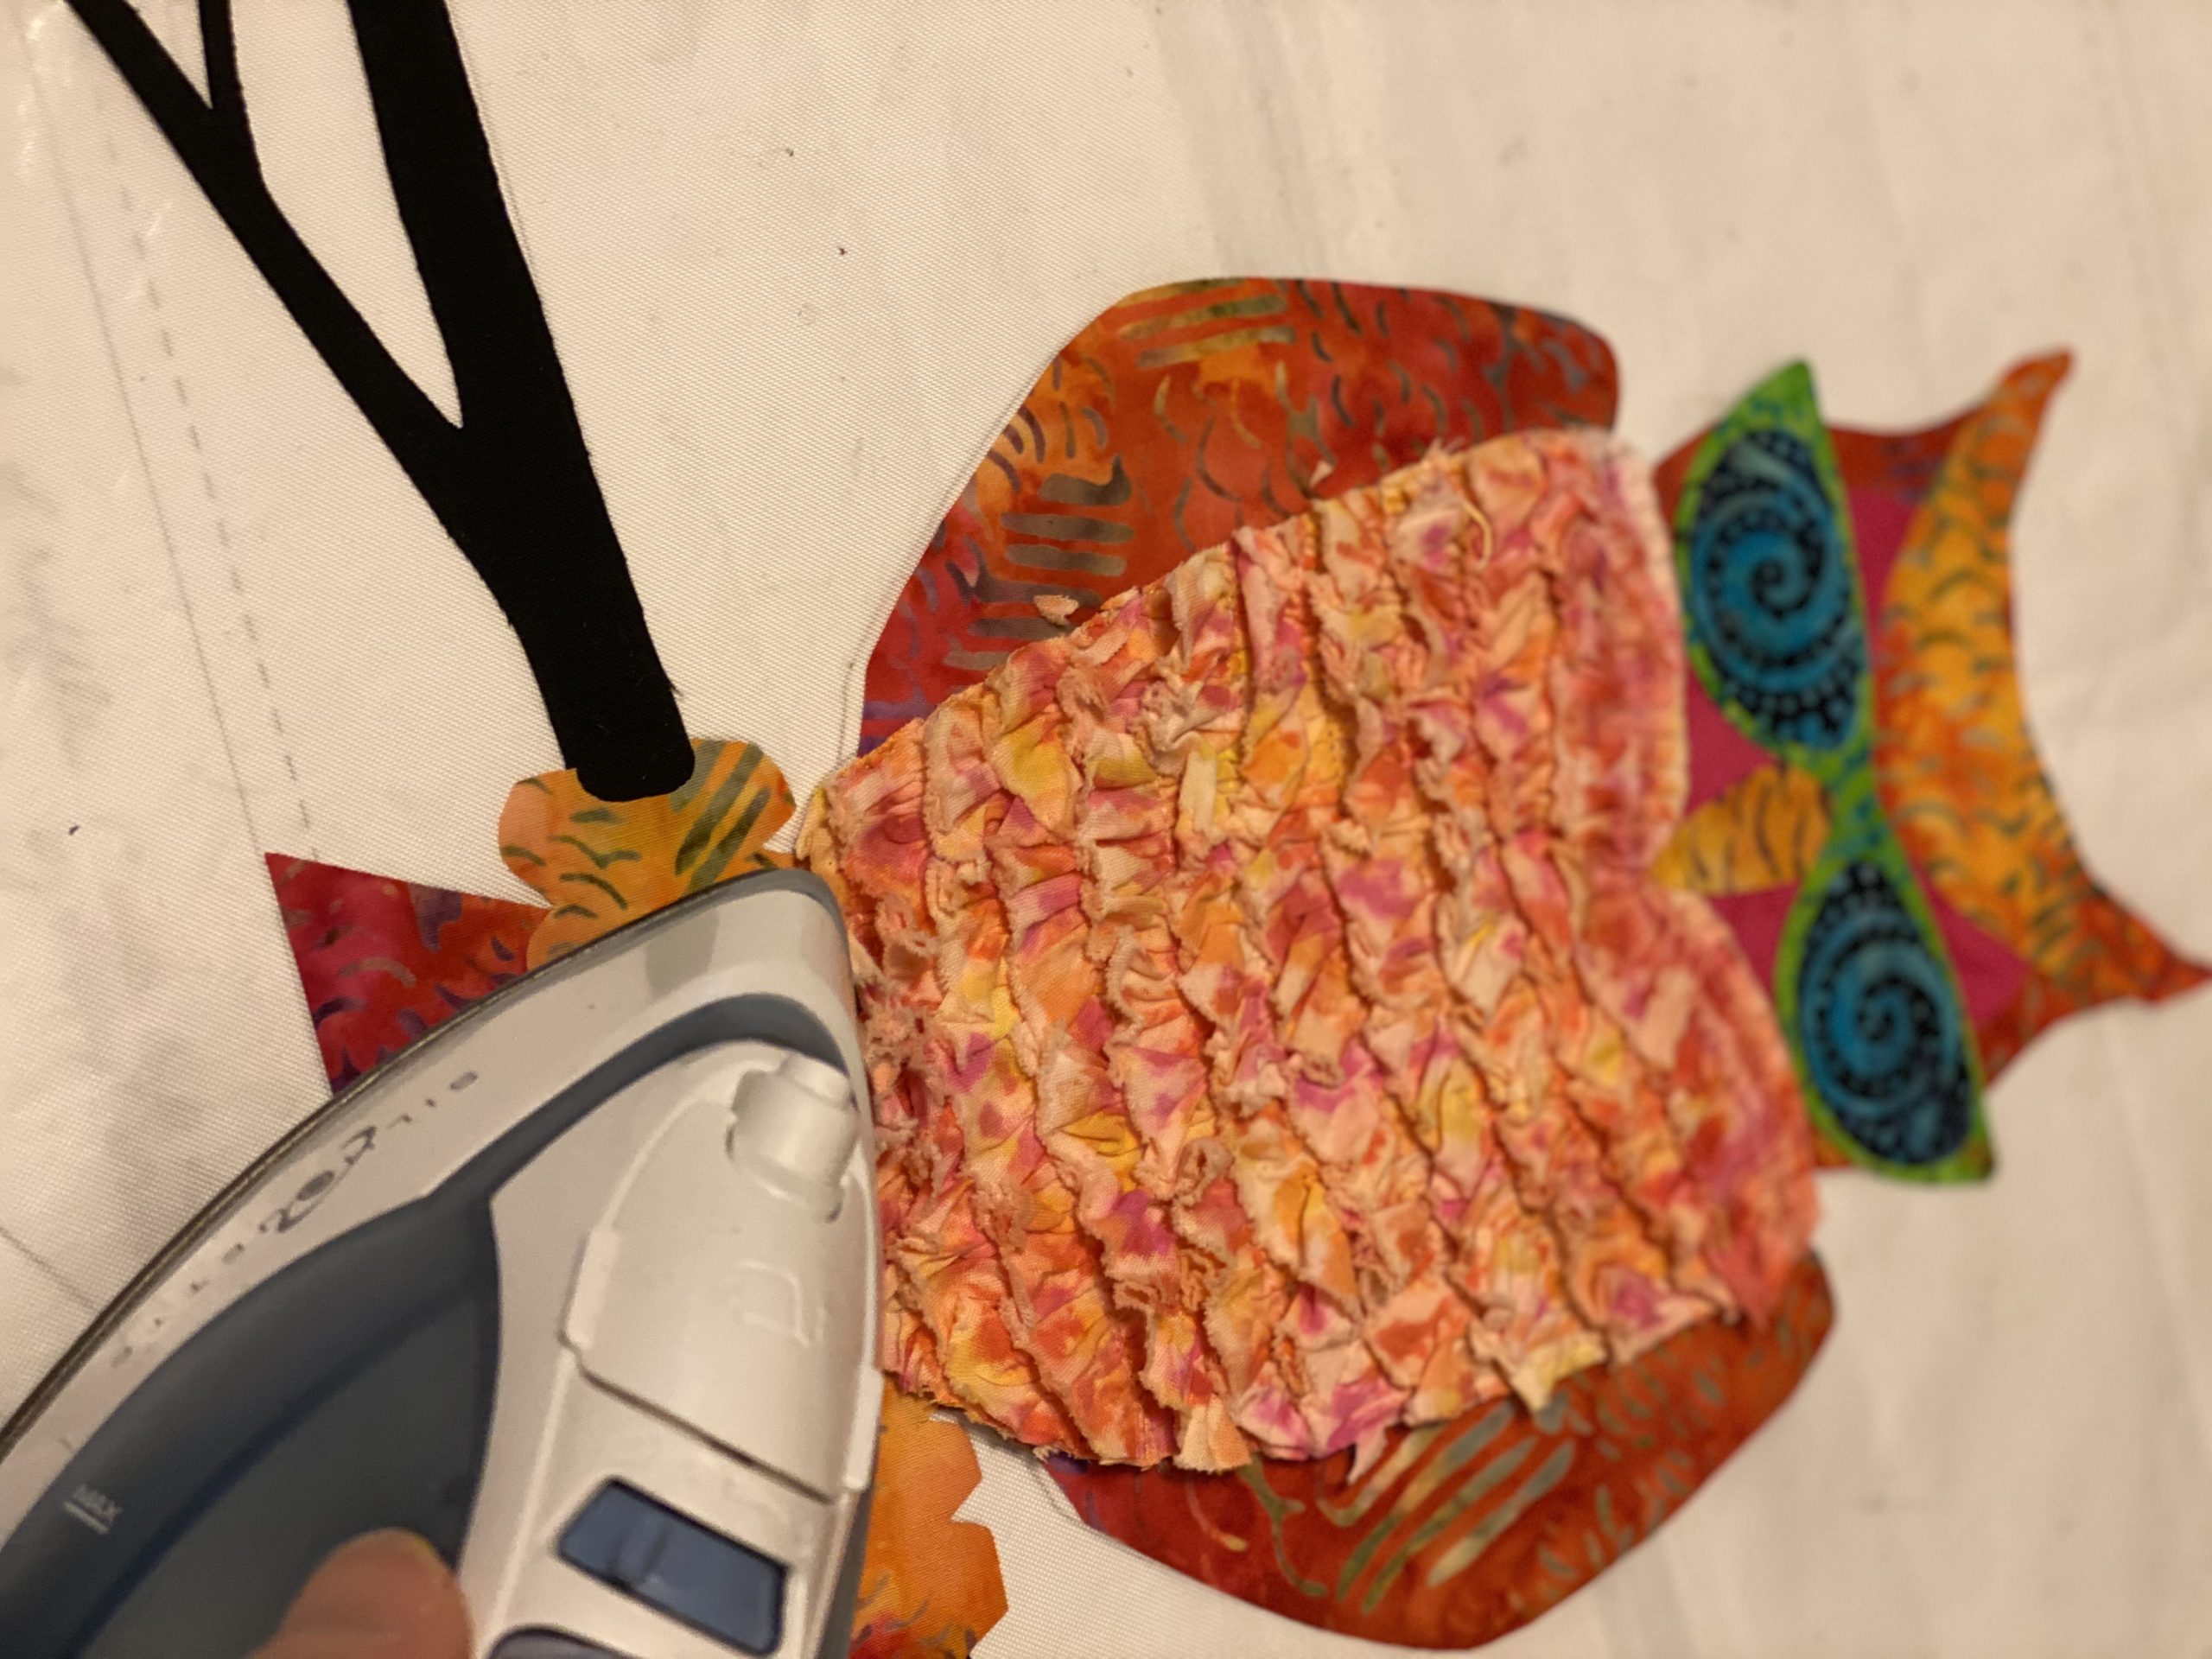
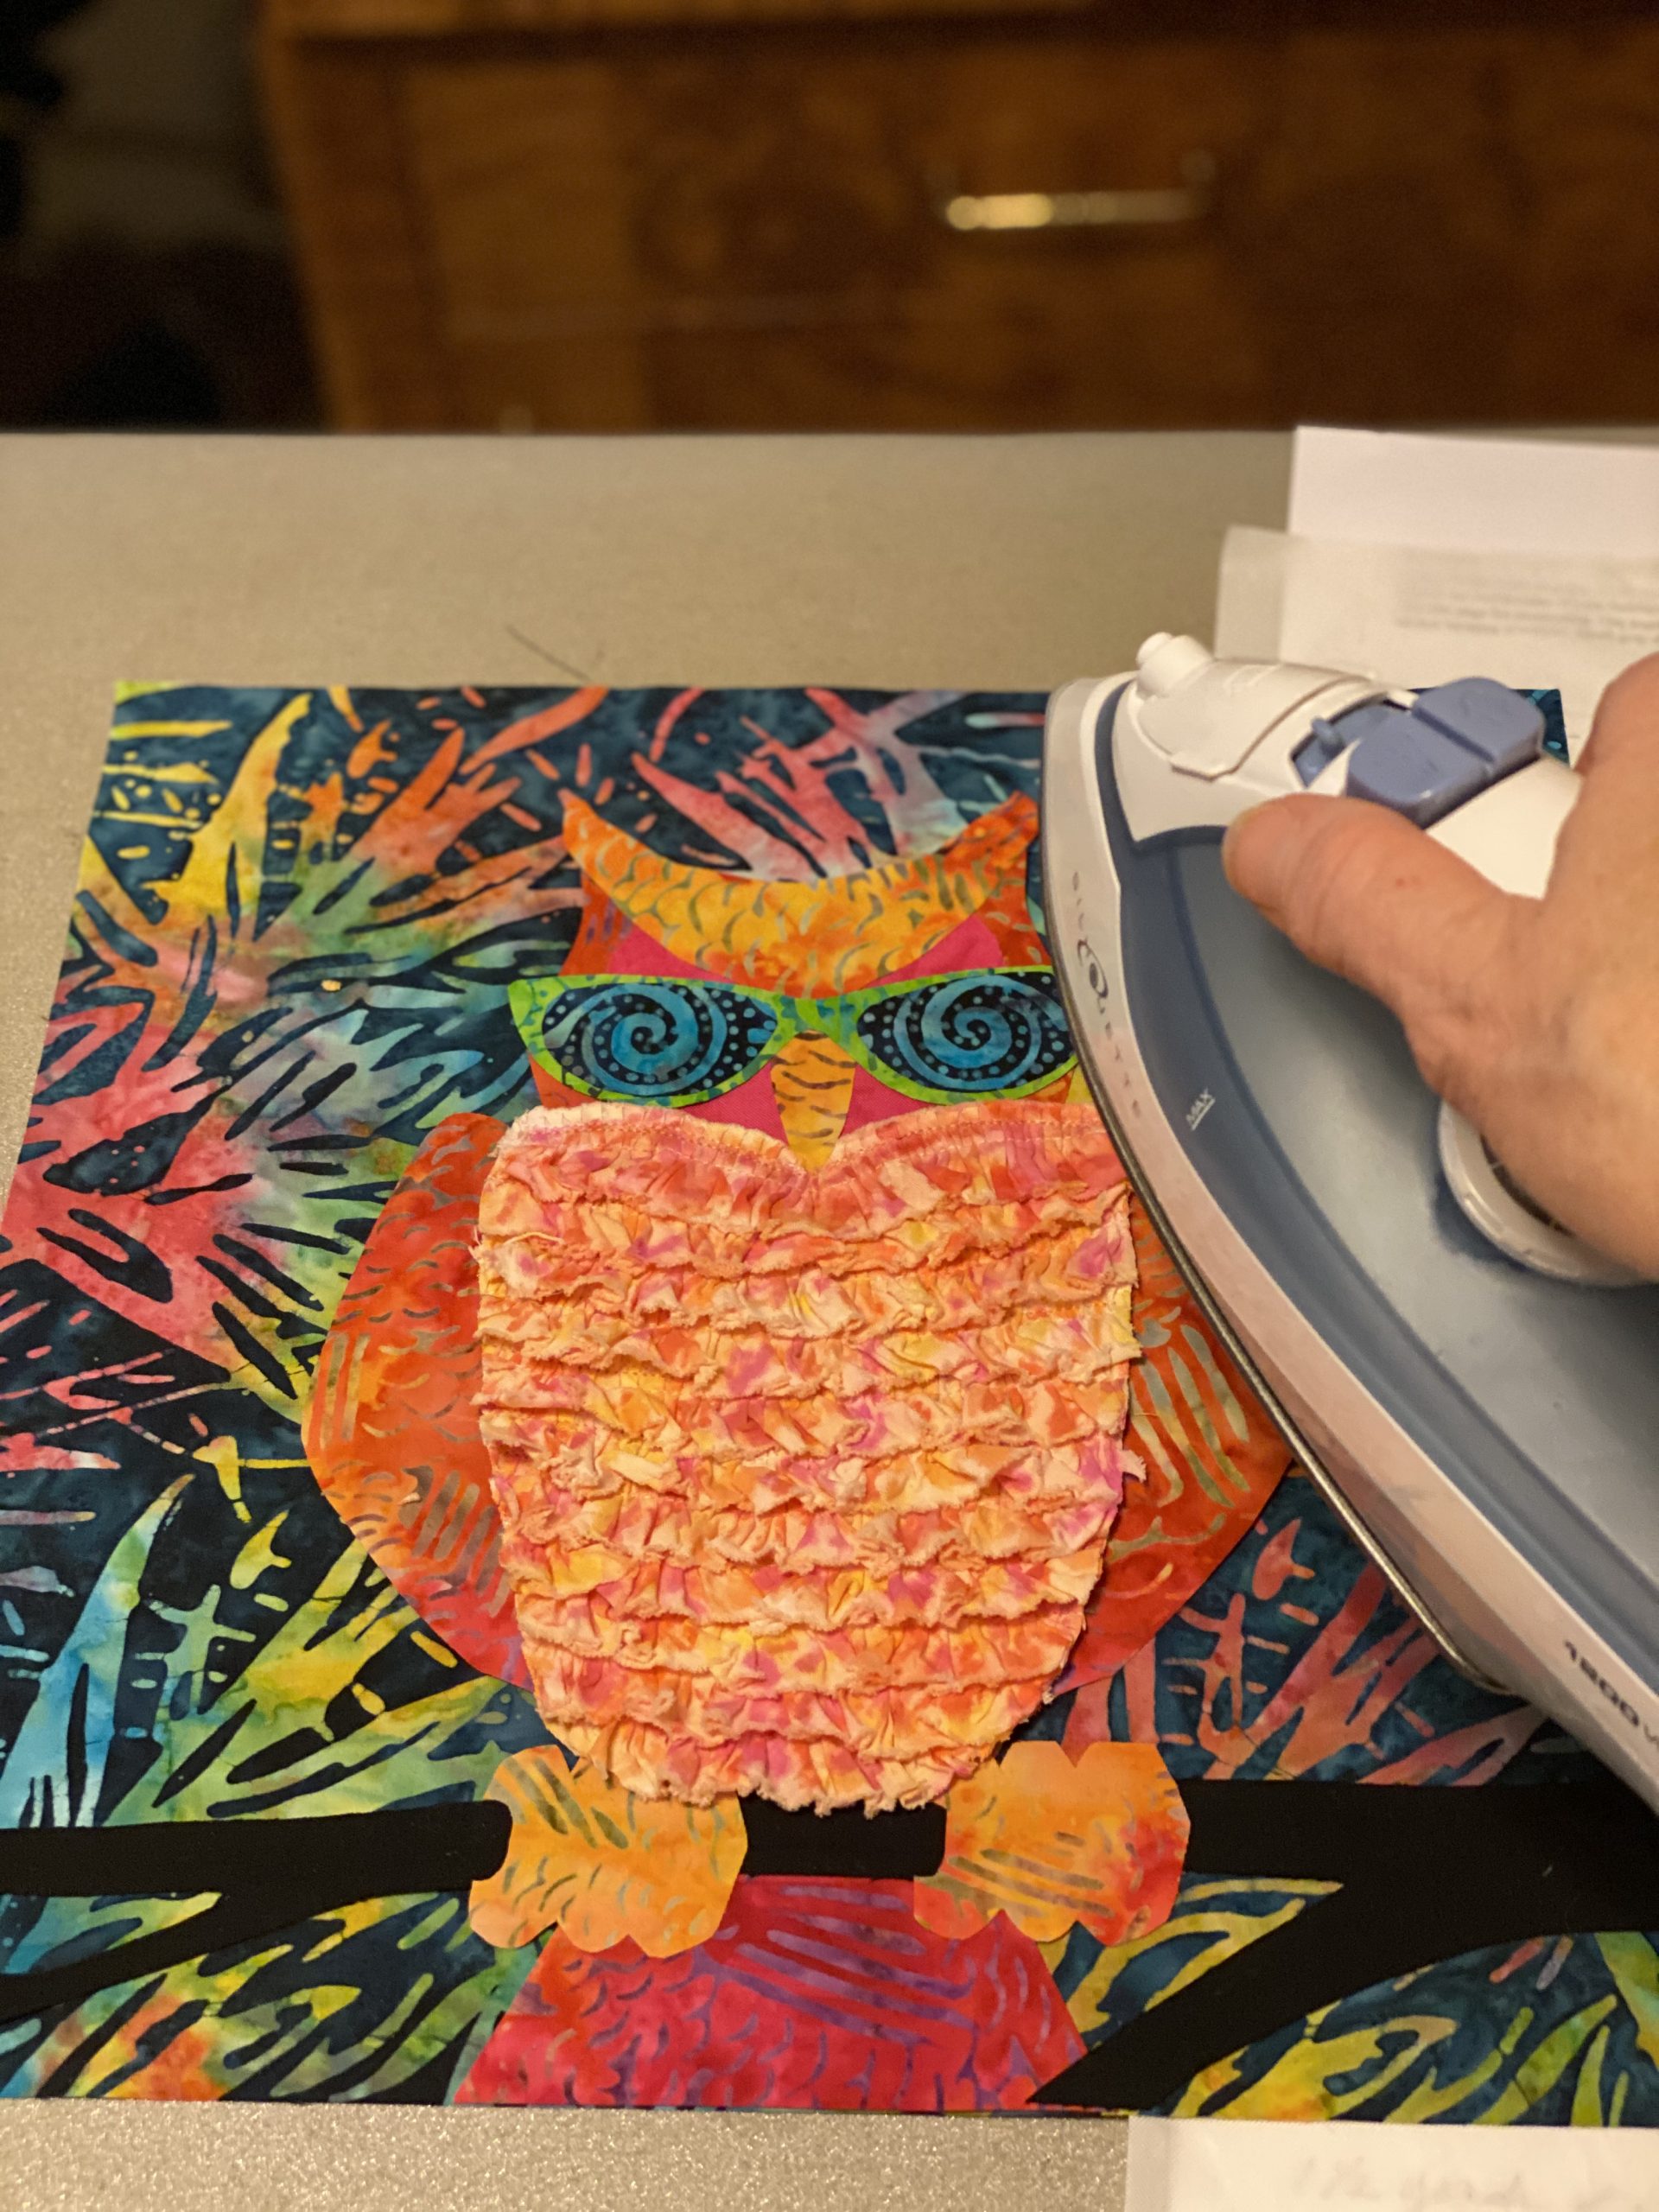
 Add a blanket stitch in coordinating threads around the edges of the appliqué pieces.
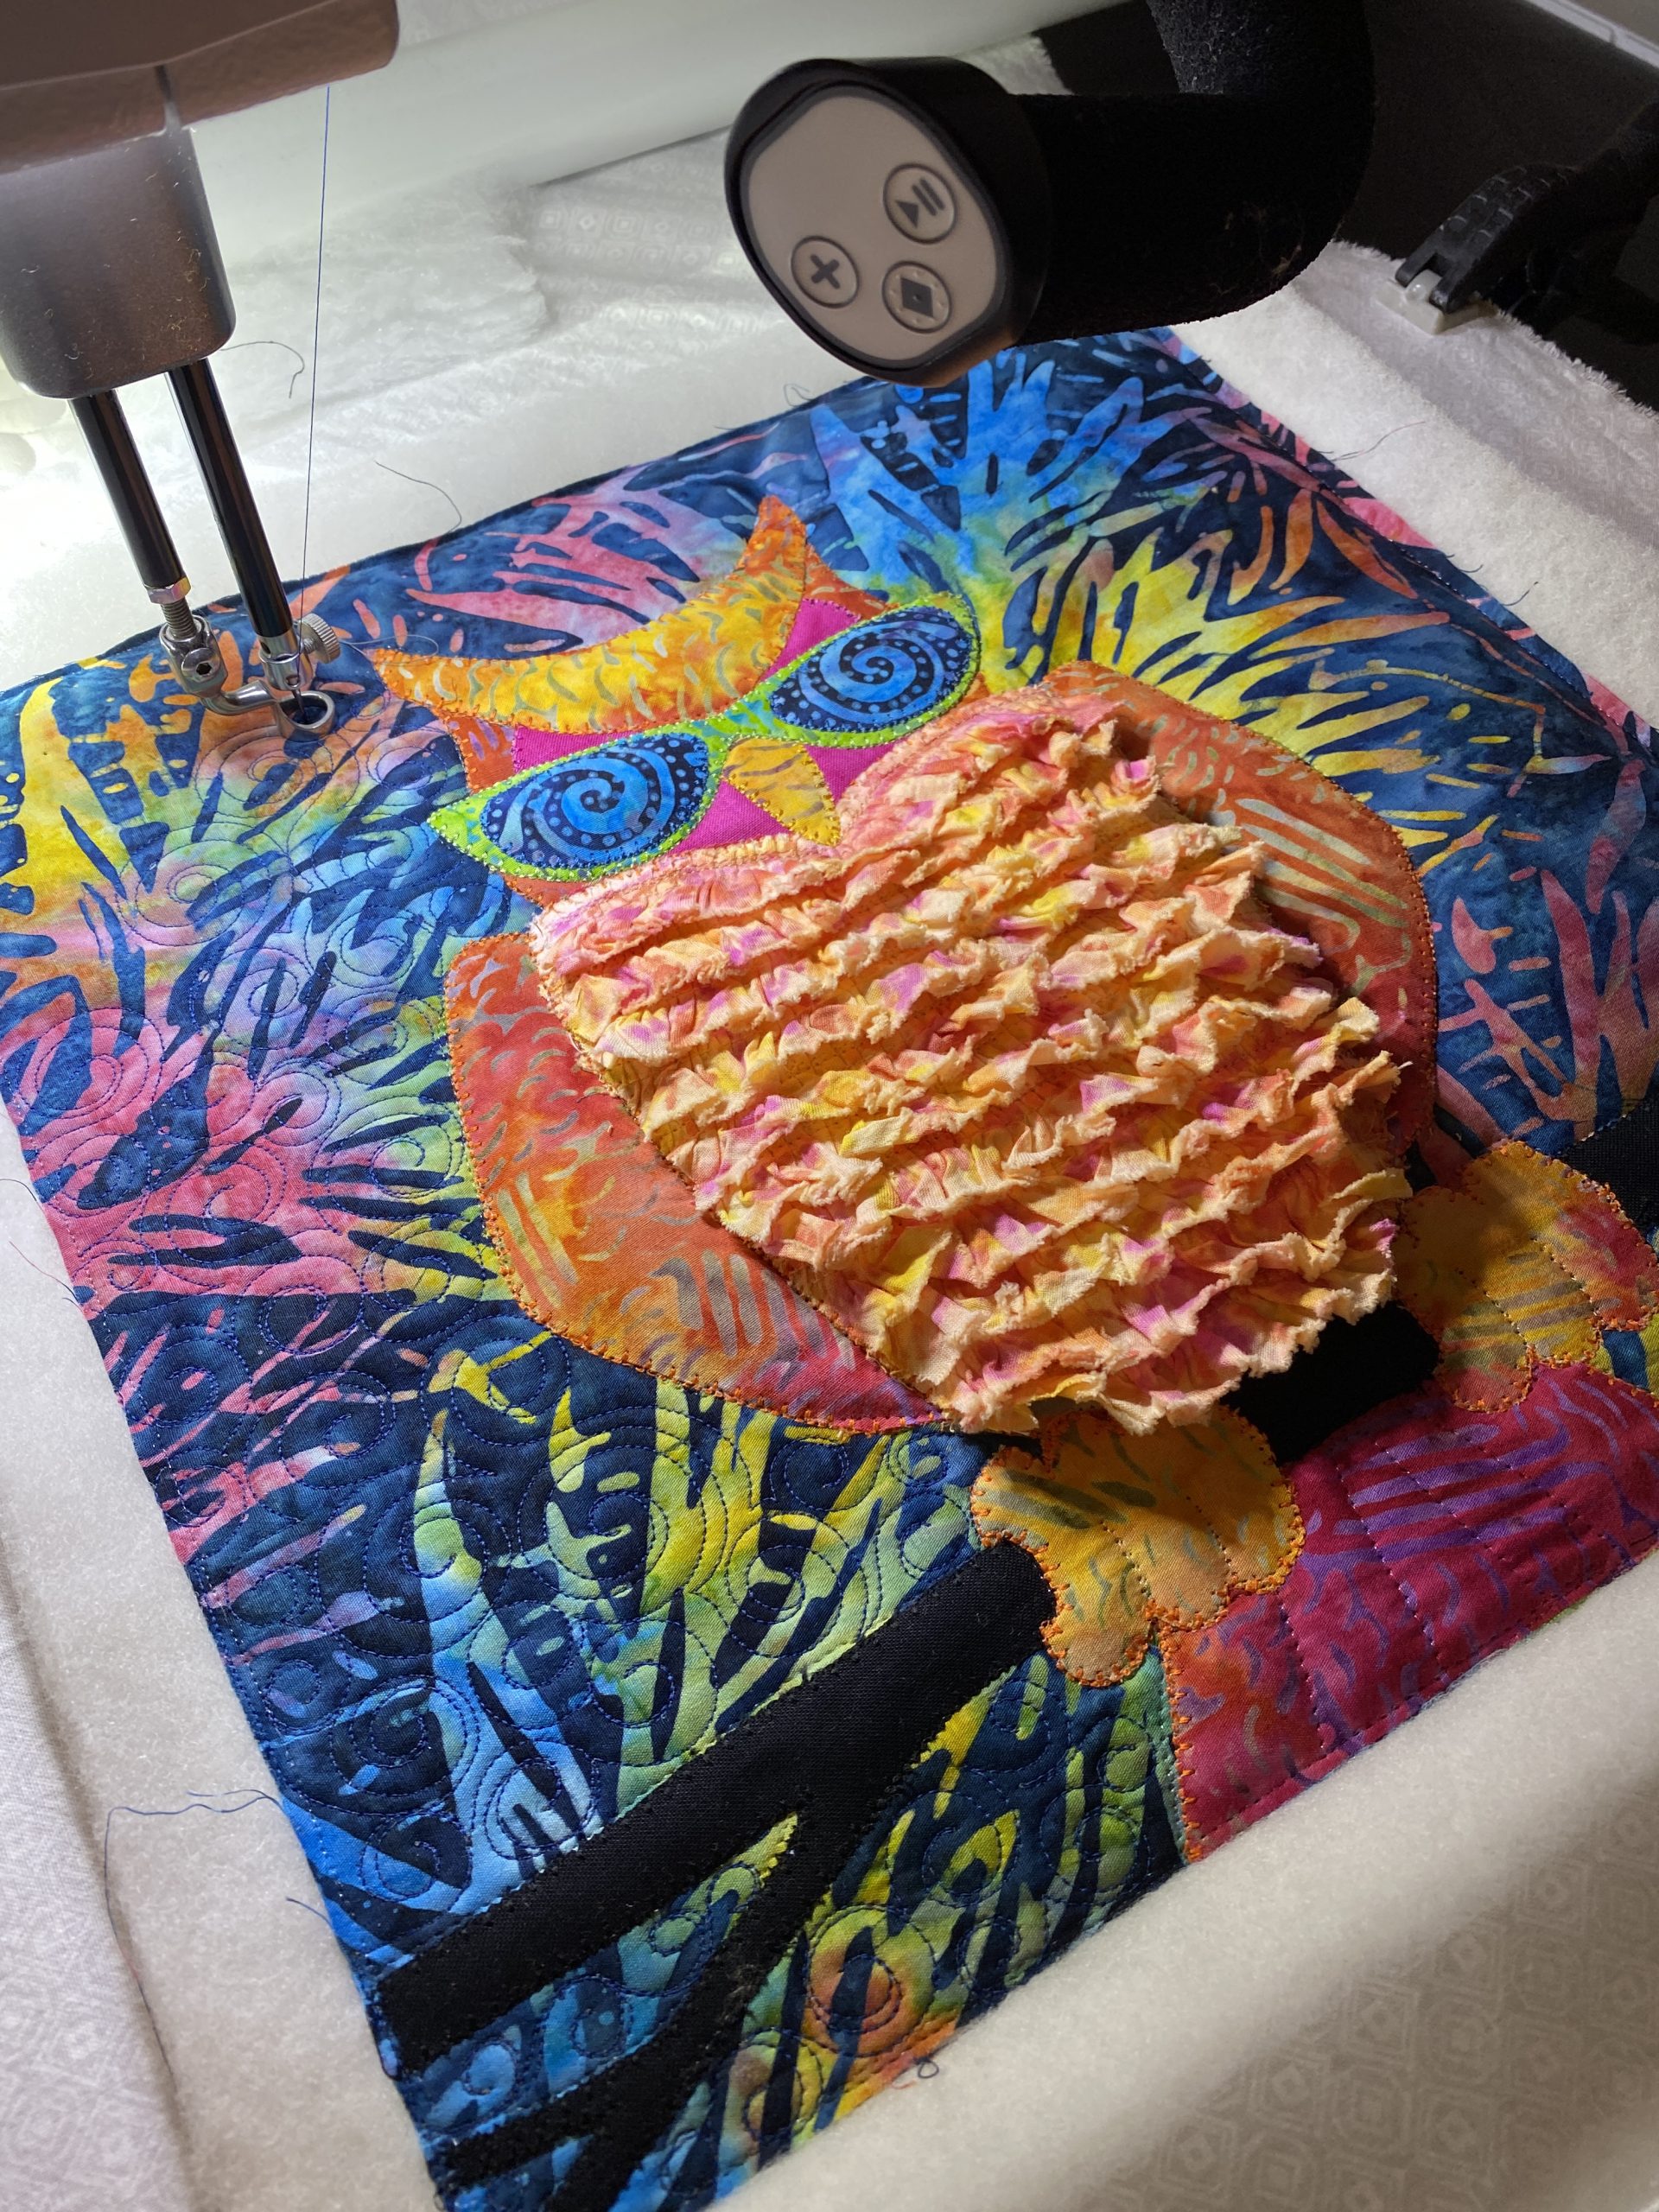 Yes, Lora put the 12 1/2″ square on her long arm. Quilt as desired, bind and enjoy on your wall or stand or make into a pillow or tote!
Too much fun! Yes, I suppose we’ll have to order more fabric for the Sew Along, but I’m okay with that.
Absewlutely,
Lisa Norton