I did it!
The guests arrive tomorrow and my office/quilt room is ready to be turned into the guest room. Check out my GORGEOUS office now.
It actually took less time to sort and tidy than I had anticipated. It appeared to be an overwhelming project (see last week’s post). But I had the closet rearranged the evening after posting. The next day I purchased more plastic bins for my fabric stash and they were quickly filled. (Eek)
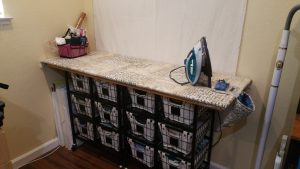
The new ironing station baskets arrived Thursday and Material Girlfriend, Diana Garnhart, help me assemble them. Not to hard a task! We carried them upstairs and set them in place. The next day I filled the baskets with my all my projects. Yep, all 12 baskets are filled! I also recovered my ironing surface. The room is so refreshingly tidy. I wanted to start a new project or rather, revisit one that had been hiding in the closet, but…. company is coming.
This is what I started with:
Walls, I had painted them a light buttery yellow. I like color. White would be just too bland for my creative room. I wanted a wall color that would coordinate with whatever I pinned on it. My Ikea office table is black and the Murphy table is a reddish wood color. I repurposed a small black 3 drawer dresser and a small black and wood color desk from my son’s old room. I felt it tied all the furniture pieces together quite nicely. We added laminate wood flooring that had the same wood/black colors.
How I organized all my shtuff:
Patterns: The closet now holds all the Material Girlfriends Patterns stock. They are organized in plastic bins with handles on the top so I can easily pull whatever patterns are being ordered.
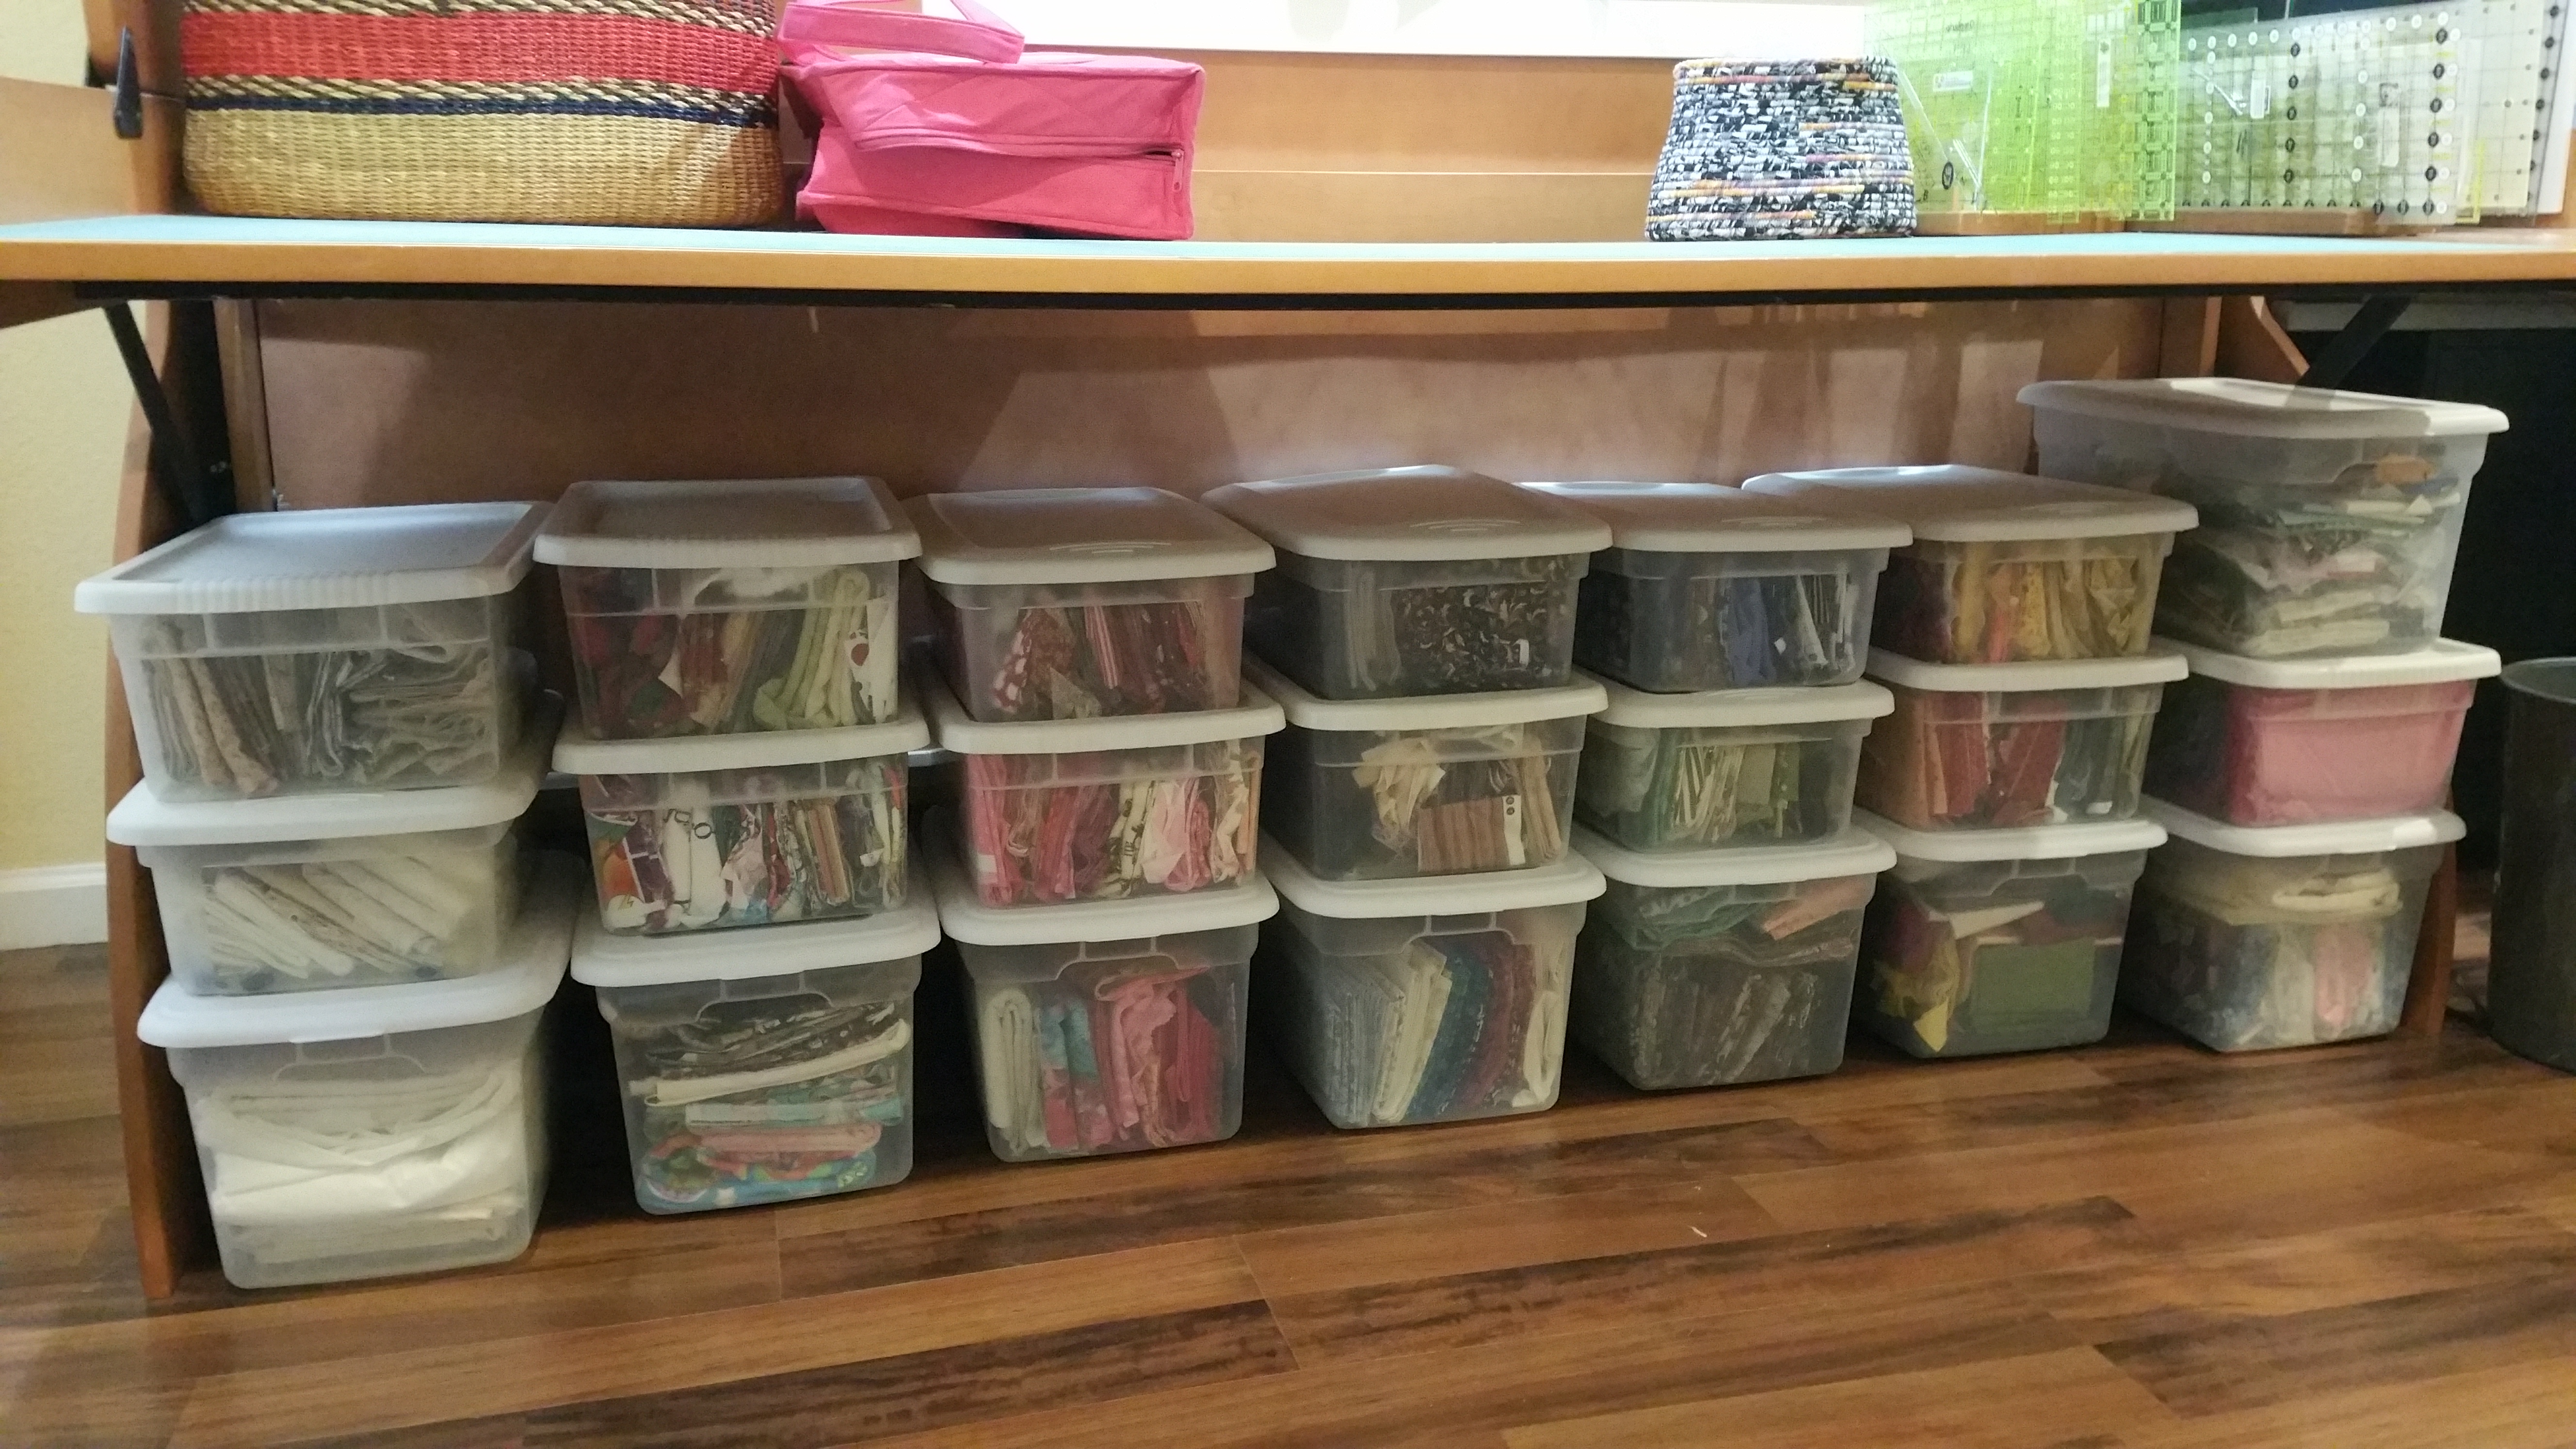
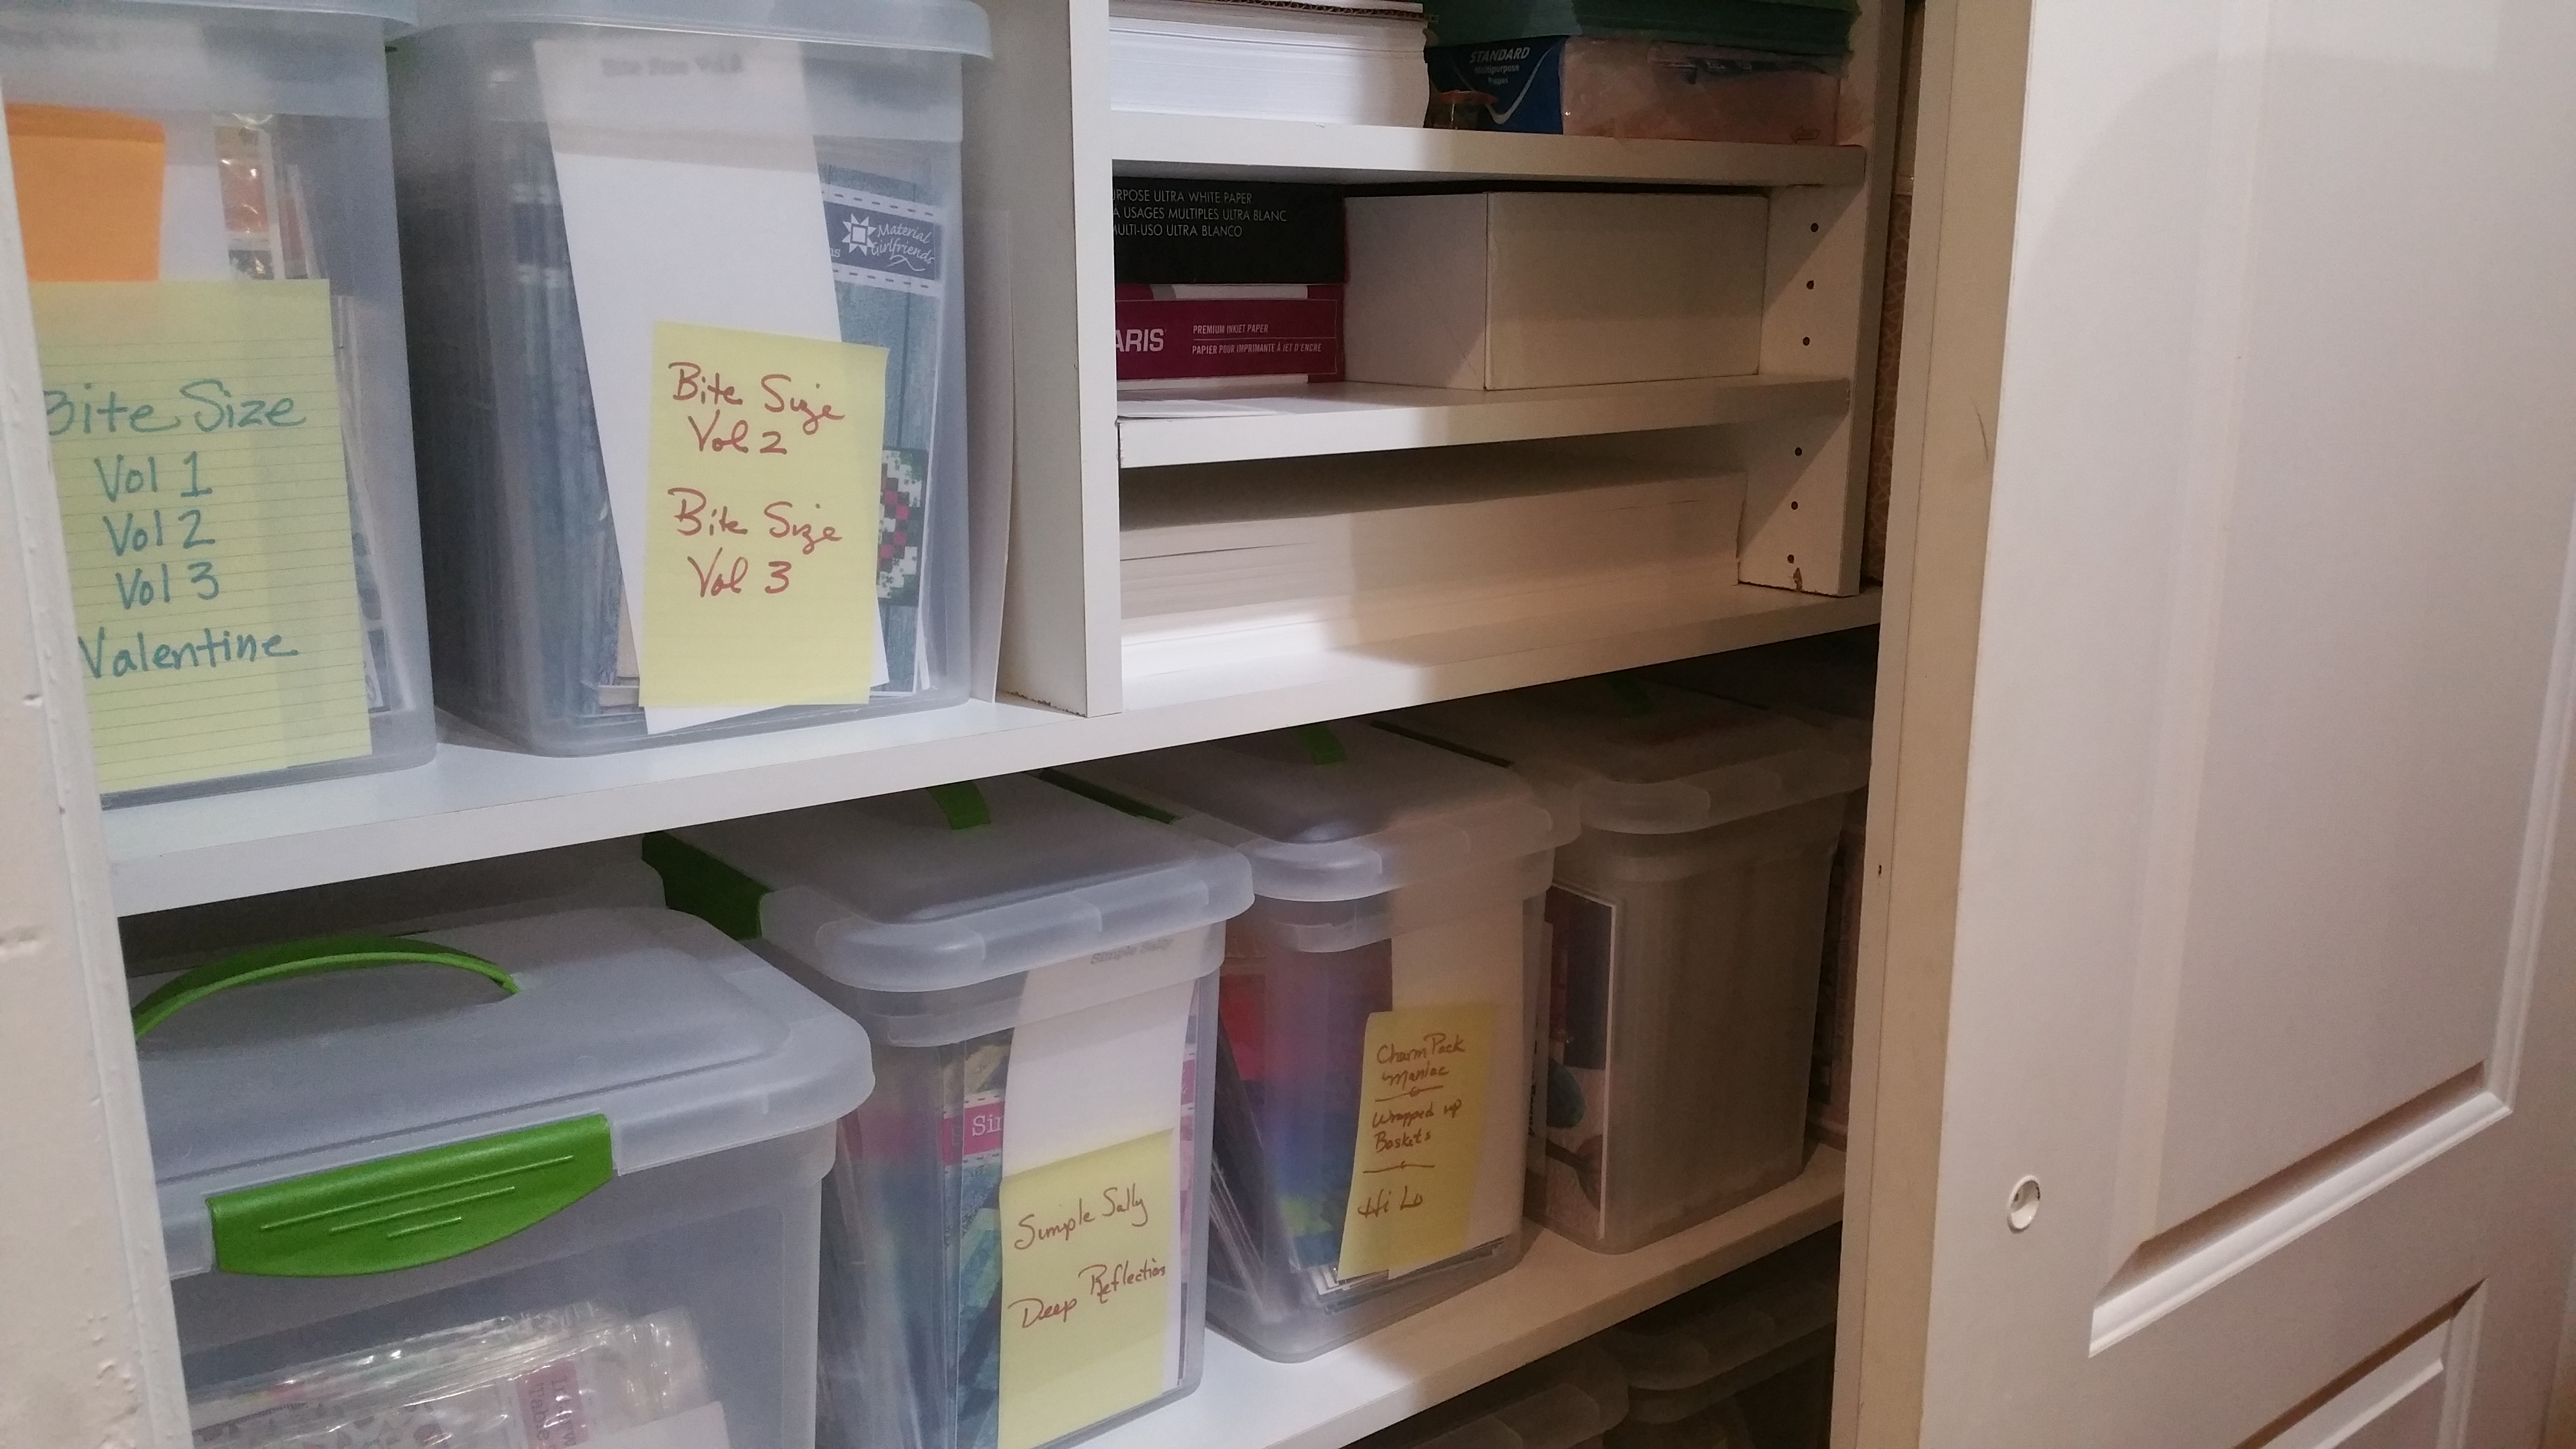 Fabrics: The fabrics are organized in clear plastic bins with white lids that seal. I have a small dog but she sheds like a big dog. It’s her super power. She hangs out with me all the time. The bins keeps the fabrics out of the sunlight, dust and fur free. I can quickly see which color bin I need to pull from under the Murphy table.
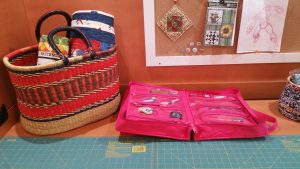
Projects: Quilts that need binding and labels, or that are done but just waiting for me to finish the pattern, hang out in a large straw tote on top of the Murphy table.
Unfinished projects now go into one of the baskets in the Ironing station. I love these new baskets. It is easy to pull a basket and take it with me to class or sit it on top of the Murphy table to work from.
Tools: My small tools and small rulers fit in my pink Yazzii bag that lives on top of my Murphy table. Easy to work out of and it is a quick grab to go to class. I also have a Yazzii mat that is under my NEW sewing machine (Baby Lock Soprano – I was good girl this year.) The mat keeps all the necessary sewing items right at my finger tips.
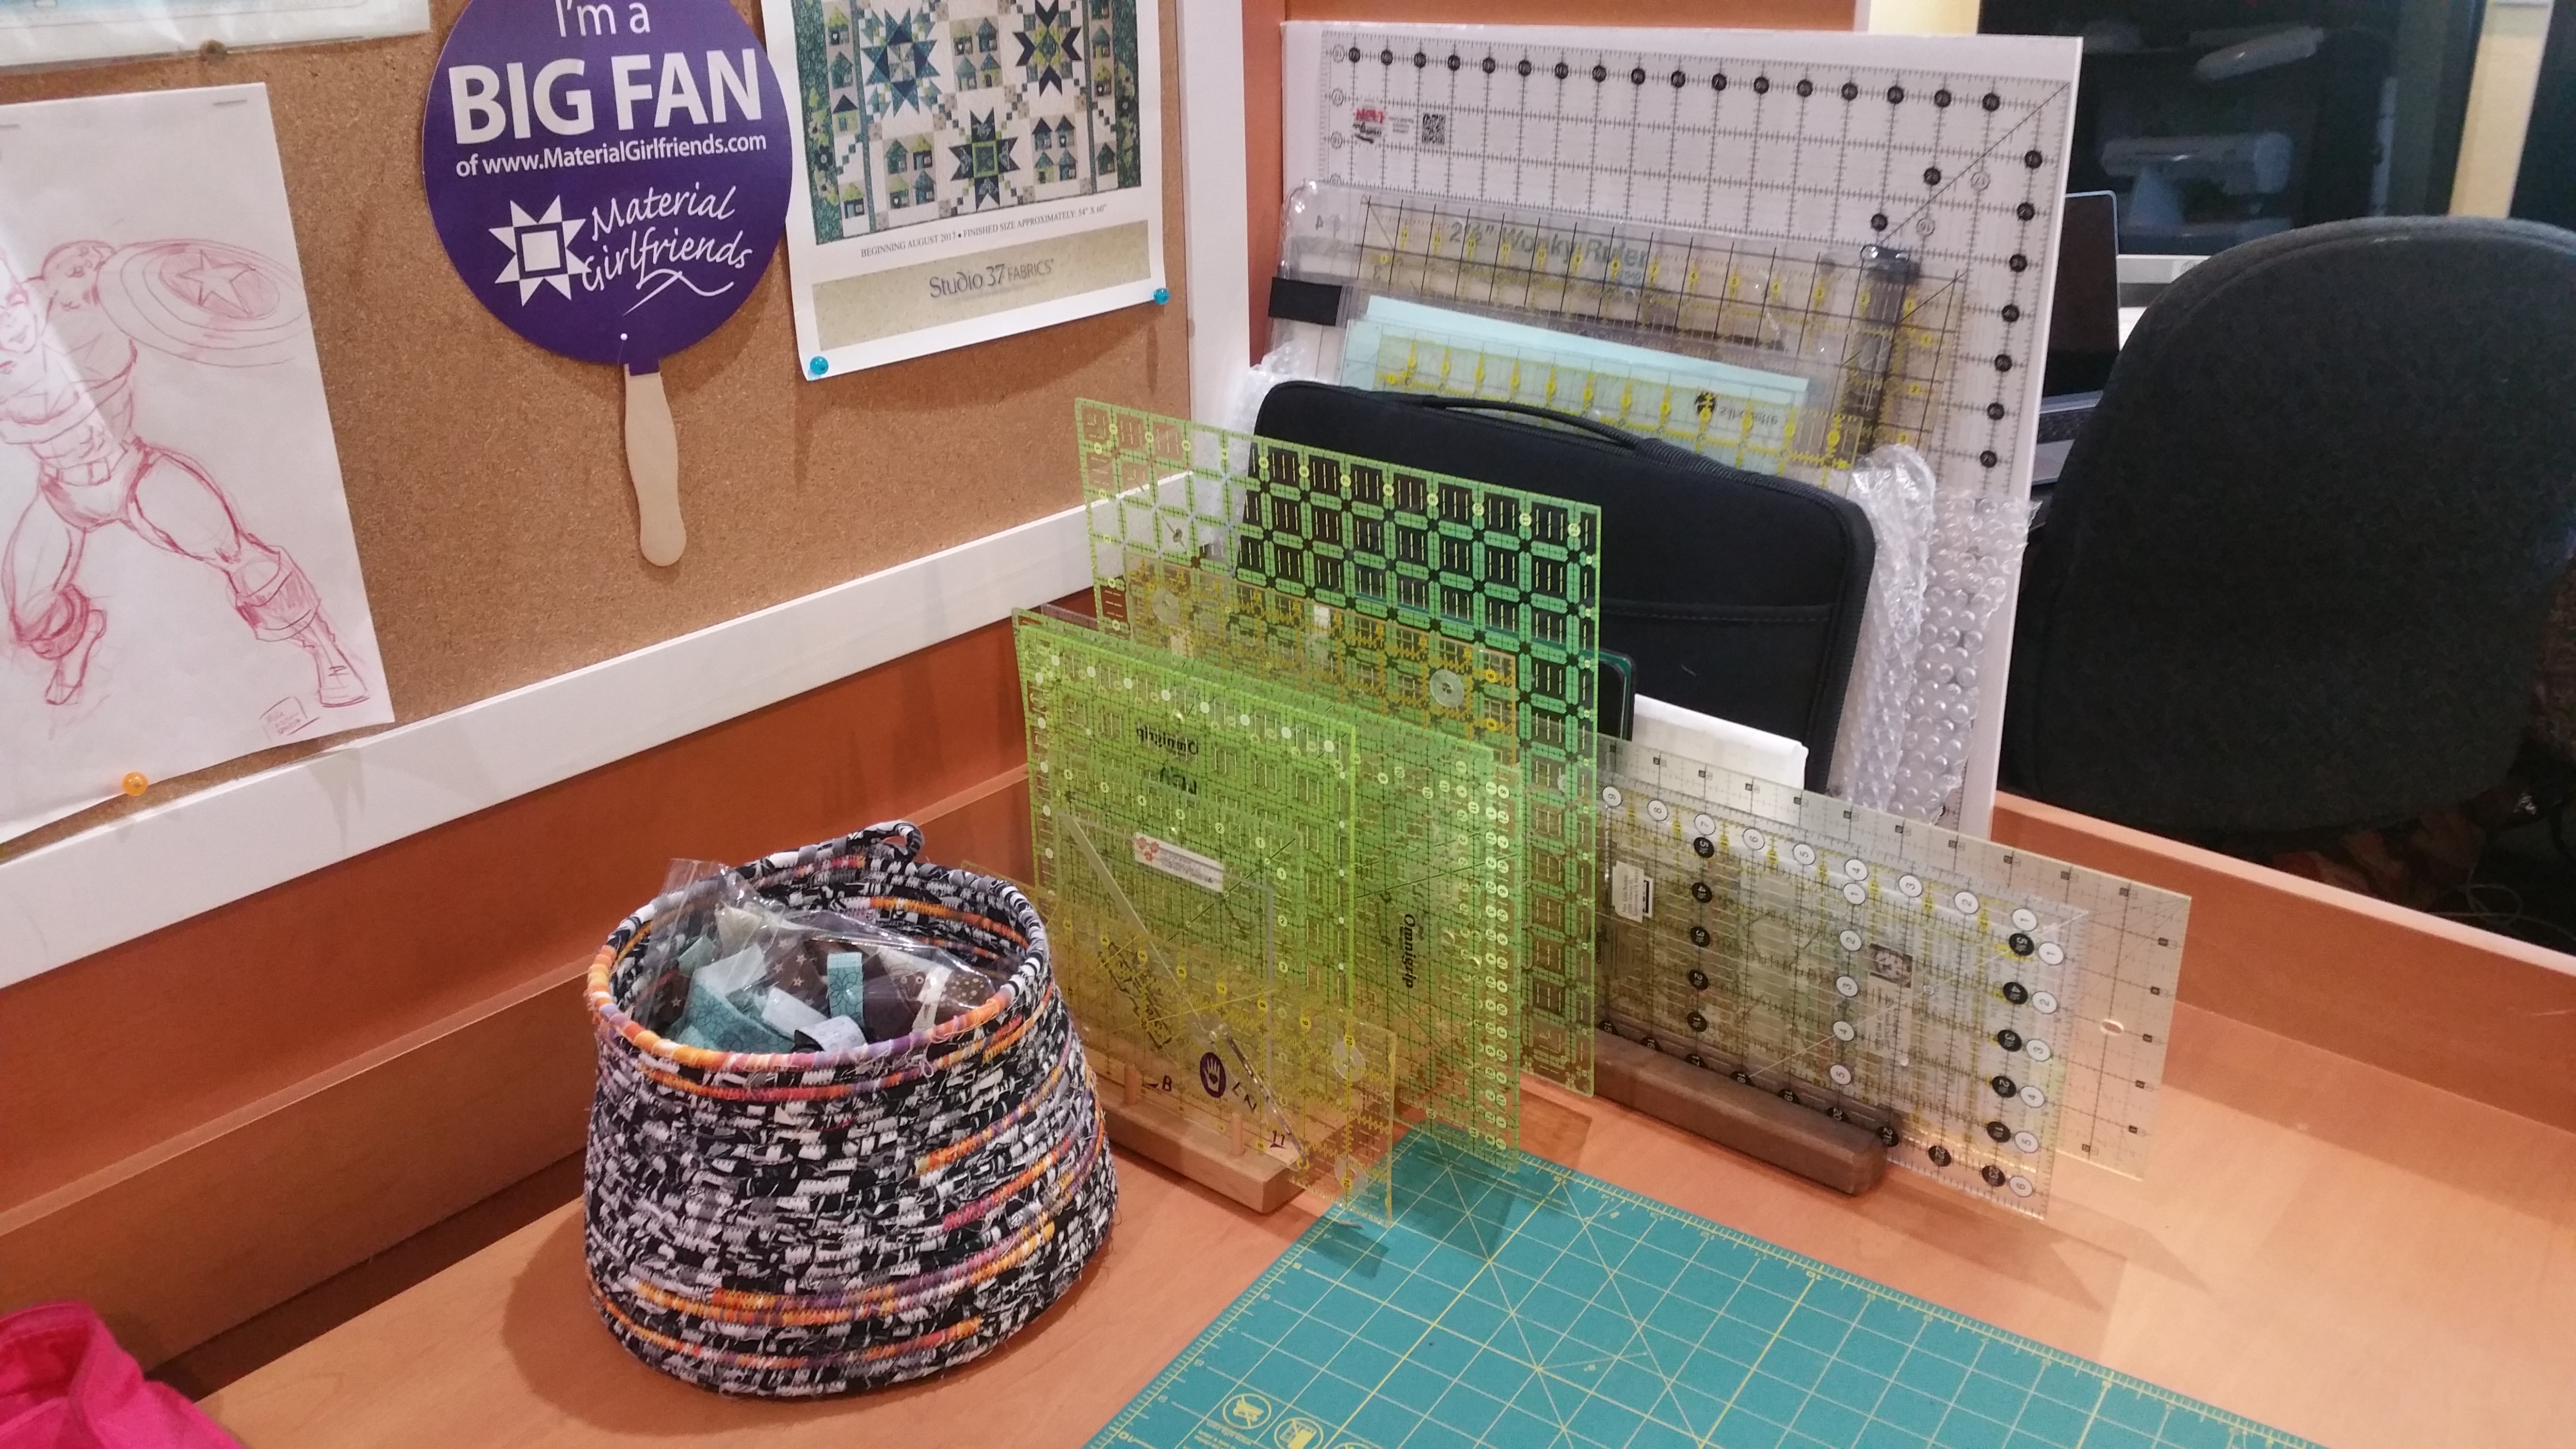
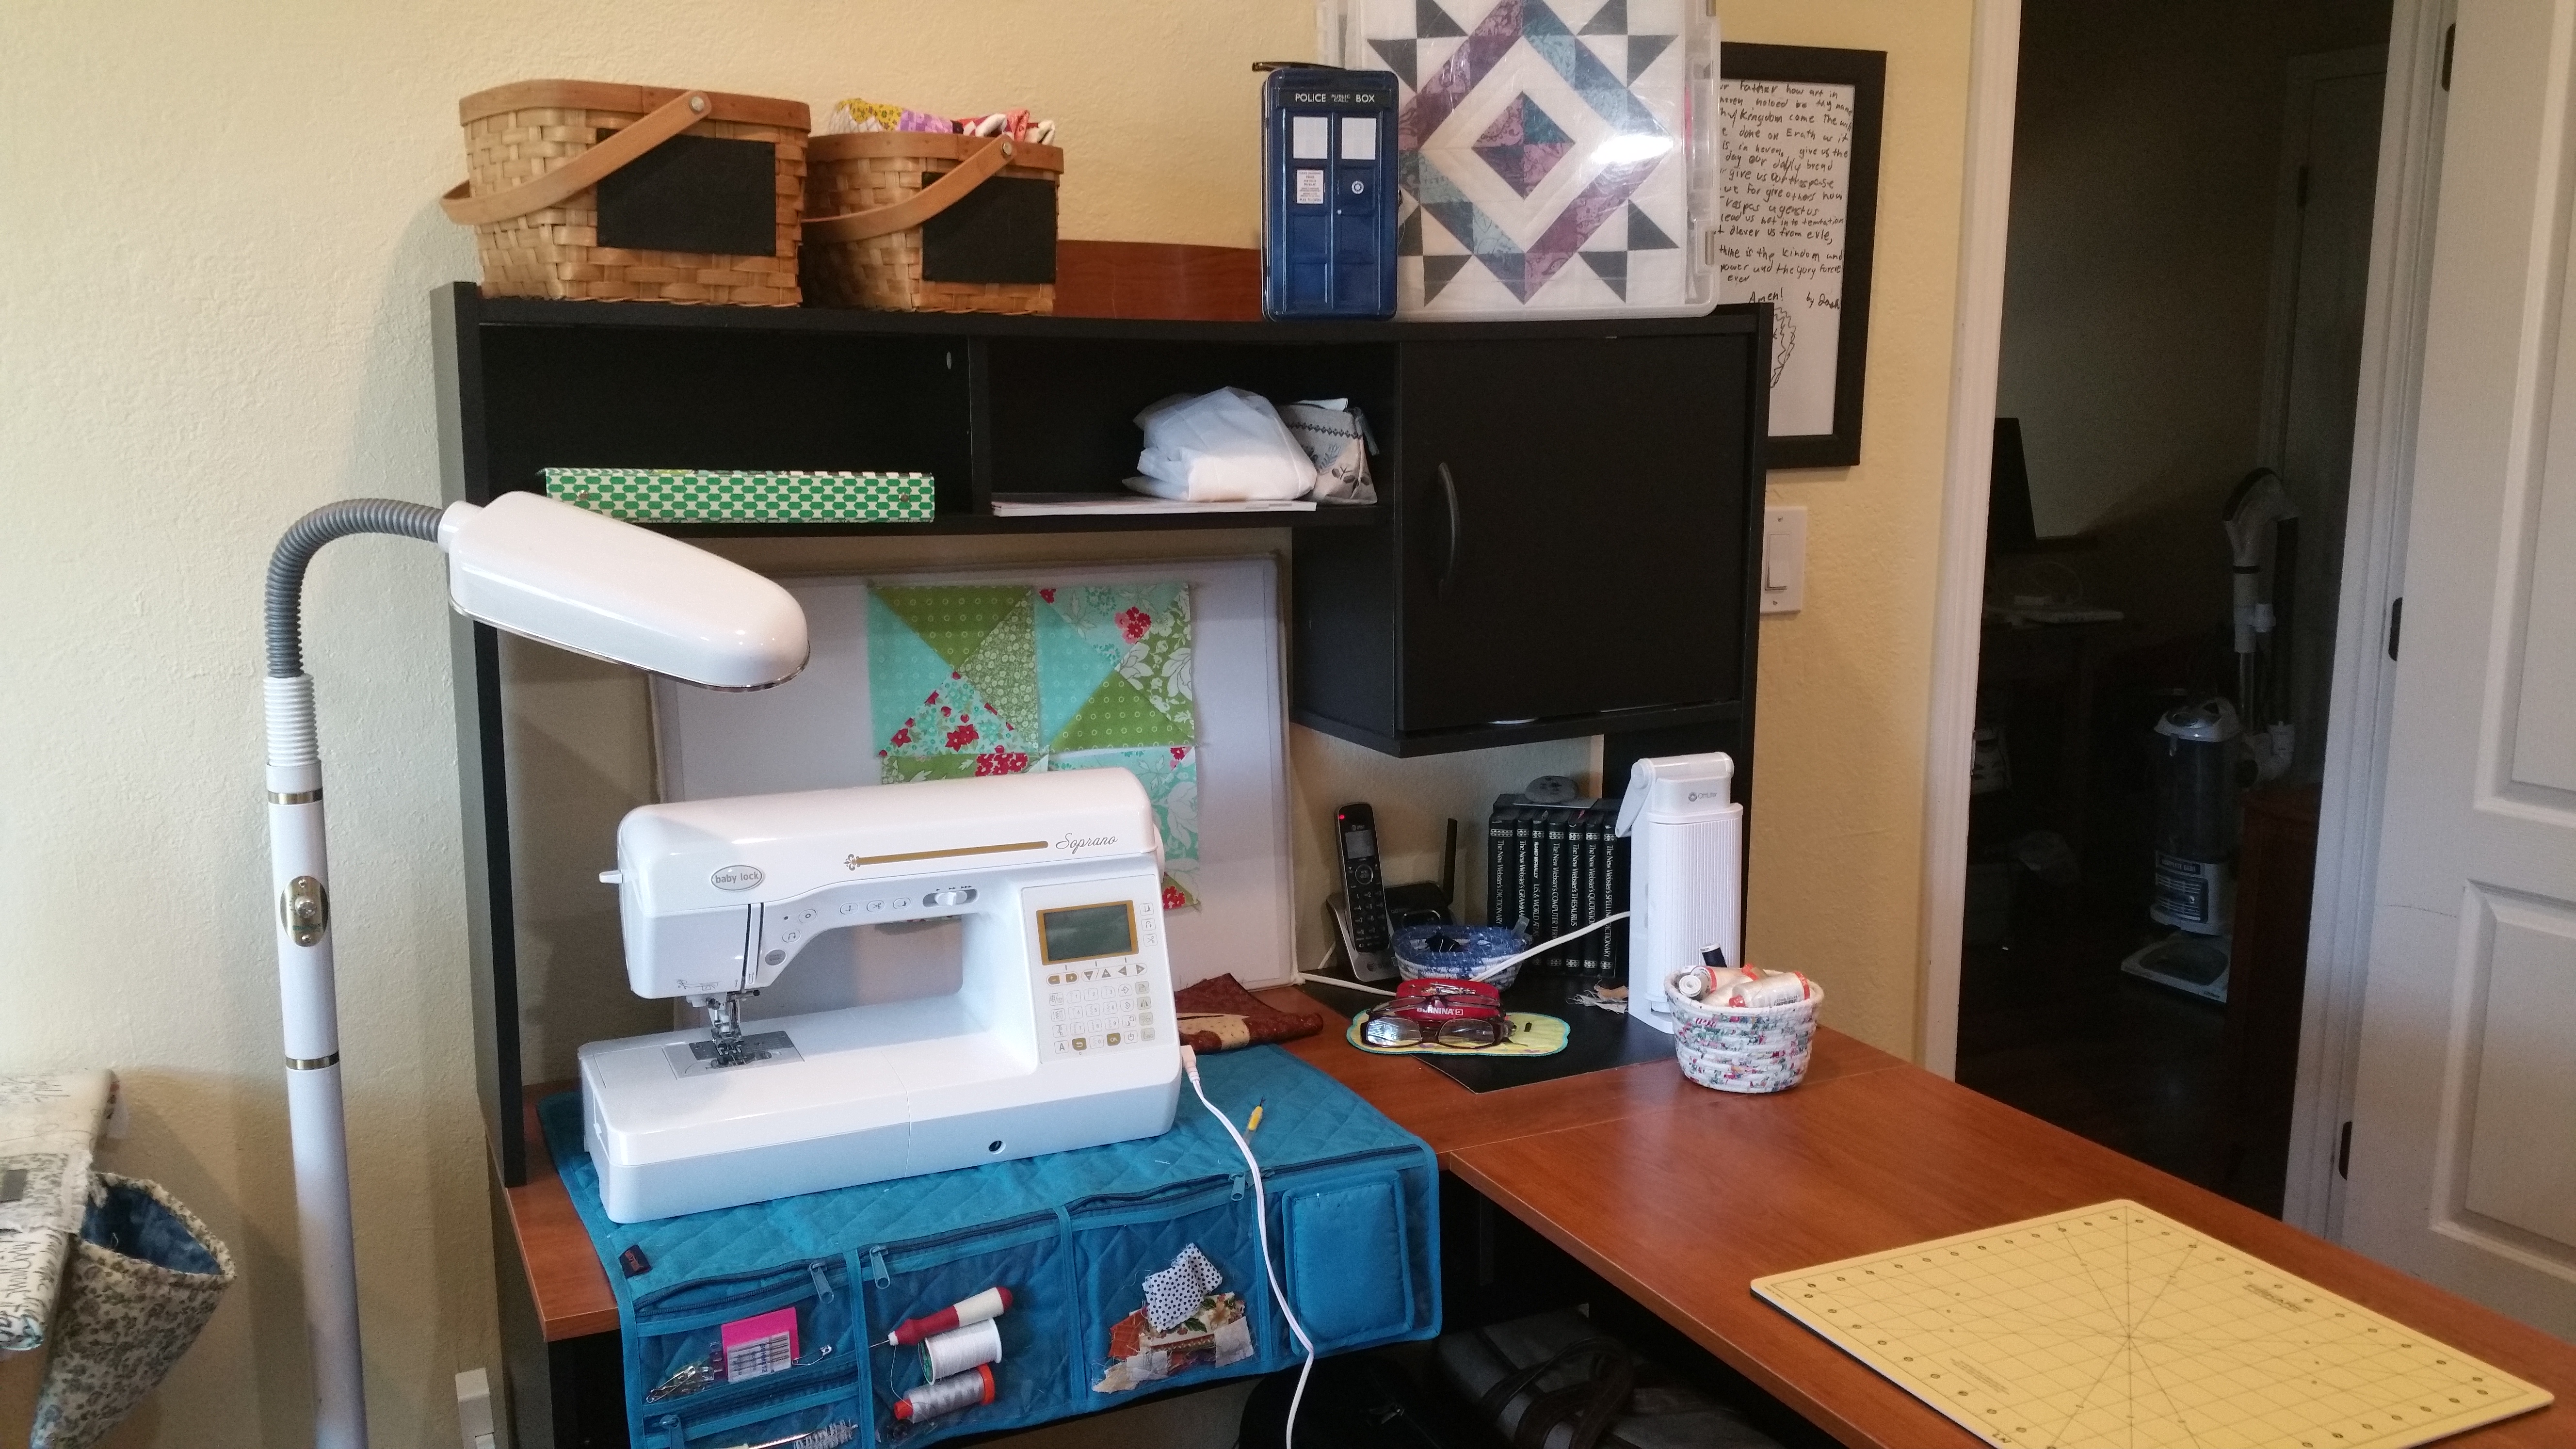 Rulers: I store my rulers in the wooden slats. I have three. One is for triangles and it sits on the small black dresser. The other two are for rulers and squares and sit on the Murphy table.
 Other Organizational items: Also on my Murphy table are my cutting mats and a Wrapped Clothesline Basket. The basket holds my scissors and rotary cutters. I also toss into the basket any scrap fabrics that I can cut into 3/4″ strips, Wrapped up Baskets Pattern. Other scraps are cut into 2 1/2″ squares and put in the top right fabric bin under the table for a future checkerboard quilt. Tiny scraps get tossed in the trash can on the floor.
I also have a smaller Wrapped Clothesline Basket near my sewing machine that holds threads and bobbins for any project I’m working on, plus the basic thread colors. The other bagillion threads are in a Dr. Who lunch box on the top shelf of my sewing desk and on a spool rack hung on the wall by my desk.
On the ironing table, I have a small tote that holds all the ironing items such as pressing cloth, tephlon sheet, iron cleaner, water bottle, spray starch, measuring cup with spout for refilling the iron, labels for quilts, etc.
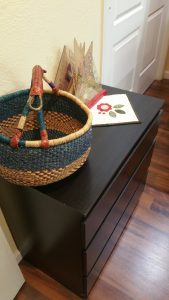
Putting items away immediately after use is always the best way to stay tidy but I know myself all too well. I dump and plan to put it away later. So my strategy to stay tidy is this straw basket on the small black dresser. ANYthing that needs to be put away goes in the basket. Whether it is fabric, notions or a wayward sock that my dog brought me, will go in the basket if I’m not in the mood to put it away at that very moment. Then I can empty the basket on a regular basis, daily, I hope.
The Ironing table: I was asked how does the table not fall off the surface? Dave Garnhart built this wonderful table for me. Measure your ironing surface then add 3″ to all sides. Cut some plywood to that size. Take smaller wood, mine is 1 1/2″ wide and deep, cut to the same length as the plywood. That gets nailed to the underside of your plywood surface, positioned so that your table nests between them. I used 2 layers of left over batting and some muslin to wrap the top and staple gunned it to the underside. This is a picture of the underside of the table surface while I was adding the new fabric. Muslin shows all the water stains so I finally got smart and picked a fabric that would disguise all those ugly spots! Besides, it is really pretty too.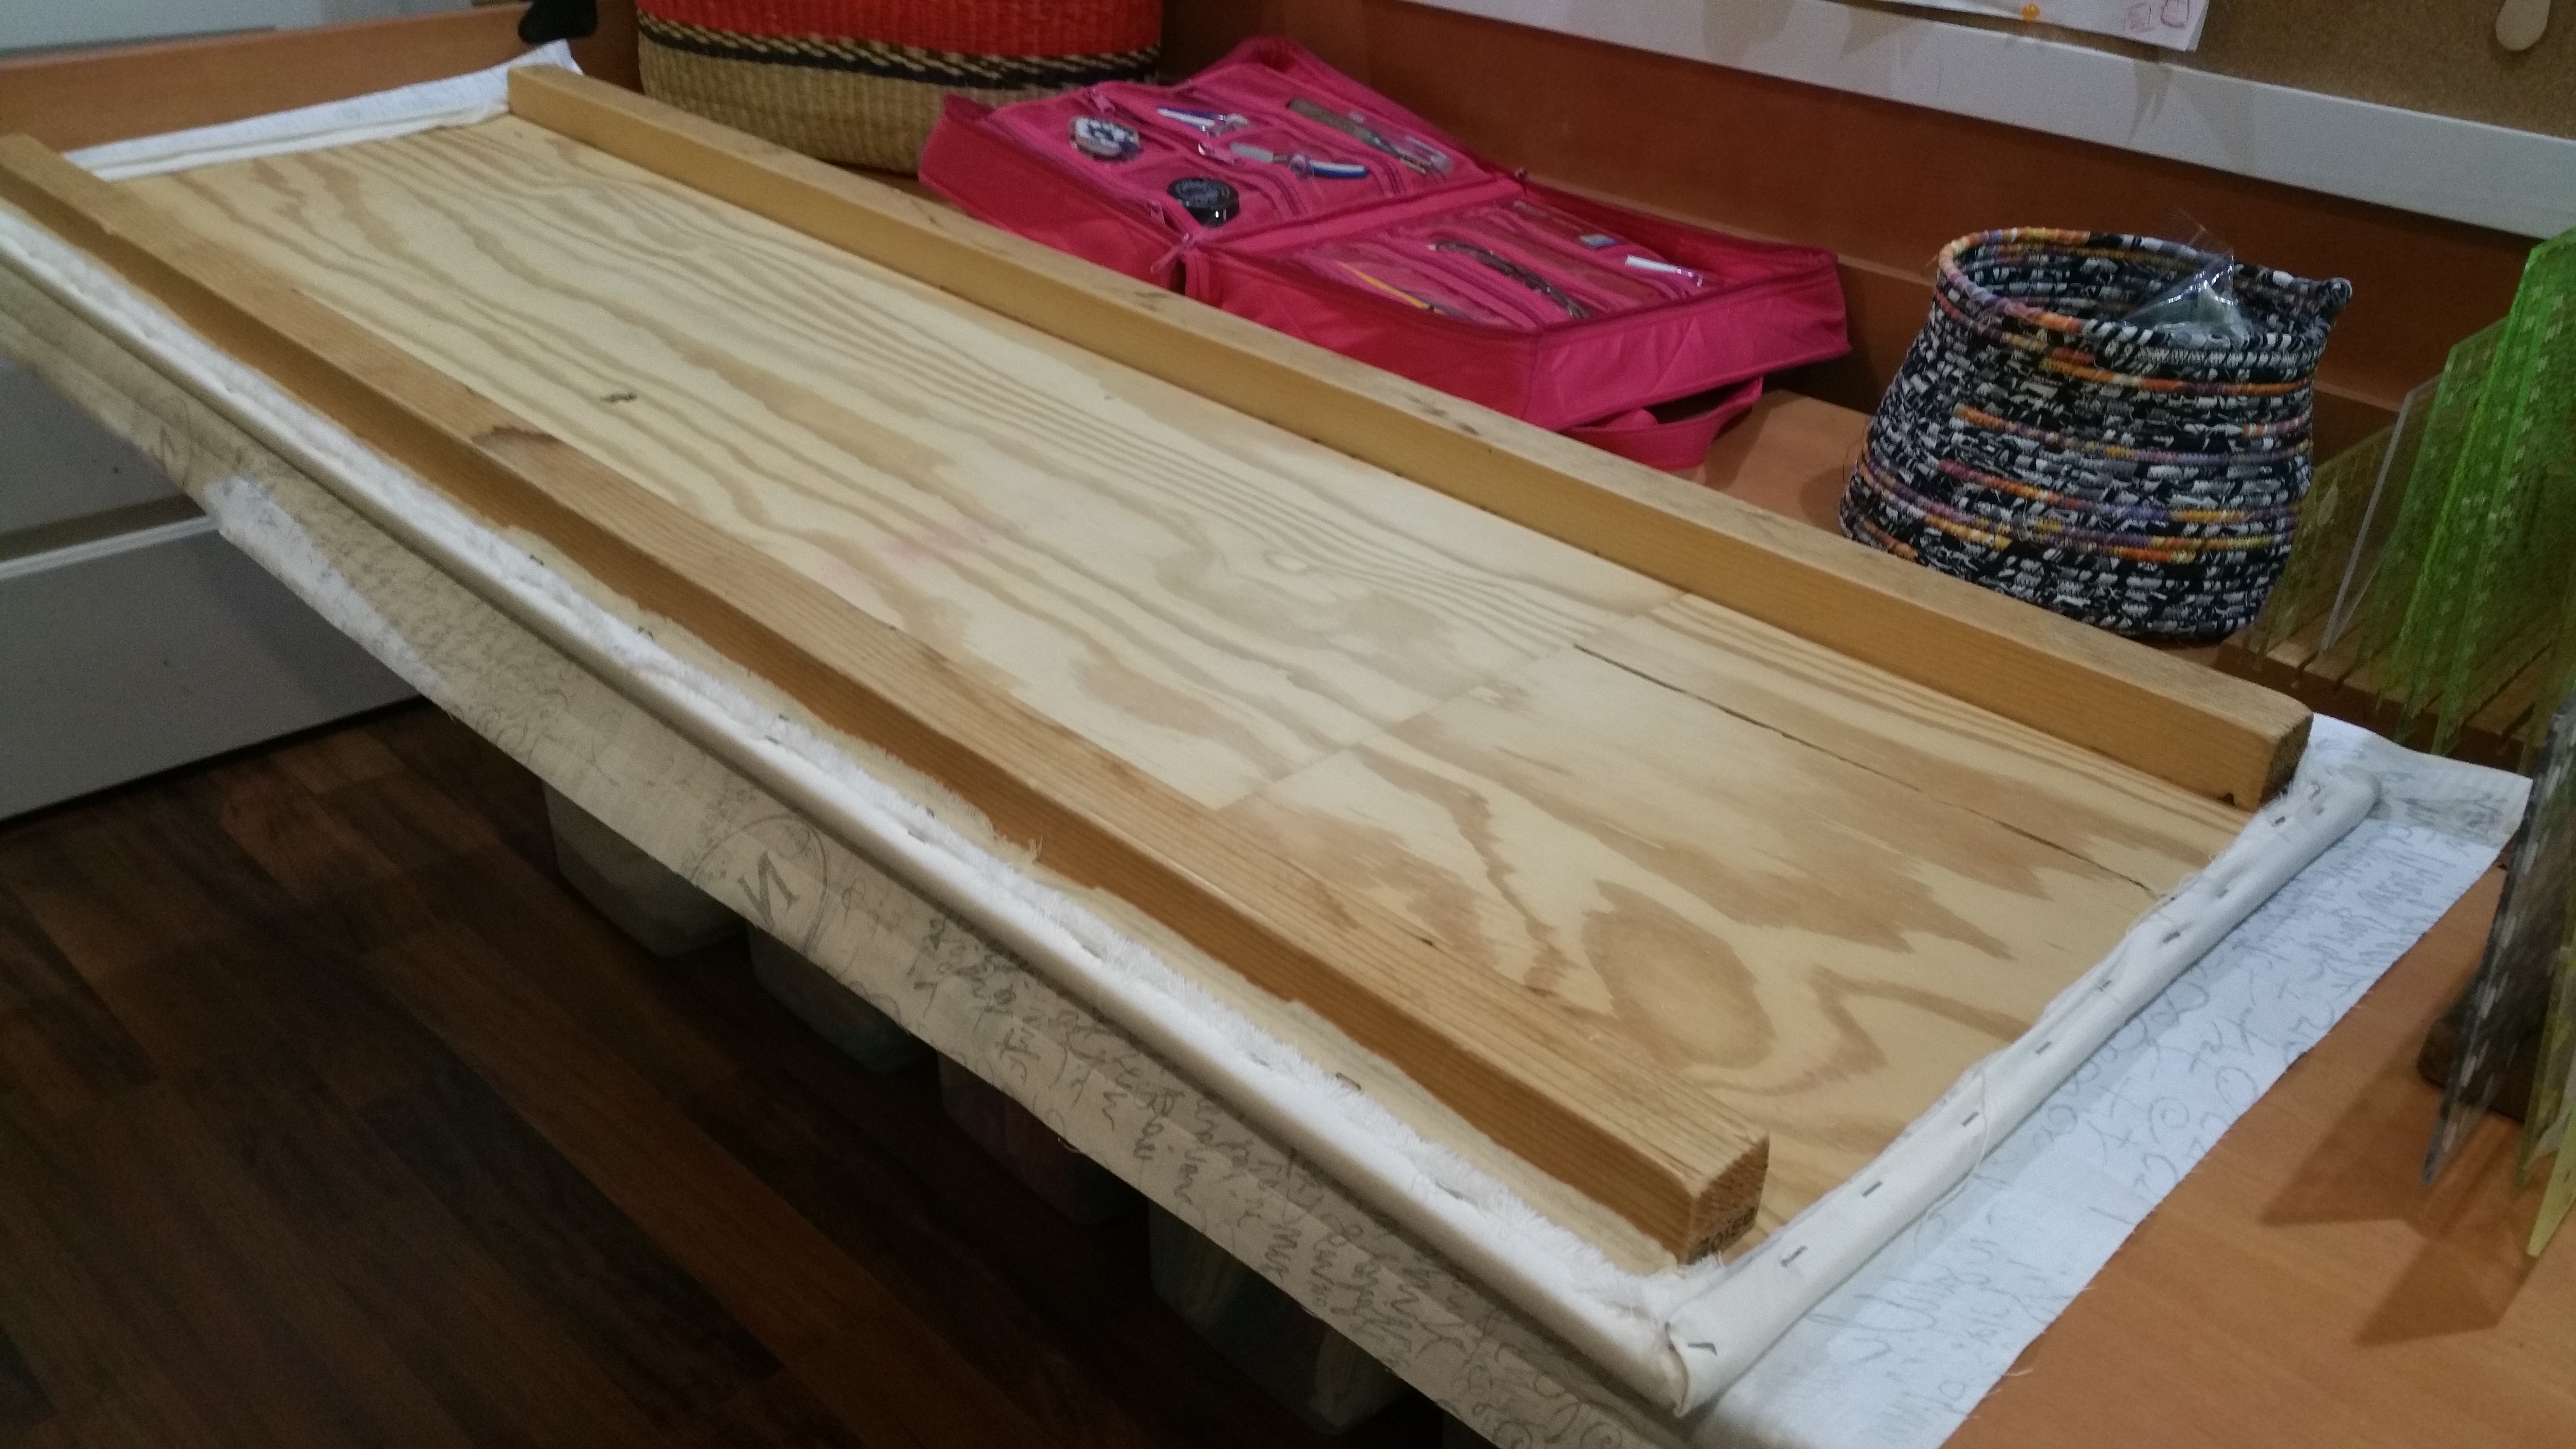
Lora was born organized (blah). I asked her to take a video of her studio and she’ll describe her organizational secrets in a future blog.
Happy Organizing!
Lisa