Hi! Thank you for popping in. Below you find all kinds of helpful tips, tricks, and instructions for the Quilters’ Color Therapy Block of the Month patterns. Oops, wait up. I haven’t finished editing some of the videos! I’ll have those included below as soon as possible. If you don’t find what you’re looking for, check back in a few days and I may have uploaded it. If it still isn’t there, send me an email at Lisa@materialgirlfriends.com. I’m racing to catch up with this one. It took off right out of the gate!
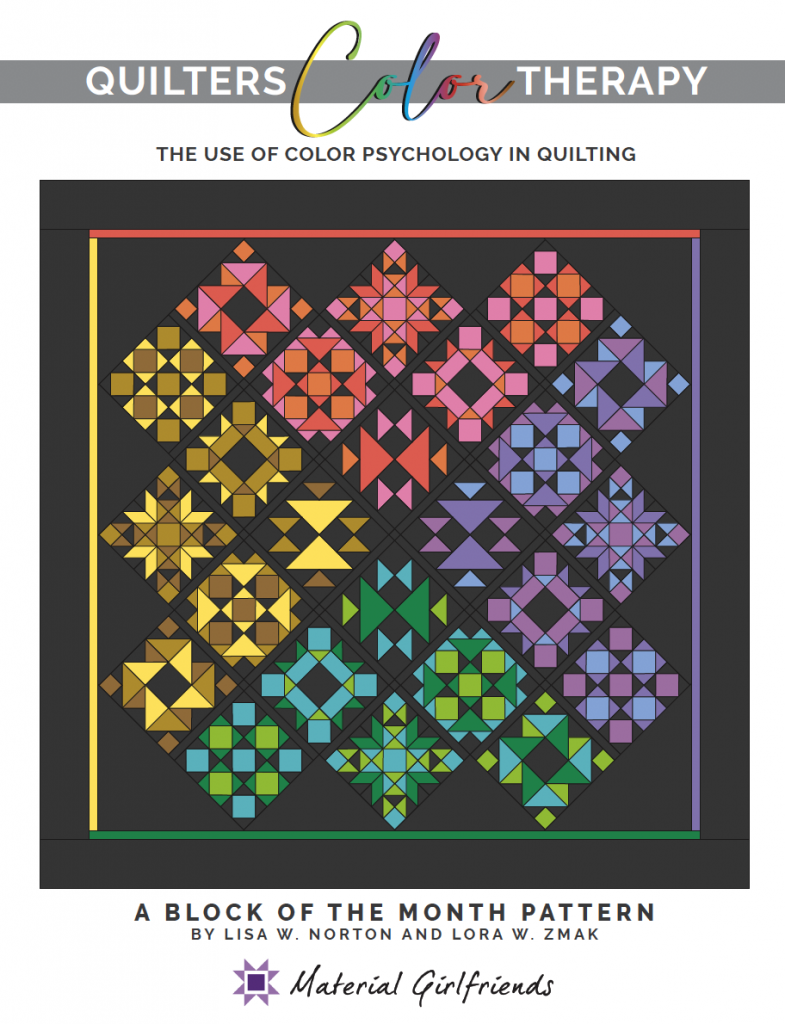

This fun Block of the Month pattern can be made two blocks at a time per monthly session, or you can make it all at once. Who can wait? Am I right? Each Session includes a lesson on color plus an optional project to dive deeper into Color Psychology. Quilters are a unique art group. We can practice self-care by using colorful fabrics to help us process the Rocky Road of life. Plus, it’s a lot fewer calories than the ice cream variety. 😉
I love beginner quilters. I love the quilters that have been around the quilt block a few times too but, I love the beginners. I teach the Start Quilting class at my local quilt shop. Though this pattern would not be considered beginner level, I do try to break it up into small bites so that a confident beginner can do it. A few of my rules:
- Be a member of the Close Enough Club. I give myself 1/16″ grace. If it is about that off, then I let it go. I know when it is quilted, has loft from the batting, you’ll never see 1/16th”. Besides, with my memory, give me a few weeks and I’ll not remember where my less-than-perfect line-ups were. I’ve been quilting for a few decades. Ouch, that hurt to say that. And my precision is pretty close. If you’re new to quilting, your “Close Enough” might be 1/8″ and that cool. I sure don’t mind! I want this hobby to be fun! Just know that if I seam rip something twice, the third time it stays no matter how off it is!
- Know when to take a break. Sometimes you’re just not in the right mindset. When learning a new technique (or sewing in general!) cheer yourself on. Negative self-talk can ruin your fun.
- Stay organized! Sticky notes are a quilter’s best friend for keeping track of all the details. Keep zip baggies handy to keep block pieces together. Write notes in your pattern. If you can’t bring yourself to write in your booklet, then sticky notes work well there as well. If you’re working out of your own stash, use the swatch sheet from page 2 to help you stay organized. I really am looking forward to making this pattern a third time but using a variety of colorful fabrics from my stash and scrappy whites and creams for my background. I’ll post this version as soon as I have a bit of time.
Important Cutting it up: Most times, when I create a Block of the Month pattern, I call out a comfortable amount of extra yardage. I don’t want too much leftover, just enough to cover cutting mistakes and a bit to throw into your stash for a future scrappy project. I also like to make creating the quilt kits easy for shop owners and keep kits affordable for the customer. This quilt was easy in creating that balance. You will have enough in each session for little cutting mistakes. Big mistakes… that depends on how big. When cutting your pieces, always cut your largest pieces first. Then if you have a cutting mistake on a big piece, you may be able to cut the smaller pieces from the mistake and cut another large piece. SAVE all your extra fabrics for future months!
Lisa’s Pointers for Practically Precise Piecing
When I teach a class, we always start off checking the seam allowance. The seam allowance is usually blamed when the block doesn’t turn out the correct size. However, there are four elements to making the block the correct size.
- Cutting
- 1/4″ seam
- Alignment
- Pressing
Cutting your fabric. Be sure you iron out all wrinkles and folds (steam is fine). Have good lighting, your pretty glasses on, and a sharp rotary blade. Always stand when cutting. Sitting is convenient but standing over your ruler allows for better accuracy. Always cut once away from your body and don’t see-saw back and forth. If your blade is skipping or you’re having to cut several times, time for a new blade. If your ruler is sliding, try non-slick grips on the back and anchor your pinky on the non-cutting side of the ruler. Use a flat hand when holding your ruler in place. No spider fingertip hold, the ruler will slide on you.
Lora and I filmed these tutorials while in Shelter in Place. They are homegrown! There were no nail salons open, so yes, we have “natural” hands. Enjoy our silly antics. See us plop our hands down on the table surface and shake the camera. And our dogs! Can they stay quiet? Lora, watch your head… One, two, three, Action! Brought to you by the letter A and the number 2.
Your 1/4″ seam needs to be accurate. Most modern sewing machines come with a programmed setting for piecing. On many models, it is marked by a P. I can’t tell you how many students I have helped find the correct setting for their quarter inch seam. They’d been using tape when all along their machine had a perfect setting for them. Be sure to know your machine’s settings and have the proper foot. MEASURE that quarter-inch before you start.
If you like a ruler/seam guide, you can purchase one here.
Alignment is so important. Some ladies sew like it is a race. I’m guilty too. And none of us like to be last in the classroom. But it isn’t a race and accuracy is more important than finishing first. Take your time. Align that fabric up perfectly. Take time to pin. Ask yourself, “What’s the point?” When sewing points, be sure to align the ends at the point. If the fabric is slightly long or short at the other end it isn’t going to matter as much as getting your point to be at the quarter inch seam.
Pressing Matters. Press first with the seam closed (no steam). Open the pieced item and from the wrong side of the fabric, knock the seam, with the side of the iron, the direction the arrow shows in the instructions. You’re just knocking it over. Then from the front do the same, making sure the seam hadn’t folded over on itself. When pressing, I hold one side of the fabric taut while pressing with the iron – not tight enough to stretch the fabric but enough to press the seam well. No steam in my iron unless I want the piece to grow.
Enough of the blah, blah, blah, Let’s Get Started!
Session One: Yellow
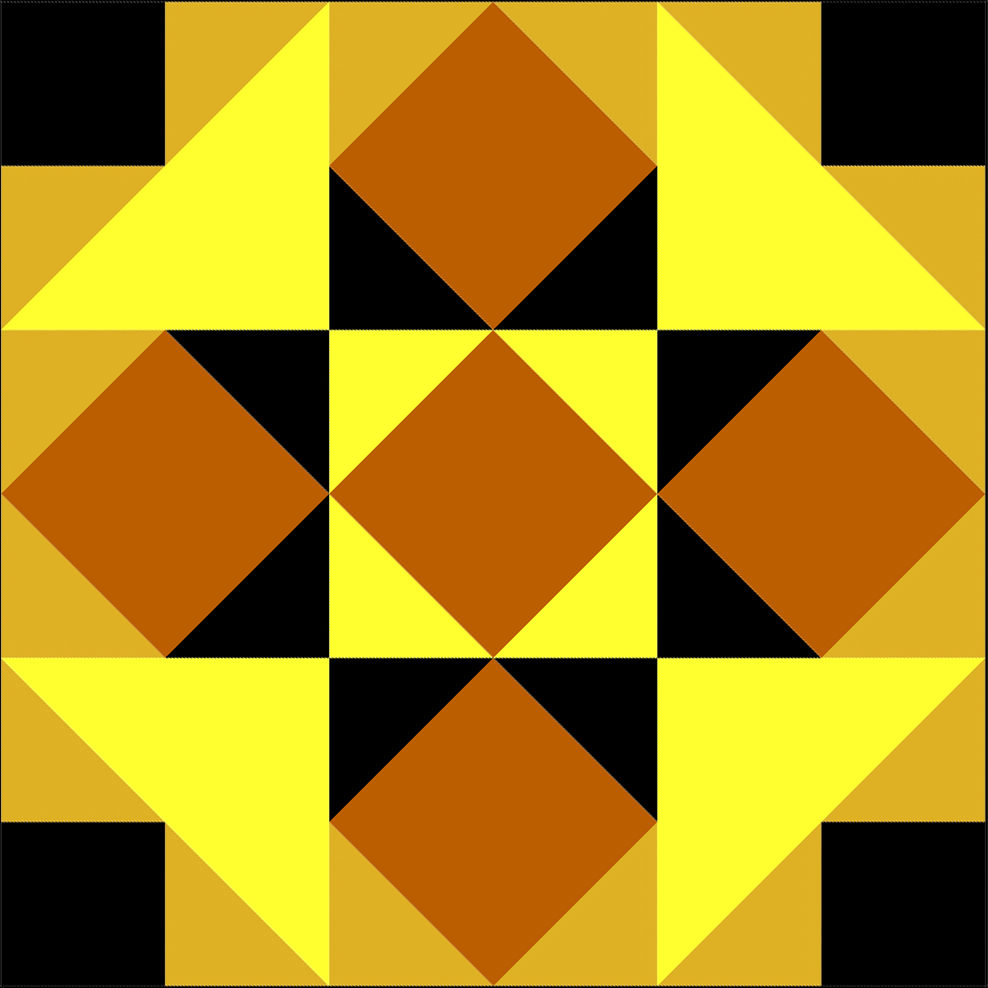
Block A is the Kansas Star Block. This whole block is made of the Square-in-a-Square unit. It isn’t a difficult unit to make, but it can be very challenging to make it accurate and have those stinking points line up with the other points from its neighboring Square-in-a-Square units. Watch this tutorial for some tips or creating the block (hint, alignment is so important)

Video on creating the Square-in-a-Square
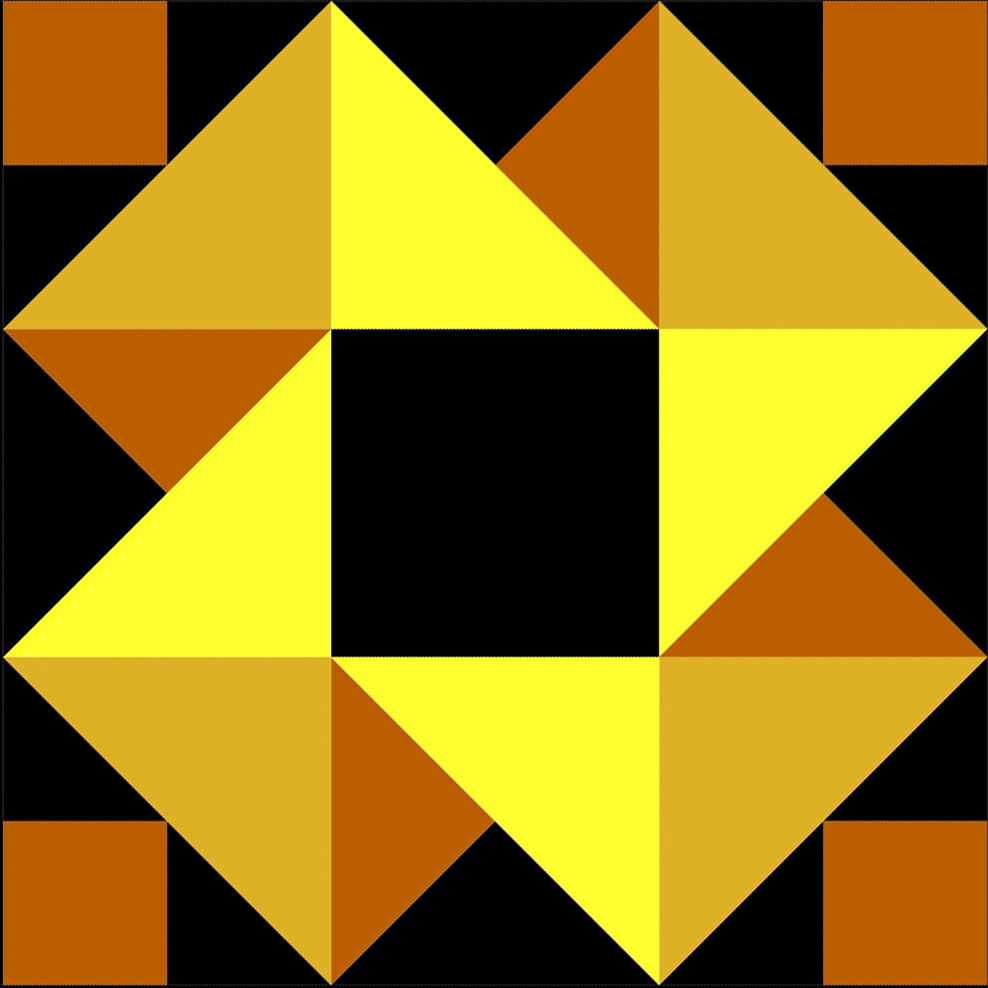
Block B is the Rolling Squares Block. You’ve already mastered the Square-in-a-Square unit from Block A, right? No? Well then, we’ve four more opportunities to practice that tough little unit. This time instead of all the corners being the same color, three of the corners are the background, black in the pattern, and the third corner is Color 3 (Toffee for Session One). The next unit we’ll learn for this block is making Flying Geese four at a time.

Video on creating Flying Geese Four-at-a-time
Session Two: Gold
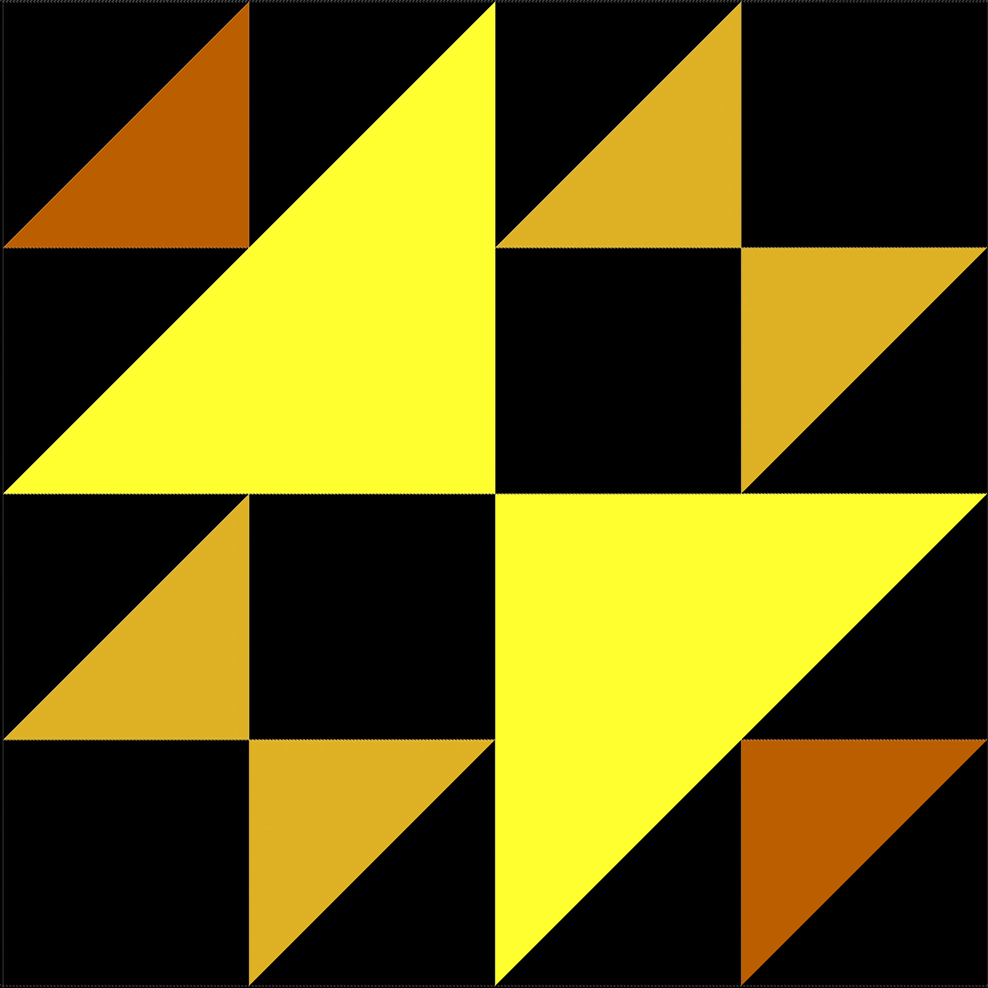
Block C is the Old Maid’s Puzzle Block. This whole block is made of six Half Square Triangle units. Half Square Triangles are the building blocks of blocks, but it can be a bit challenging to make and end up with the points not getting swallowed up in a seam. Watch this tutorial for some tips on creating the Half Square Triangle. But wait, we threw in a curveball. You’ll use a couple of those Half Square Triangles to make two Corner Square Triangles. Those look a lot harder than they really are. For reals. Check out the video below.
Video on creating the Half Square Triangles and Corner Square Triangles
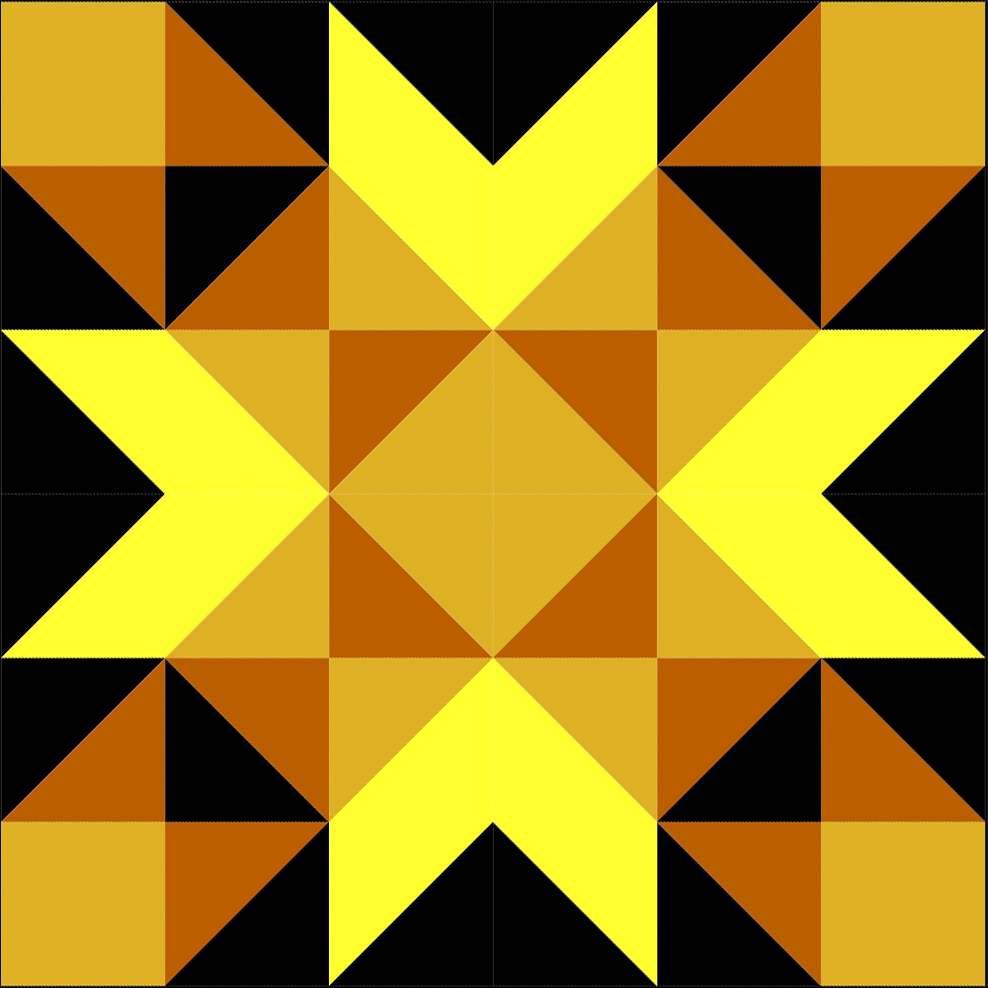
Block D is the Wyoming Valley Block. You’ve already mastered the Square-in-a Square unit for the center from Blocks A and B. You’ve already mastered the Half Square Triangle units from Block C, right? No? Well then, we’ve four more opportunities to practice that little unit too. You’ll be making Half Square Triangles for the corner units. The new kid on the block is the Parallel Flying Geese. This time you’ll make just one at a time. The confusing part is you’ll be making mirrored units. Don’t get carried away and make them all identical. I did and I had to seam rip four of them! Pay close attention to the diagram in your pattern. Check out the video on creating this unit.
Video on creating Parallel Flying Geese
Session 3: Toffee
Block E is the Five Spot Block. You get a break! No new techniques for this block. This pretty block is made from five Square-in-a-square units and four Corner Square Triangle units. If you need a reminder, check out the videos from Session 1 and Session 2.
Block F is the Strawberry Smoothie Block. You’re getting pretty good at the Corner Square Triangle units by now! In this block, the new unit to learn is the Split Quarter Square Triangle. Who names these units anyway? I find some of the names so confusing and not at all descriptive. Why do we end a square unit with the word Triangle? Okay, I’ll not complain. It’s not like the names of the units are going to change just because I find them confusing, but can I get a nod? Seriously. Moving on.
My confession: When I was a new quilter, I was afraid of triangles. I did not sew anything with triangles for over a year. Yep, a ninny. Finally, when I was coerced into sewing a block with triangles by my sister, I was shocked that they were not as tough as I had imagined. I, therefore, embraced the triangle and decided curves were to be feared. lol. The Split Quarter Square Triangle would have had me running for the door. It looked sooo hard. It isn’t. Plus, this unit goes together so fast. Check it out.
Subsequent Sessions
All the blocks and techniques to make the blocks are covered in Session One, Session Two, and Session Three, the first three months of the Block of the Month program. Now, we can focus more on the color therapy and not just the block construction. Have you had a chance to check out the Optional Appliqué-tion of each session? The optional projects were geared to encourage diving deeper into the psychology of color.
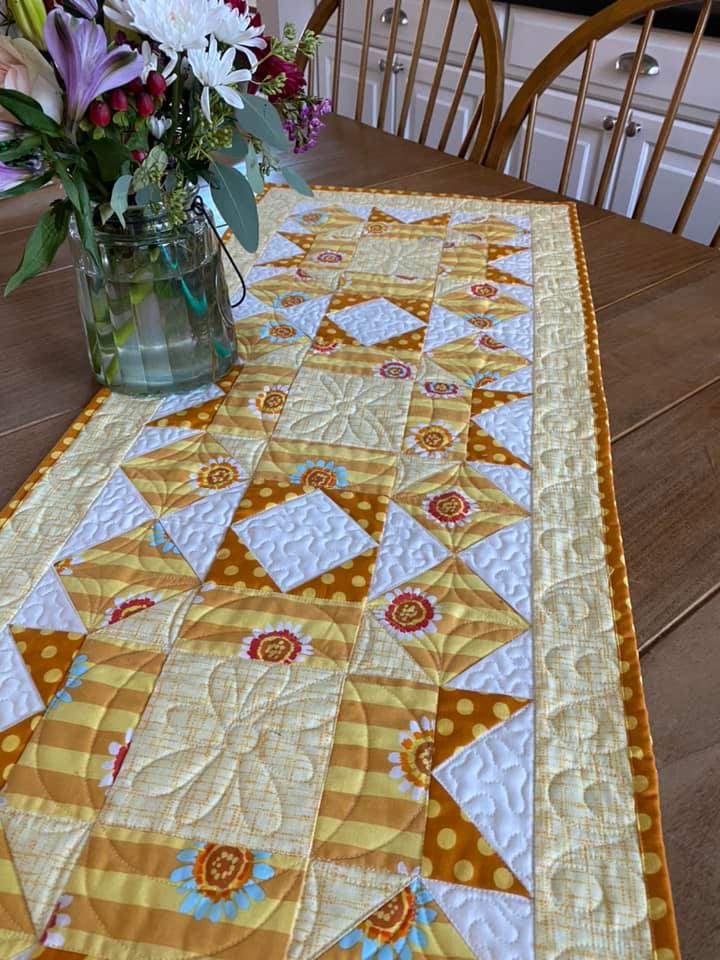
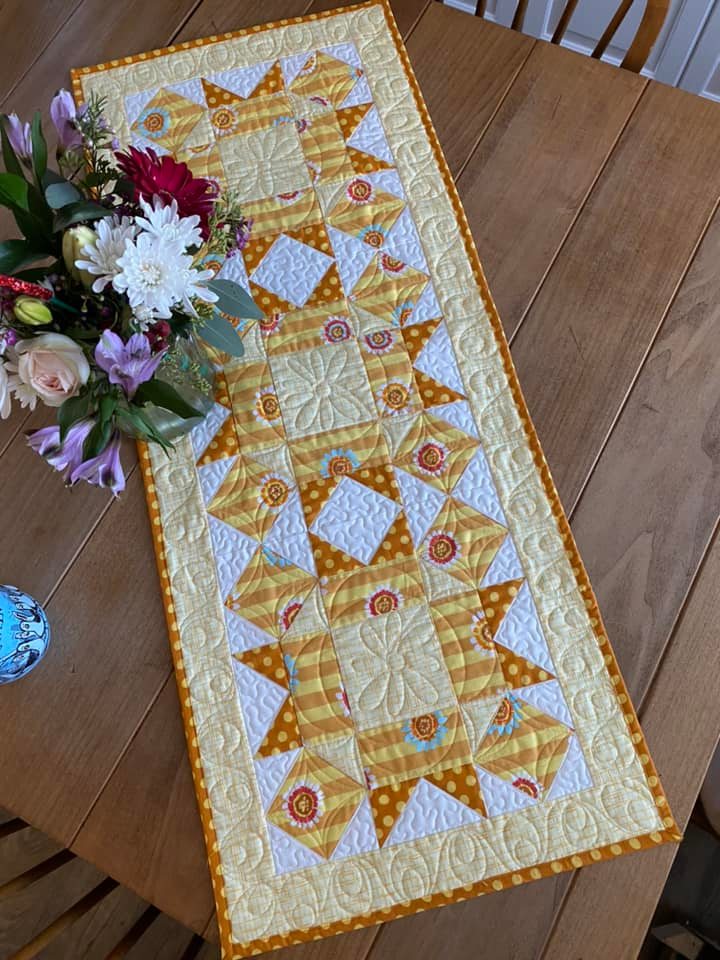
Session 1 Optional Appliqué-tion; Happy Yellow Runner
Session 2 Optional Appliqué-tion; Gold Kitchen Quilt (aka potholder)

Session 3 Optional Appliqué-tion; Toffee Car Pillow
