I love beginner quilters. I love the quilters that have been around the quilt block a few times too but, I love the beginners. I teach the Start Quilting class at my local quilt shop (pre-covid). Though this pattern would not be considered beginner level, I do try to break it up into small bites so that a confident beginner can do it. A few of my rules:
- Be a member of the Close Enough Club. I give myself 1/16″ grace. If it is about that off, then I let it go. I know when it is quilted, has loft from the batting, you’ll never see 1/16th”. Besides, with my memory, give me a few weeks and I’ll not remember where my less-than-perfect line-ups were. I’ve been quilting for a few decades. Ouch, that hurt to say that. And my precision is pretty close. If you’re new to quilting, your “Close Enough” might be 1/8″ and that cool. I sure don’t mind! I want this hobby to be fun! Just know that if I seam rip something twice, the third time it stays no matter how off it is!
- Know when to take a break. Sometimes you’re just not in the right mindset. When learning a new technique (or sewing in general!) cheer yourself on. Negative self-talk can ruin your fun.
- Stay organized! Three hole-punch your pattern and stick it in a binder for easy reference. Keep zip baggies handy to keep block pieces together.
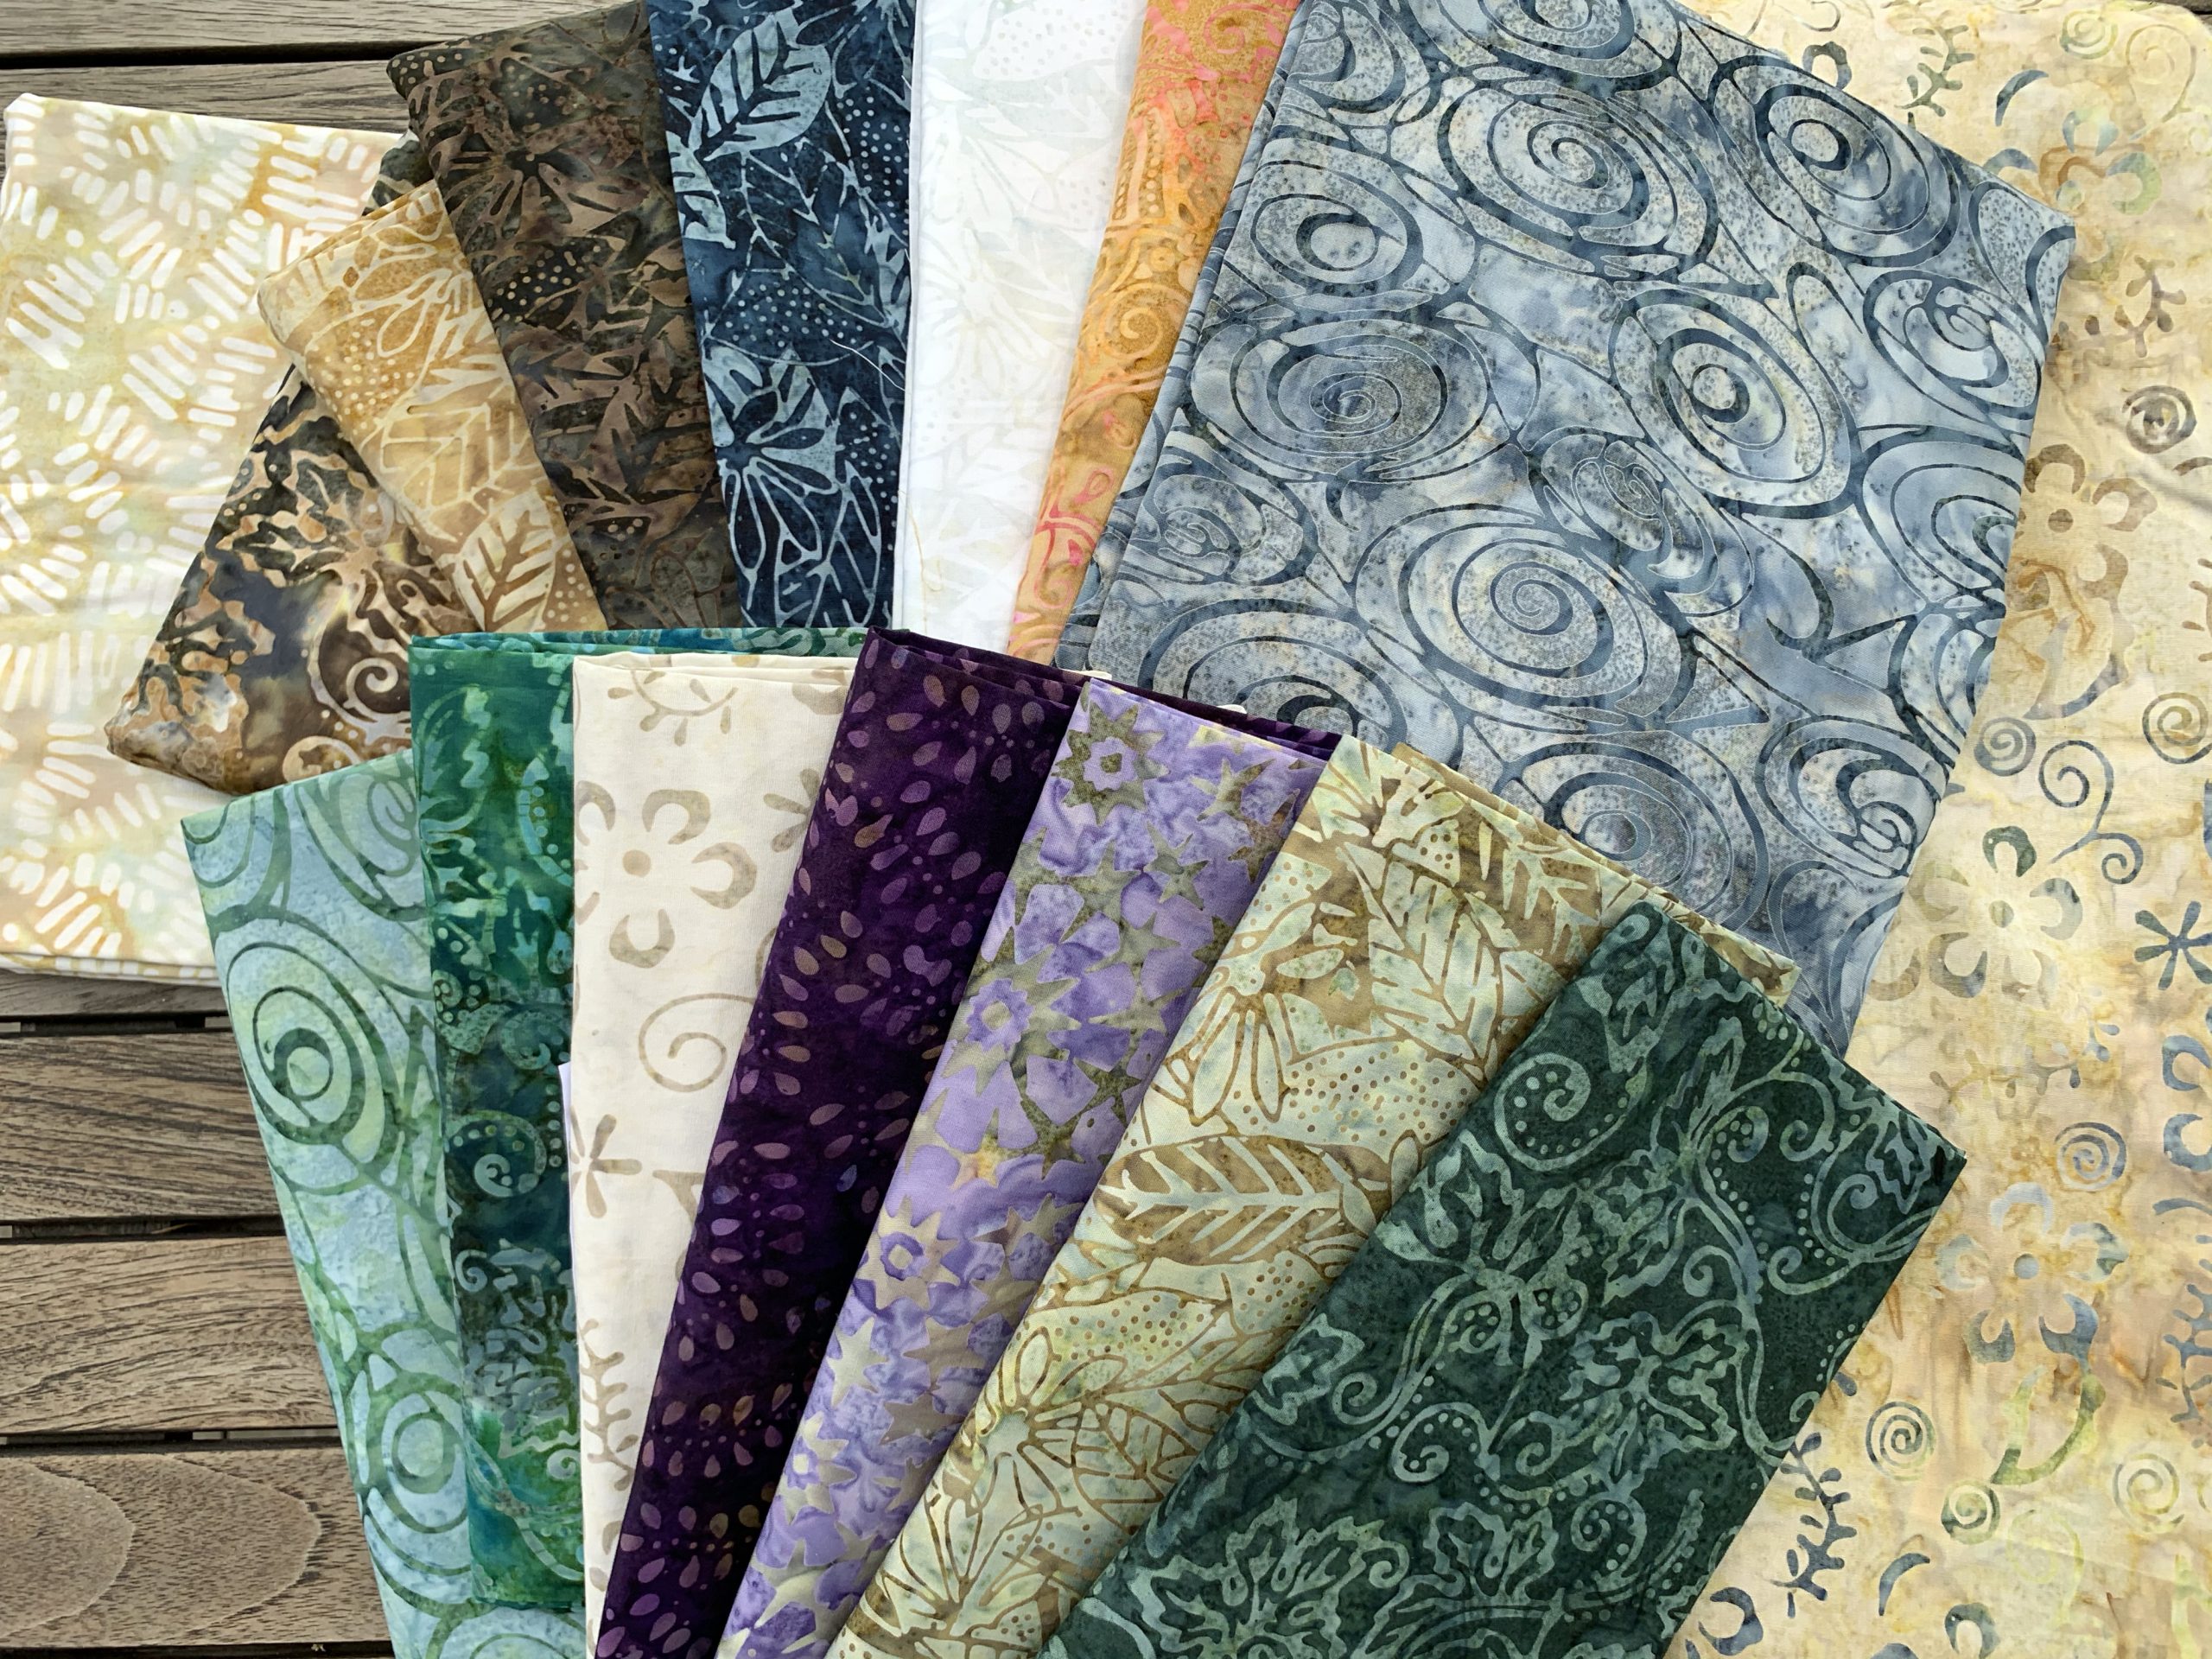
Important Cutting it up: Most times, when I create a Block of the Month pattern, I call out a comfortable amount of extra yardage. I don’t want too much leftover, just enough to cover cutting mistakes and a bit to throw into your stash for a future scrappy project. I also like to make creating the quilt kits easy for shop owners and keep kits affordable for the customer. This quilt was a bit challenging in creating that balance. A few of the fat quarters I called out, are just a bit tight and won’t be forgiving if you make a drastic cutting mistake. So, here is what I suggest. If you’re the Queen of Mis-cuts, like me, pre-cut your fabric bundle so you’re sure to have large enough cuts for the later months. If you’re working from a monthly mailing amount, you’re fine. The shop did all the pre-cutting for you. SAVE all your extra fabrics for future months!
Cutting diagram for Fat Quarters divided up for monthly amounts. Click WillowLake.CuttingGuide to download the diagrams. Now, you’re set. If you do have a big mis-cut and are short fabric, don’t worry! Batiks are easy to substitute. Match color and value, print variations will be fine. Or you can purchase just a bit more of the fabric you mis-cut.
If you’re working out of your own stash, download a swatch sheet to help you stay organized. Find the Swatch Sheet at The Good Stuff tab in the header above.
Lisa’s Pointers for Practically Precise Piecing
When I teach a class, we always start off checking the seam allowance. The seam allowance is usually blamed when the block doesn’t turn out the correct size. However, there are four elements to making the block the correct size.
- Cutting
- 1/4″ seam
- Alignment
- Pressing
Cutting your fabric. Be sure you iron out all wrinkles and folds (steam is fine). Have good lighting, your pretty glasses on, and a sharp rotary blade. Always stand when cutting. Sitting is convenient but standing over your ruler allows for better accuracy. Always cut once away from your body and don’t see-saw back and forth. If your blade is skipping or you’re having to cut several times, time for a new blade. If your ruler is sliding, try non-slick grips on the back and anchor your pinky on the non-cutting side of the ruler. Use a flat hand when holding your ruler in place. No spider fingertip hold, the ruler will slide on you.
Lora and I filmed these tutorials while in Shelter in Place. They are homegrown! There were no nail salons open, so yes, we have “natural” hands. Enjoy our silly antics. See us plop our hands down on the table surface and shake the camera. And our dogs! Can they stay quiet? Lora, watch your head… One, two, three, Action! Brought to you by the letter A and the number 2.
Your 1/4″ seam needs to be accurate. Most modern sewing machines come with a programmed setting for piecing. On many models, it is marked by a P. I can’t tell you how many students I have helped find the correct setting for their quarter inch seam. They’d been using tape when all along their machine had a perfect setting for them. Be sure to know your machine’s settings and have the proper foot. MEASURE that quarter-inch before you start.
If you like a ruler/seam guide, you can purchase one here.
Alignment is so important. Some ladies sew like it is a race. I’m guilty too. And none of us like to be last in the classroom. But it isn’t a race and accuracy is more important than finishing first. Take your time. Align that fabric up perfectly. Take time to pin. Ask yourself, “What’s the point?” When sewing points, be sure to align the ends at the point. If the fabric is slightly long or short at the other end it isn’t going to matter as much as getting your point to be at the quarter inch seam.
Pressing Matters. Press first with the seam closed (no steam). Open the pieced item and from the wrong side of the fabric, knock the seam, with the side of the iron, the direction the arrow shows in the instructions. You’re just knocking it over. Then from the front do the same, making sure the seam hadn’t folded over on itself. When pressing, I hold one side of the fabric taut while pressing with the iron – not tight enough to stretch the fabric but enough to press the seam well. No steam in my iron unless I want the piece to grow.
Enough of the blah, blah, blah, Let’s Get Started!
Month 1: Wild Ducks Block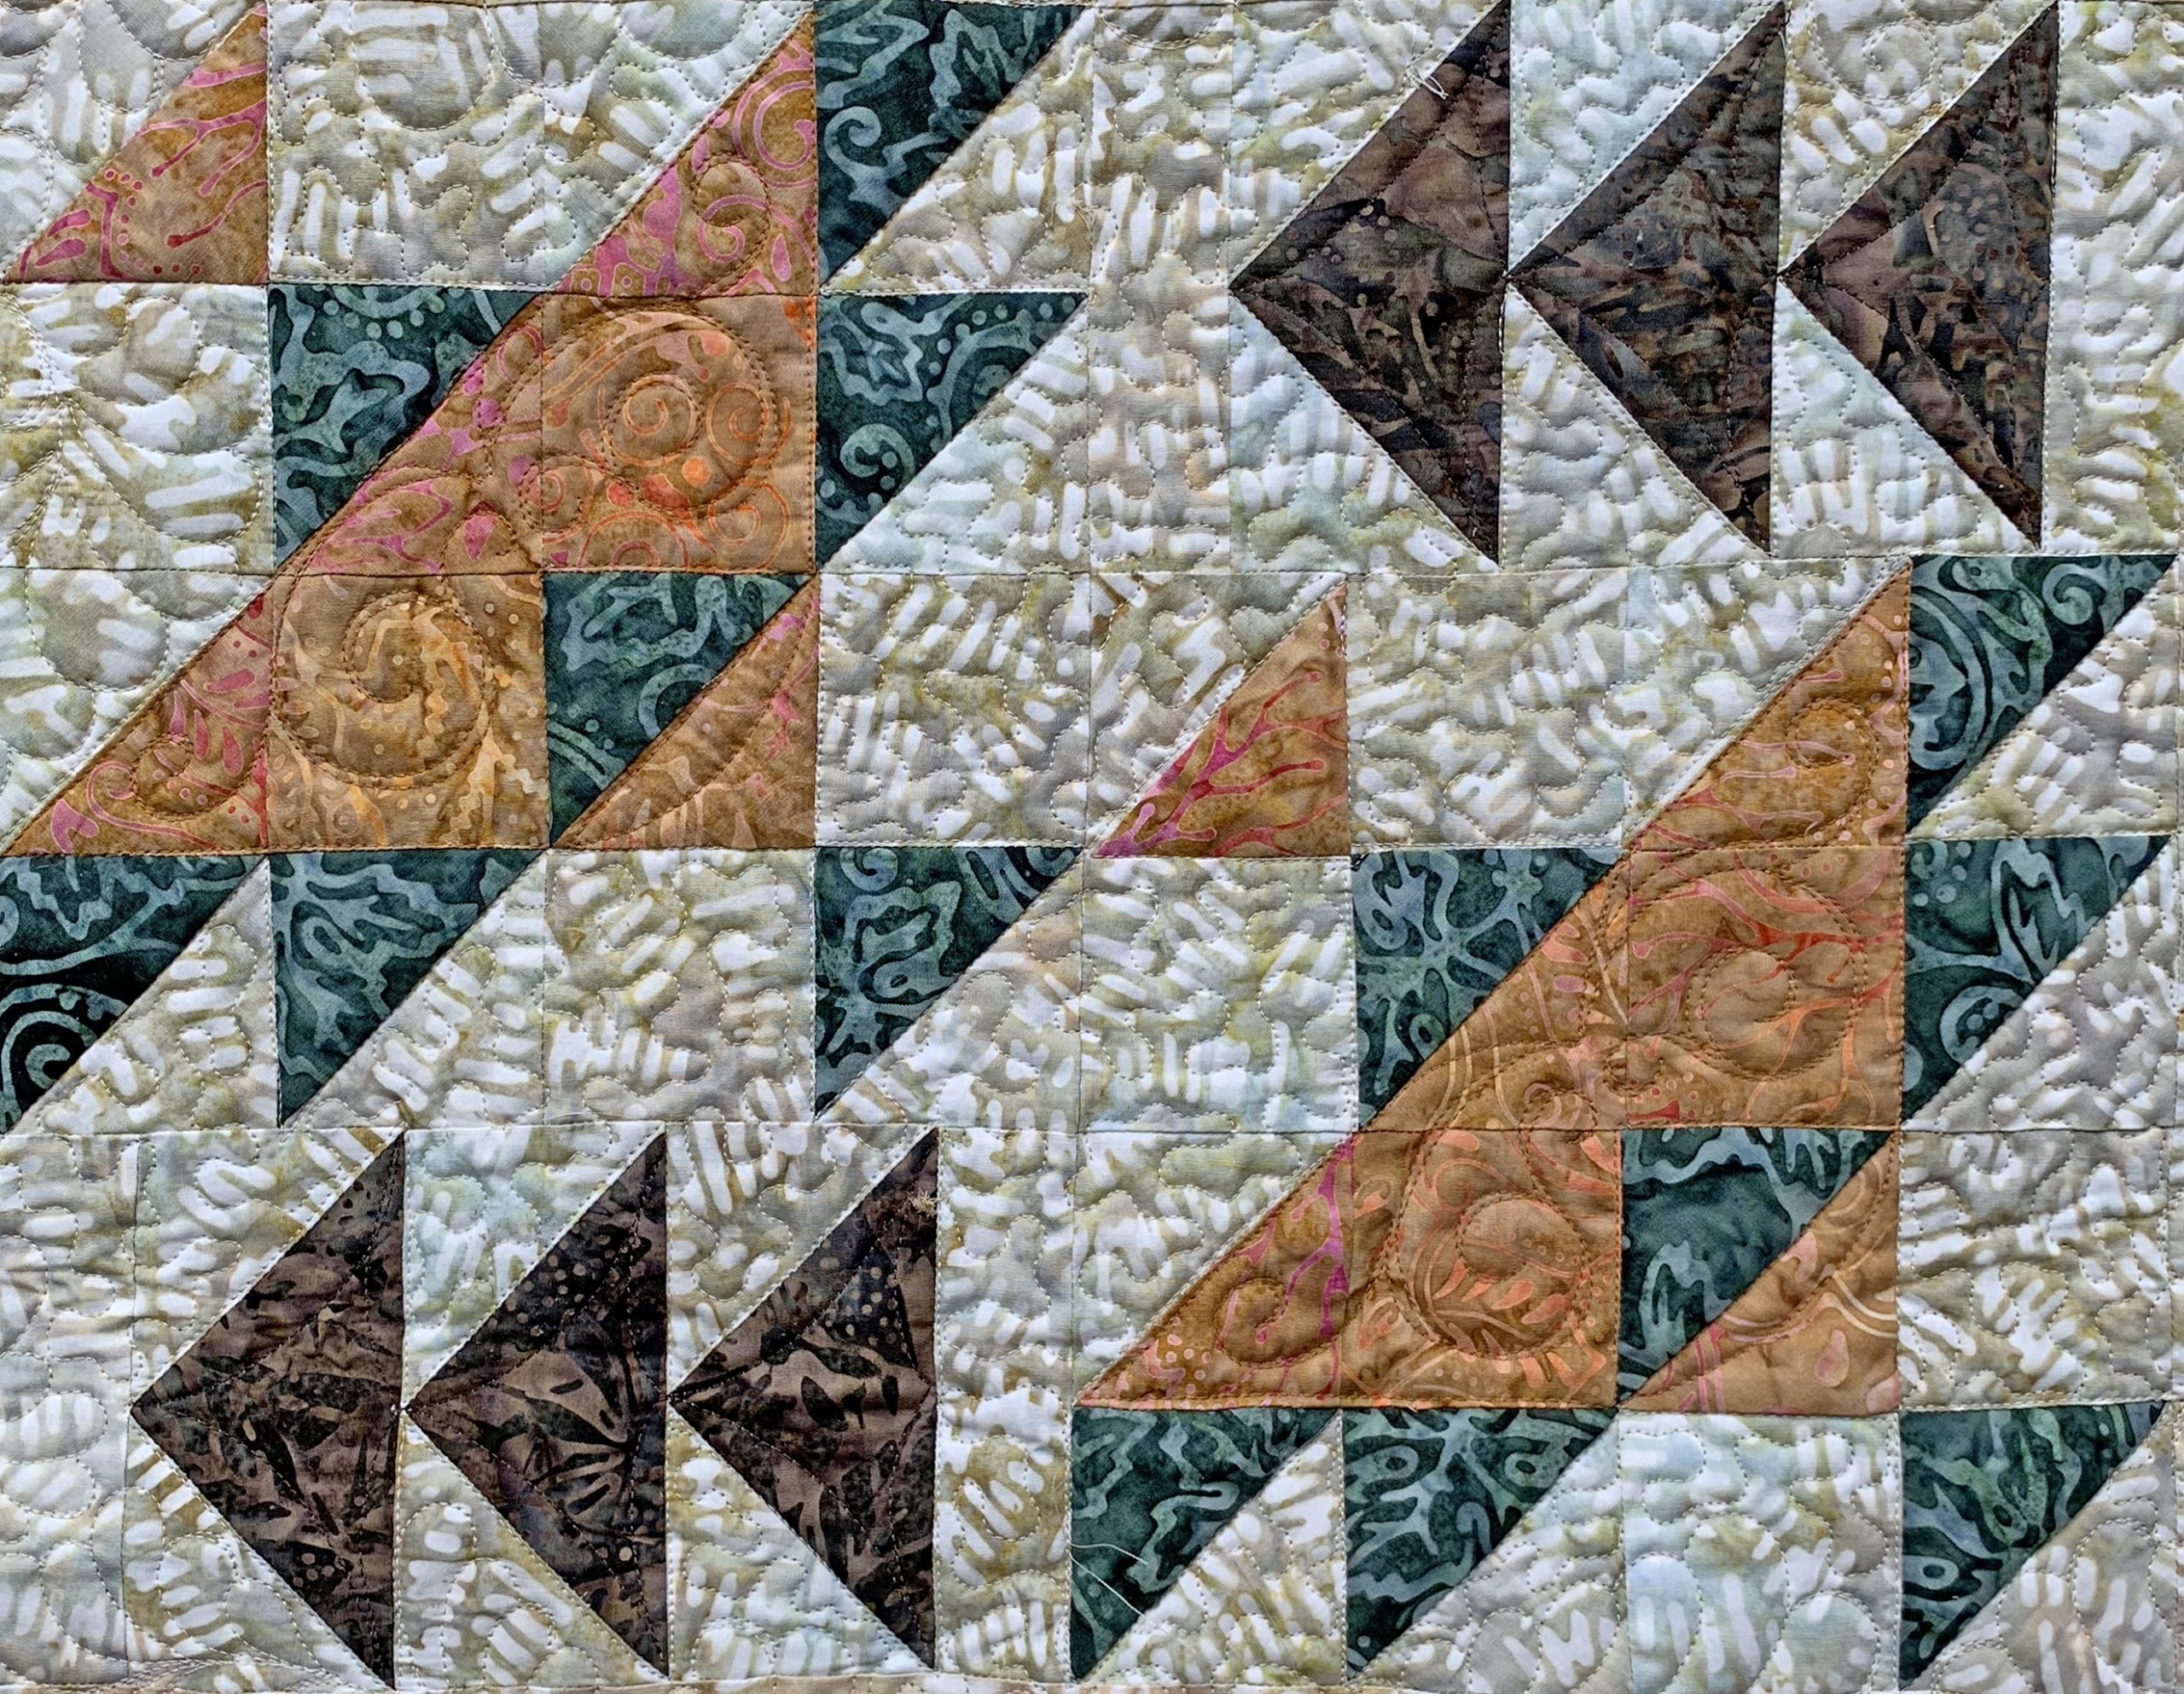
Month 1 starts off CRAZY! All those abbreviations, HST and FG and 1x, 2x, 4x, 6x, and 8x!! Yes, I agree, it looks very confusing. But, if we treat it like eating an elephant, one bite at a time, you’ll find you’ll have your block accomplished in no time. Read every word. If it didn’t sink in the first time, you may be an auditory learner so read it out loud.
HST stands for Half Square Triangle. That is this block.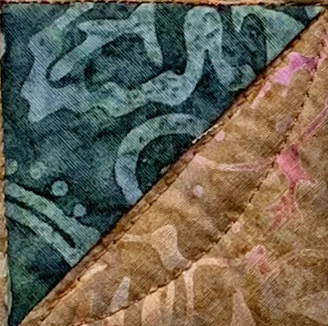
FG stands for Flying Geese. That is this block.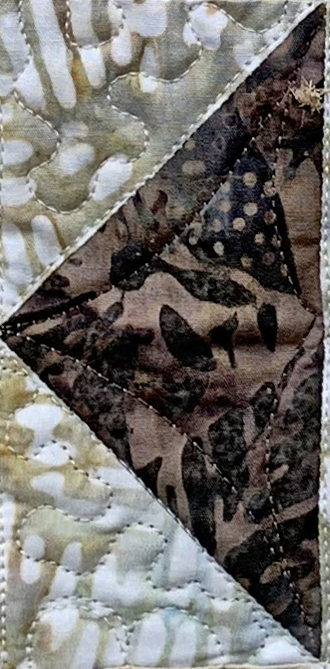
These two blocks are the “building blocks” of piecing. This Block of the Month pattern is filled with HSTs and FGs. Hopefully, by the time you’ve finished your last block, you’ll have mastered the “building blocks” of quilting.
On page 4 of your pattern, you will see three ways to make the HST (Half Square Triangles). The first is a Two-at-a-Time Method (2x)
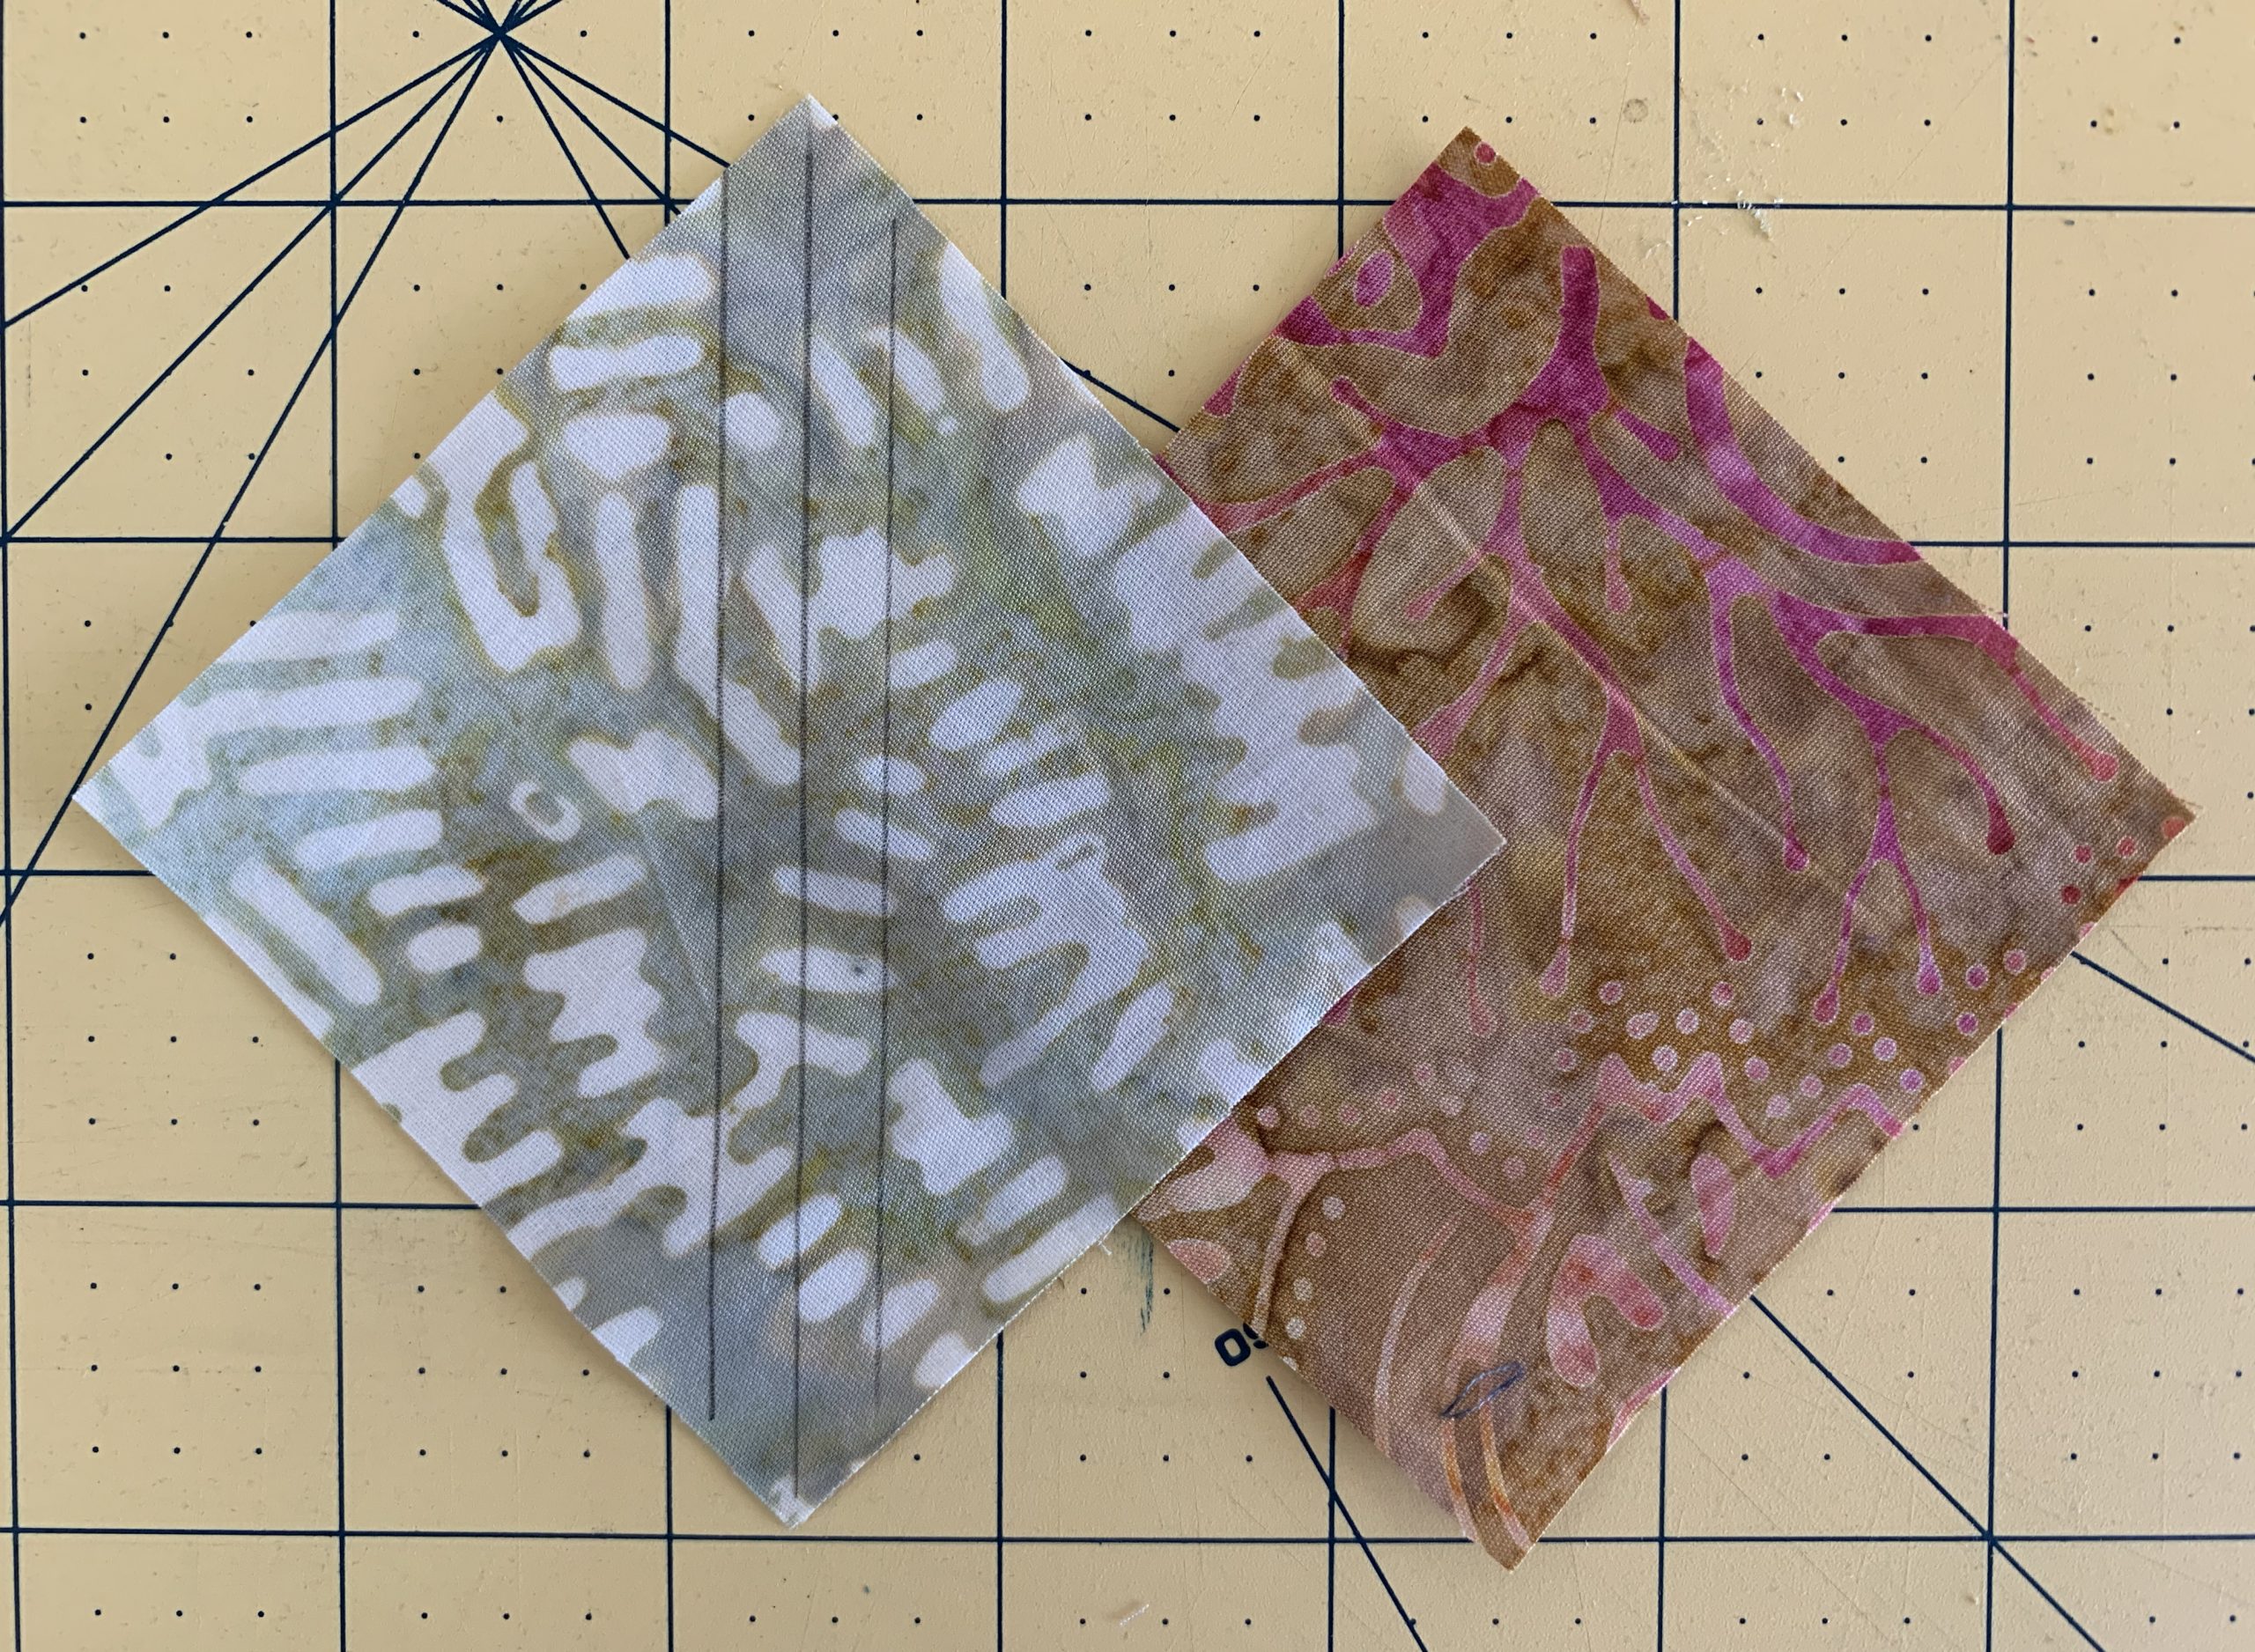
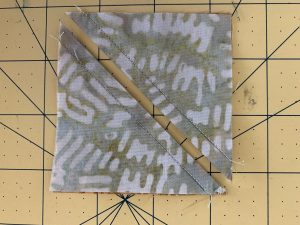
First, draw your pencil line from corner to corner. My sister, Lora, likes to draw her 1/4″ line from the centerline. Shown above. She sews on her drawn lines. The directions in the pattern are to draw a centerline and sew a quarter inch from the center drawn line. If your seam guide is difficult to follow, then do as Lora does and draw your 1/4″ seam lines as well. It helps with accuracy!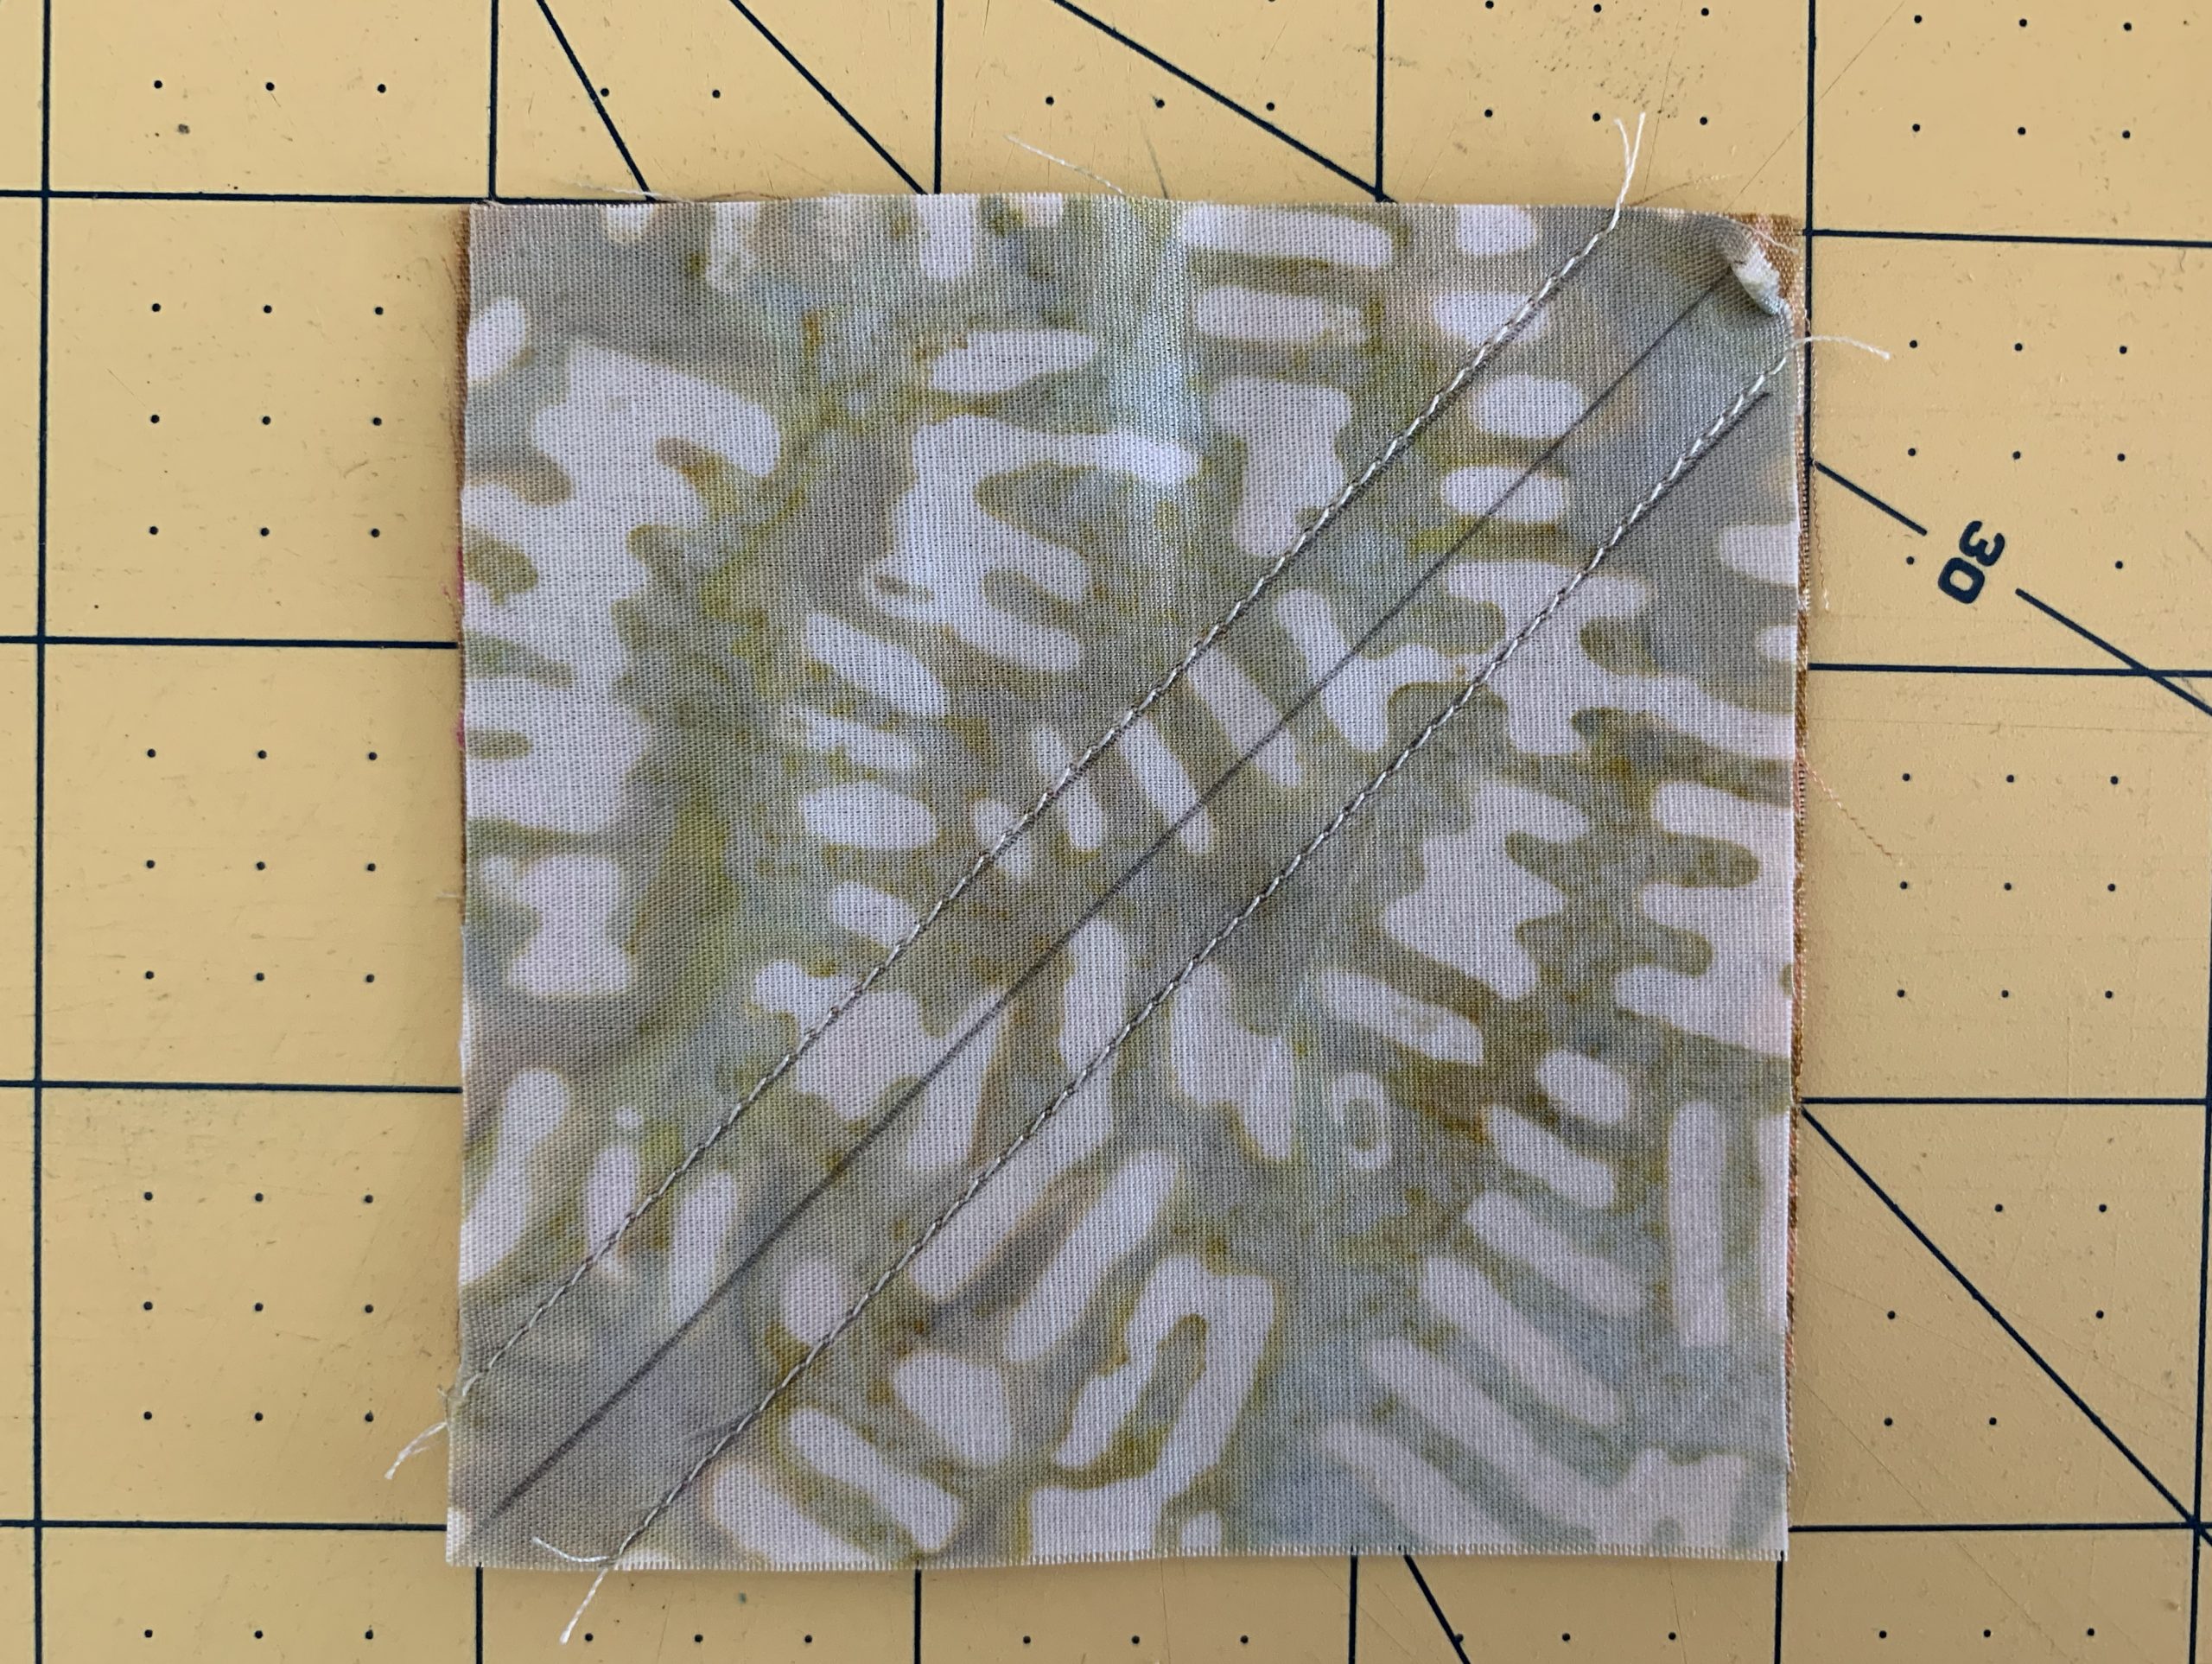
 The next step is to cut on the center pencil line. Press the seam as directed in the pattern.
The last step is to trim the HST to 2 1/2″. Align the diagonal line of your square ruler along the seam of the half square triangle. You’ll trim slivers from all four sides.
This first month’s video is terribly long but we had LOTS to cover. In this video, we talk about the basics. What in the world is FG and HST and 1x, 2x, 4x, 6x, and 8x? We make sense of it all and walk you through the different methods of making multiple Flying Geese and Half Square Triangles. Then, finally, we get to assembling the block. Remember, these are homegrown videos. But our intent wasn’t to impress you with our video abilities, as it was to help you with your block.
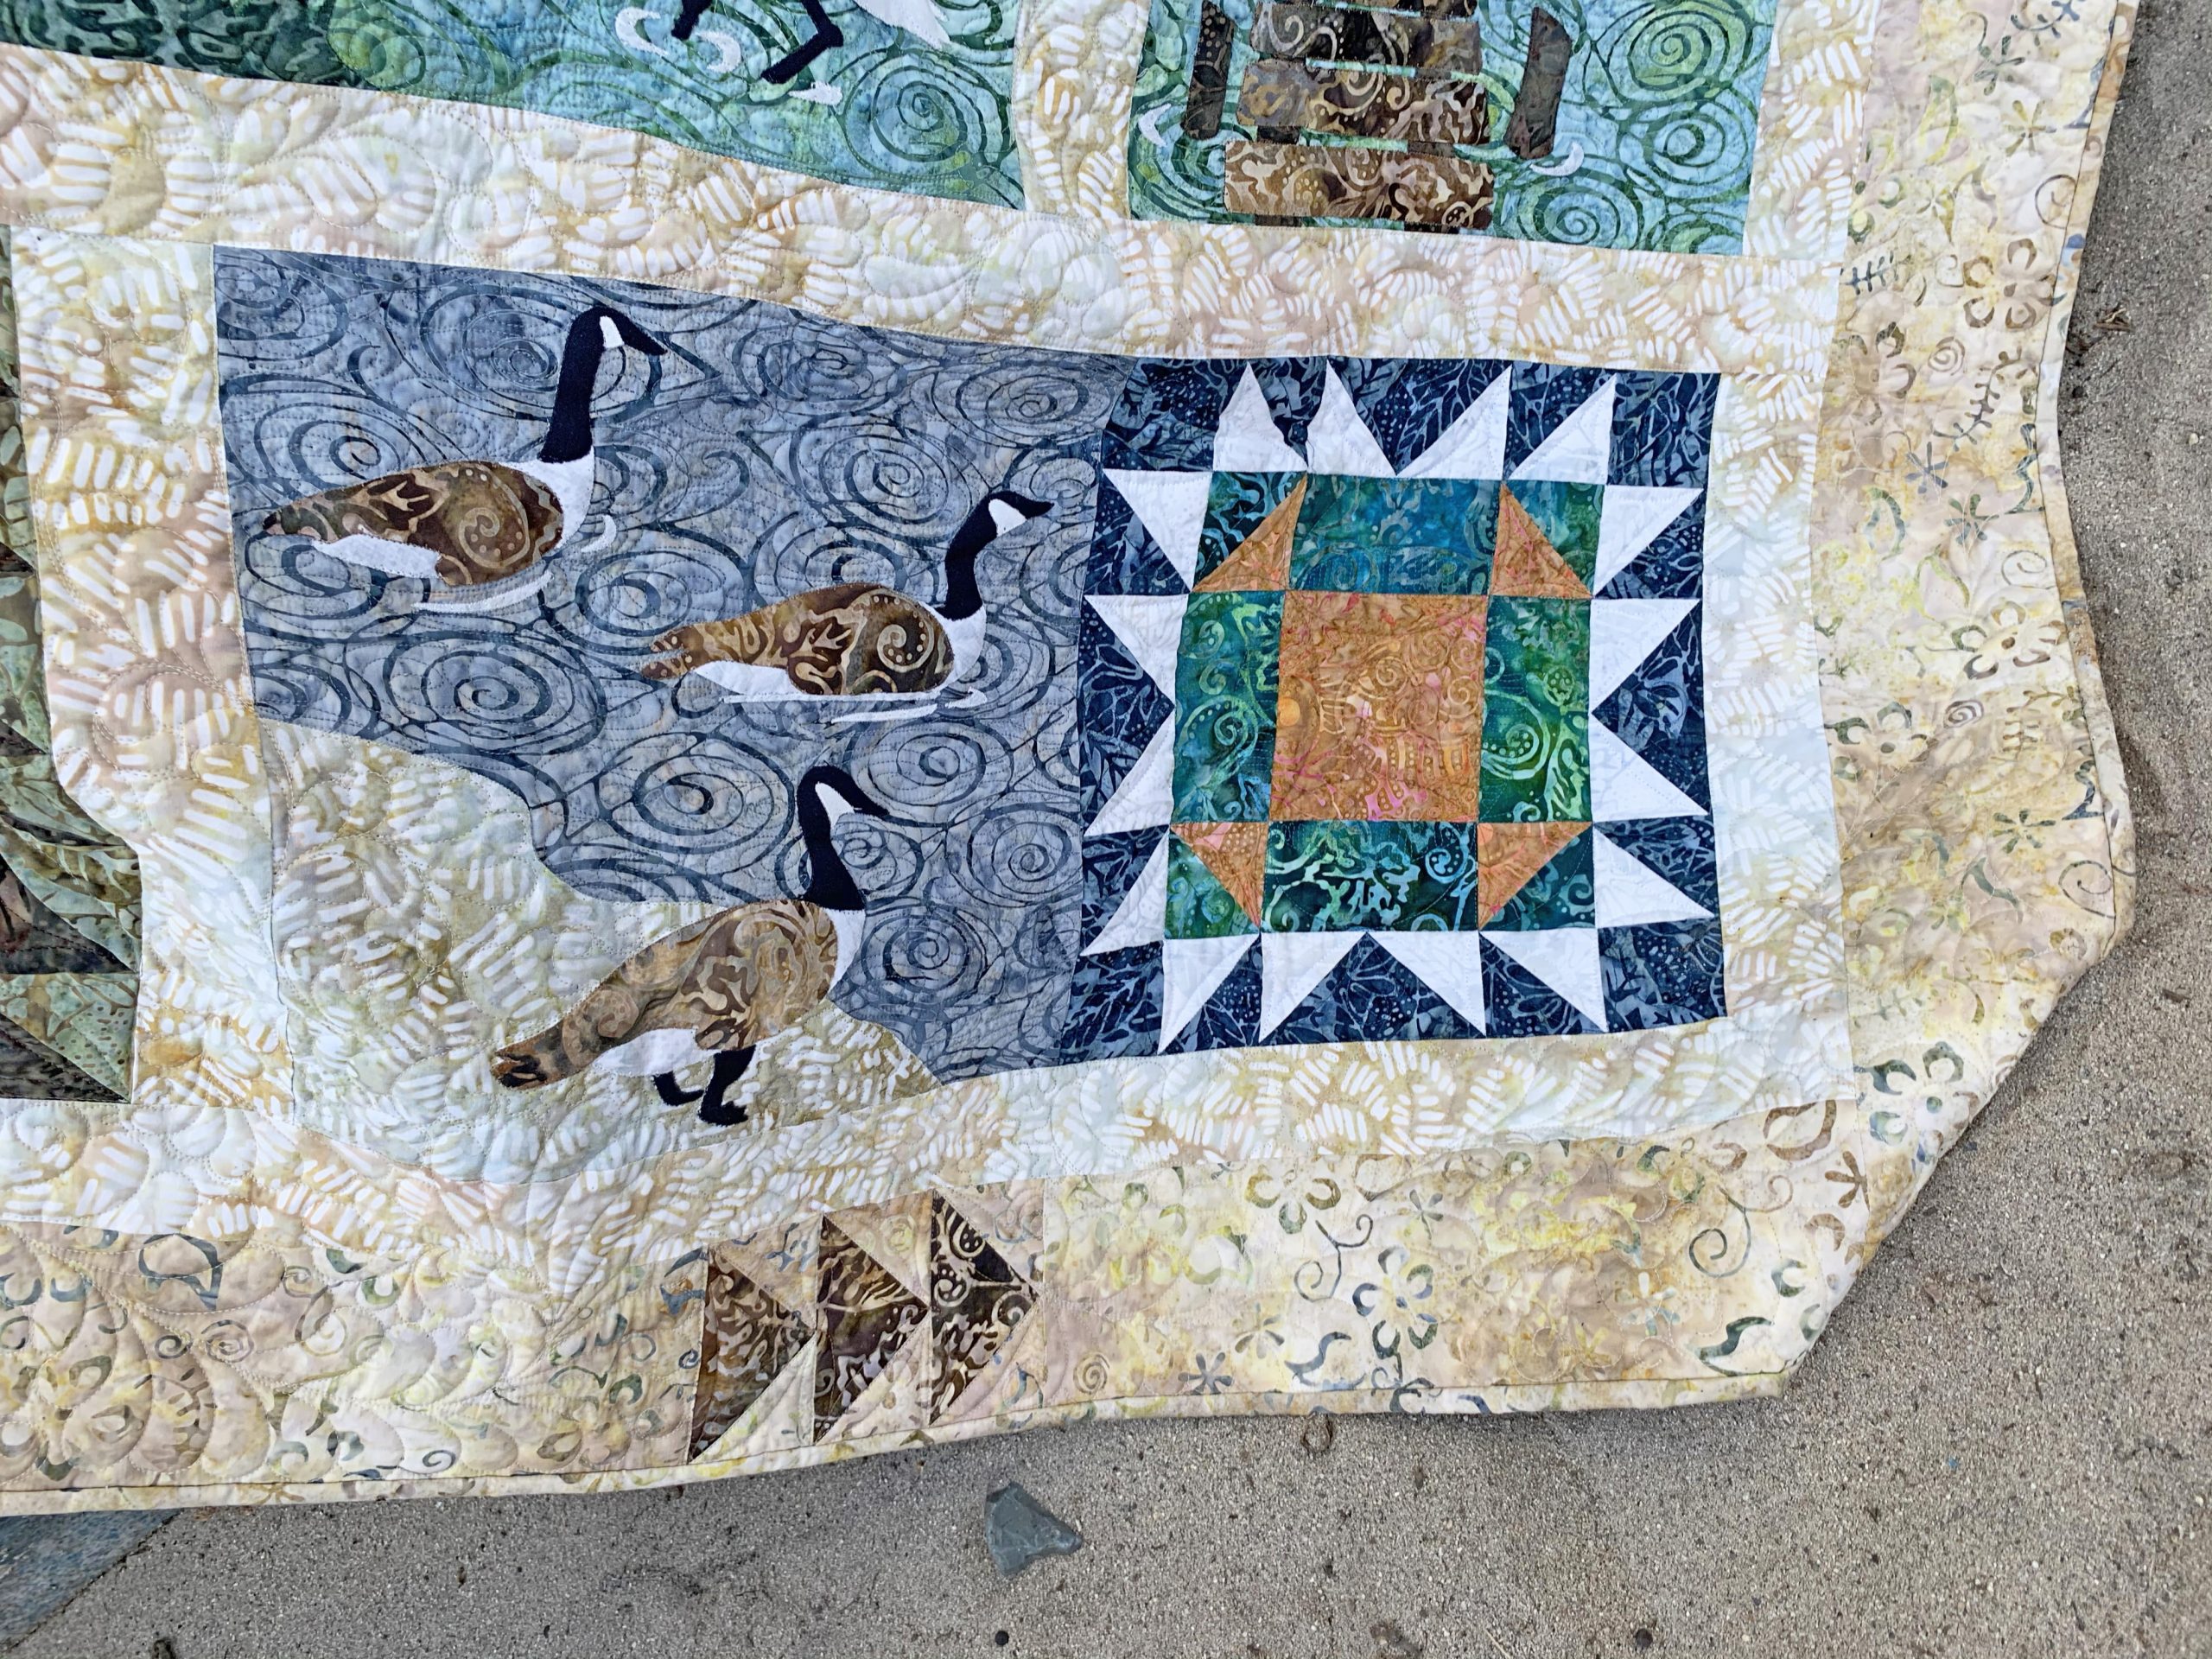
Month 2: Canadian Geese Block
This block was created with a raw-edge, double-sided, fusible web method. You’re very welcome to appliqué in whatever technique you like. I like to needle-turn appliqué when I have time. However, we tend to like the fast, easy, and accurate method of the fusible web. 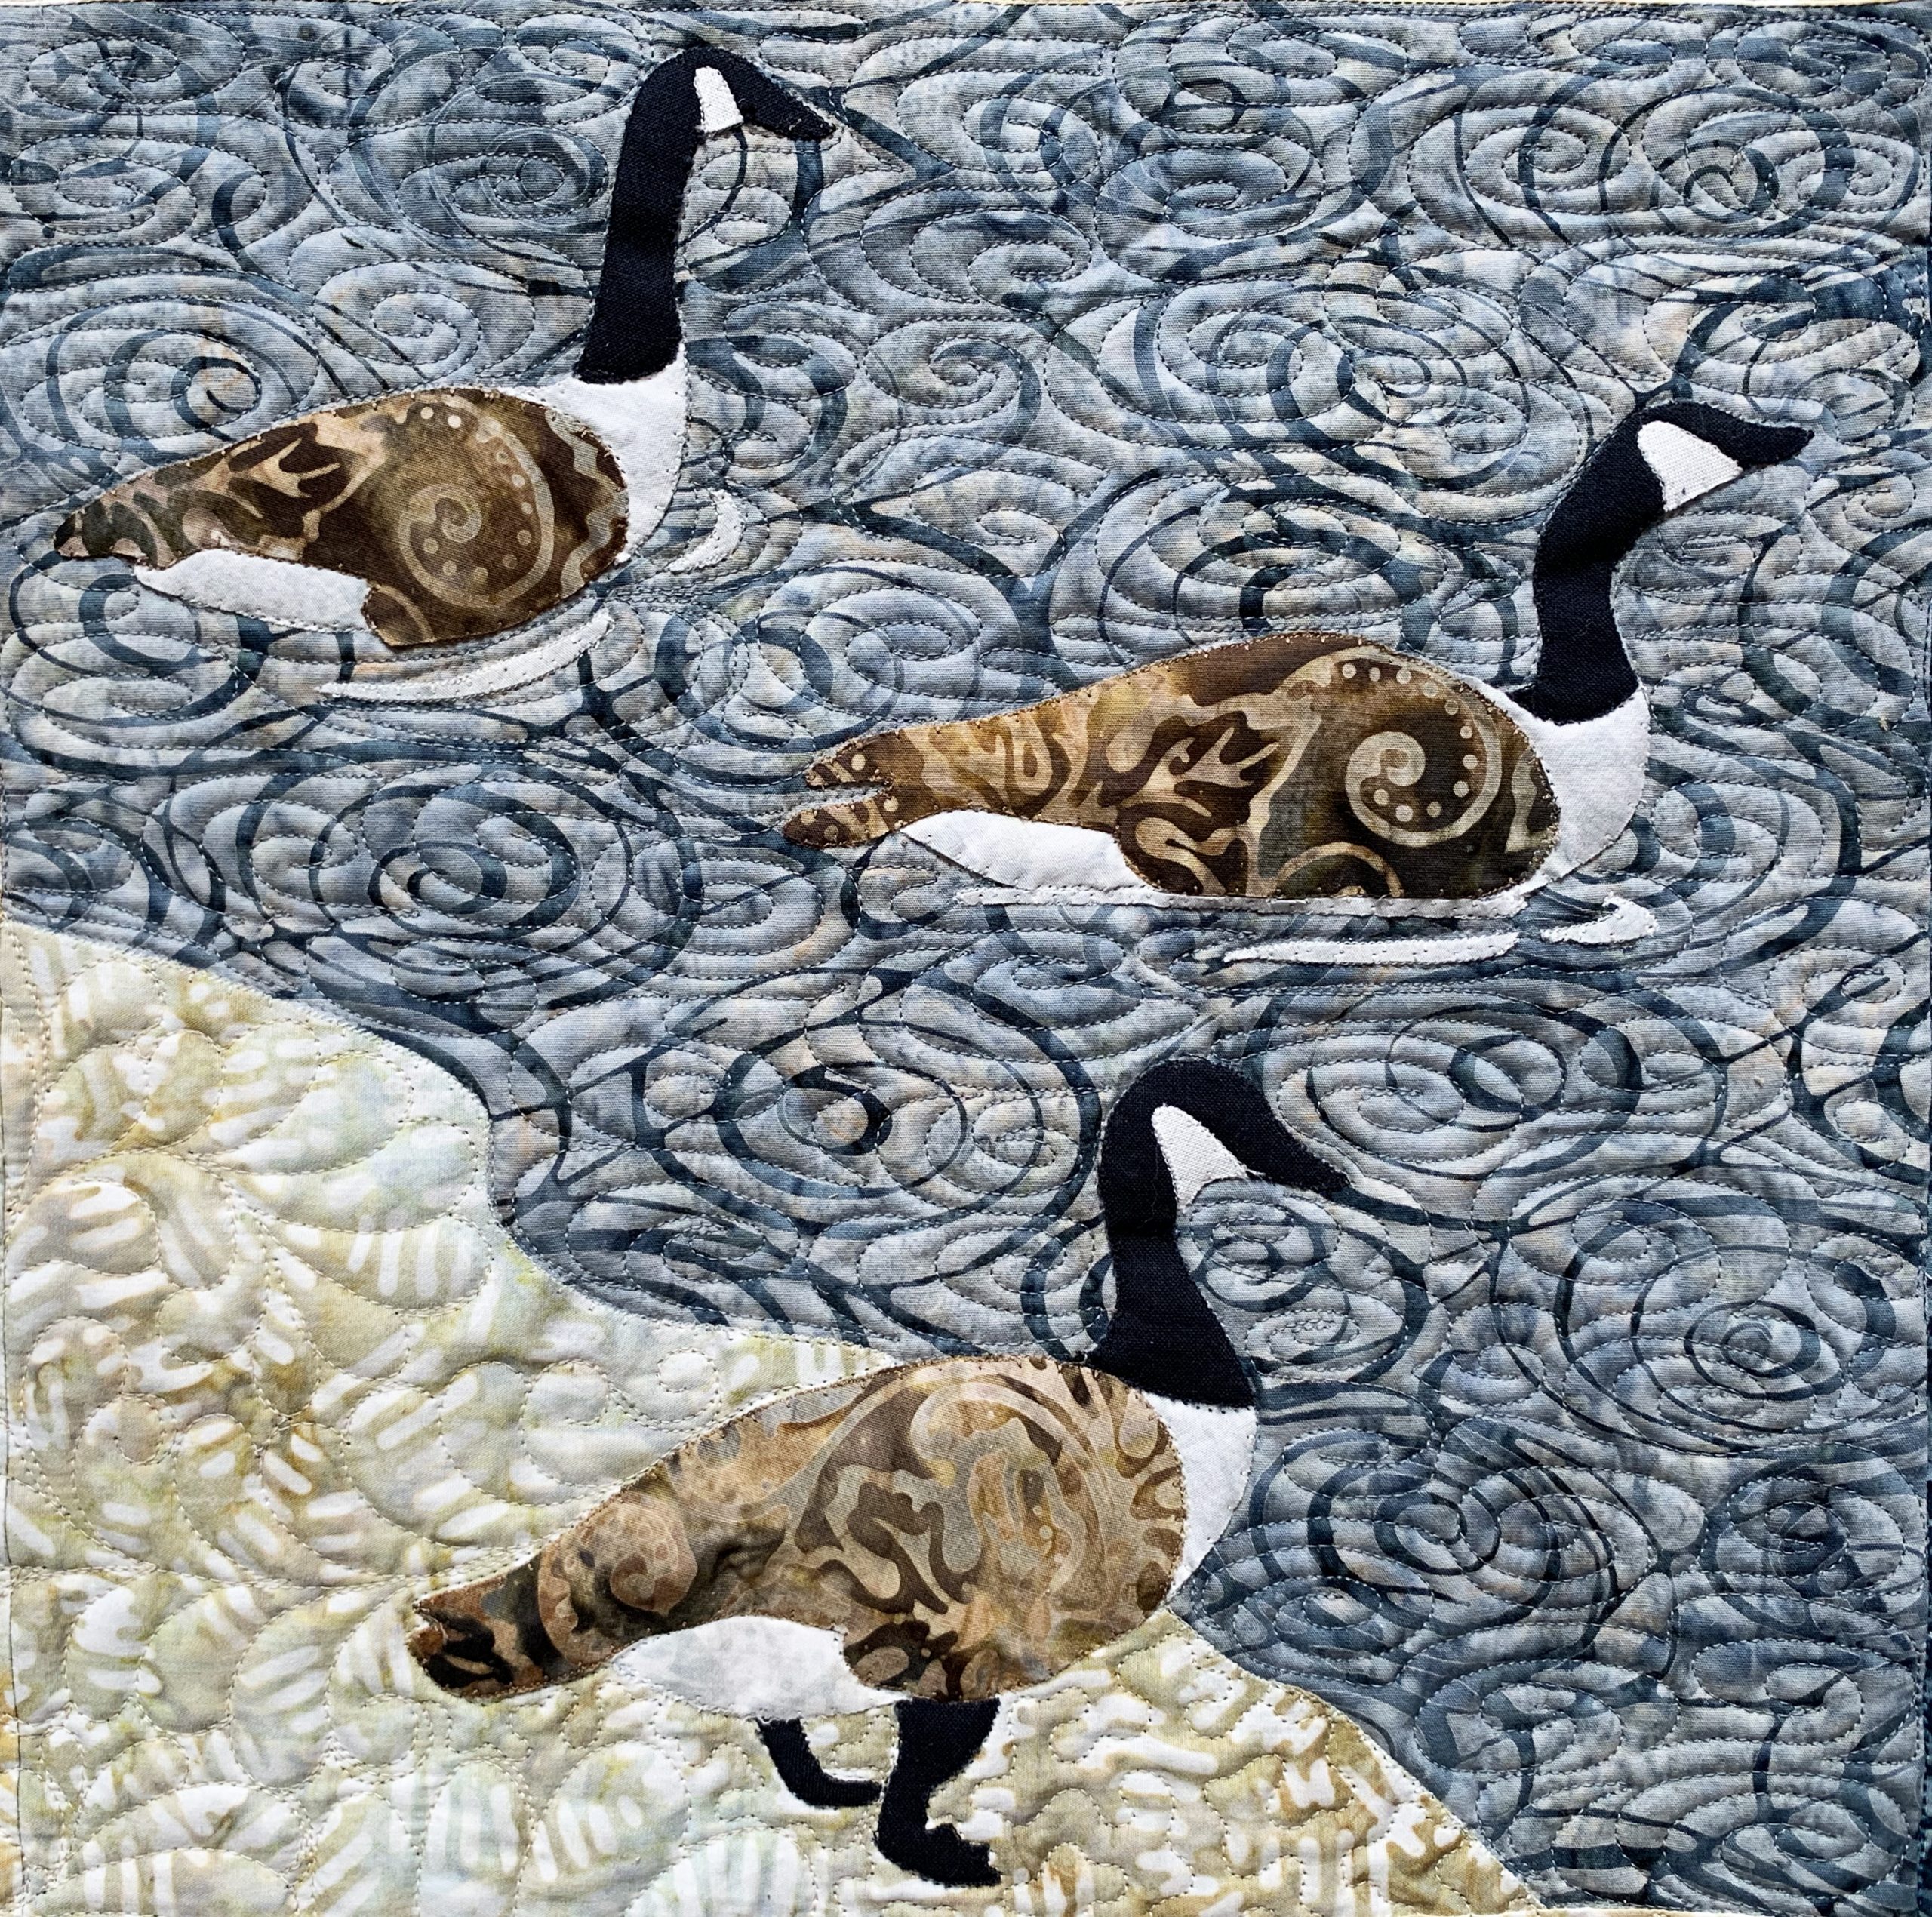
With our last several appliqué patterns, we’ve used a fusible web that can go through our inkjet printer. It eliminates the tracing! See the HeatnBond product image below. We like lite version. The featherweight version just doesn’t have enough product and overfuses too easily. I ended up needing to add appliqué glue when I used the featherweight version.
Your pattern includes reversed images of the appliqué pieces. Just put the page of the reversed images on the glass of your inkjet printer and one page of the fusible product in the tray and hit copy. Bam! You’re on to the next step that fast. Check out this video for fusible web appliqué instructions.
Products to Love for Fusible Appliqué
HeatnBond EZ print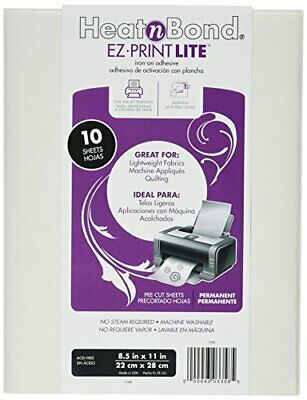
- Light Tablet
- Teflon Sheet
- Tweezers
- Perfect Scissors
- Fiskar Spring Scissors
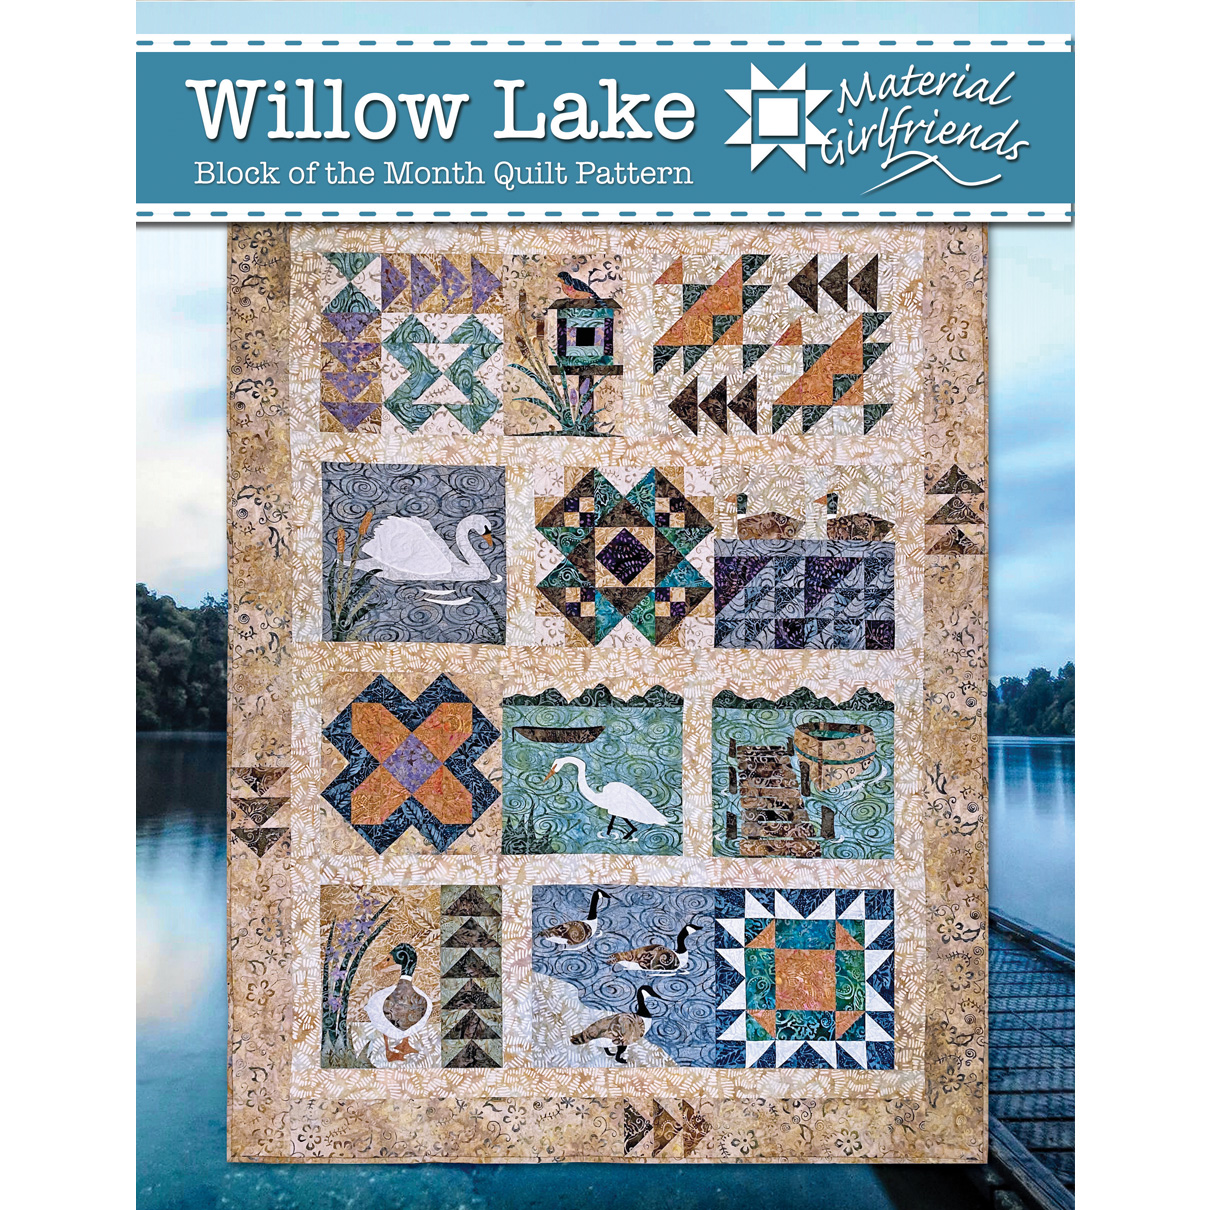
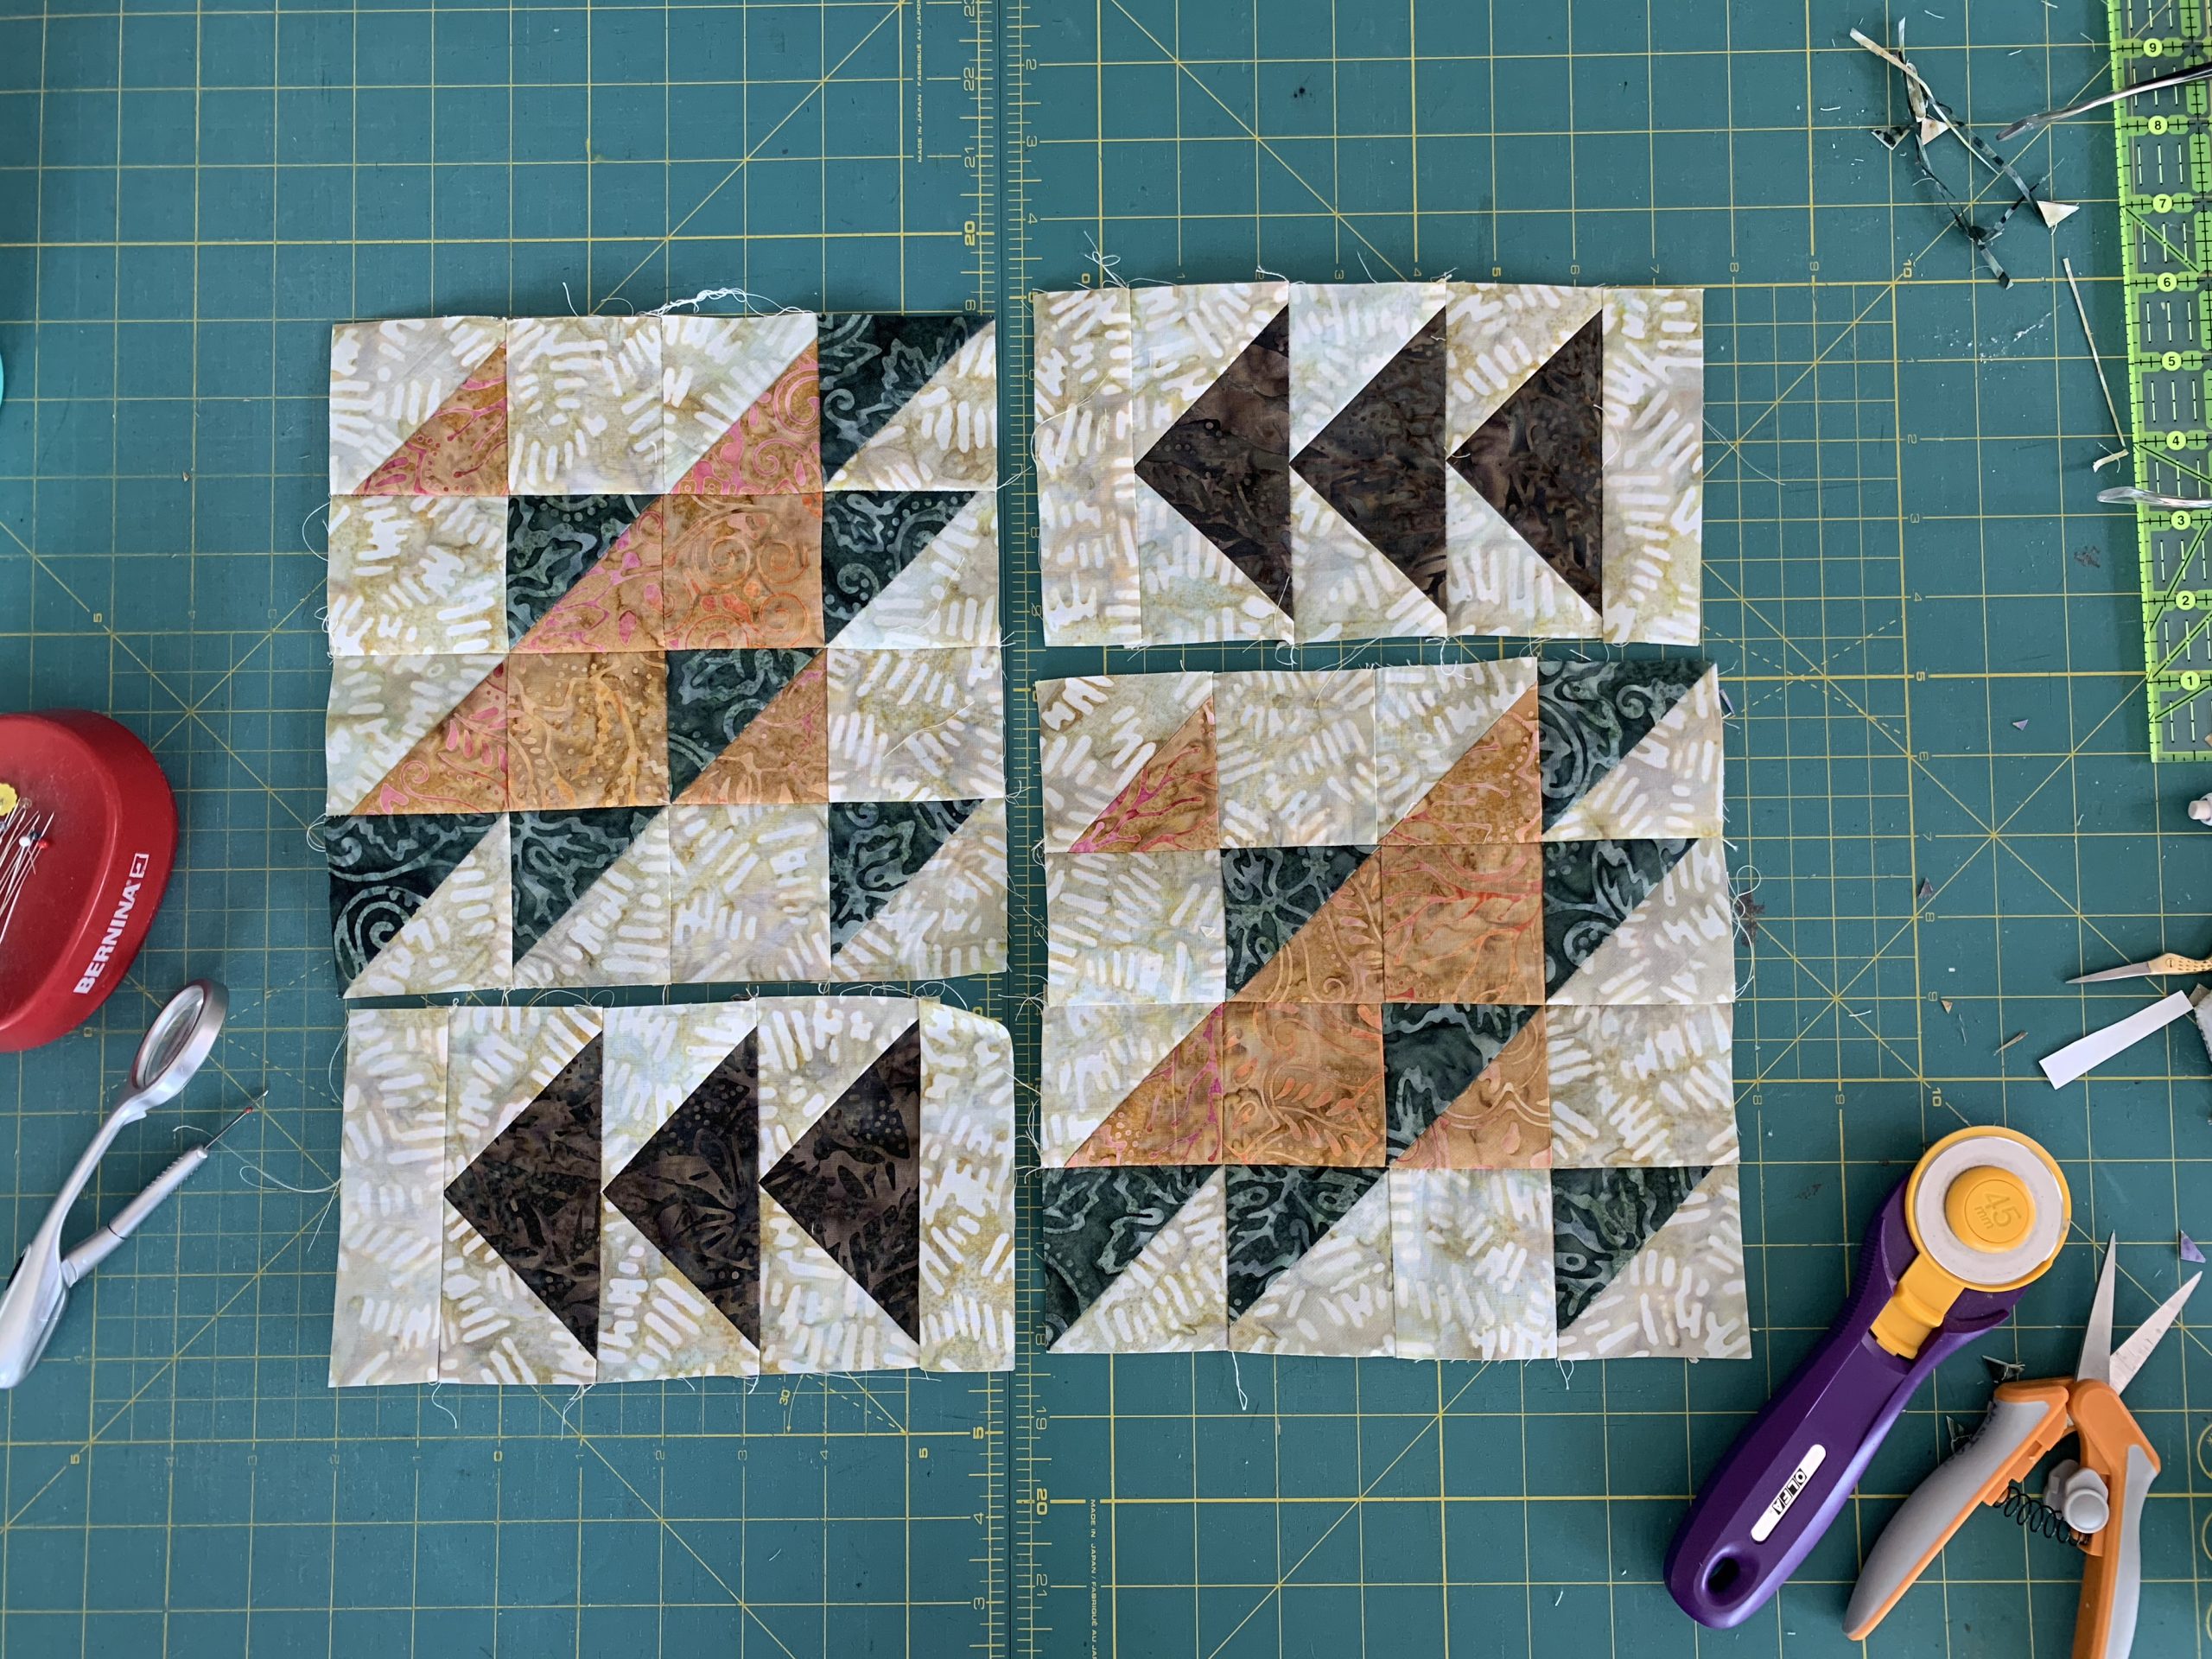
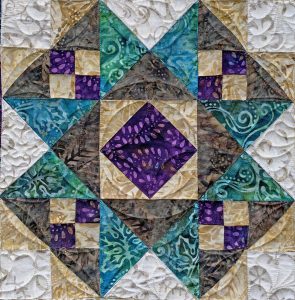
Month 3: Arizona Block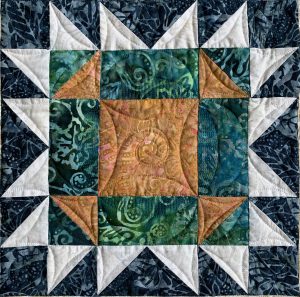 This is such a beautiful block. It was first published as “Robbing Peter to Pay Paul” in 1897 and was published as the “Arizona Block” in 1936. The design of this block is so flexible and can drastically change its look by just changing color placement! This four-color version is a sparkling star in the lower right-hand corner of the quilt. Block instructions and diagrams are on page 9 of the pattern. Check out this tutorial for helpful tips.
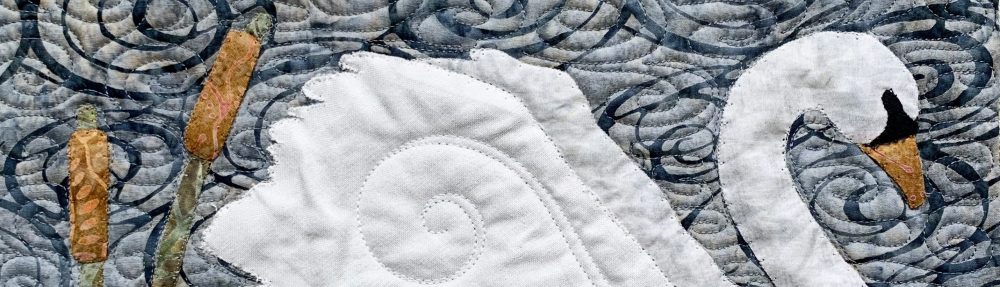
Month 4: Queen of Willow Lake Appliqué
I love this block. Swany is a huge bird that lives on Willow Lake. She is a widow, an old swan whose mate had died before we had moved to the lake. Though this swan is alone, Swany isn’t a loner. The beautiful bird has a small flock of Mallards that enjoy hanging out together.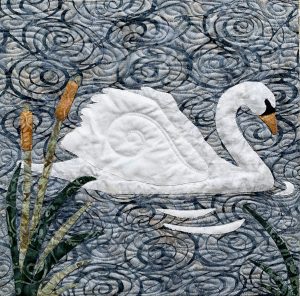
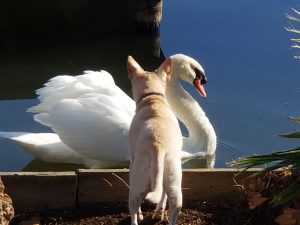 Kacey, my little dog, is in love with this beautiful bird. The funny thing is, Swany enjoys strutting for Kacey too. Though their love was never meant to be, I believe they deeply respect and admire each other.
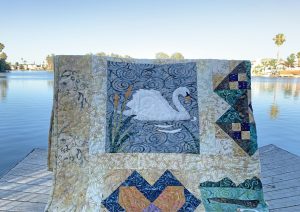
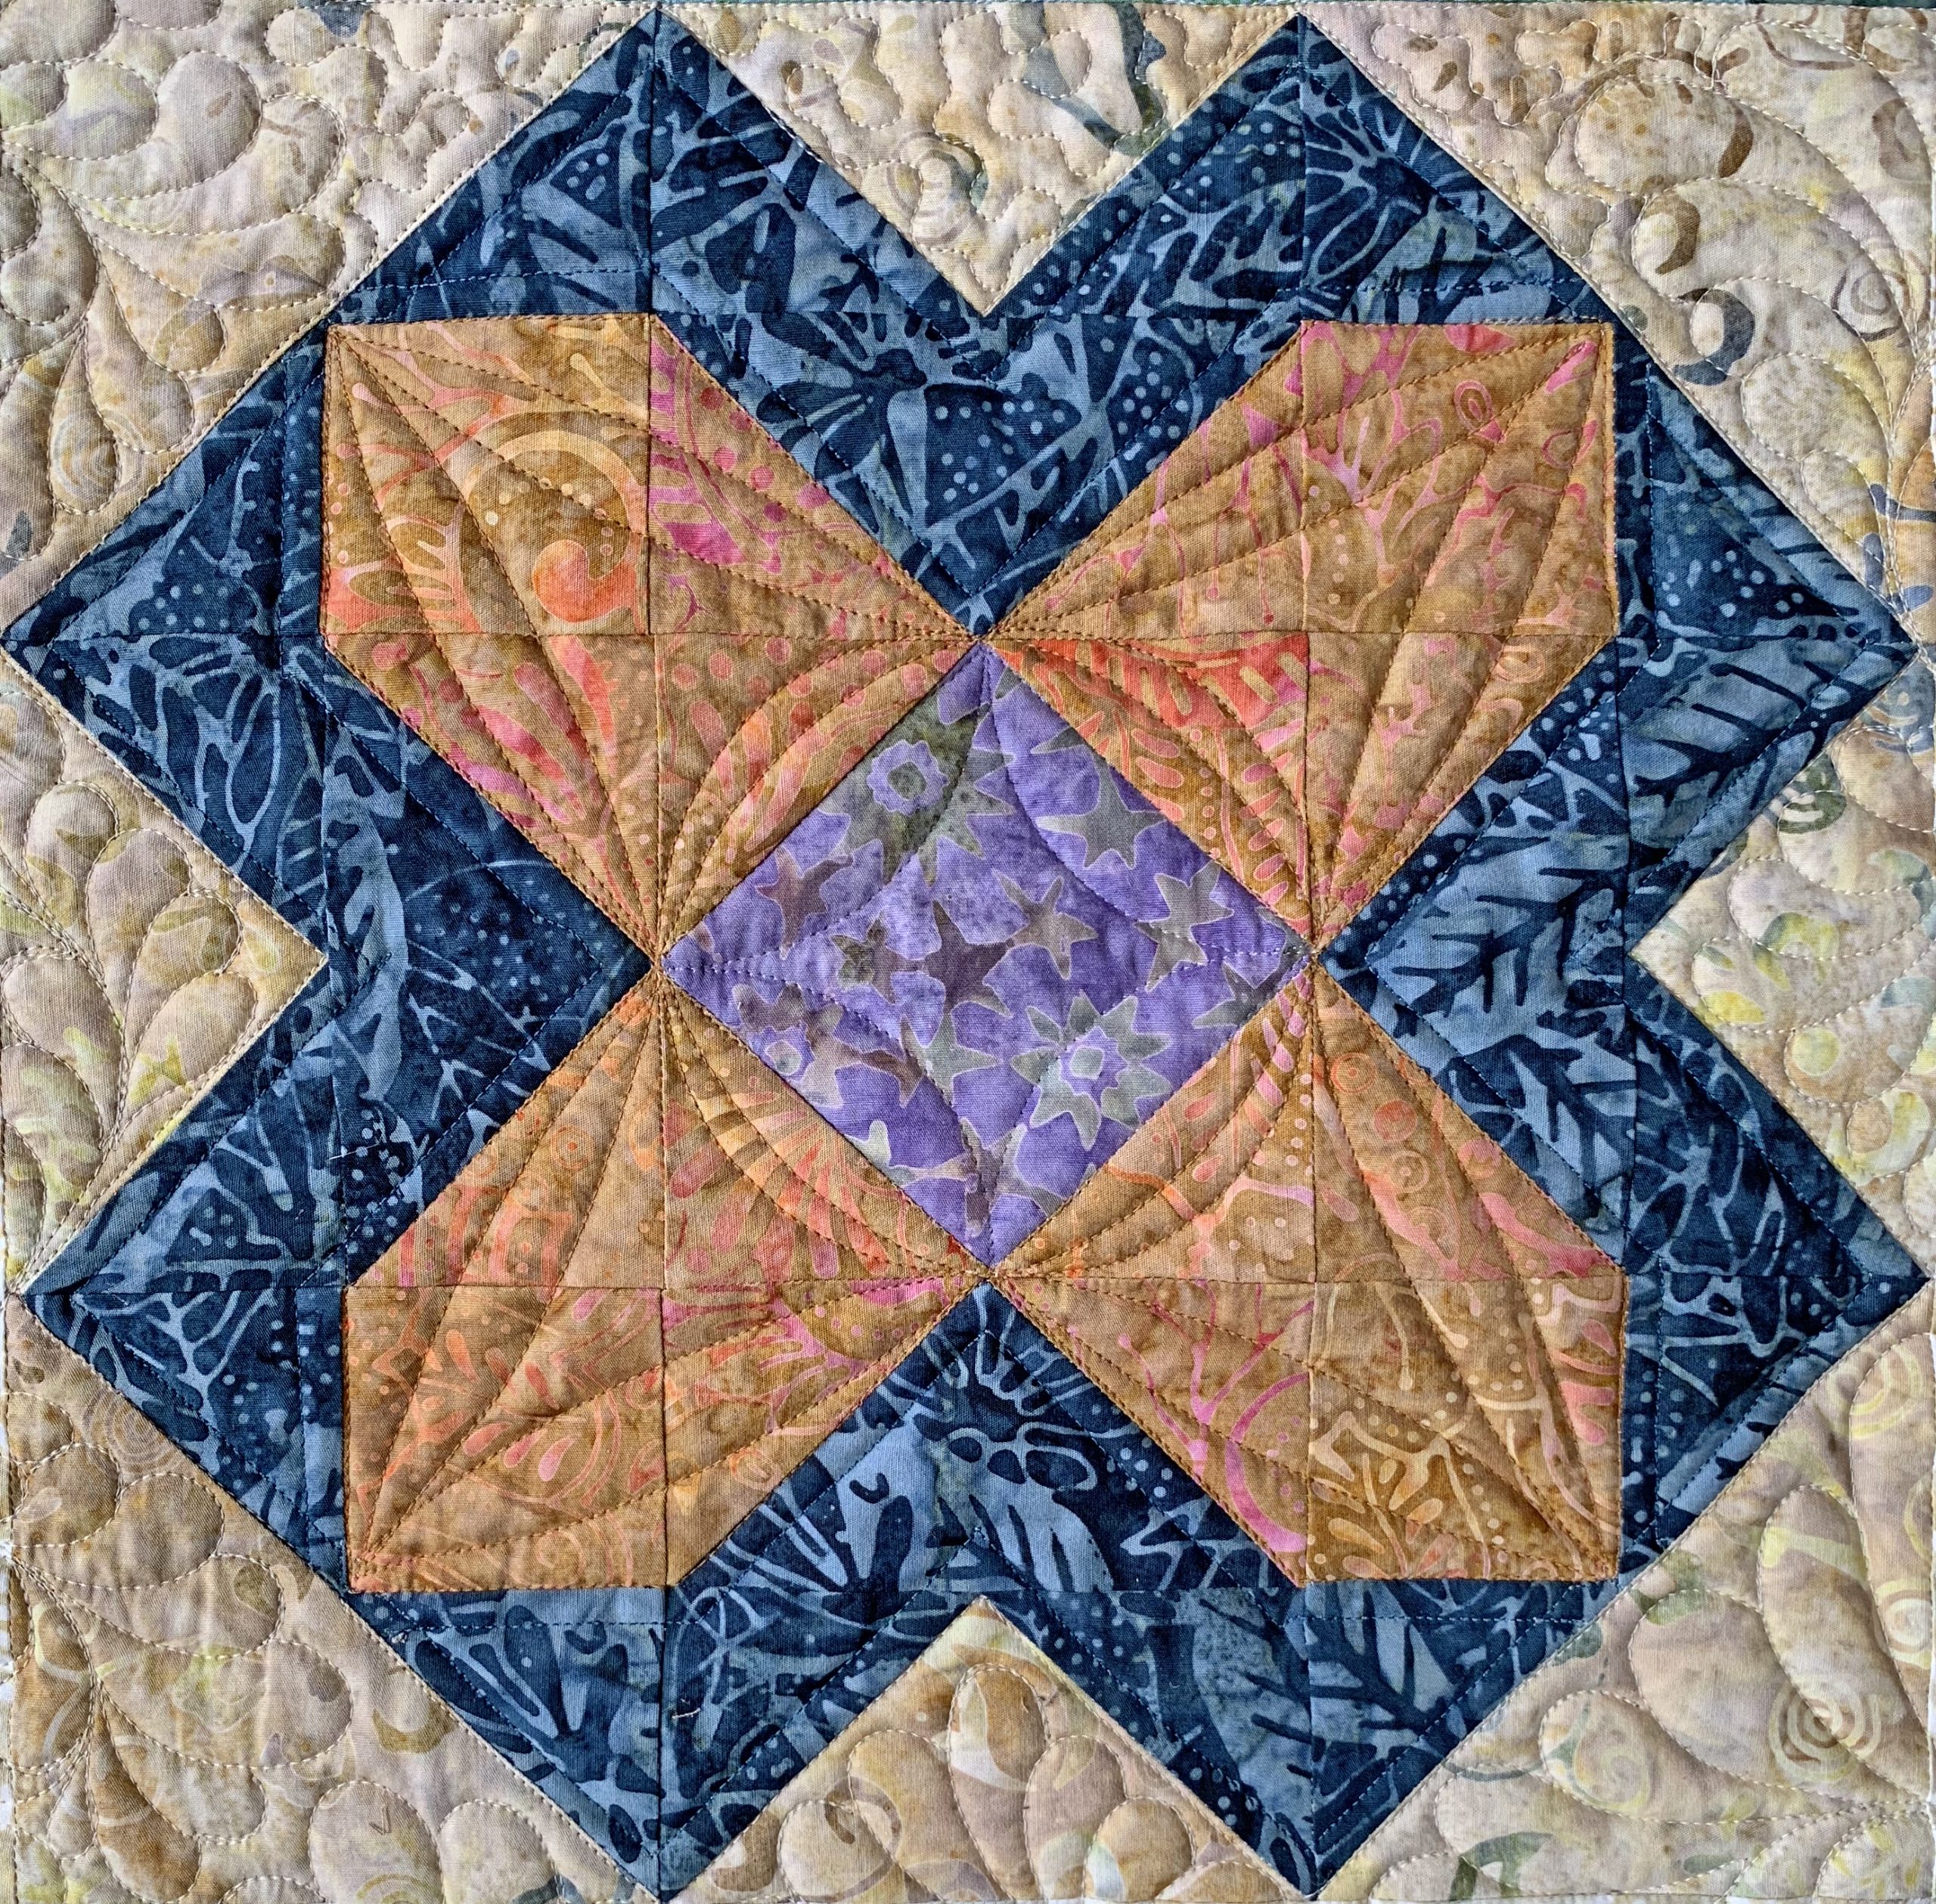
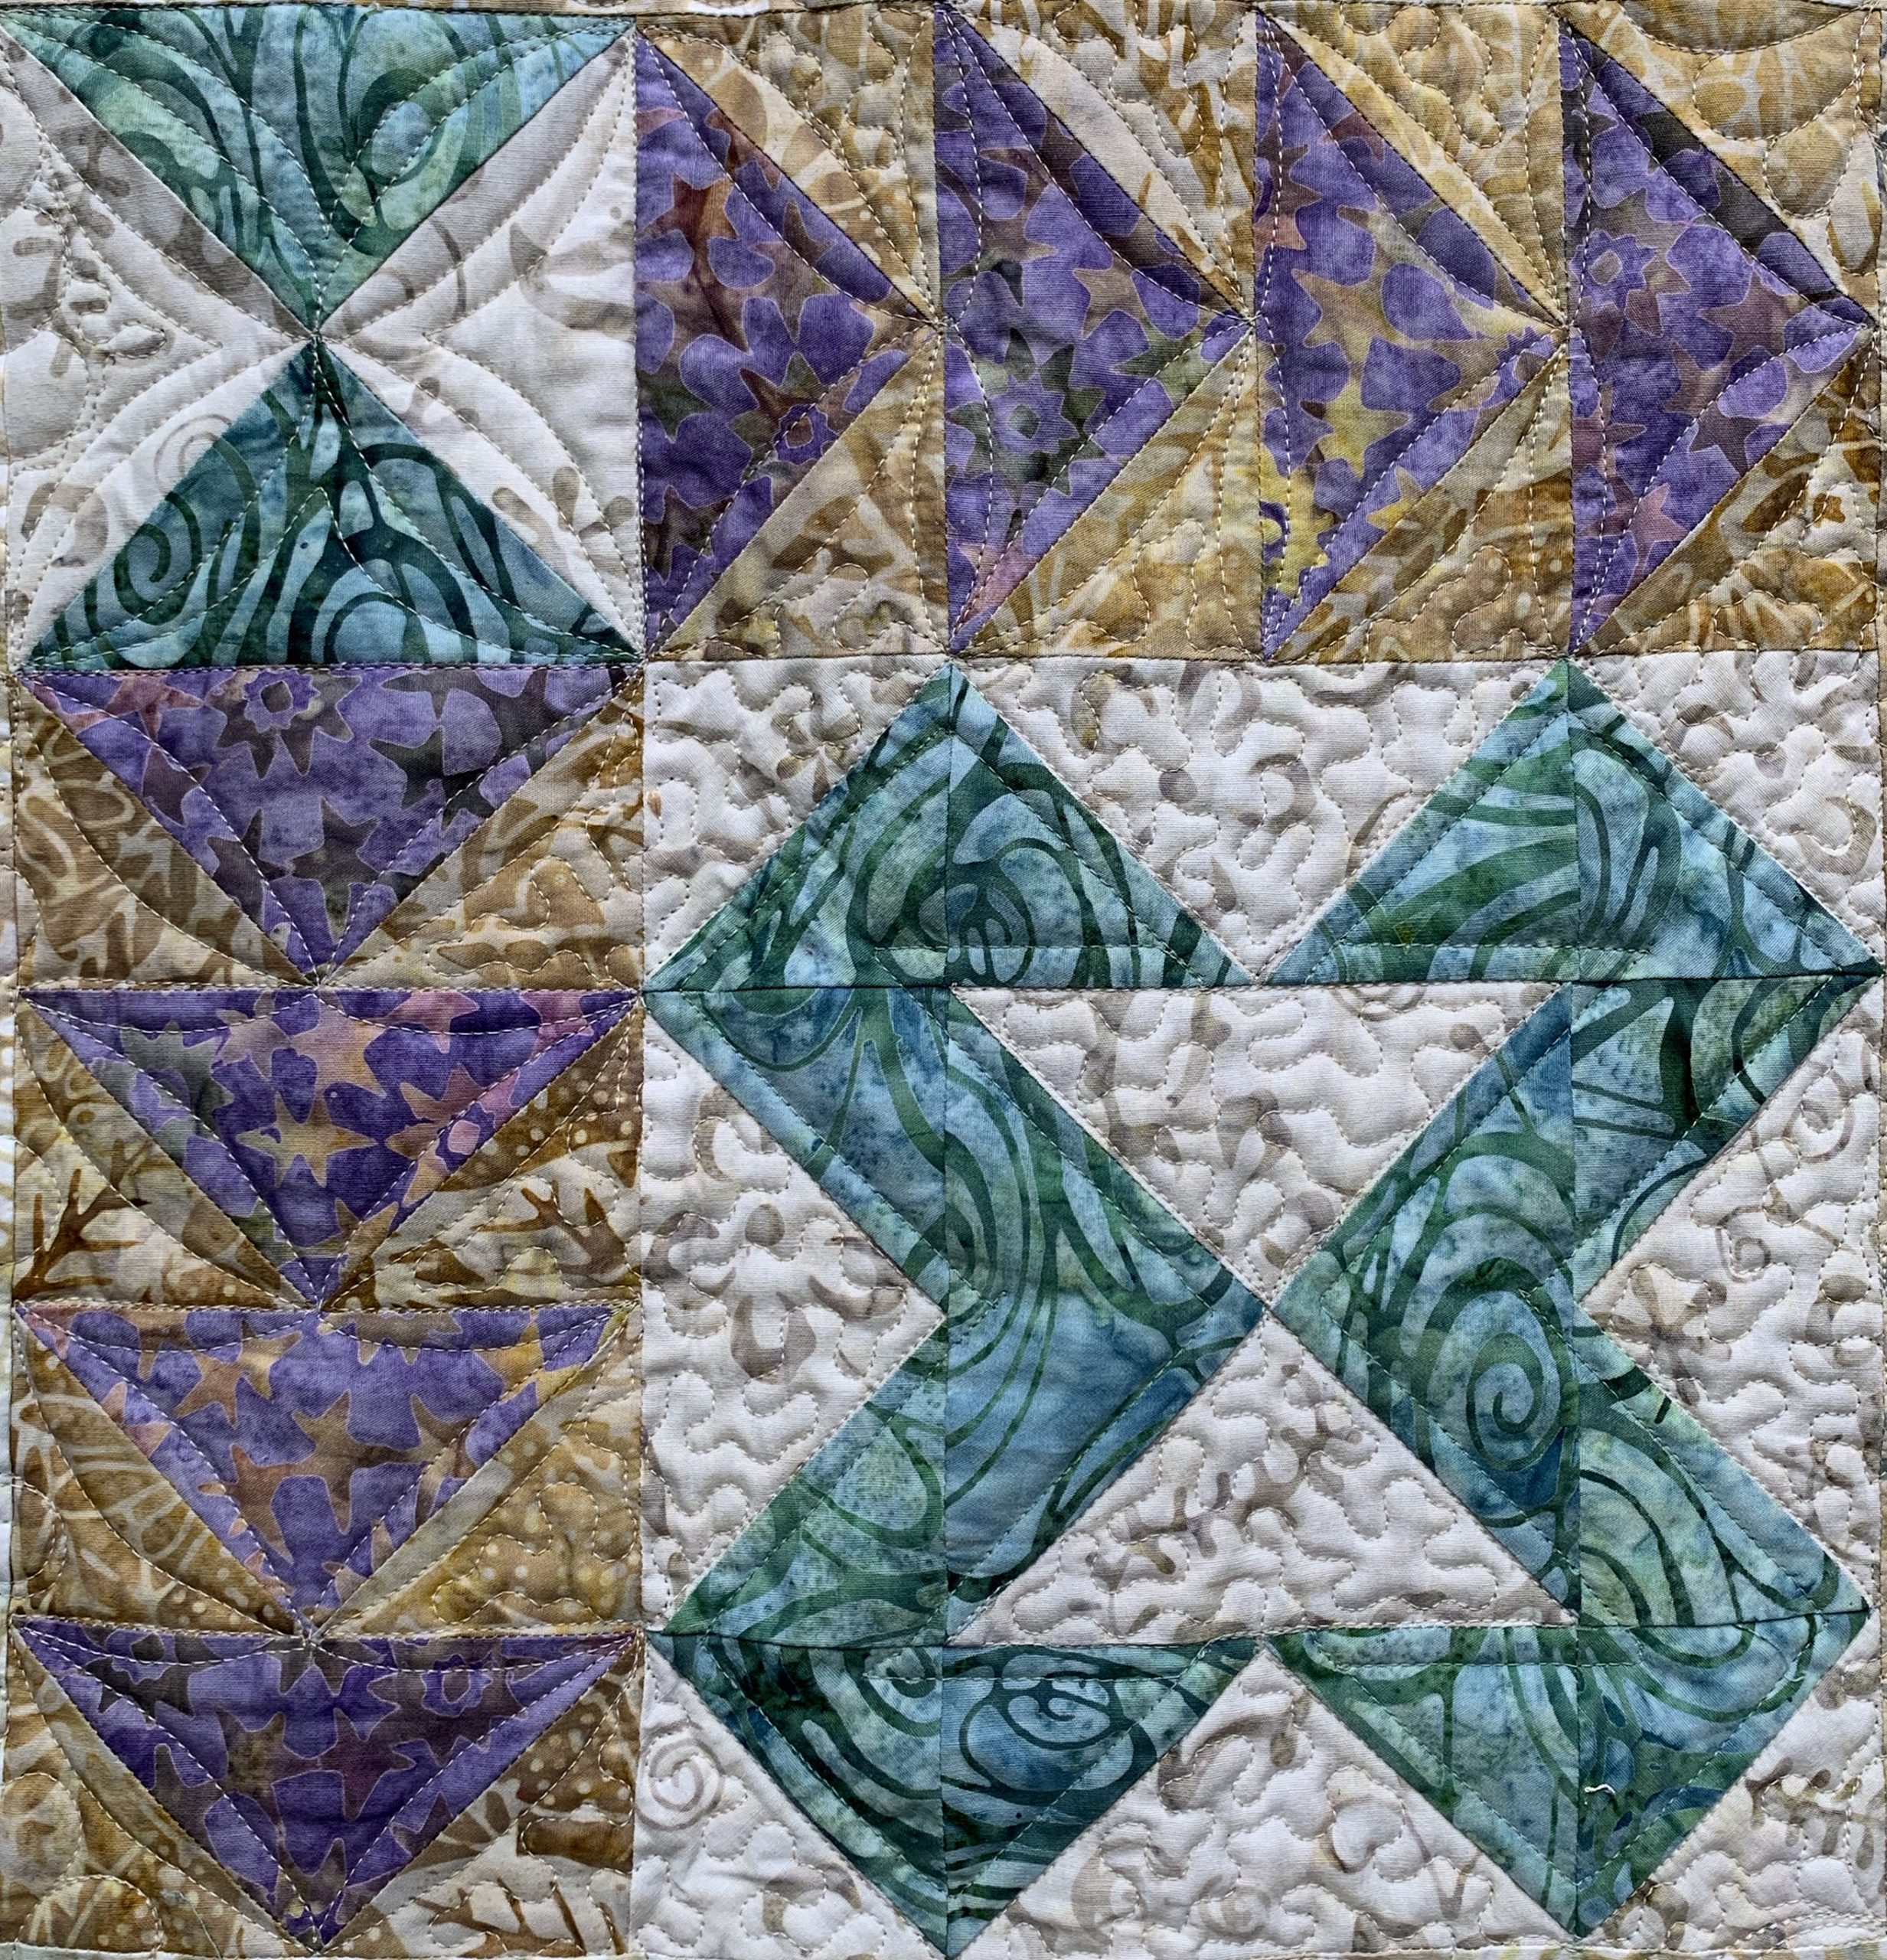
Month 5: X Marks the Spot
“X Marks the Spot” was the adventure my children played on every beach, hoping to find buried treasure. Oh, and the treasures they found! Shells, caps, and an assortment of fascinating trinkets (aka trash). The pic-nic basket always came home with smelly treasures. This block is a simple treasure and fortunately doesn’t smell like a critter once lived in it. Watch this tutorial to find tips, tricks, and hints for an easy block assembly.
Month 6: The Great White Egret Appliqué
What a majestic bird! 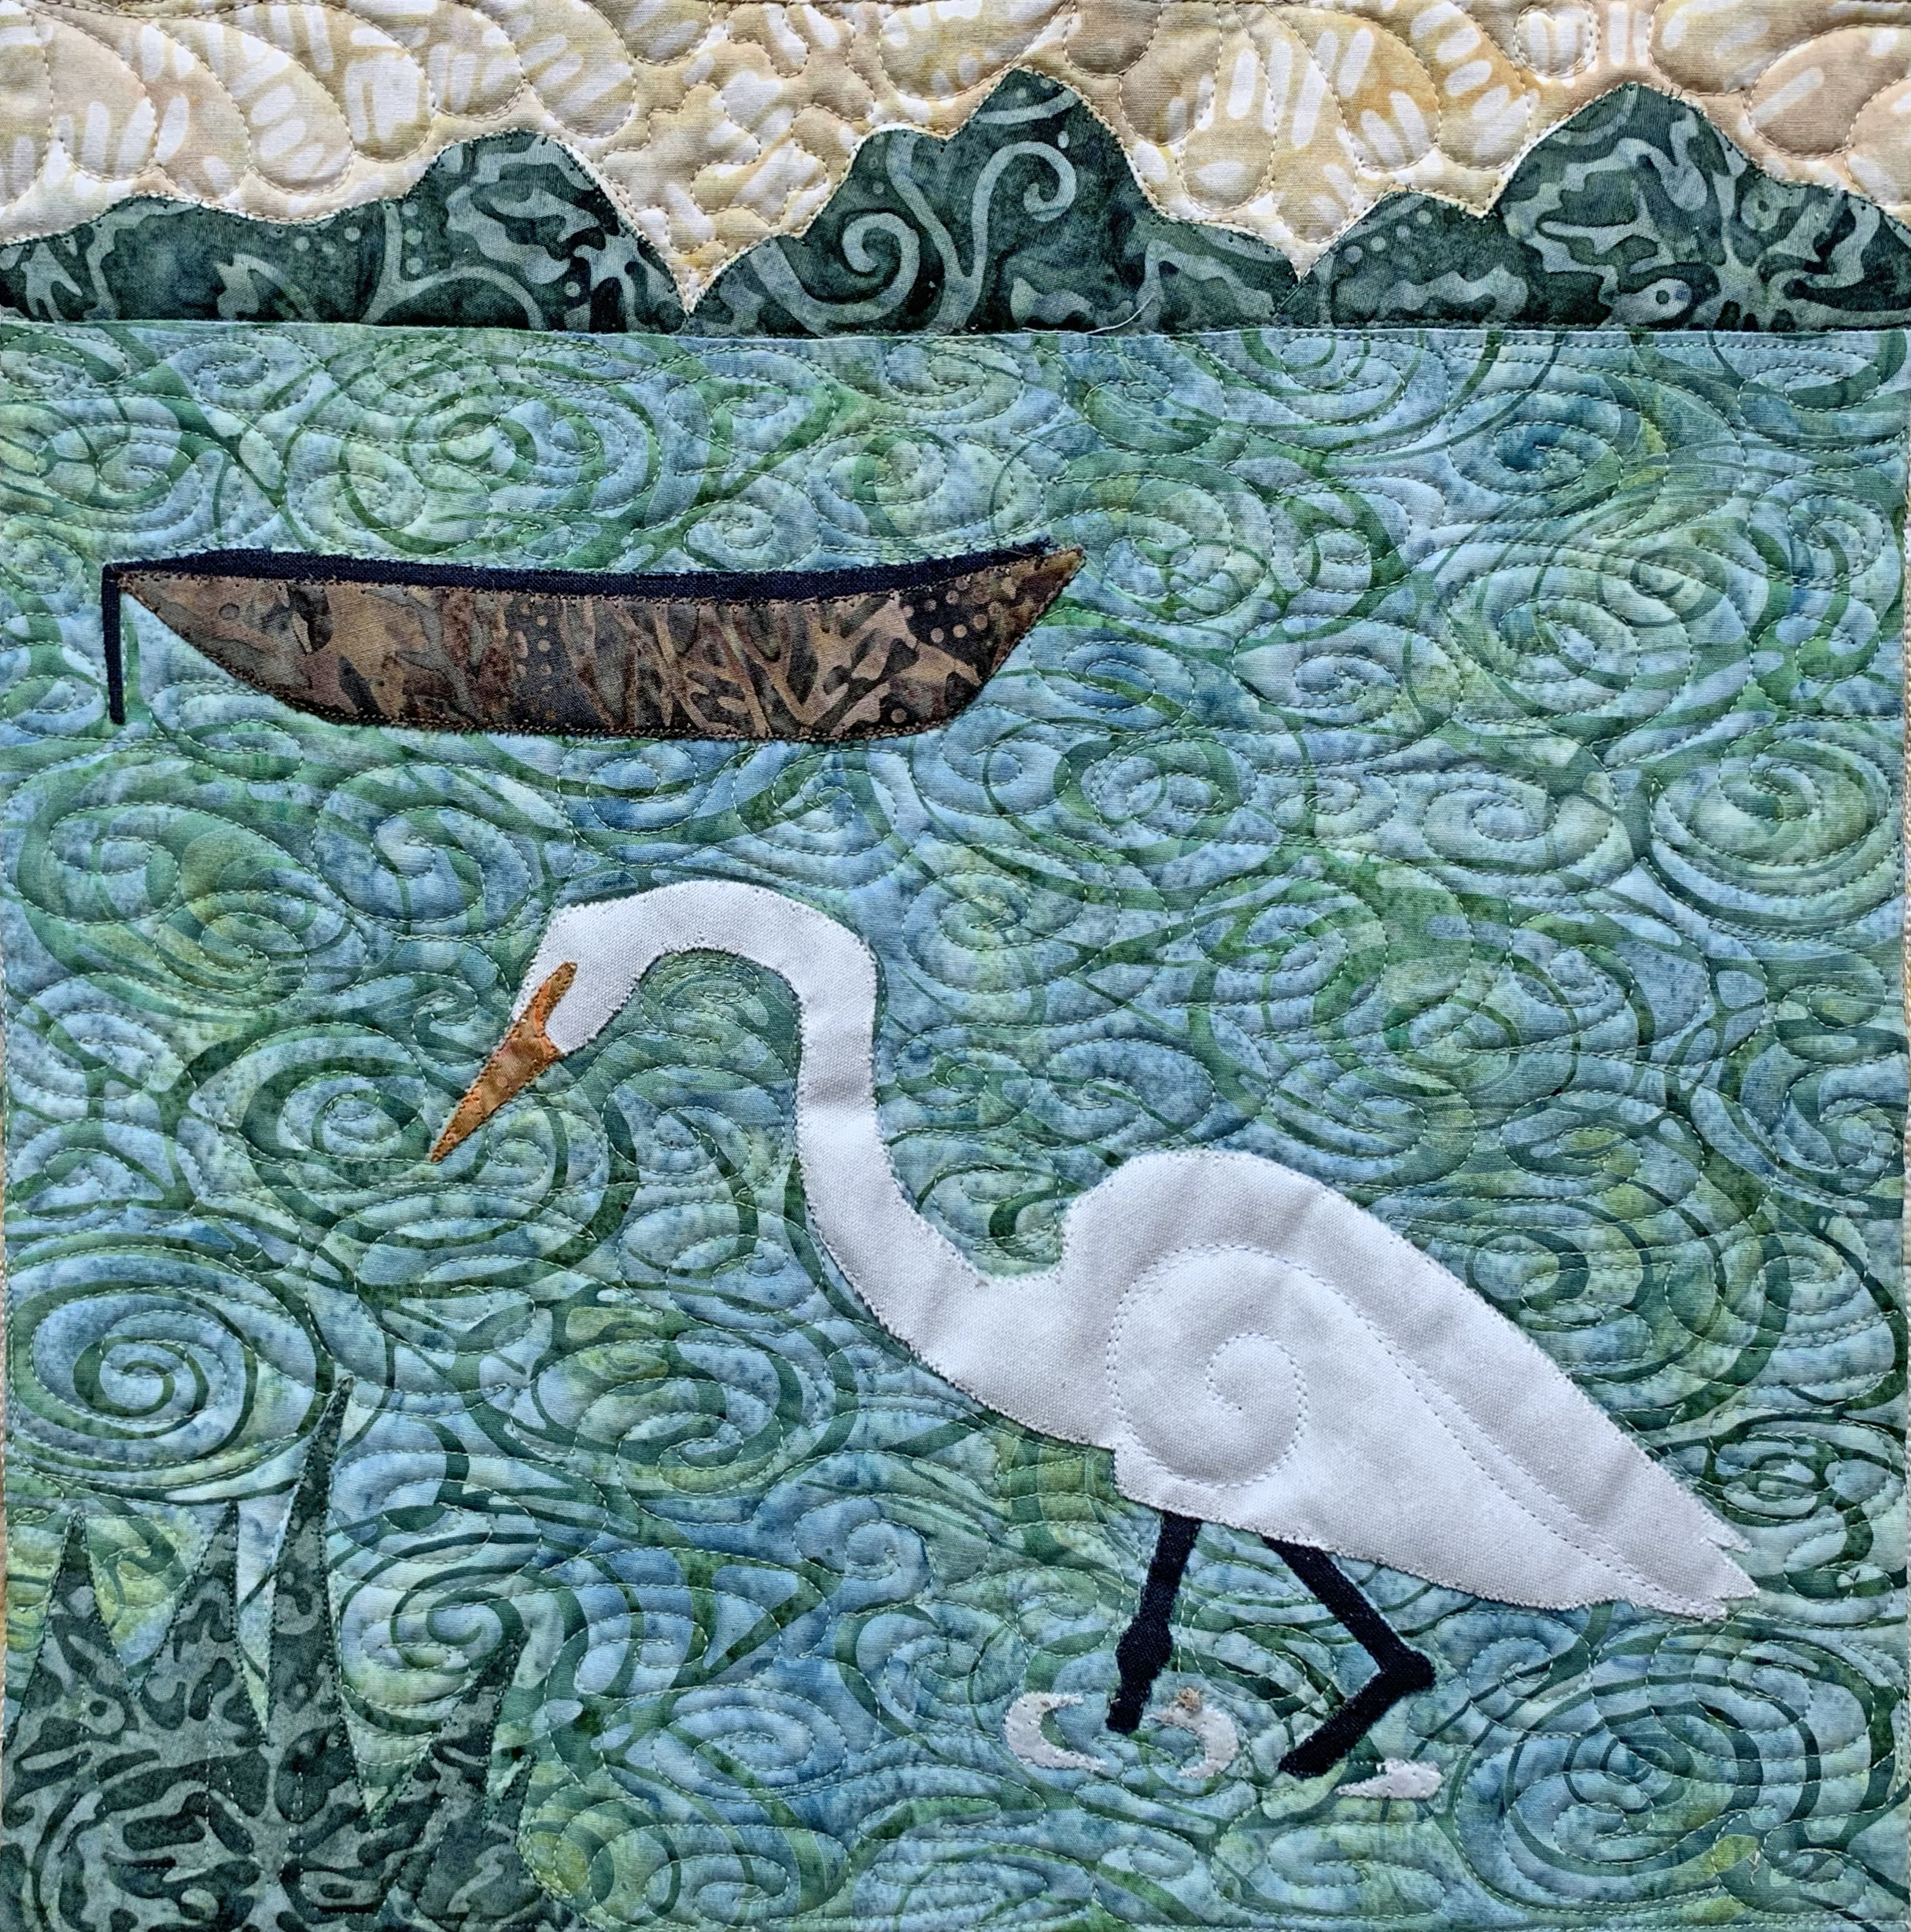
The great egret, also known as the common egret, large egret, or great white egret, or great white heron is a large, widely distributed egret. In our delta area of California, we also have a smaller kin called the Snowy Egret. The Snowy Egret has feathery plums and absolutely beautiful. It is such a treat to be visited by one of these feathery soft winged birds.
Month 7: Rope Swing Block
We have a rope swing that hangs from a tree on one of the bird islands within Willow Lake. My boys have flown off that rope swing one hundred times at least. What a fun way to spend the summer.
Create this block in nine units. Make the four corner units and then four Quarter Square Triangle units. The center unit is Square-in-a-Square. Sew the units in rows, then the rows together. The beautiful Rope Swing block will be done before you know it.
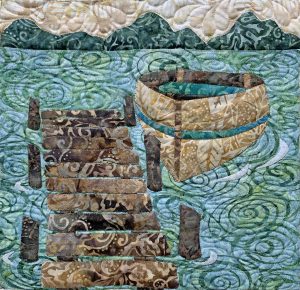
Month 8: Rickety Dock Appliqué
This block has a lot of little pieces. Be sure to stay organized! I recommend tweezers, a light tablet, and a Teflon sheet to pre-assemble your pieces. If you need a fusible appliqué refresher, be sure to view the Month 2 video tutorial as well.
Month 9: Two Mallards Block 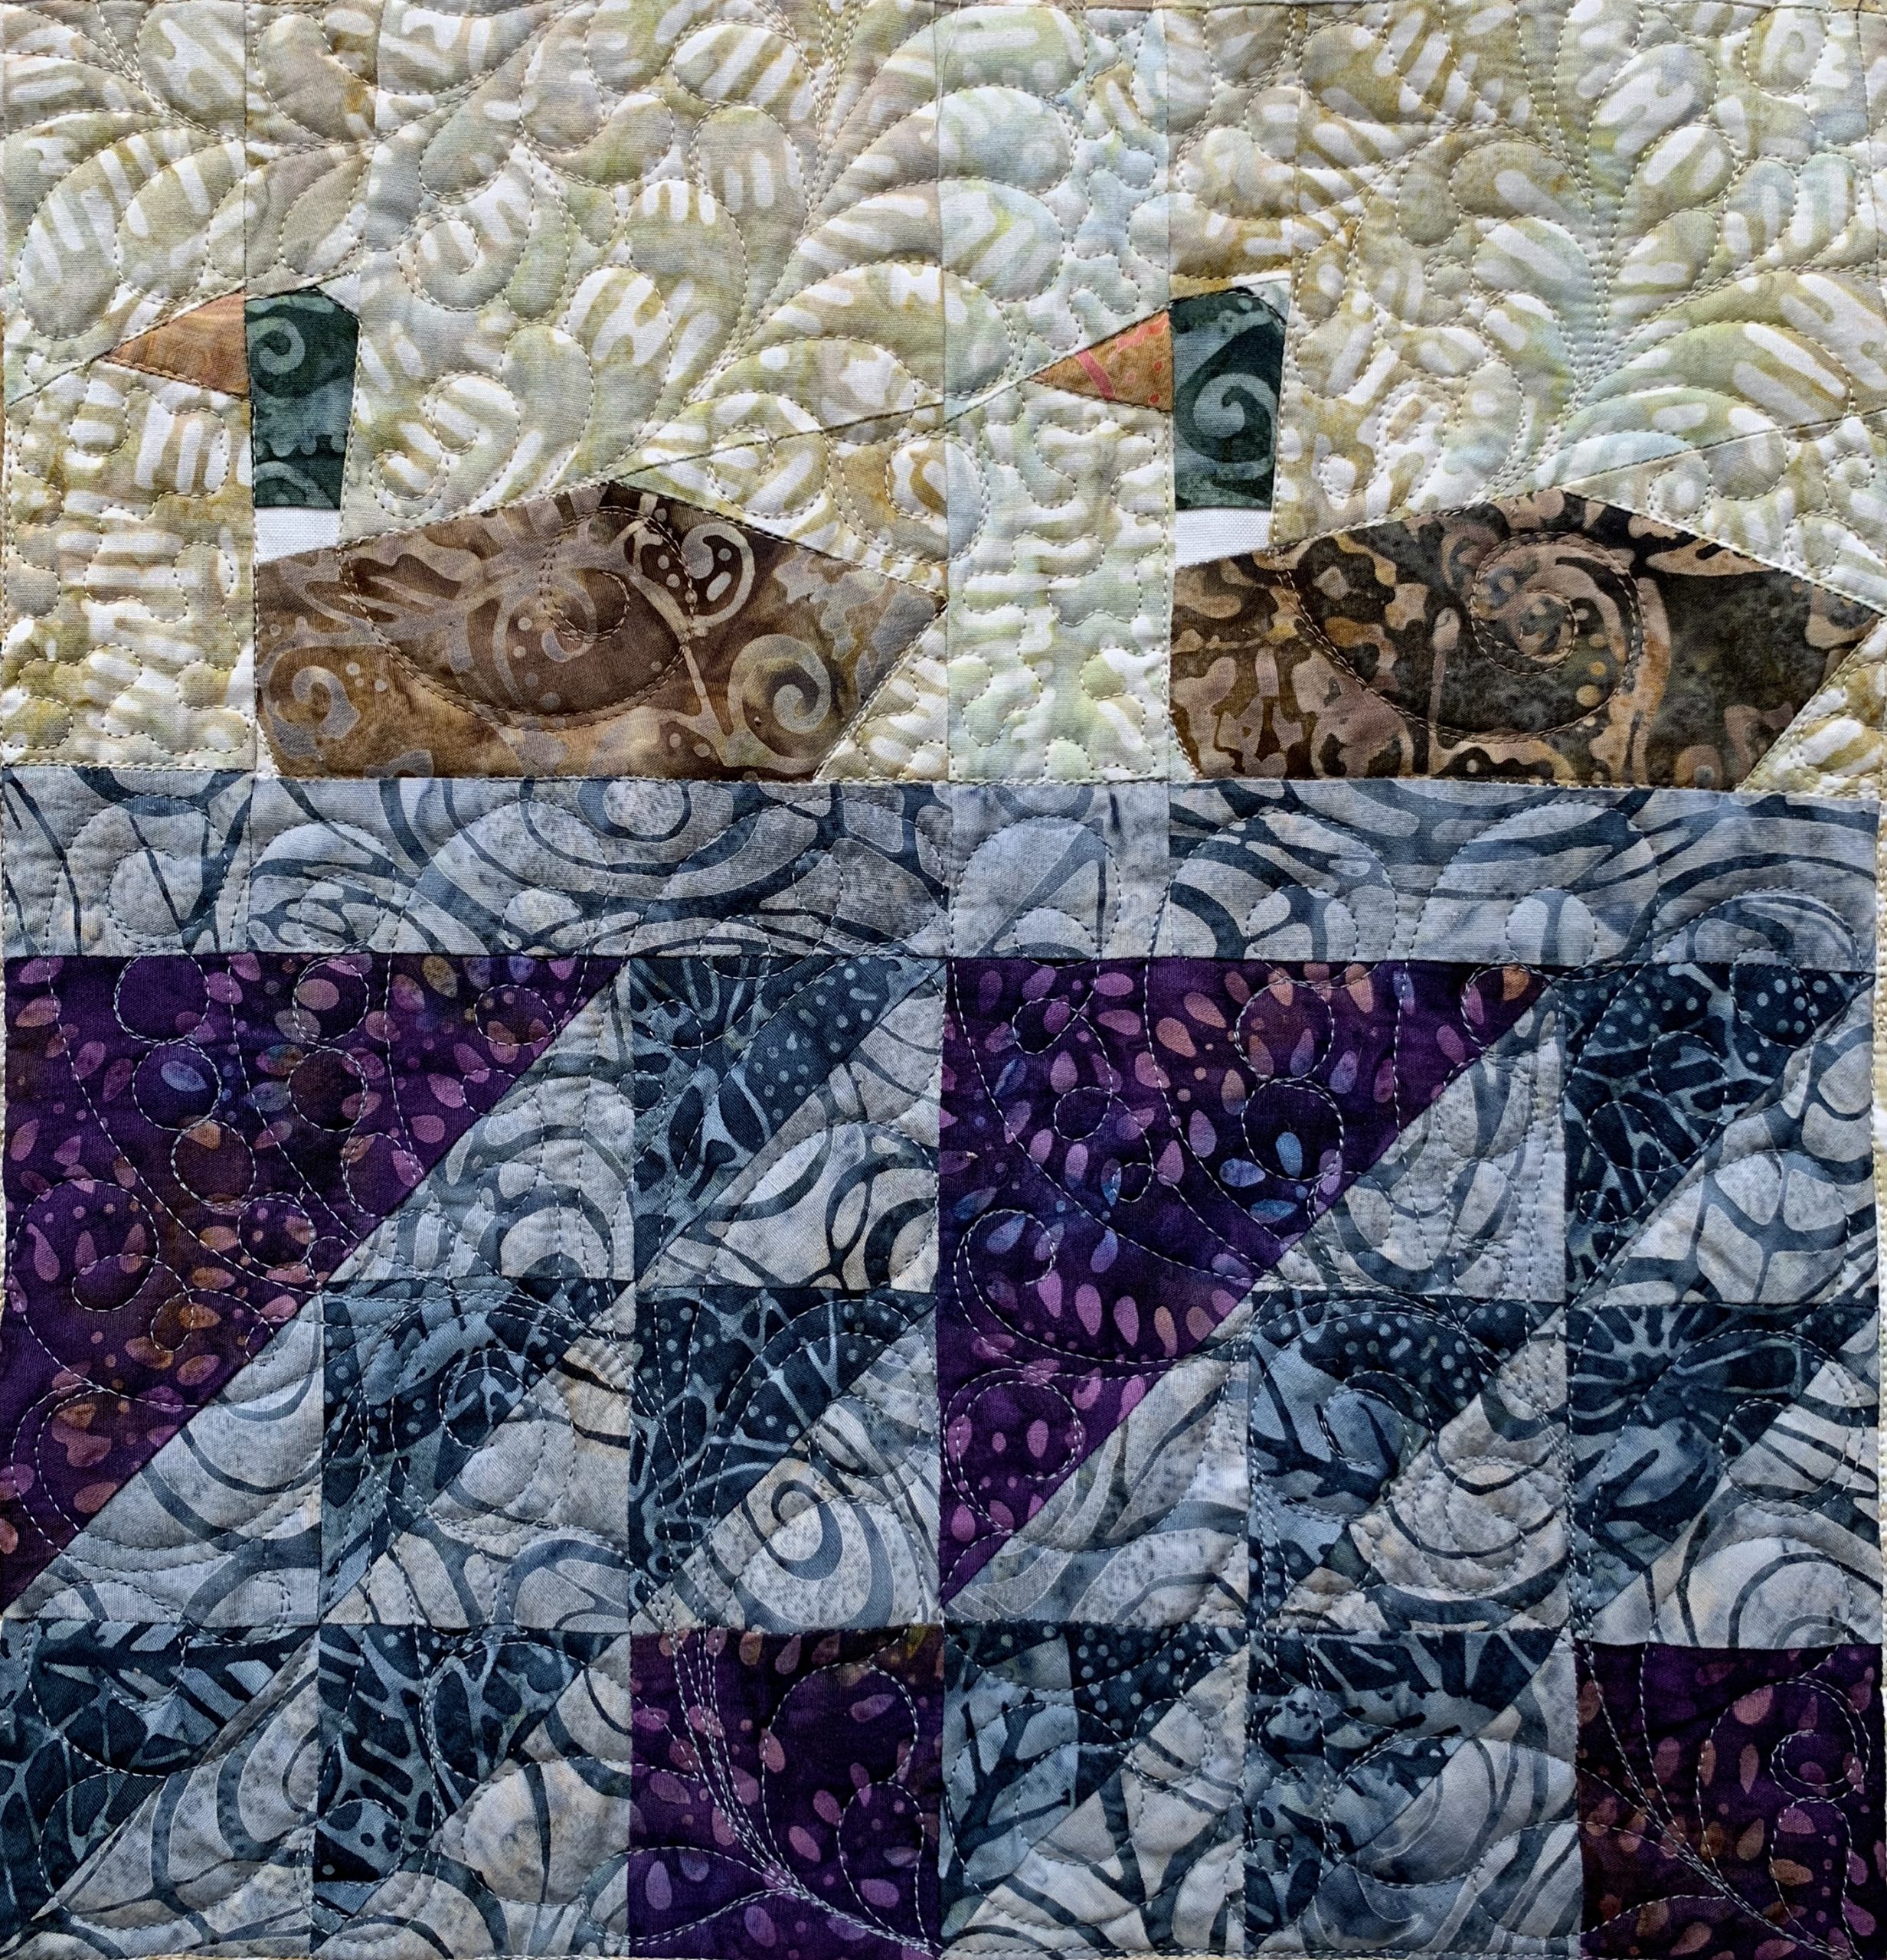
It is such a pretty block and it can really stretch your skill sets. However, I don’t want you to stress, cry, or quit over the paper-piecing portion. Personally, I love paper-piecing, also called foundation piecing. Lora, on the other hand, finds it to be a chore. I have friends that stress over paper-piecing. It confuses them, worries them, and makes them question if quilting is really that much fun after all. Maybe they should try parachuting. 😉 I get it. If you should ever fall in love with a pattern but then back up to the wall when you find out paper-piecing is used, I have some options for you. First, watch the tutorial below, specifically Part 2 which is on piecing the Mallard ducks. Try it with some scrap fabric. If my method doesn’t make sense, watch different methods of paper-piecing on Youtube. There are many different techniques! I learned paper-piecing from watching tutorials on Youtube. However, I combined two of the methods into one that suited me perfectly. There may be a perfect method out there that will suit you perfectly too. If you decide to throw in the paper-piecing towel, here are a couple of options.
First Option: Turn the paper-pieced Mallard Ducks into appliqué. Make the background block 12 1/2″ wide x 6 1/2″ tall. Use the fusible appliqué method taught in the previous months to create the same look, but with less headache (requires less fabric too).
Second Option: I designed this pretty white Duck with her baby tucked under her wing as a Free Download for a “Mondays with Marcus” Fabrics program. Lora and I are batik fabric designers for Marcus. This pretty appliqué block is 12 1/2″ square (unfinished size) which you can use to substitute the Month 9 block. Lovely Weather for Ducks download.
“Lovely Weather for Ducks” has instructions to make the 12 1/2″ block into a pillow. It coordinates nicely with the Willow Lake quilt.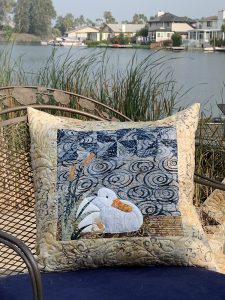
Month 10: Mr. Mallard Appliqué
You got this. All of the techniques used to create Mr. Mallard, you’ve done a couple of times already. Mr. Mallard has such an attitude. He struts, knowing full well he’s one handsome duck!
Review the videos if you need a refresher. You’re doing great and you’re almost done!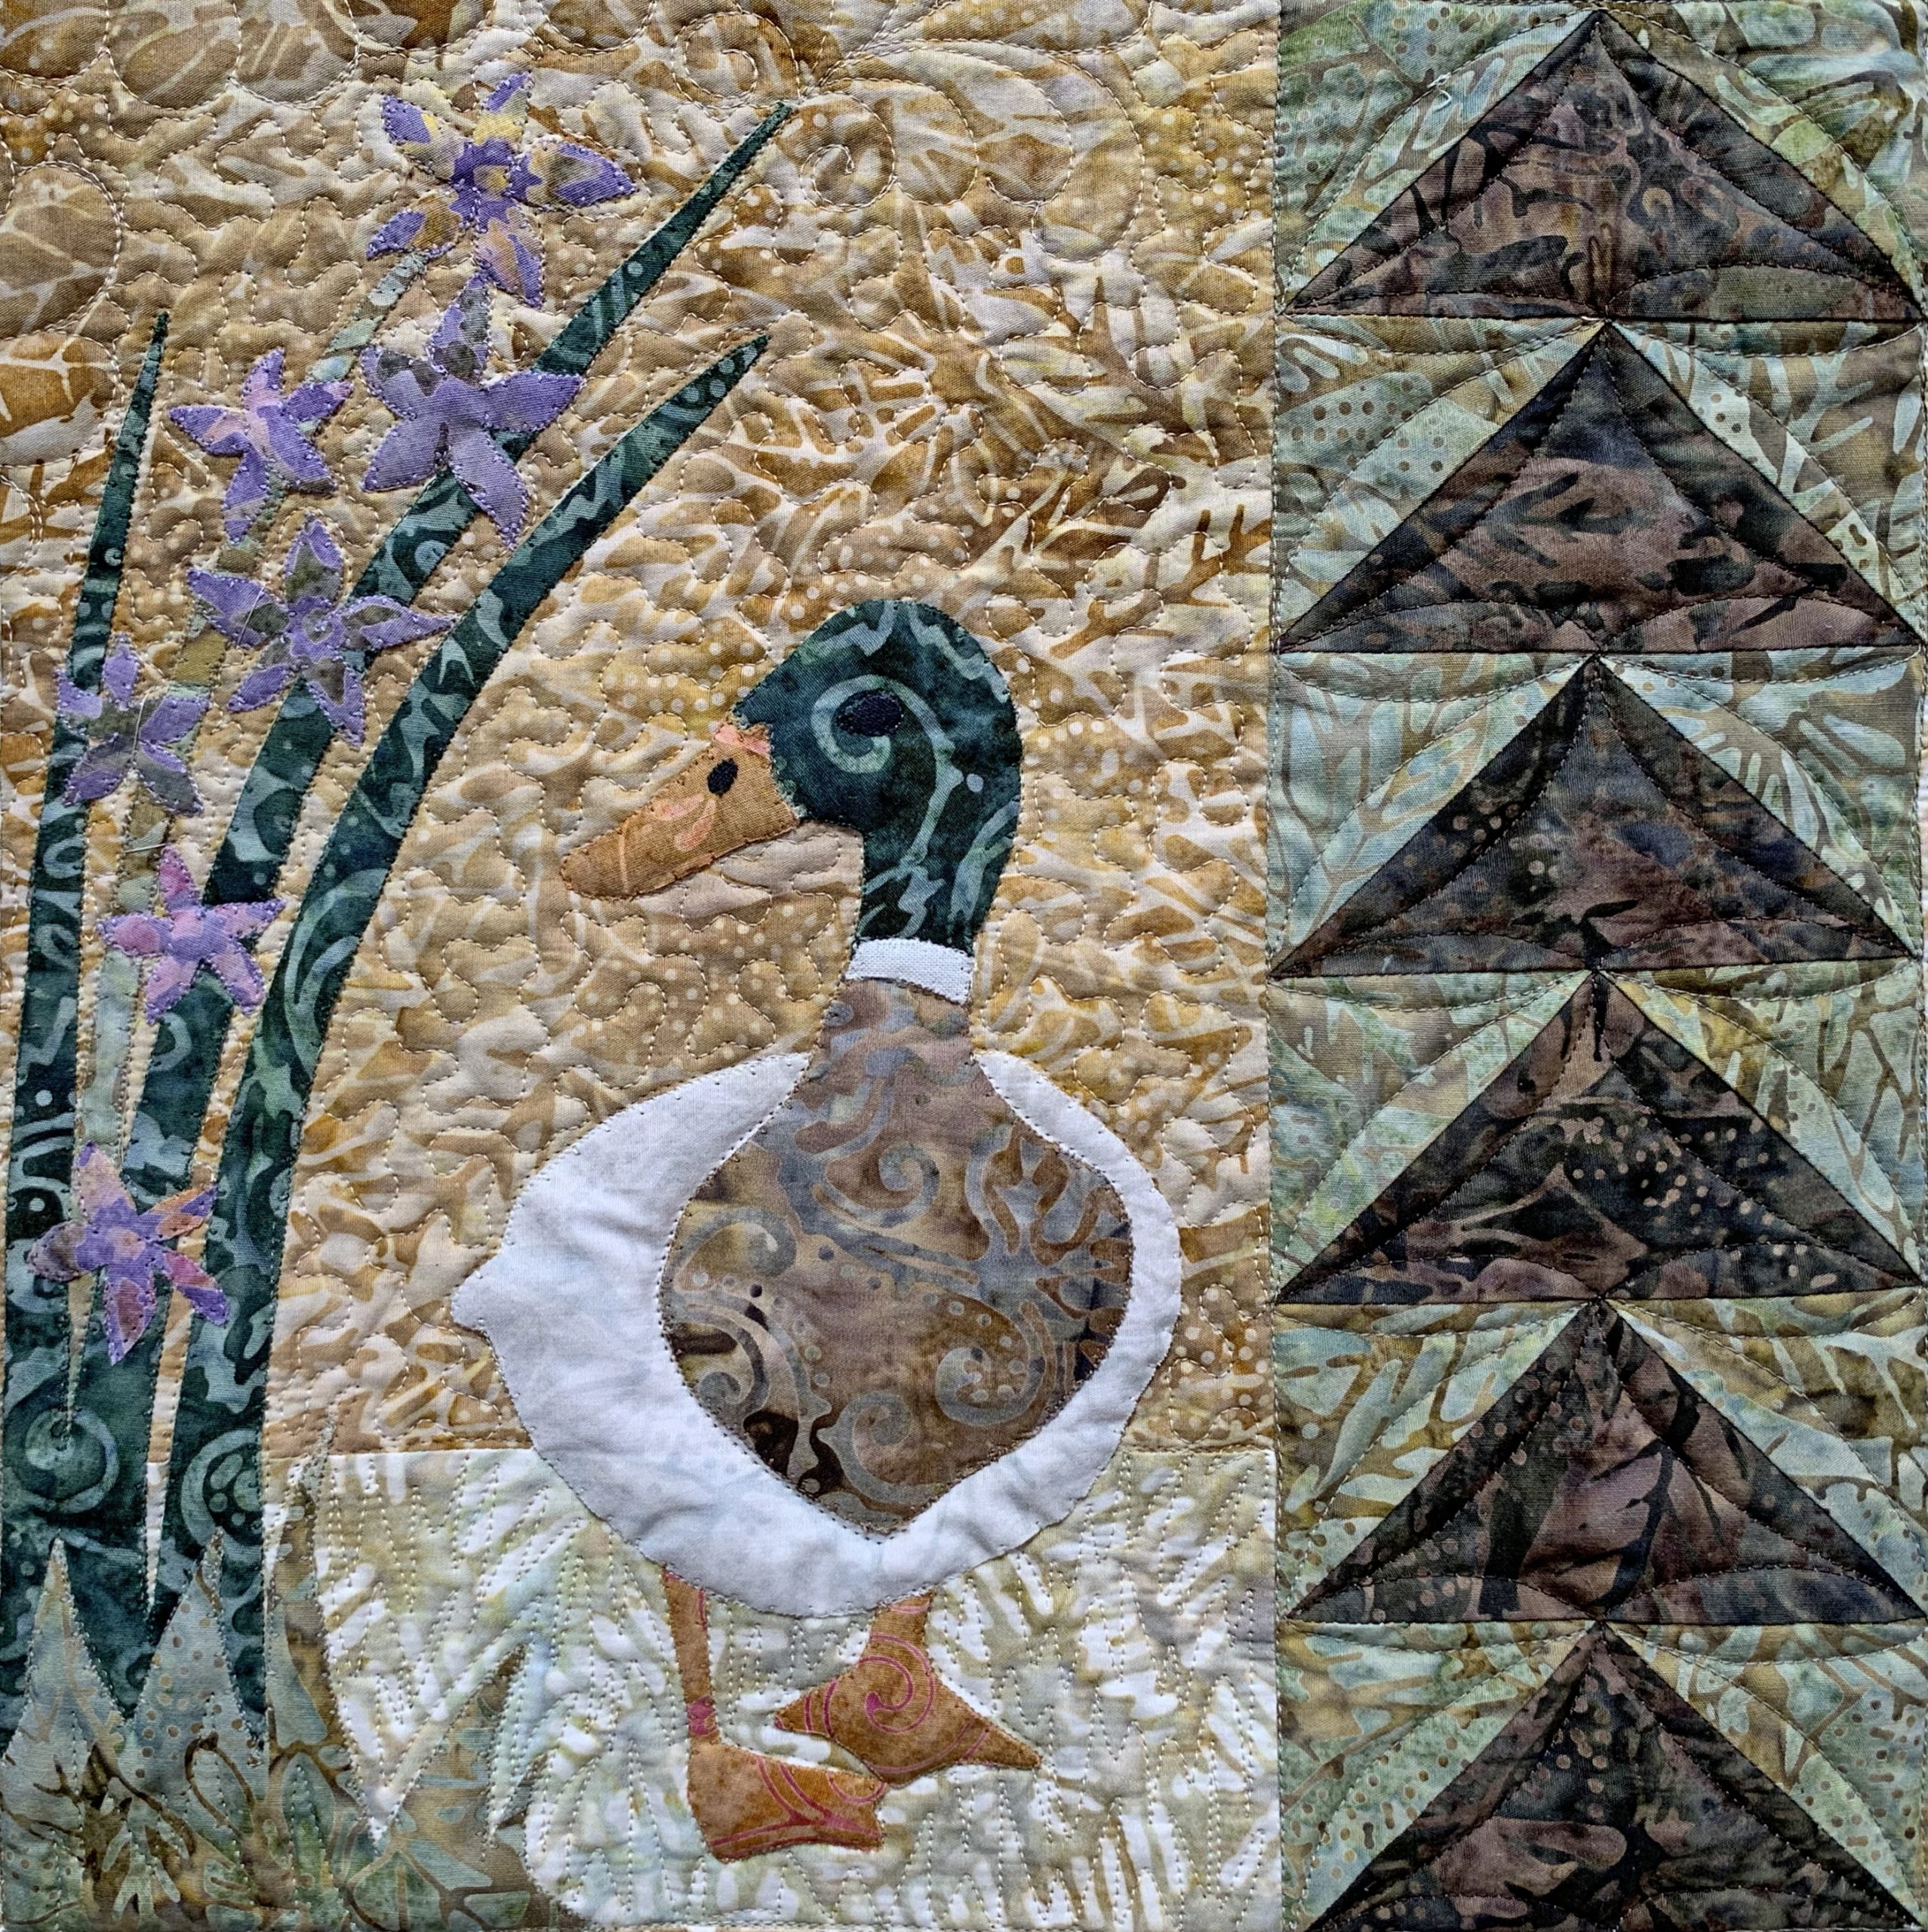
Month 11: The Goose Walk Block and Flying Geese Units for Border
This pretty block is a lot easier than it looks. It is constructed with a few flying geese, a couple Corner Square Triangles, and Half Square Triangles. View the tutorial for helpful tips. Almost done! Just one more month.
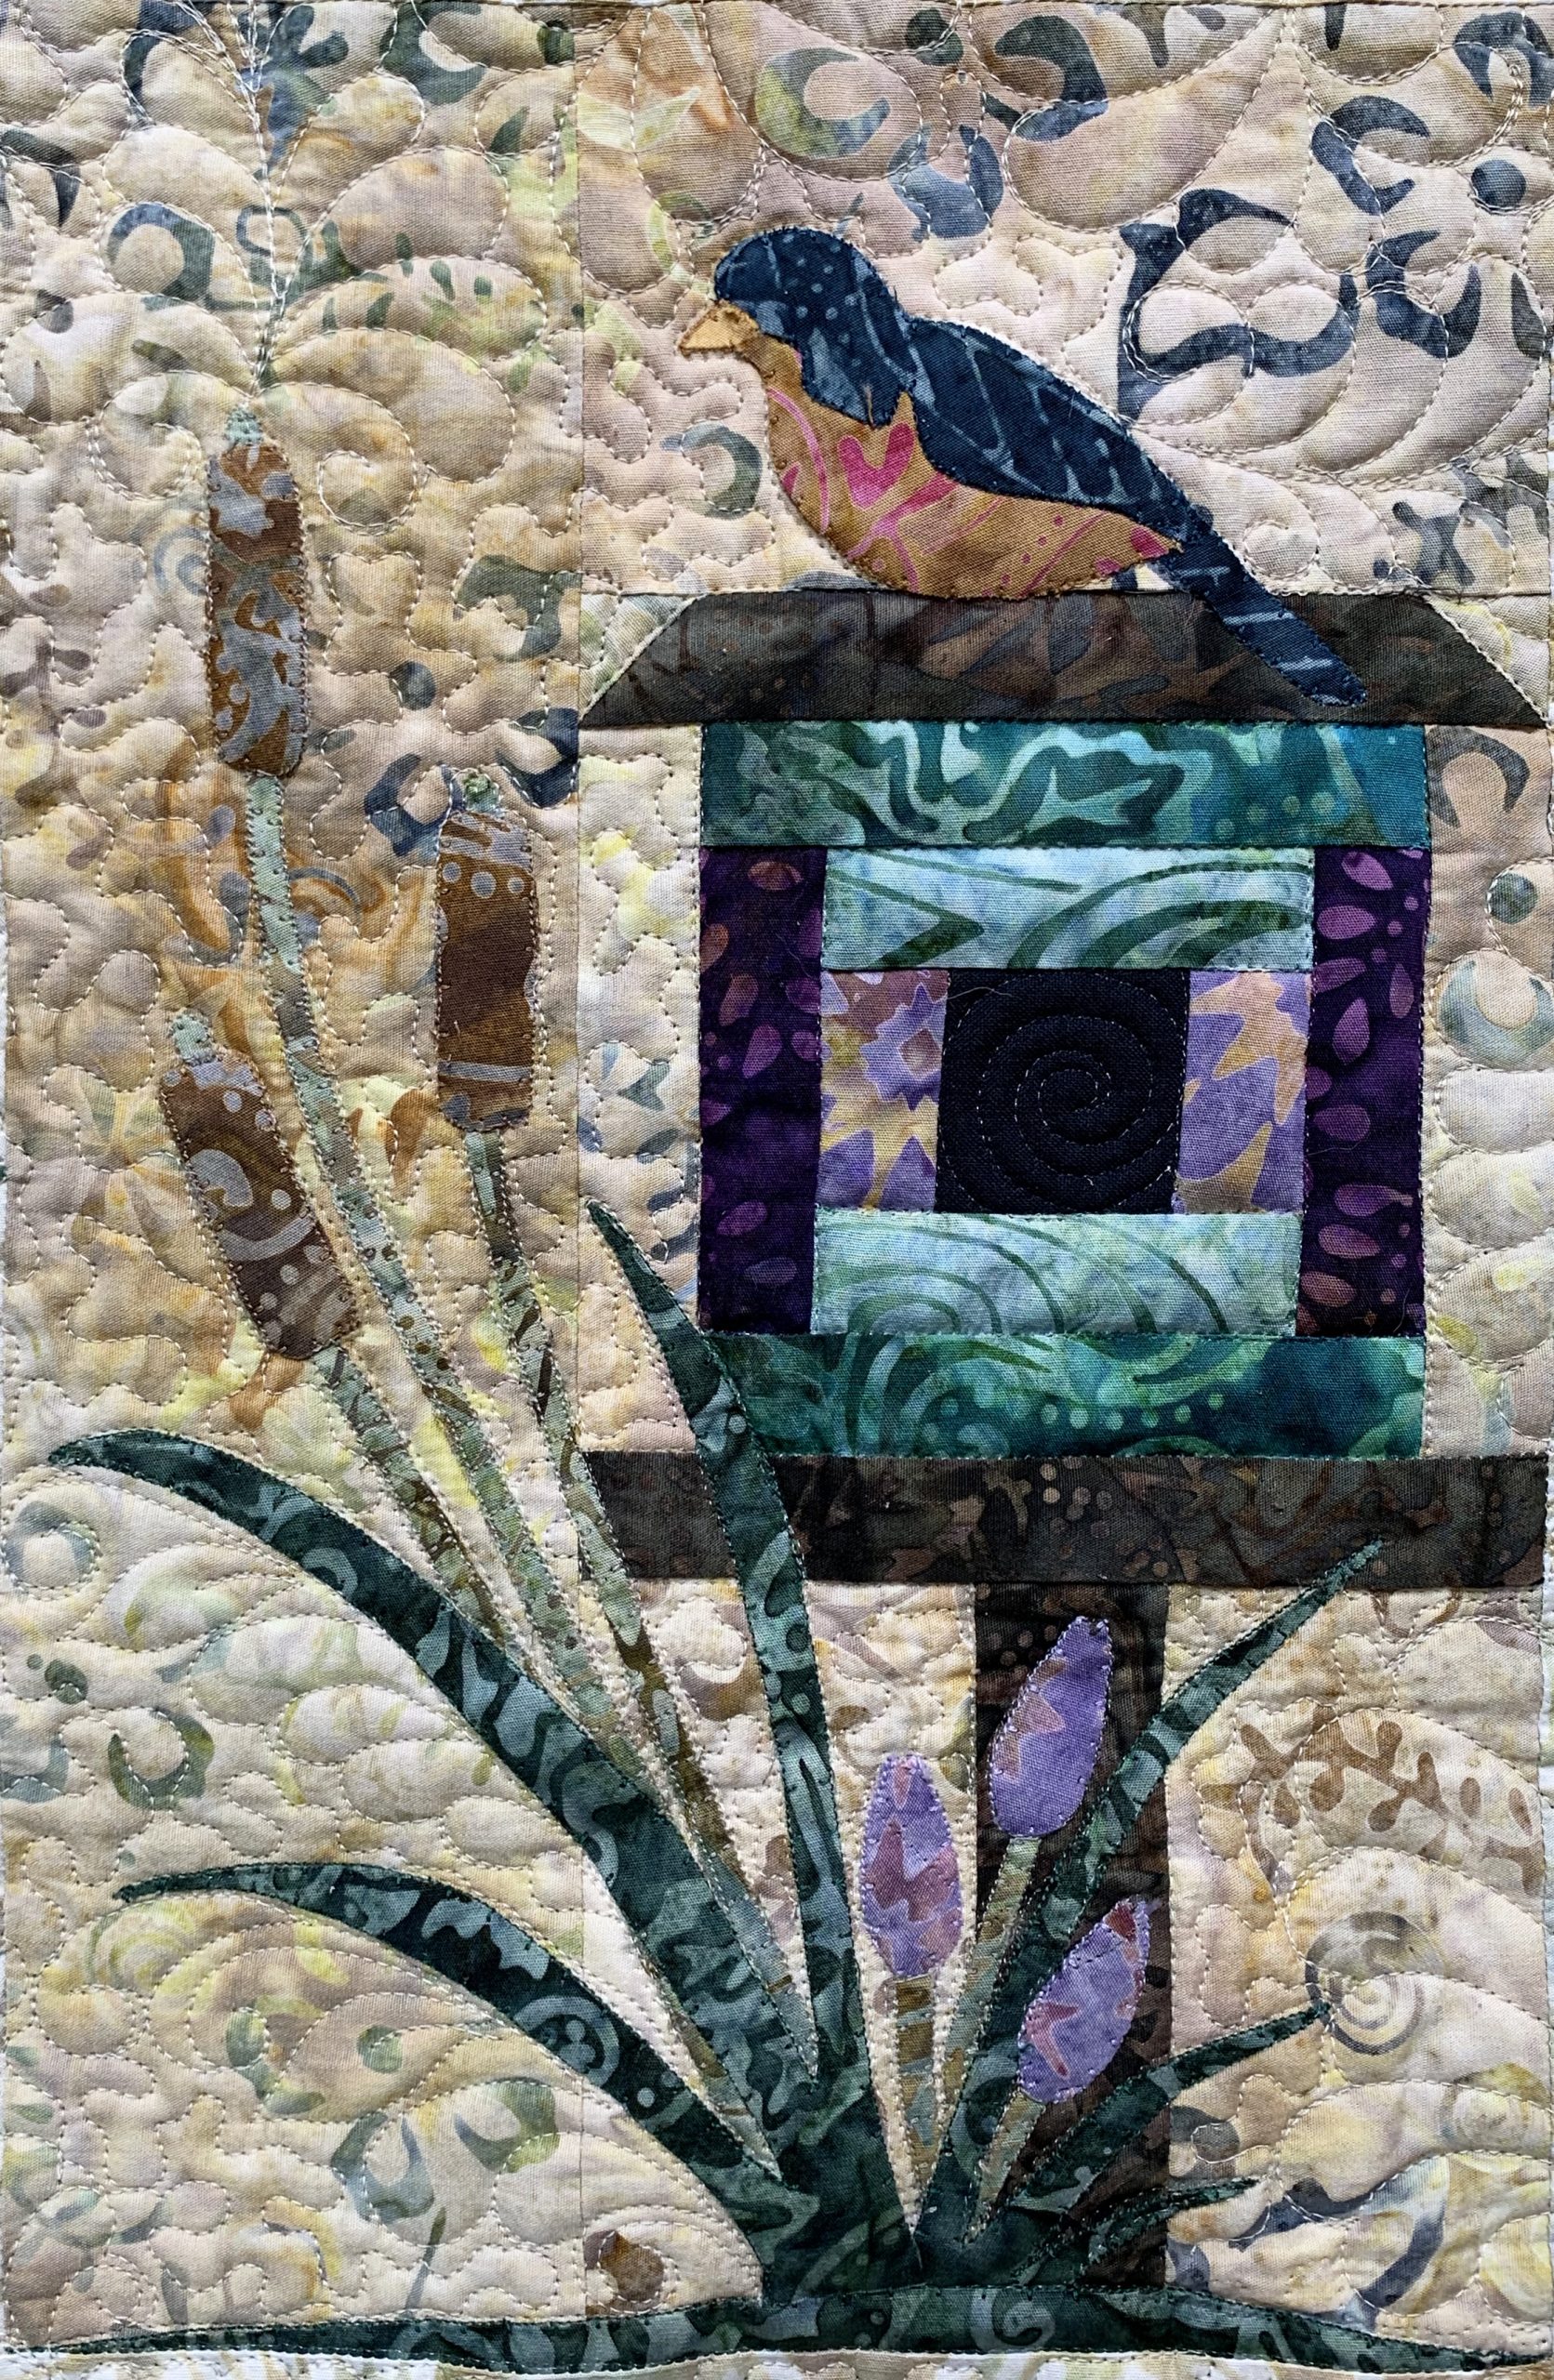
Month 12: Birdhouse Block and Quilt Top Assembly
You made it! Congratulations on making it to the 12th block! you should be very proud of yourself. The last block is a ‘review’ of all the techniques you mastered while making this quilt. If you decided not to make the house using paper piecing, I’ve included the piecing sizes below. You’ll still sew the strips on in the same order as the paper pieced version.
If you decide to piece the Bird House block instead of paper-piecing it, Cut:
- Nos. 1 – 1 3/4″ square
- Nos. 2 and 3 – 1 1/8″ x 1 3/4″
- Nos. 4 and 5 – 3″ x 1 1/8″
- Nos. 6 and 7 – 1 1/8″ x 3″
- Nos. 8 and 9 – 4 1/4″ x 1 1/8″
- Nos. 10 and 11 – 1 1/8″ x 4 1/4″
- Nos. 12 and 15 – 5 1/2″ x 1 1/8″
- Nos. 13 and 14 – 1 1/8″ square.
Sew pieces 2 and 3 on each of piece 1. Sew pieces 4 and 5 on the top and bottom of the unit. Sew pieces 6 and 7 to the left and right sides. Sew pieces 8 and 9 to the top and bottom of the unit. Sew pieces 10 and 11 to the left and right sides. Sew pieces 12 and 15 to the top and bottom of the unit. Draw a diagonal line on the wrong side of the 1 1/8″ squares. Position in the corners of piece 12. Align the drawn line like the paper-pieced pattern. Sew on the drawn line. Trim excess fabric 1/4″ from the sewn line. Press flat. The rest of the block will be pieced the same as in the pattern and the video below. Enjoy!
I’m so proud of you! You did it. The last part to do is all on page 31. It is not a complicated layout to assemble. Read the page thoroughly. Press seams as the arrows indicate. And… You’re done! Pat yourself on the back and enjoy your masterpiece!