 I’m in isewlation. You too? Here are my 5 Self-Care Steps for Quilters in Quarantine. Whether your isewlation is self-imposed or mandated, following these 5 steps will help you mentally and emotionally.
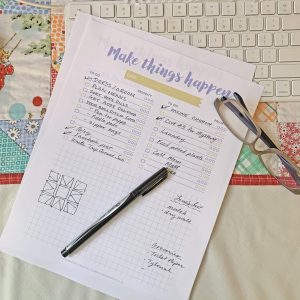 1. Make a list. Lists provide a simple structure for your day. Otherwise you can feel like you’re not getting anything done, or just spinning your wheels. Tip: Don’t put the day of the week on top of your list. Just put ‘Today’. Let Today roll over to tomorrow, which will be the next ‘Today.’ You can keep multiple lists. Some for quilting, crafting, business, health, holiday ideas, etc. Free printable list.
2. Stick to your routines. Routines are extremely important for mental health. It can help us to cope with change and to reduce our stress levels. Part of our routine should include feeding our creative side.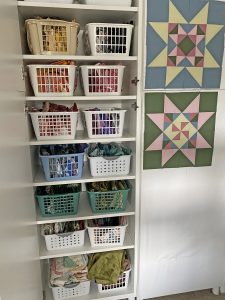
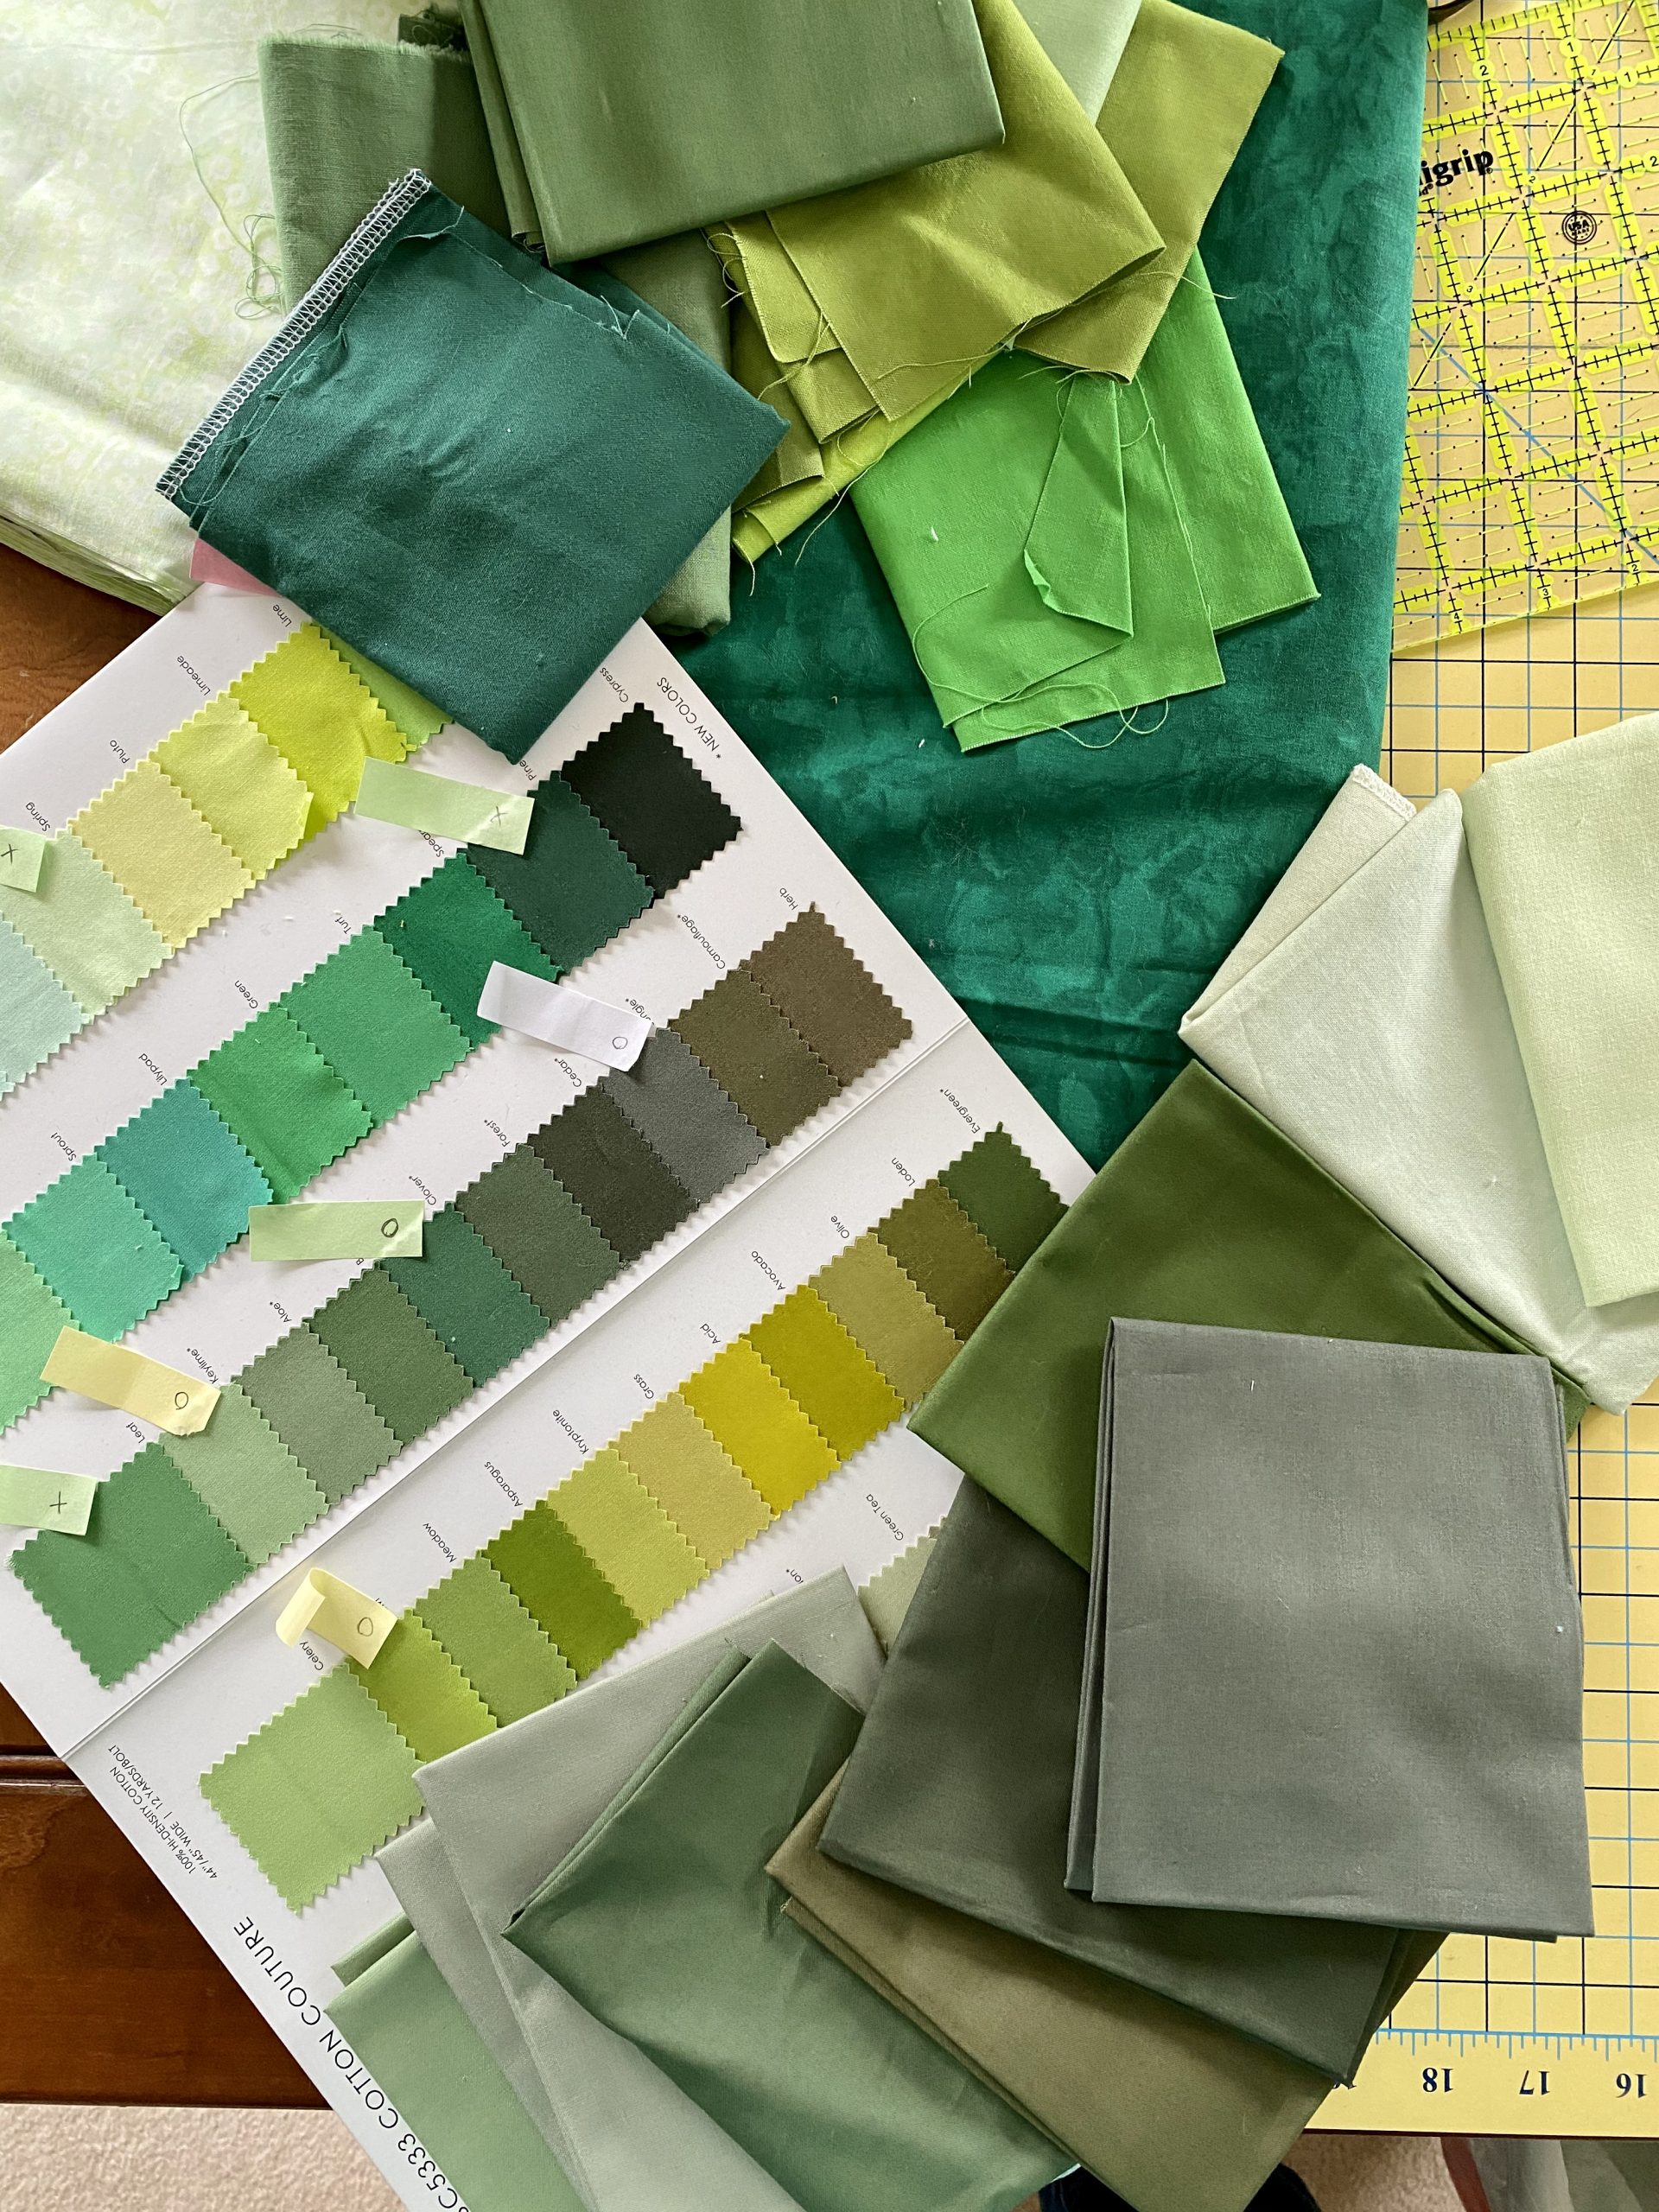
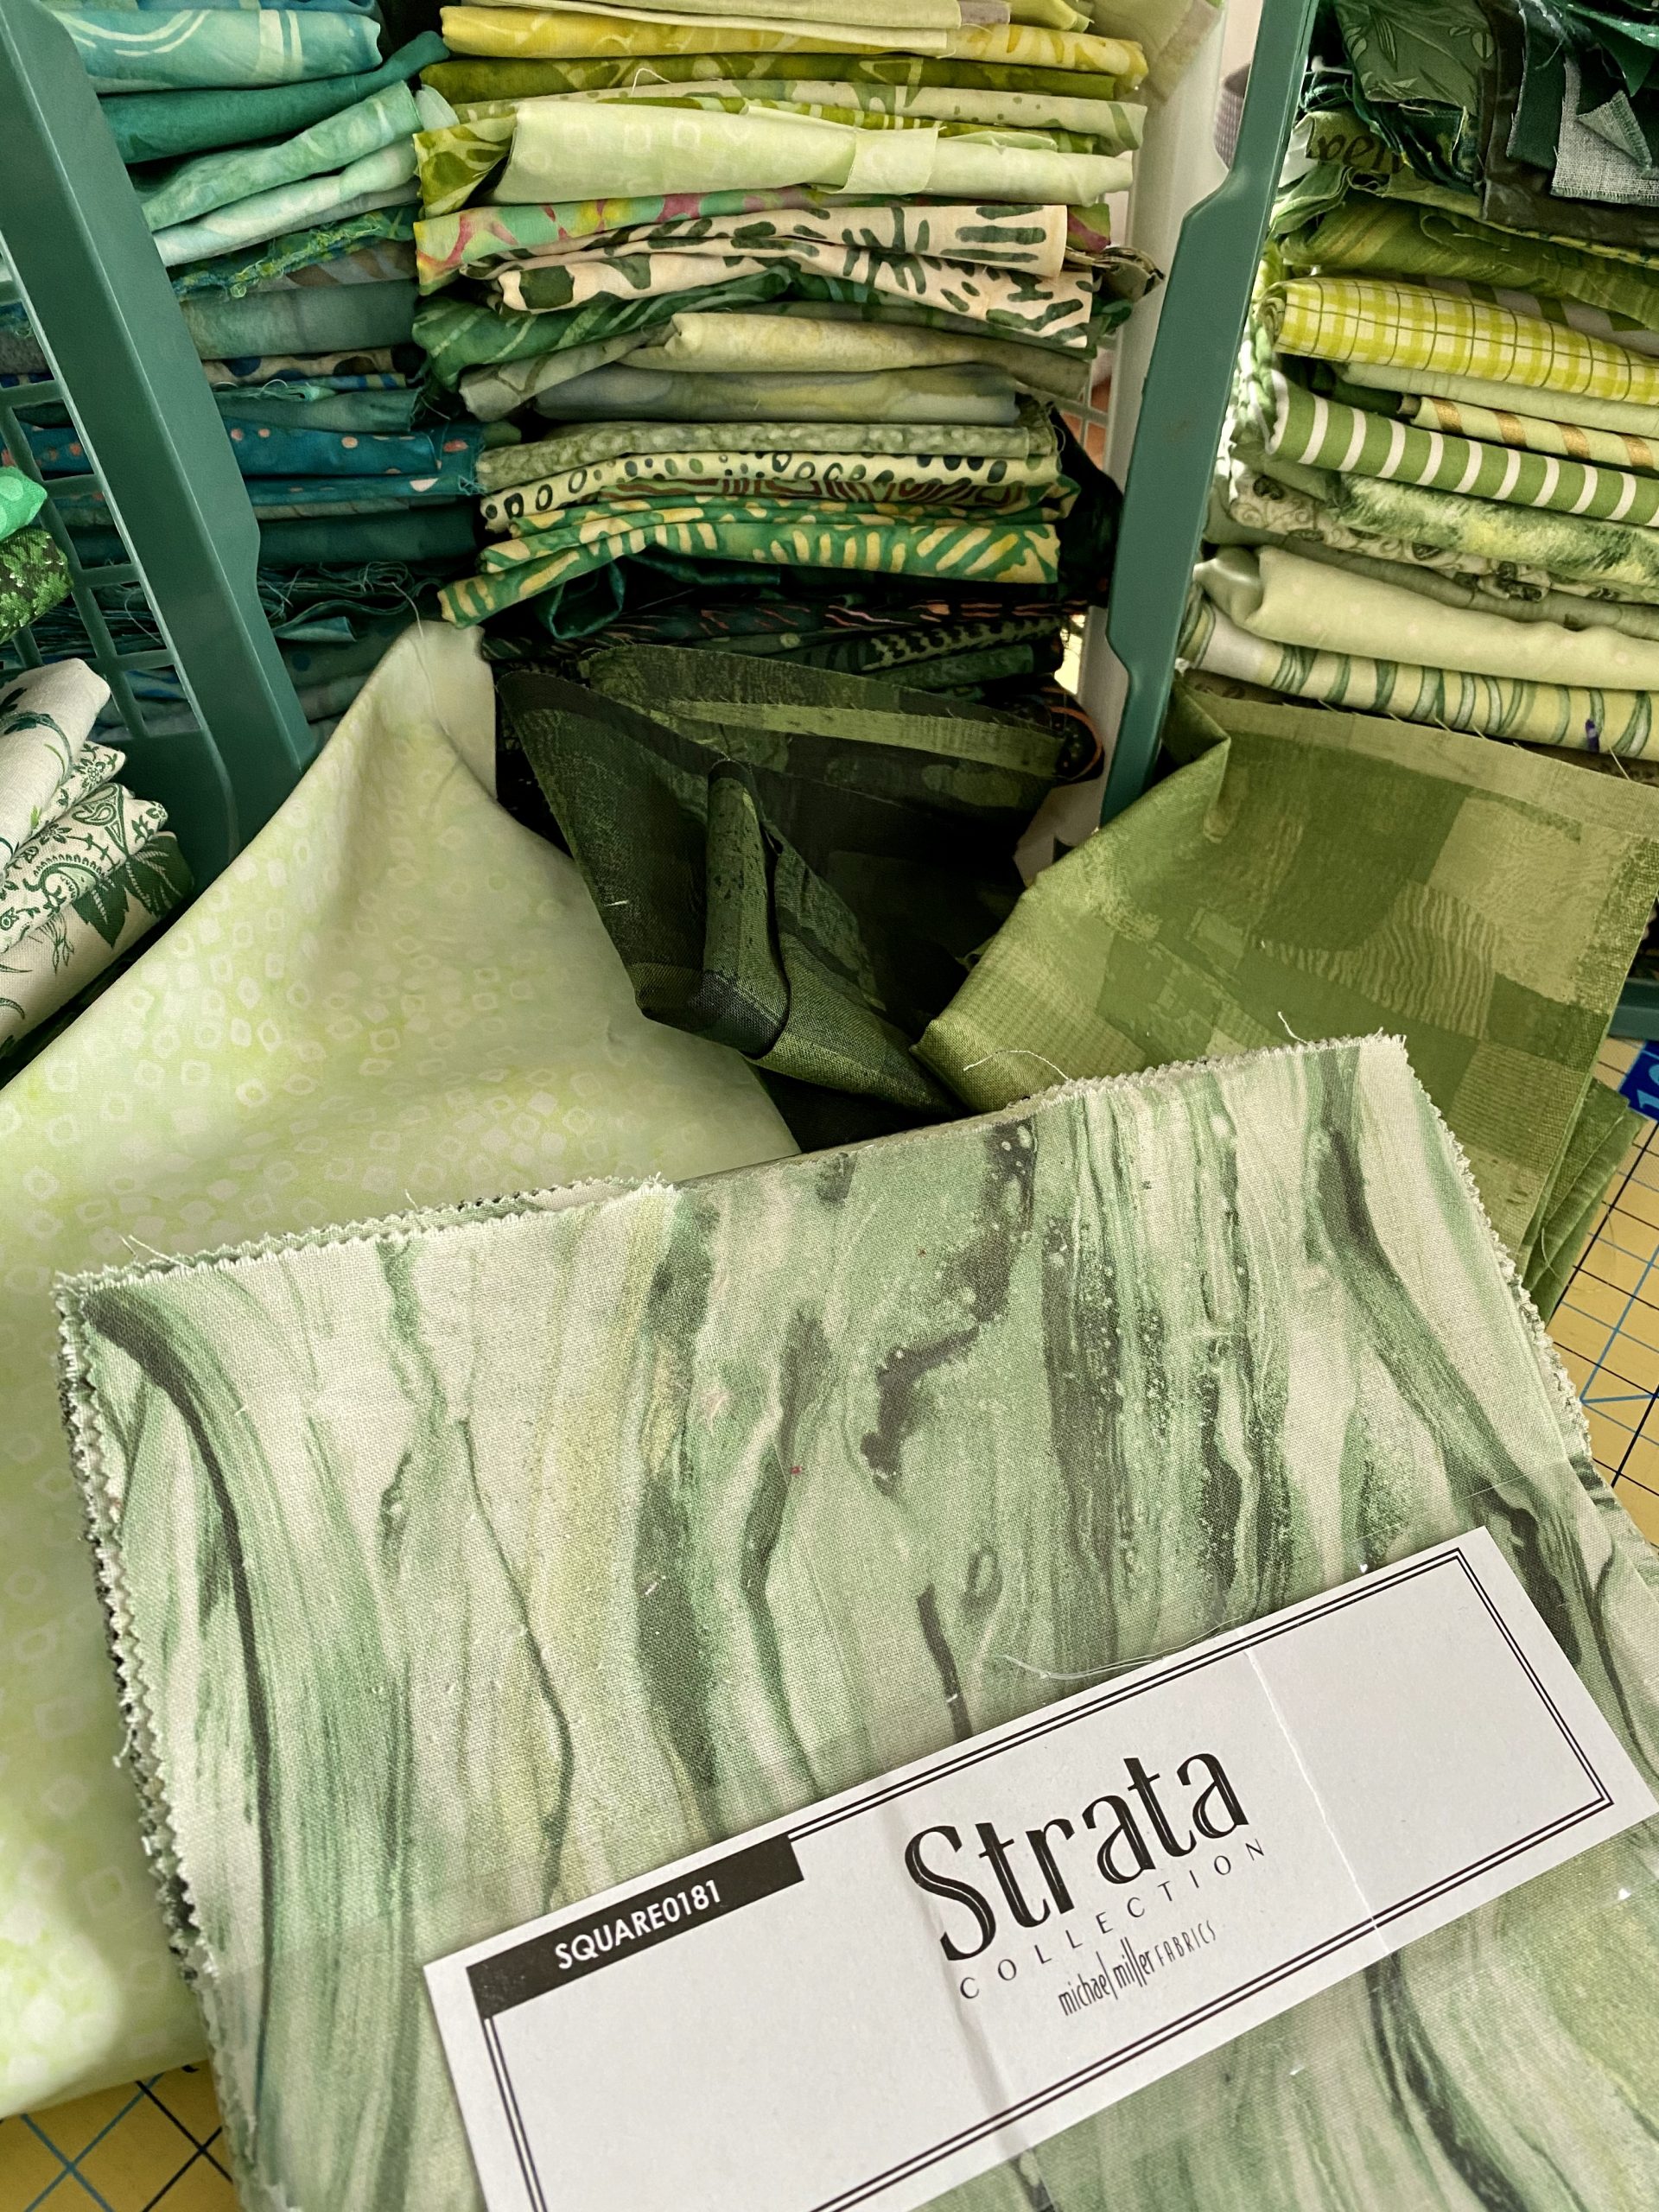
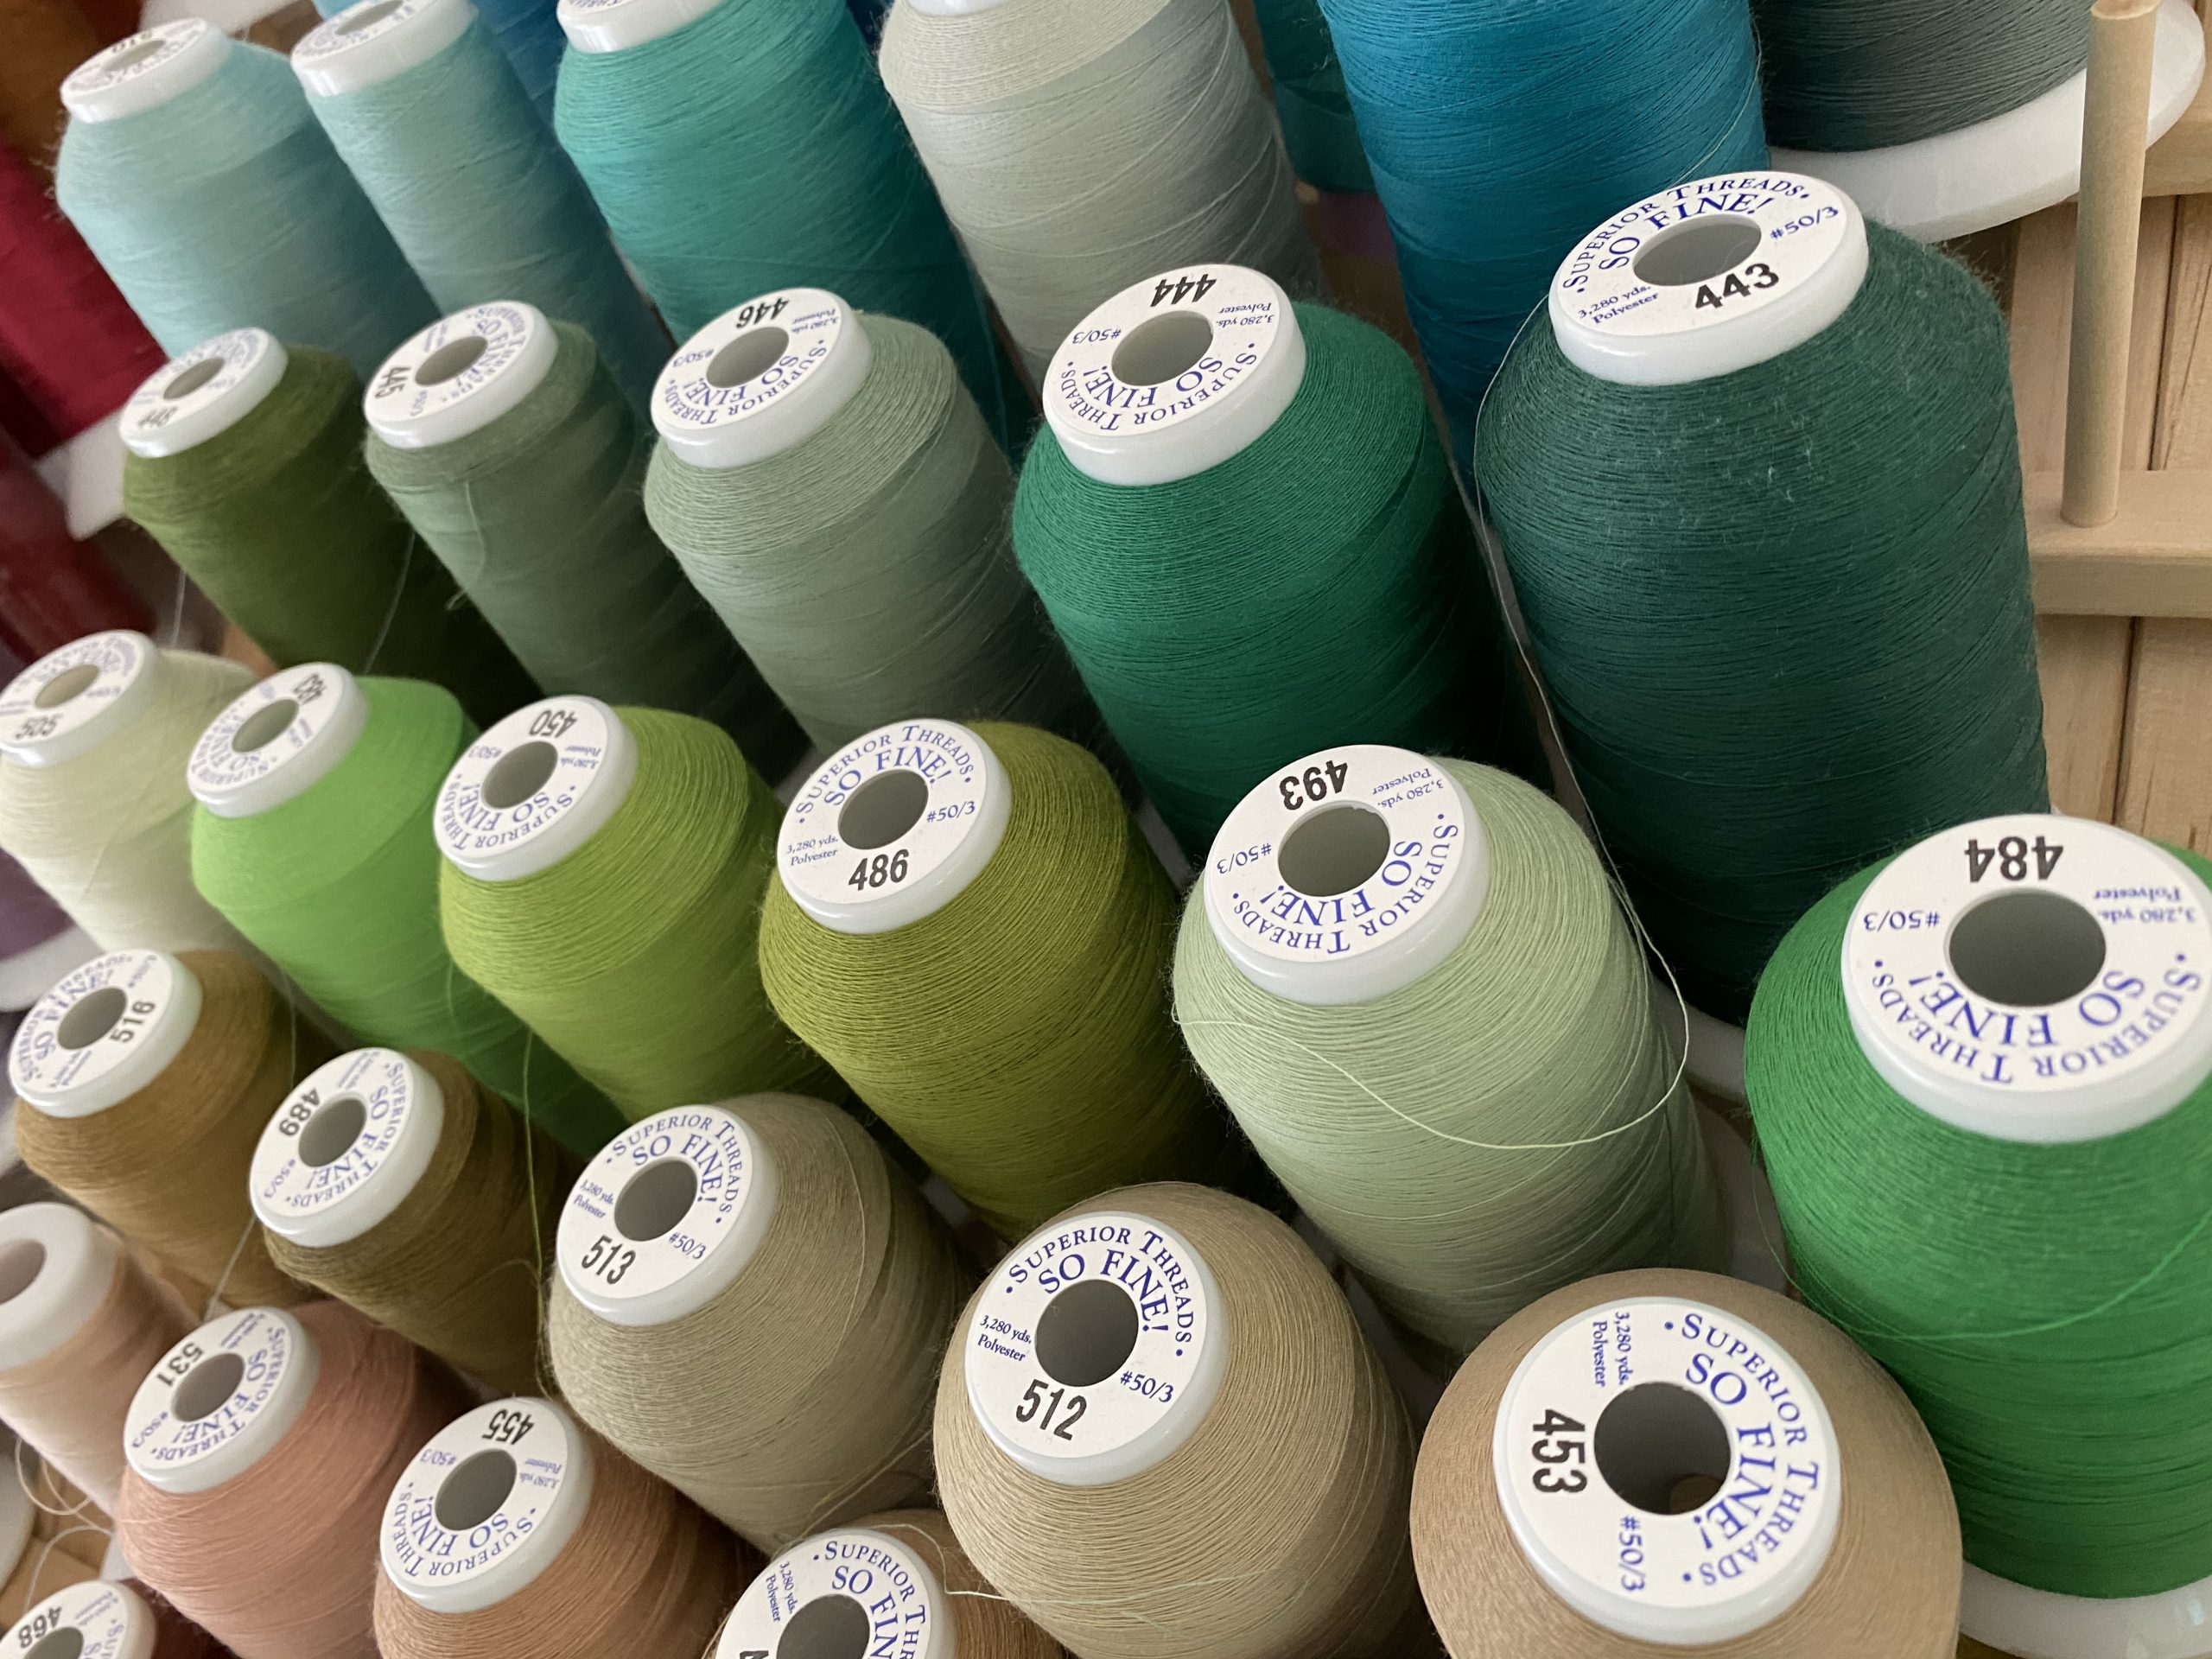
3. Clean and declutter your sewing room. What? Yes. In 2011, researchers at Princeton University found that clutter makes it more difficult to focus on a task. Specifically, they found that the visual cortex can be overwhelmed by task-irrelevant objects, making it harder to pay attention and complete tasks efficiently.
According to a recent study published in the Personality and Social Psychology Bulletin, people who described their homes as cluttered, messy, and full of unfinished projects were also more depressed, tired and stressed out than those who described their homes as restorative and clean.” Psychology Today
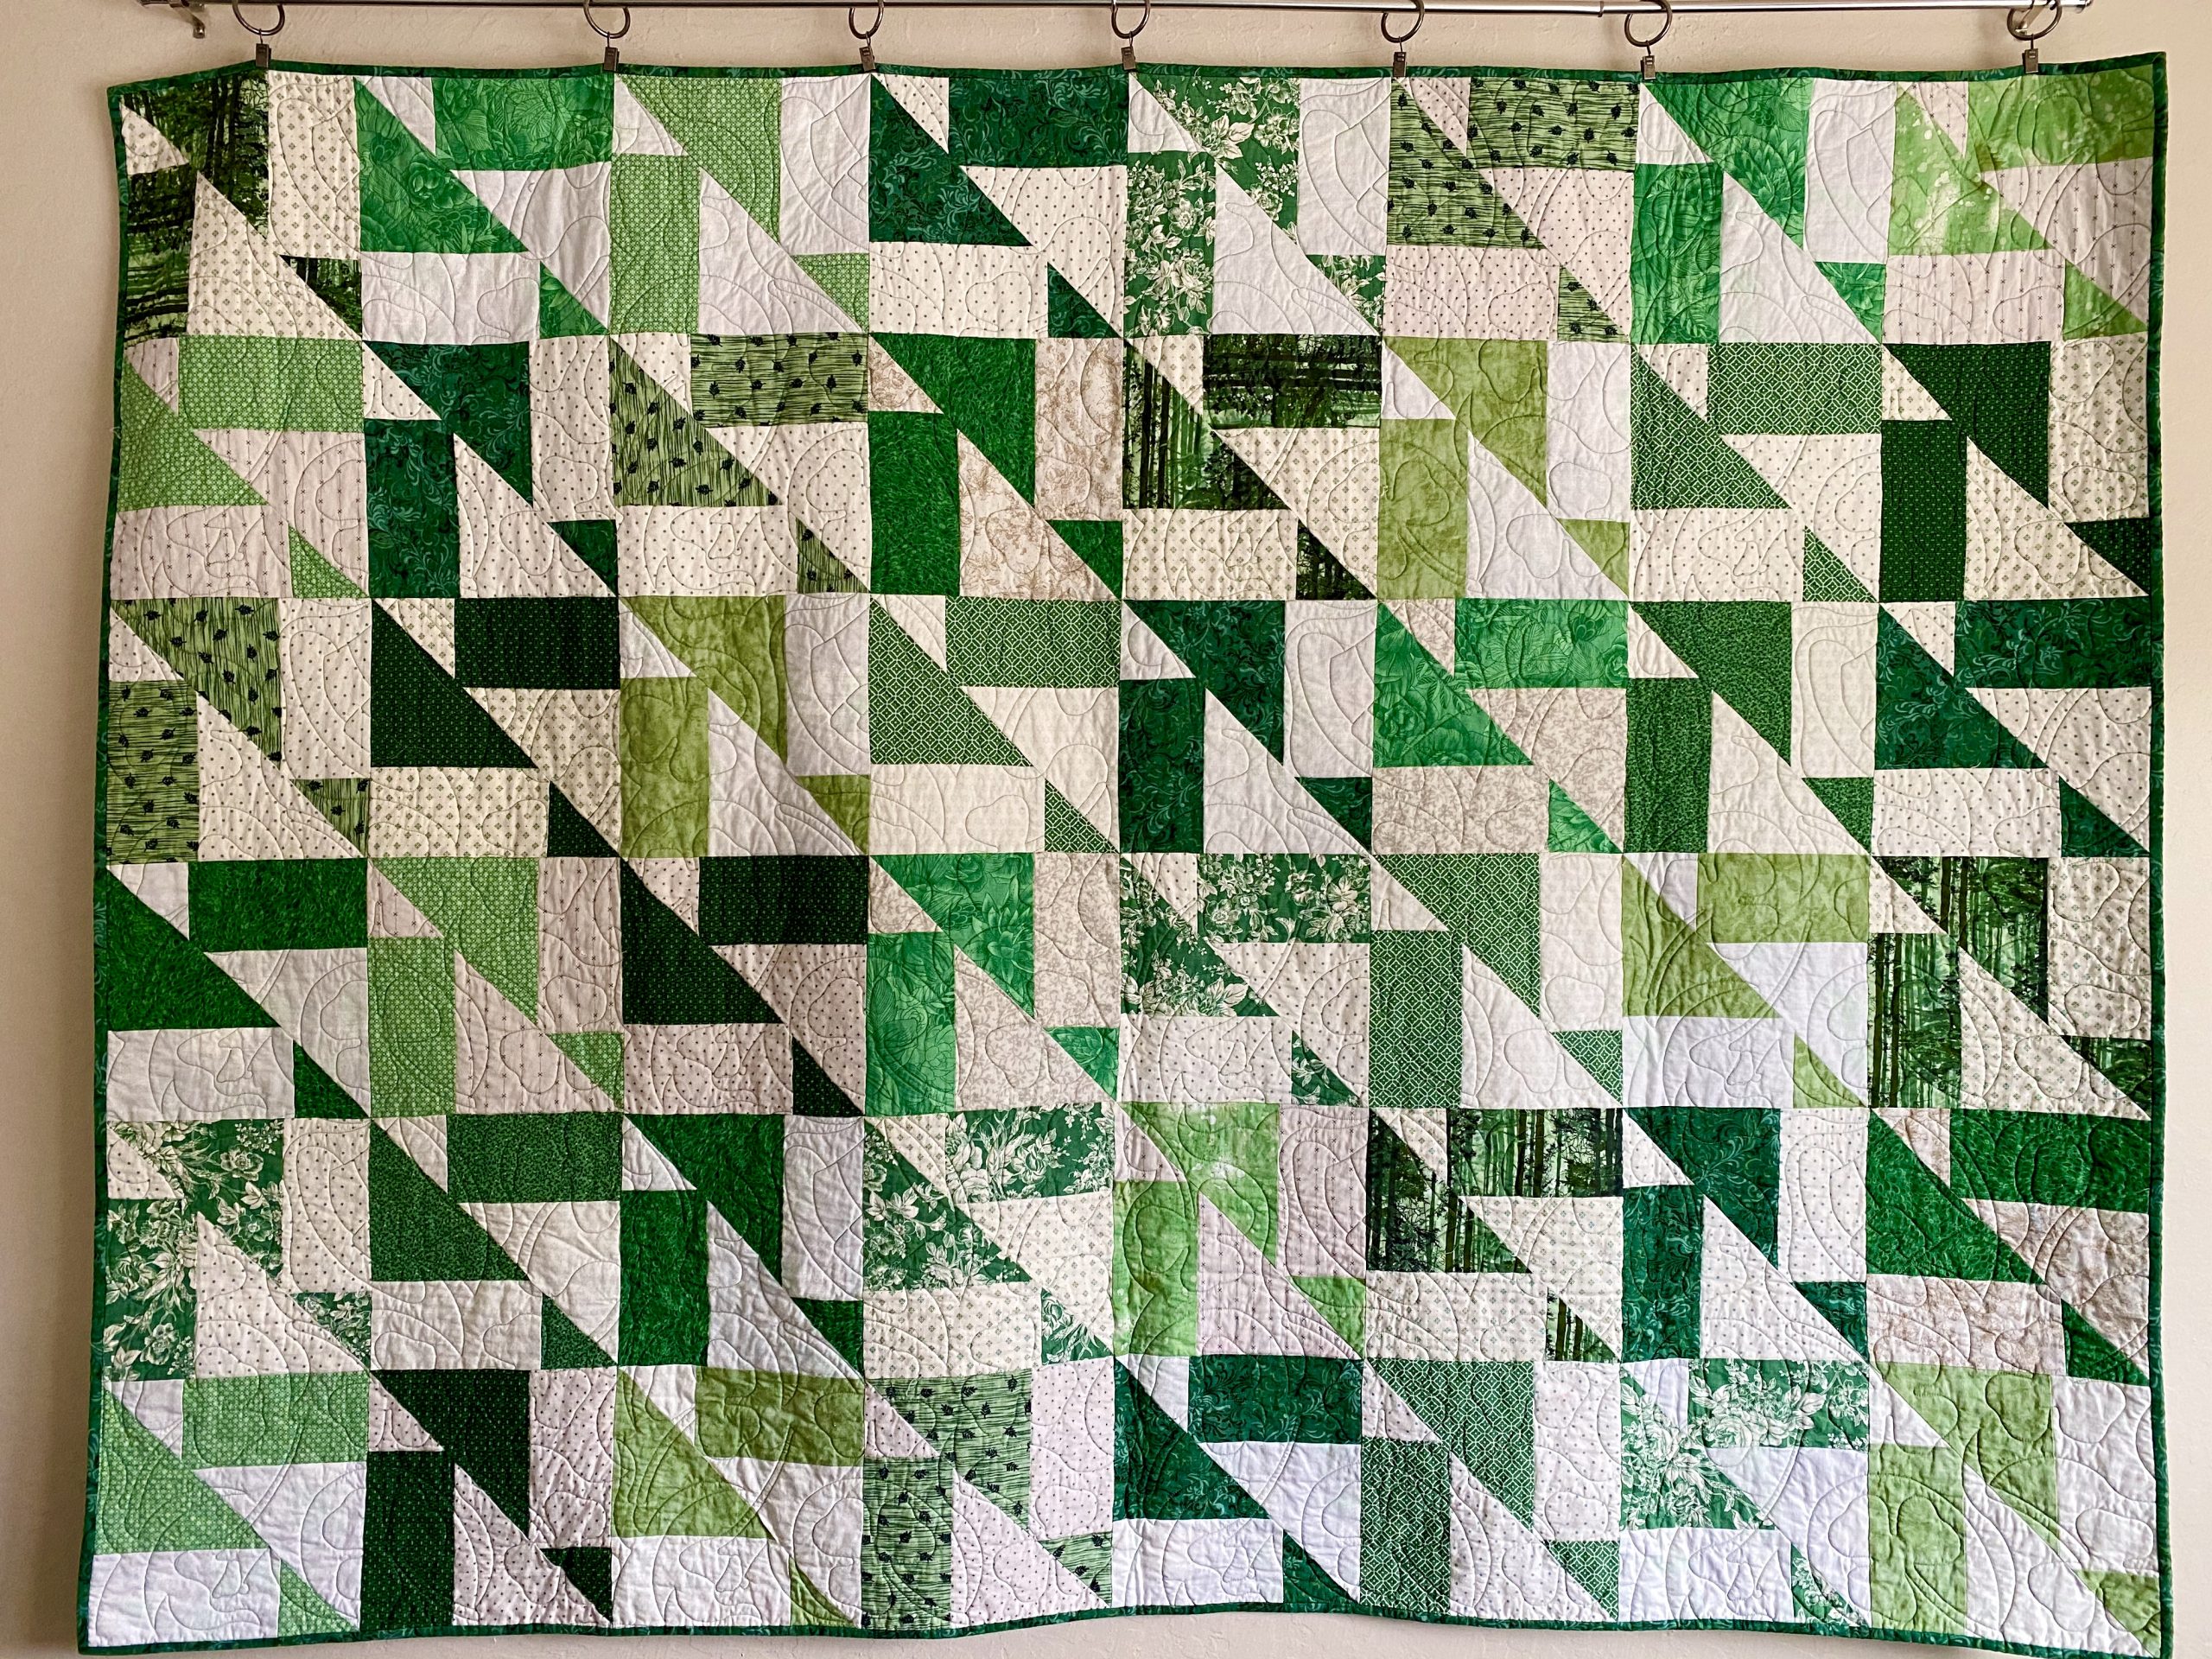
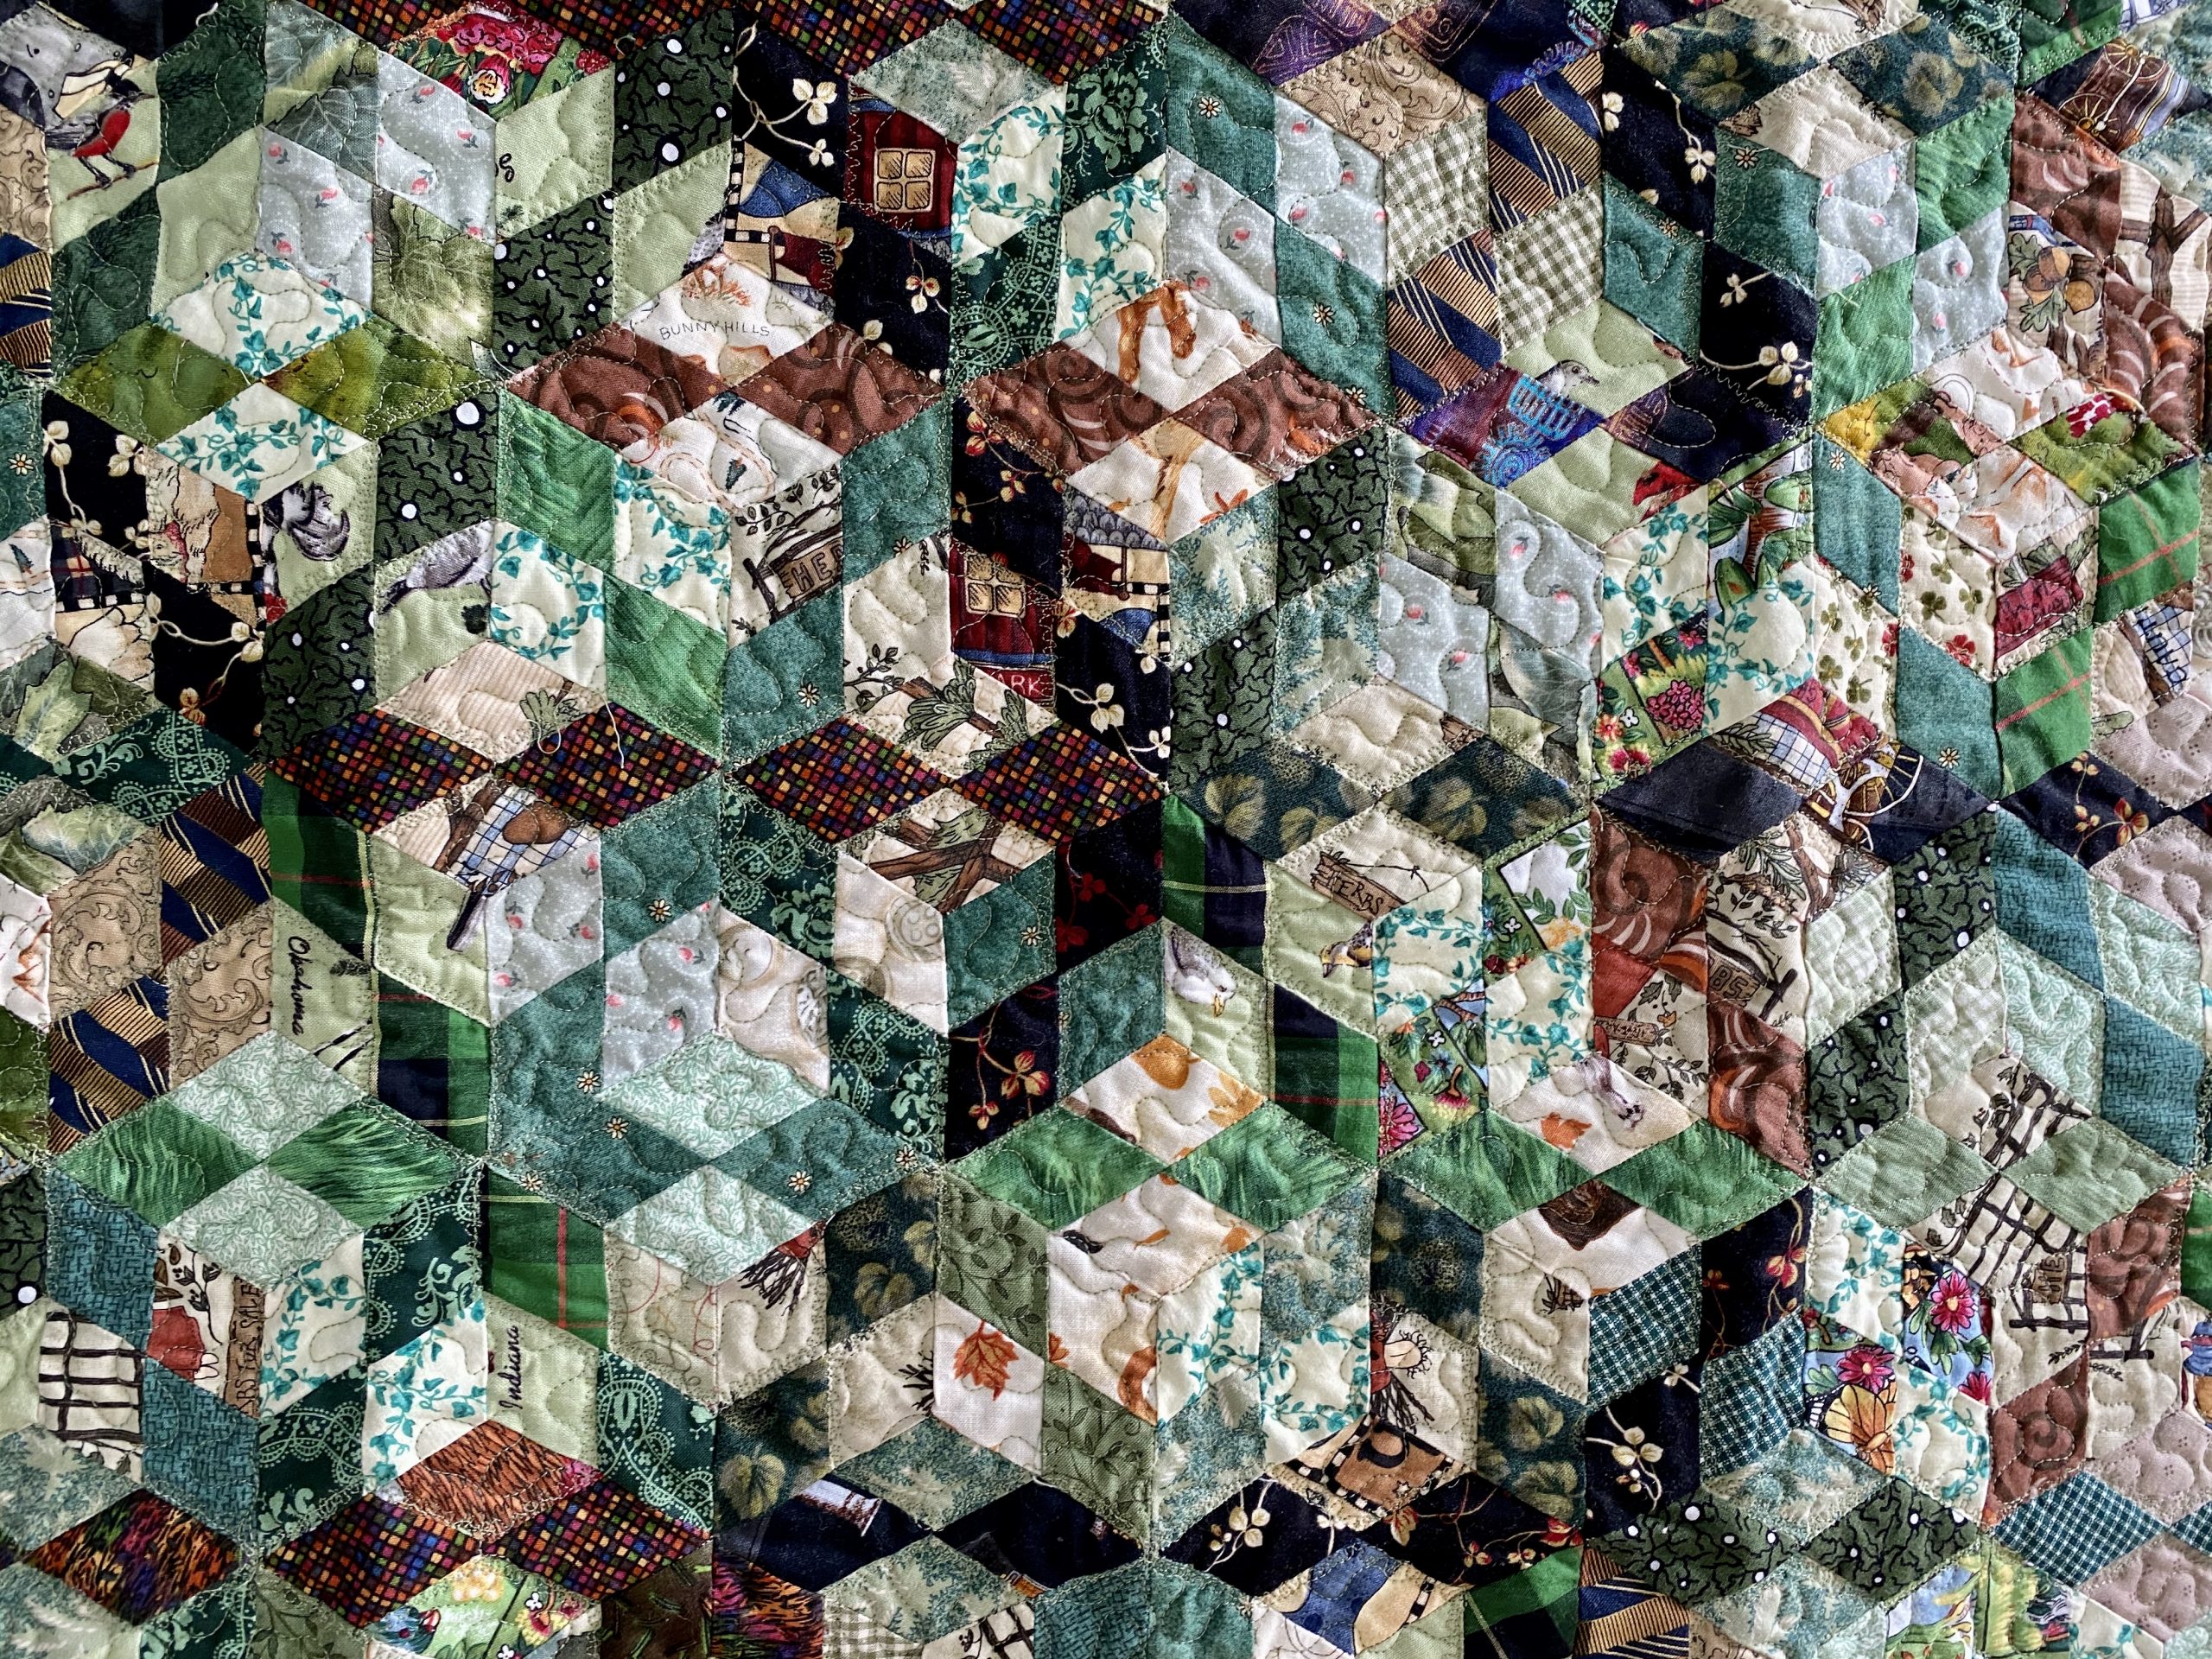
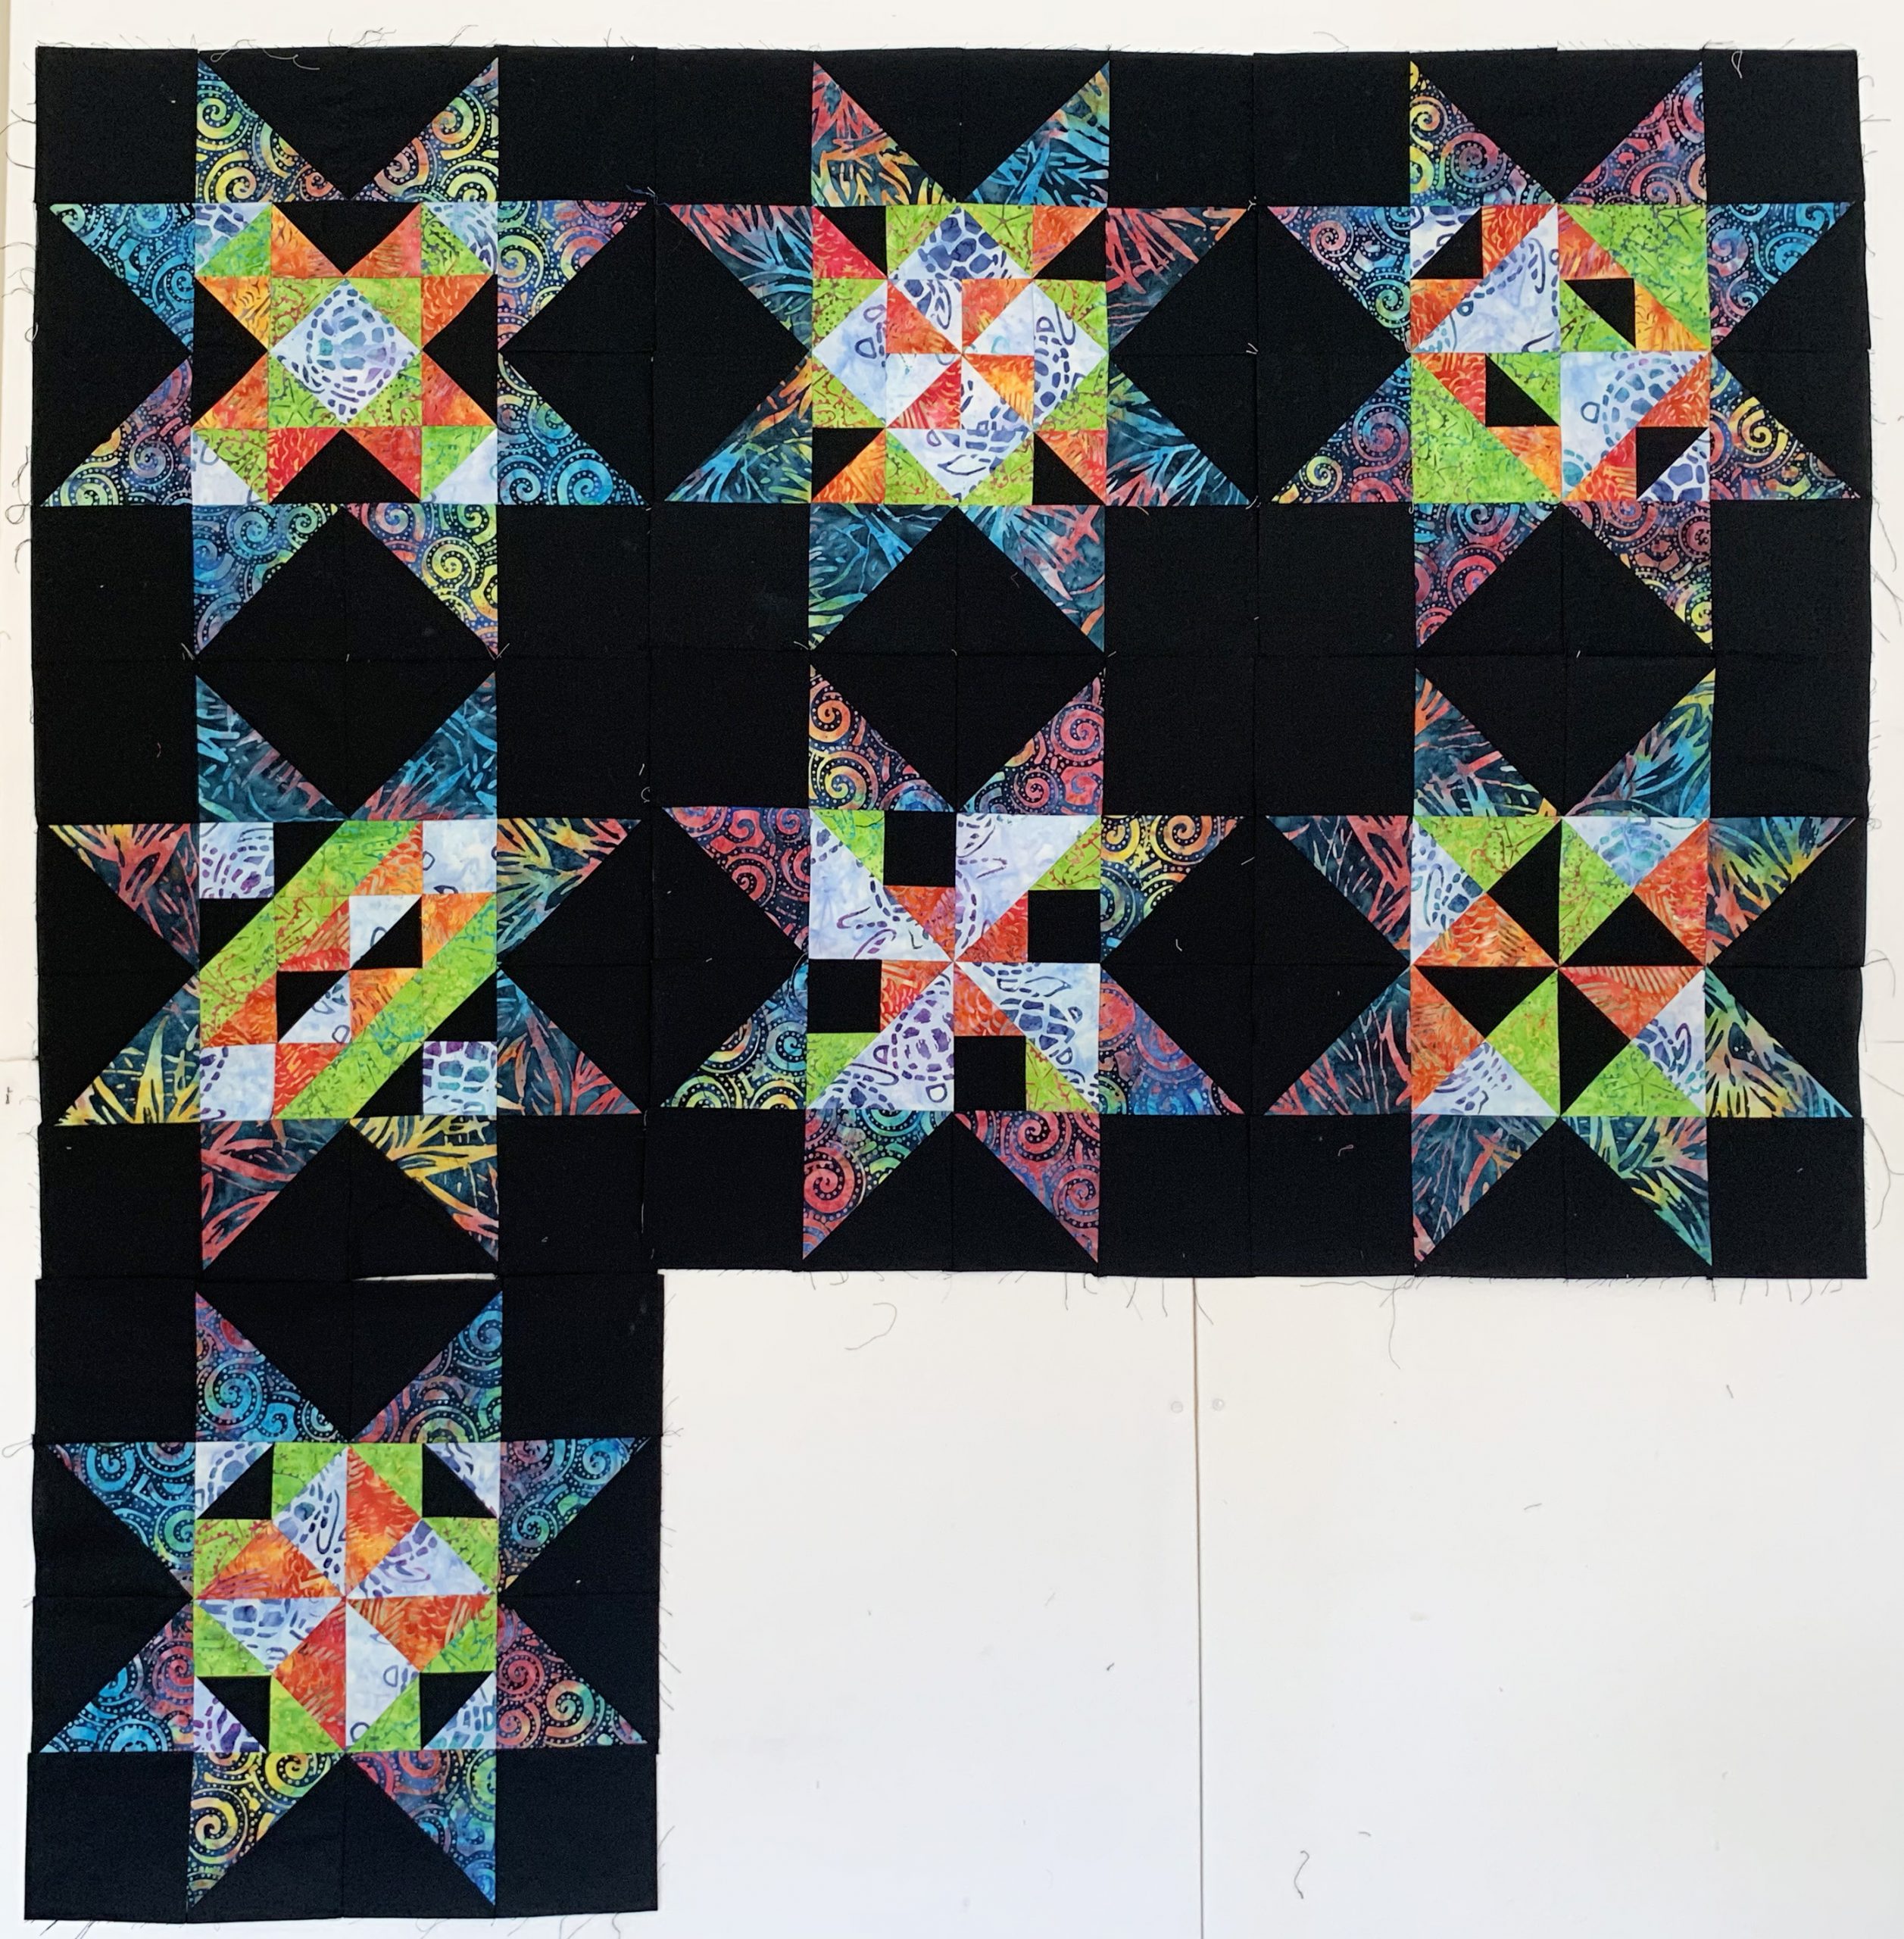
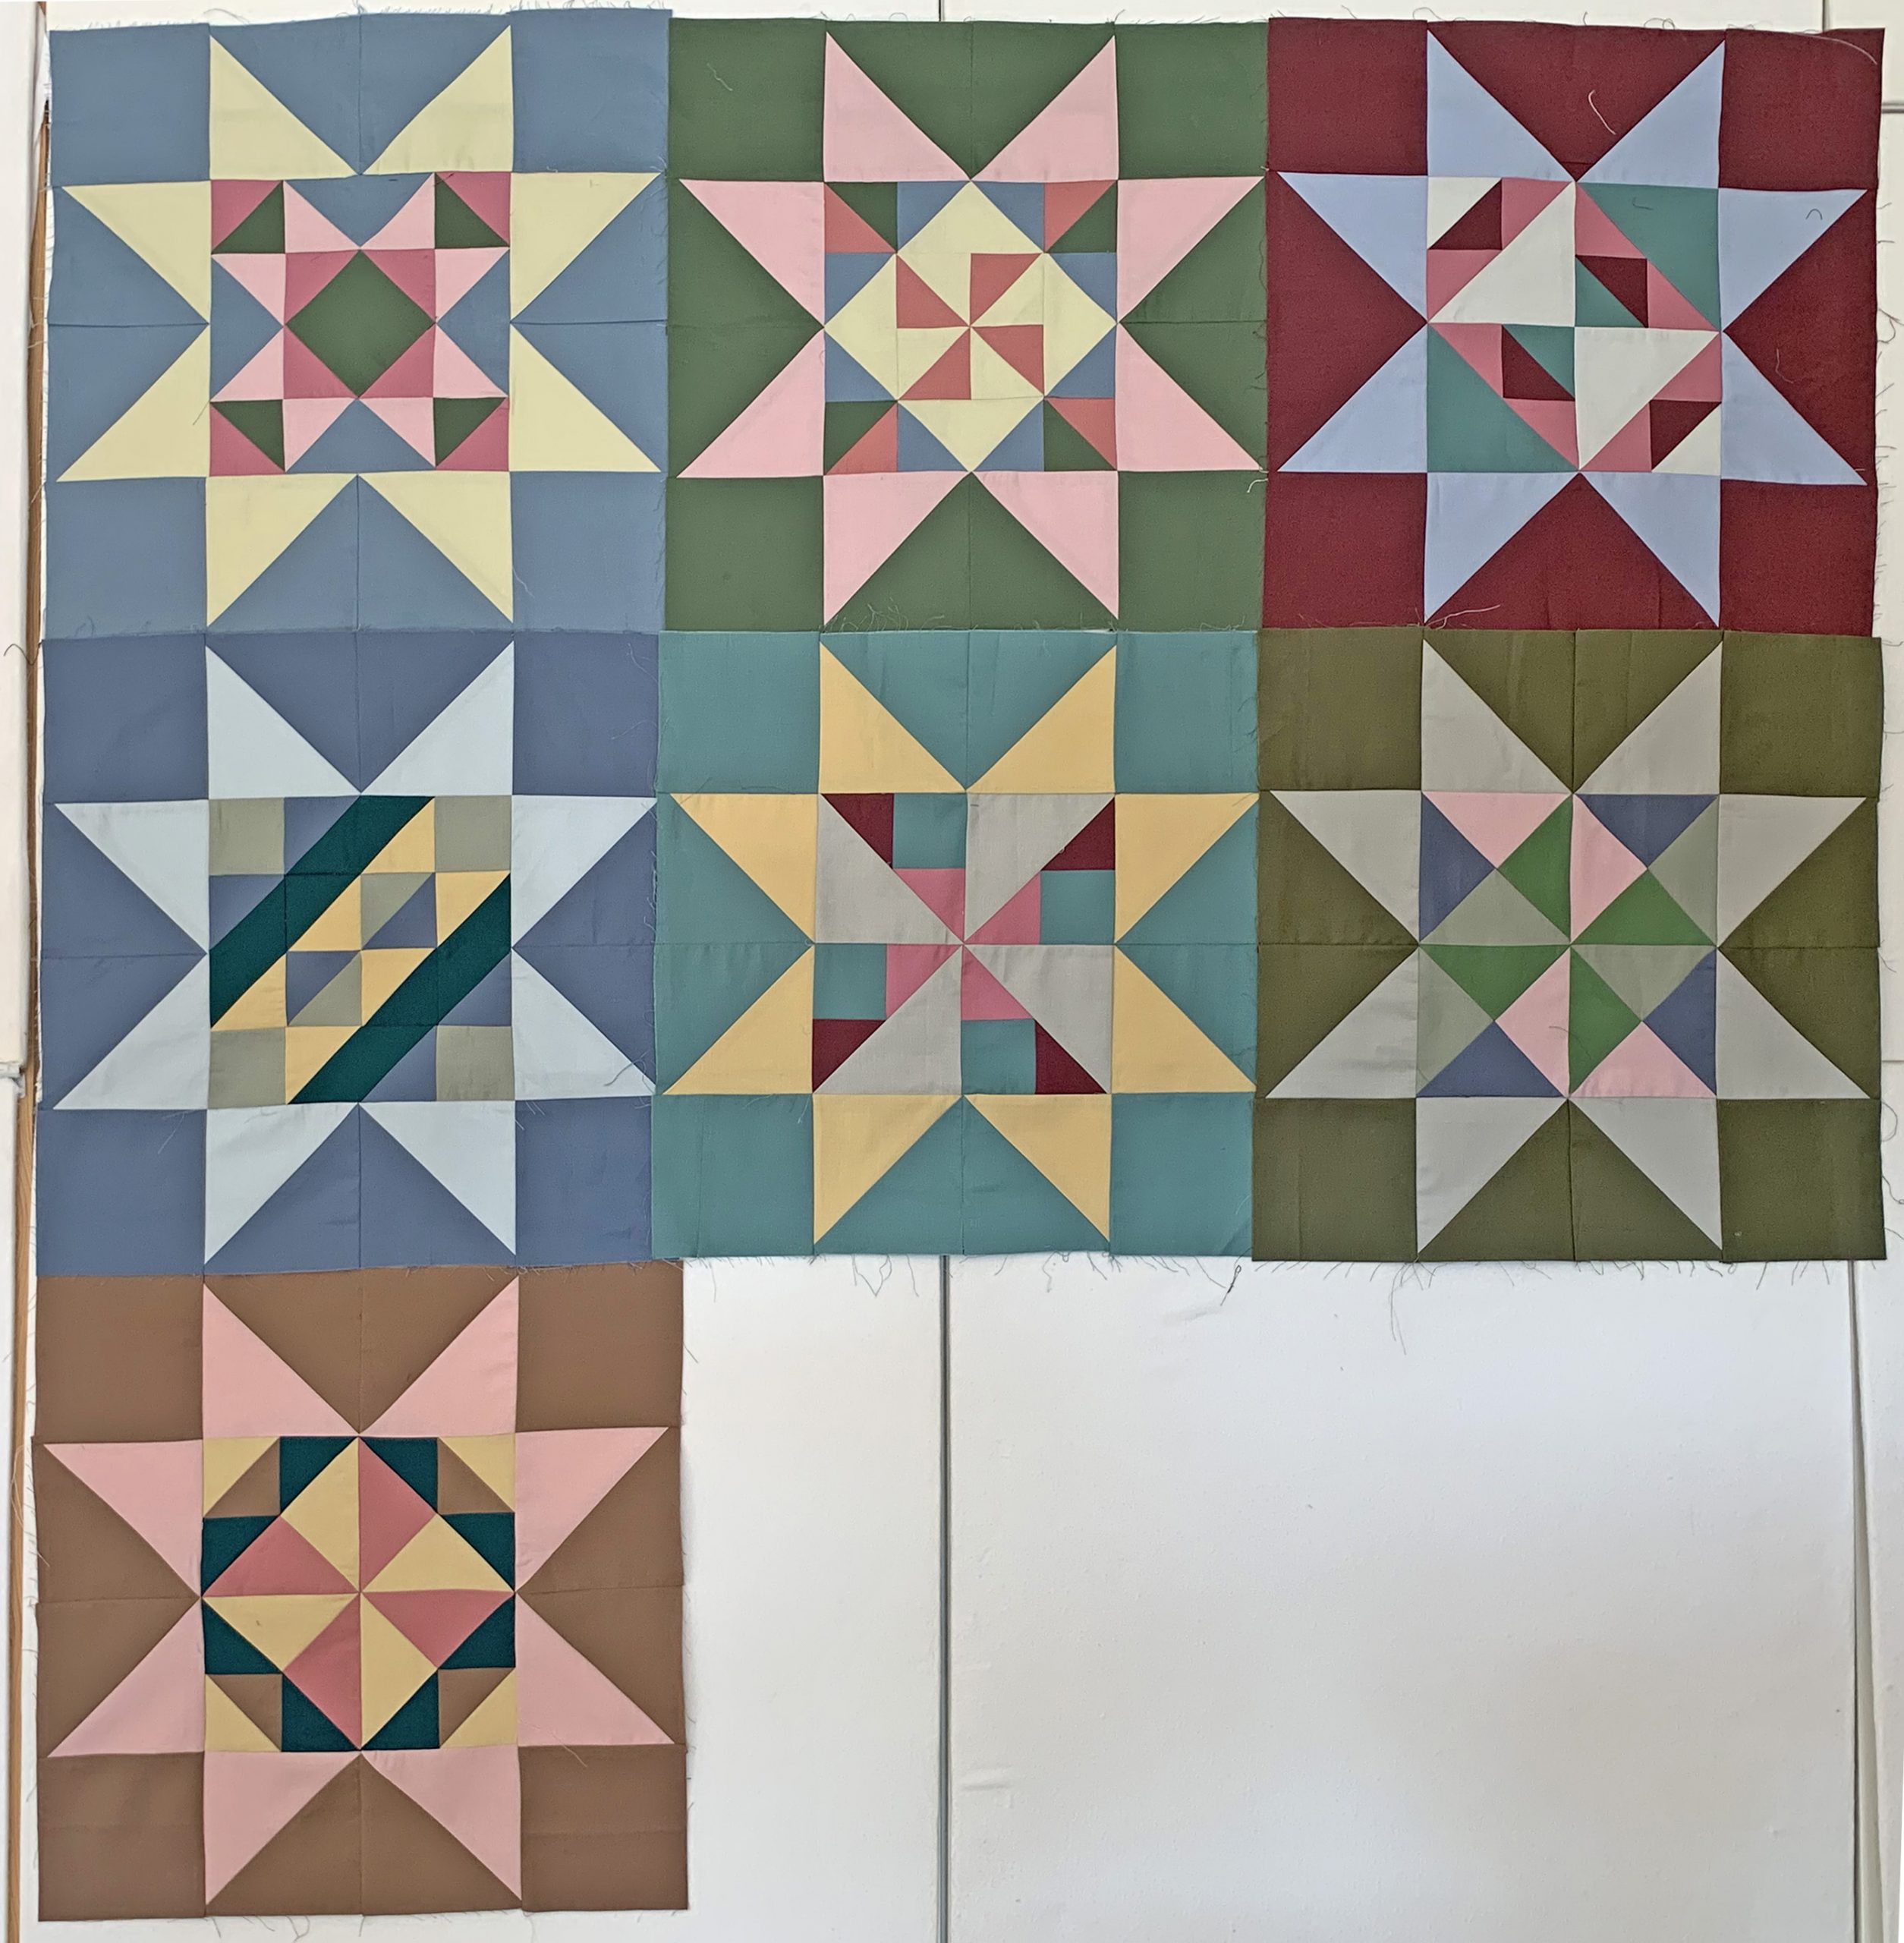
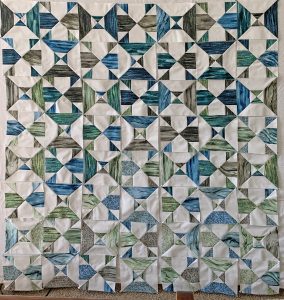
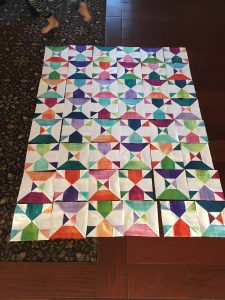
Check out Lora’s Studio. It isn’t always like that. She did spend time tidying up!
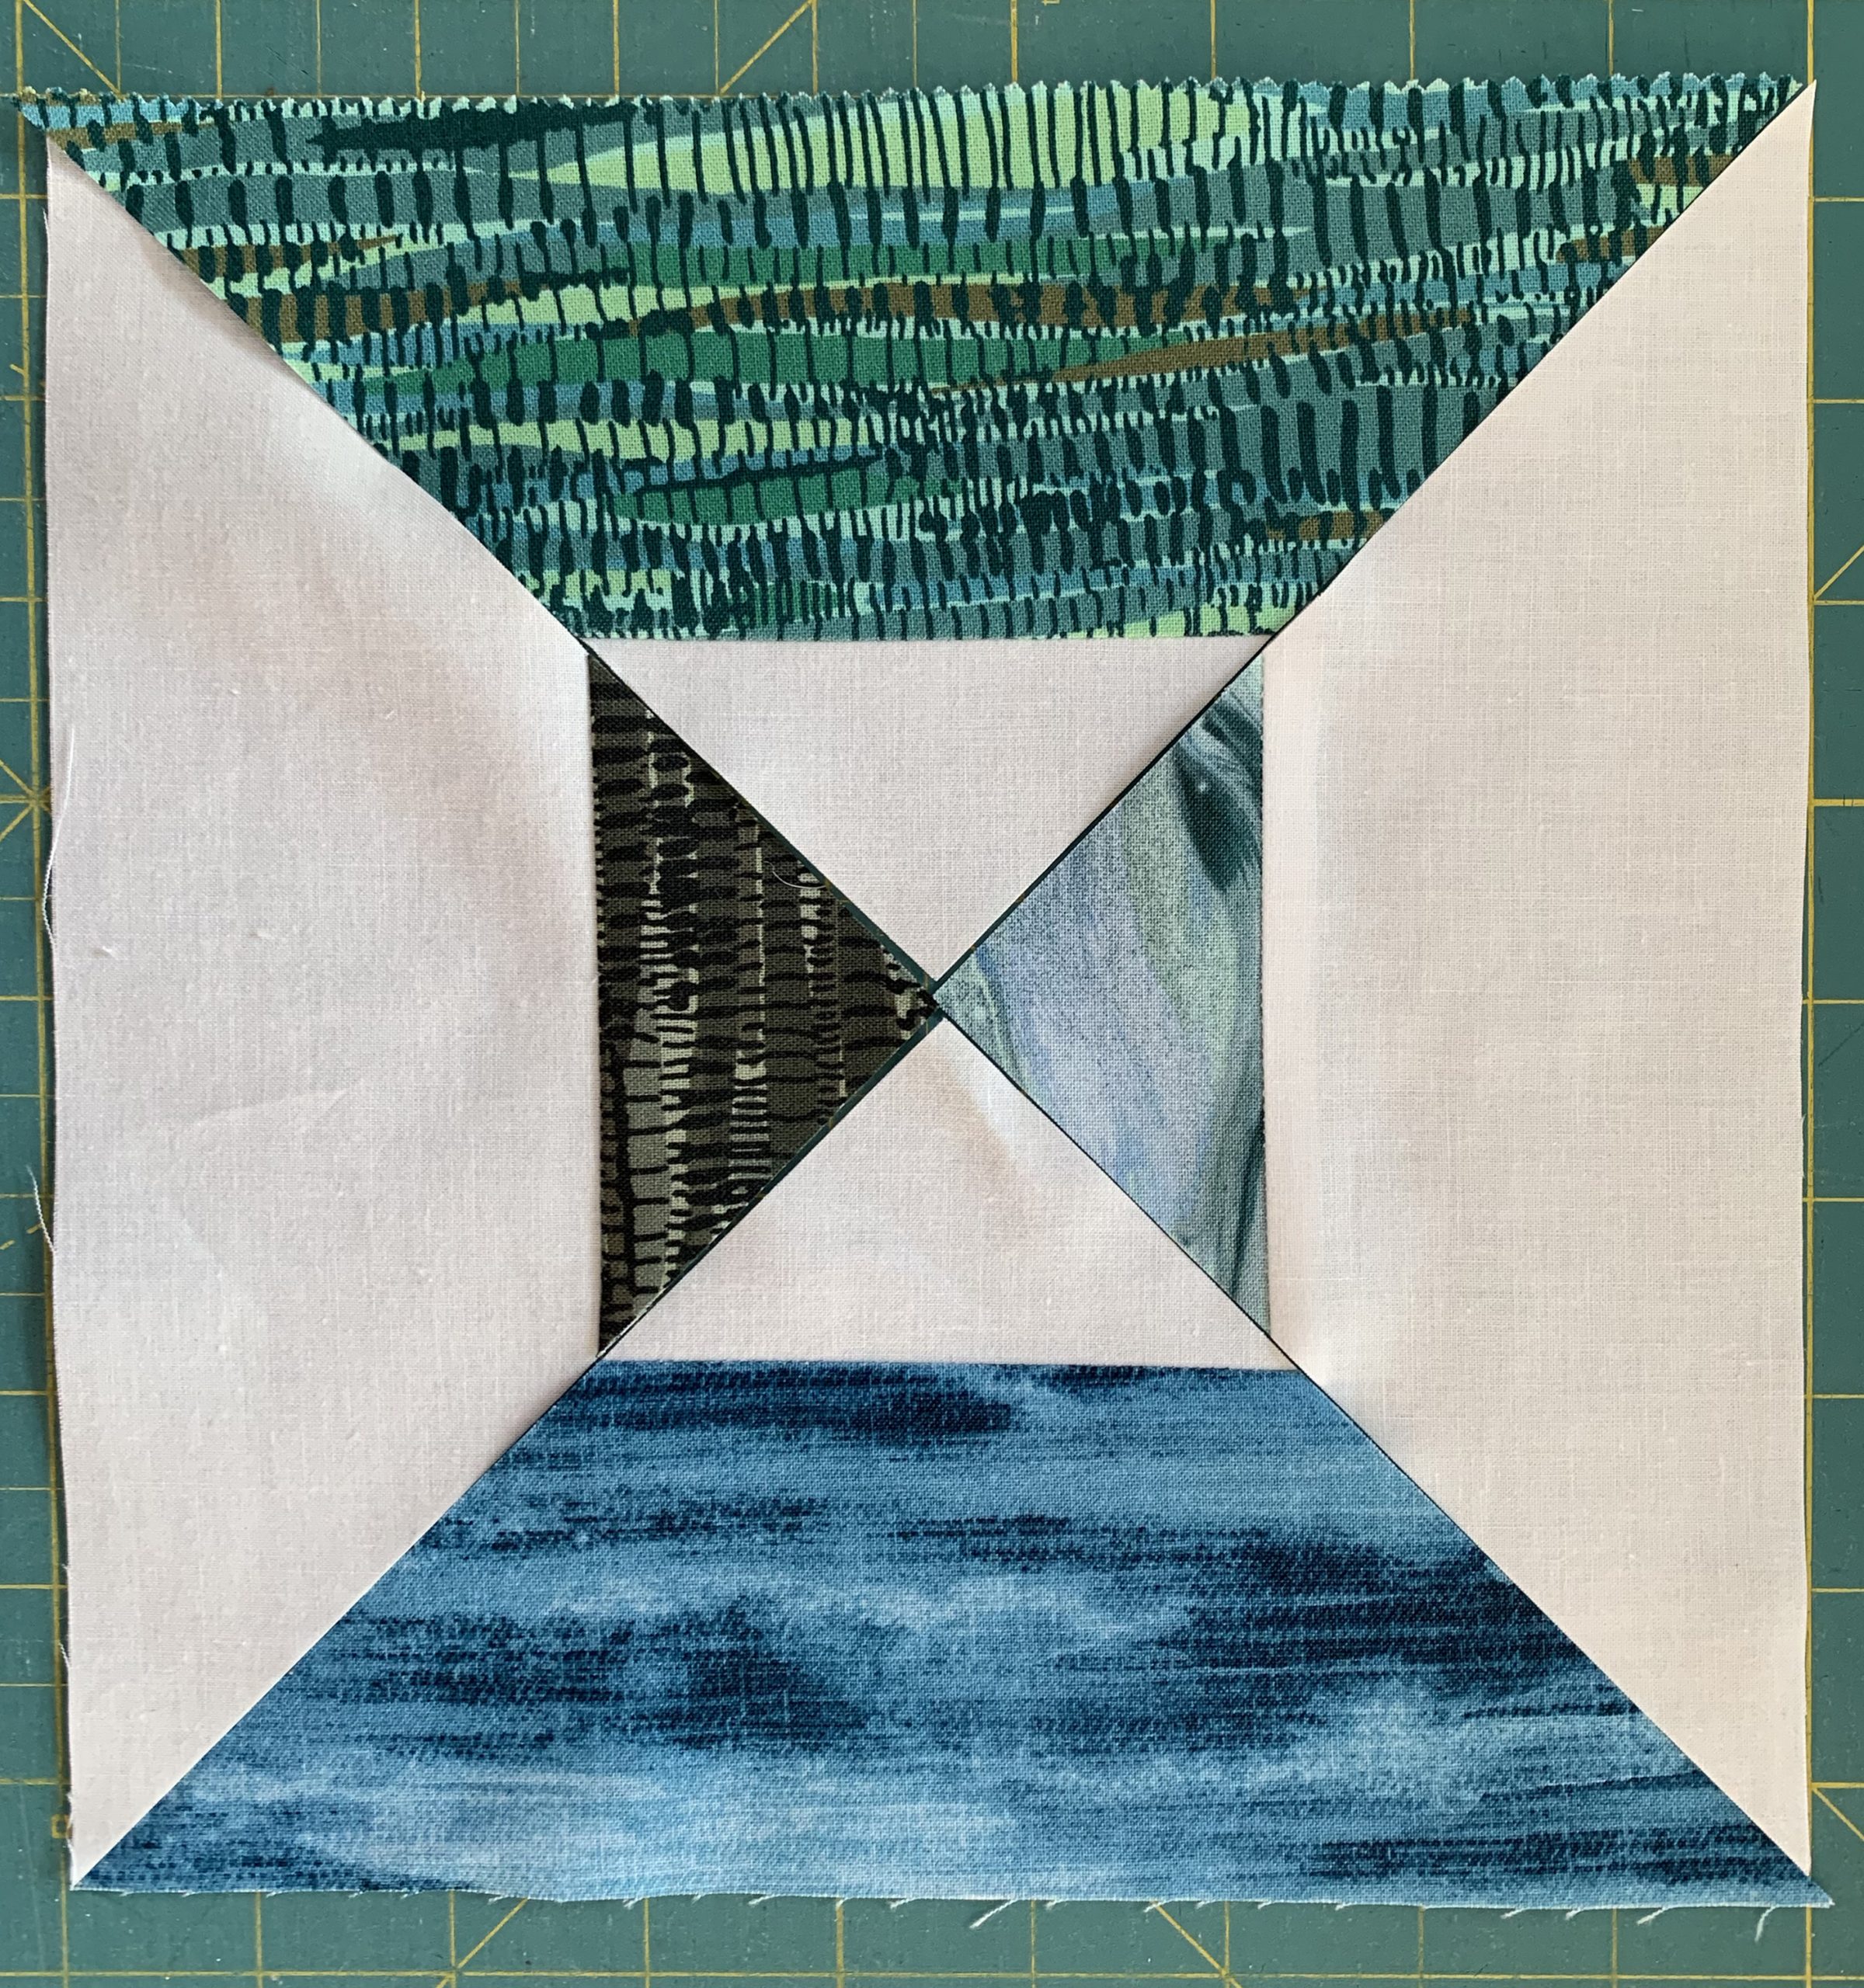
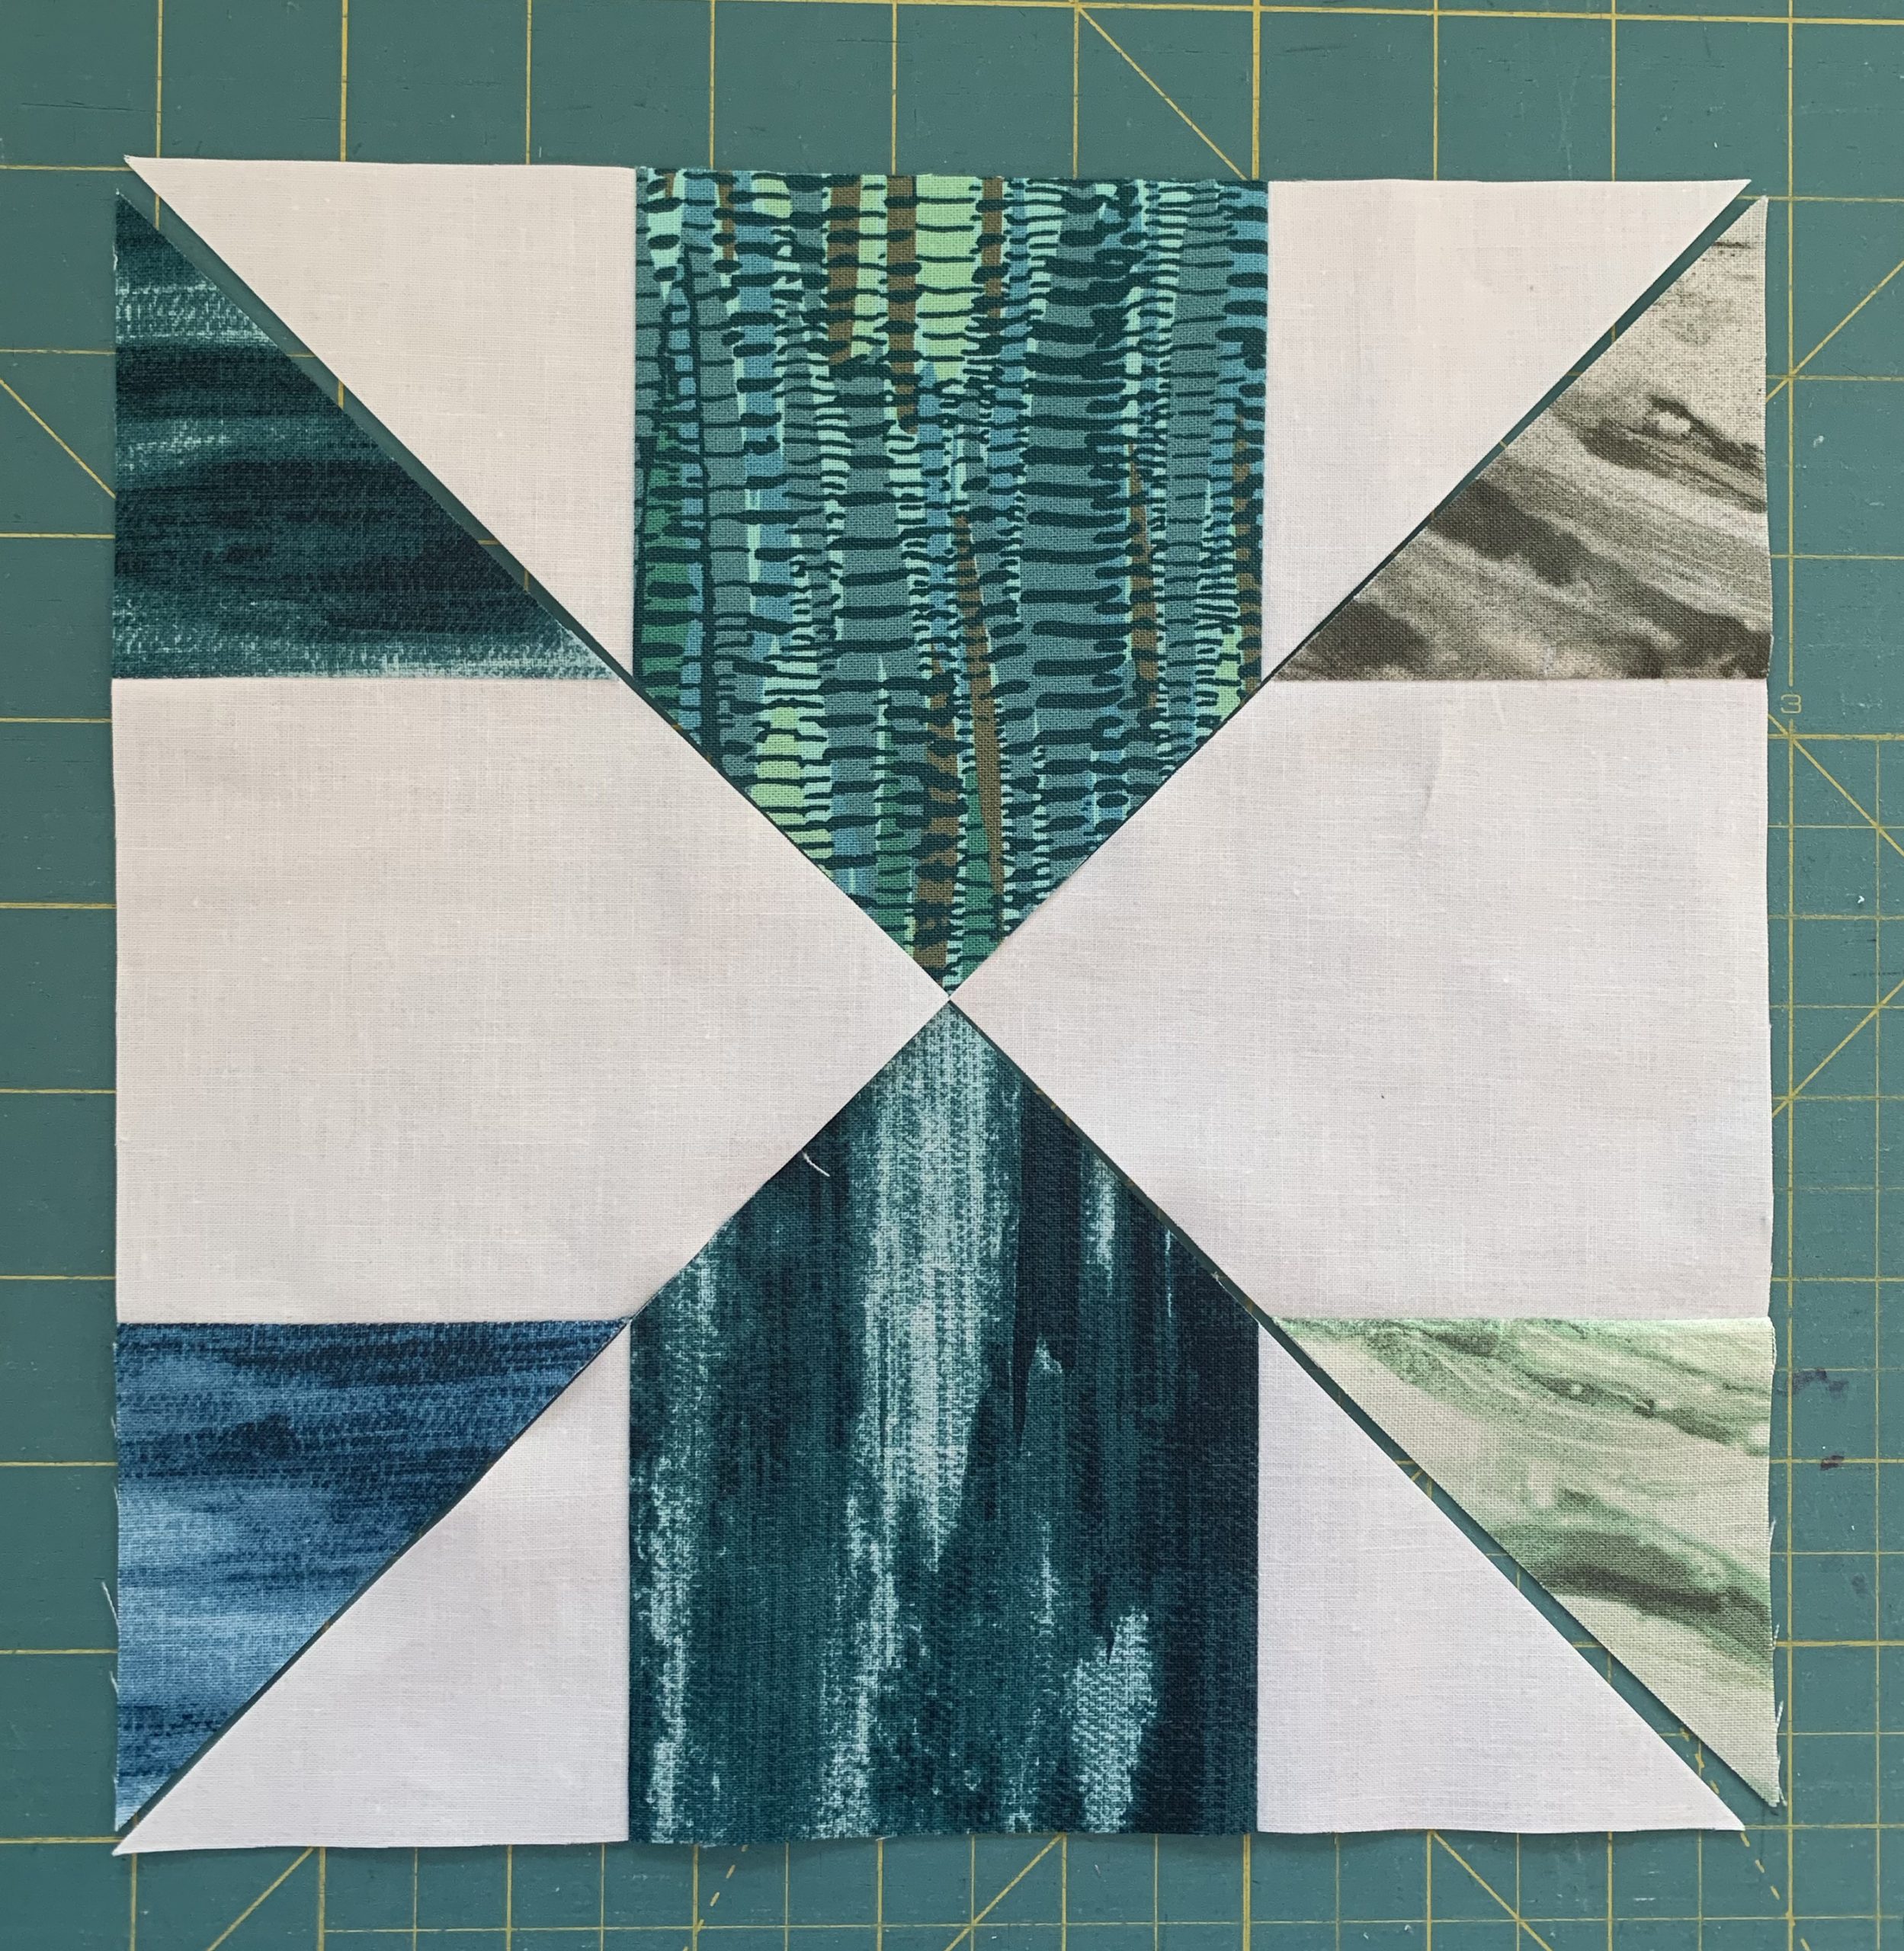
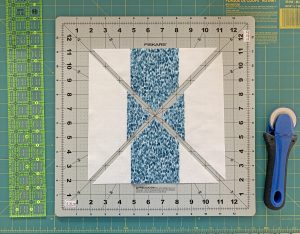
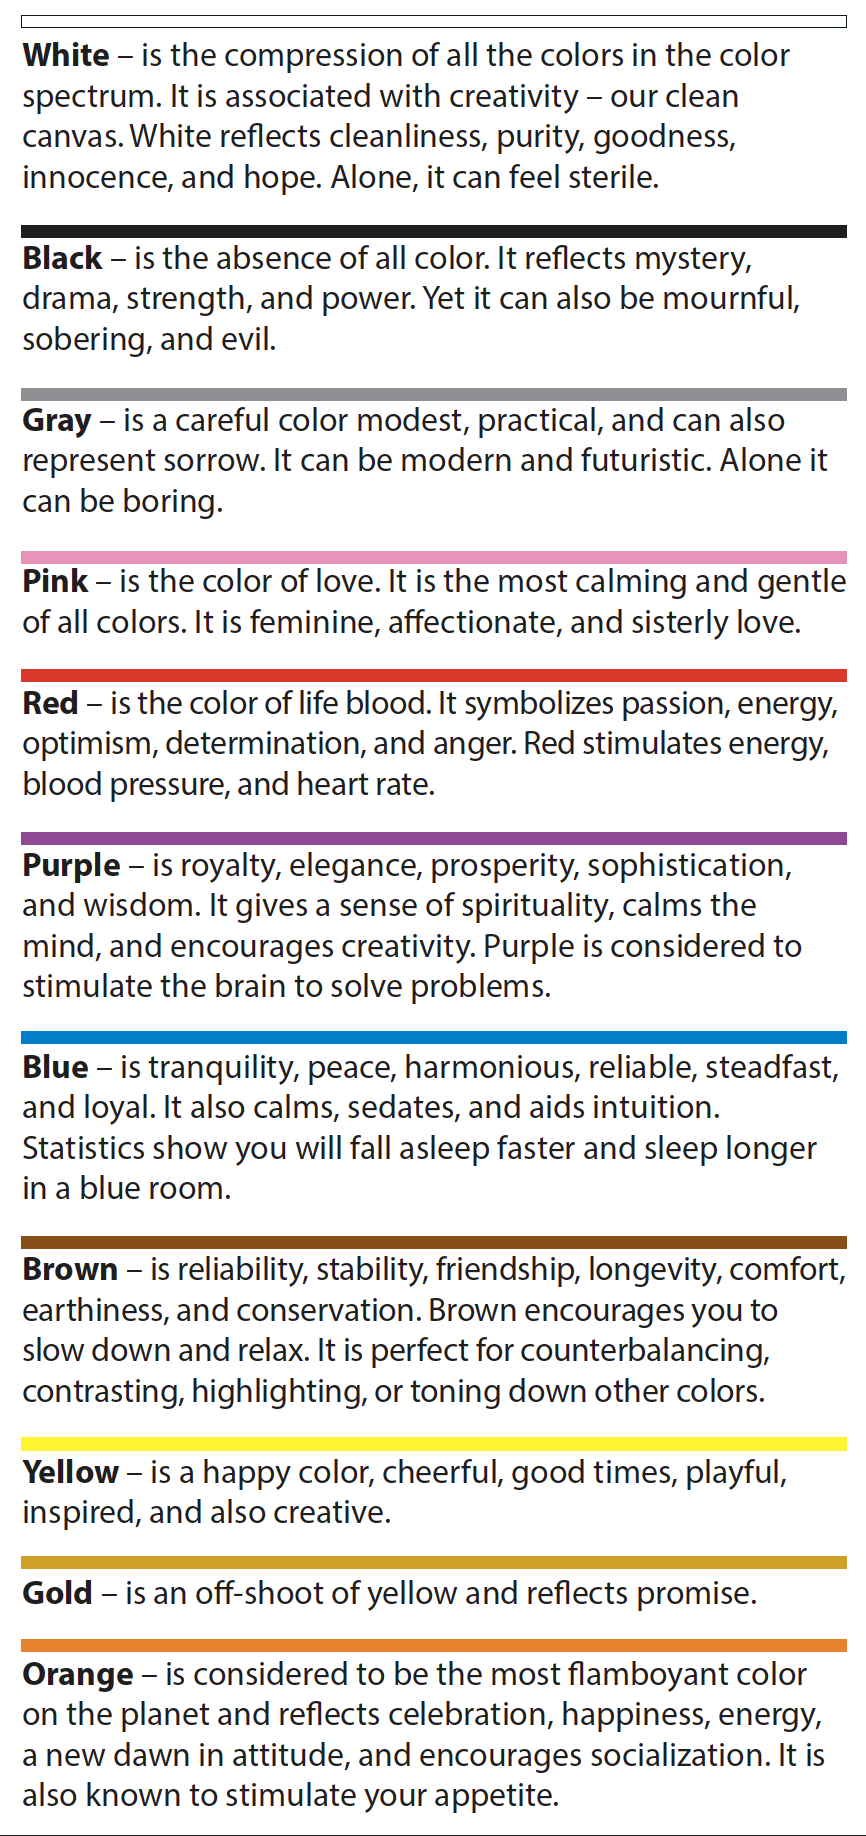
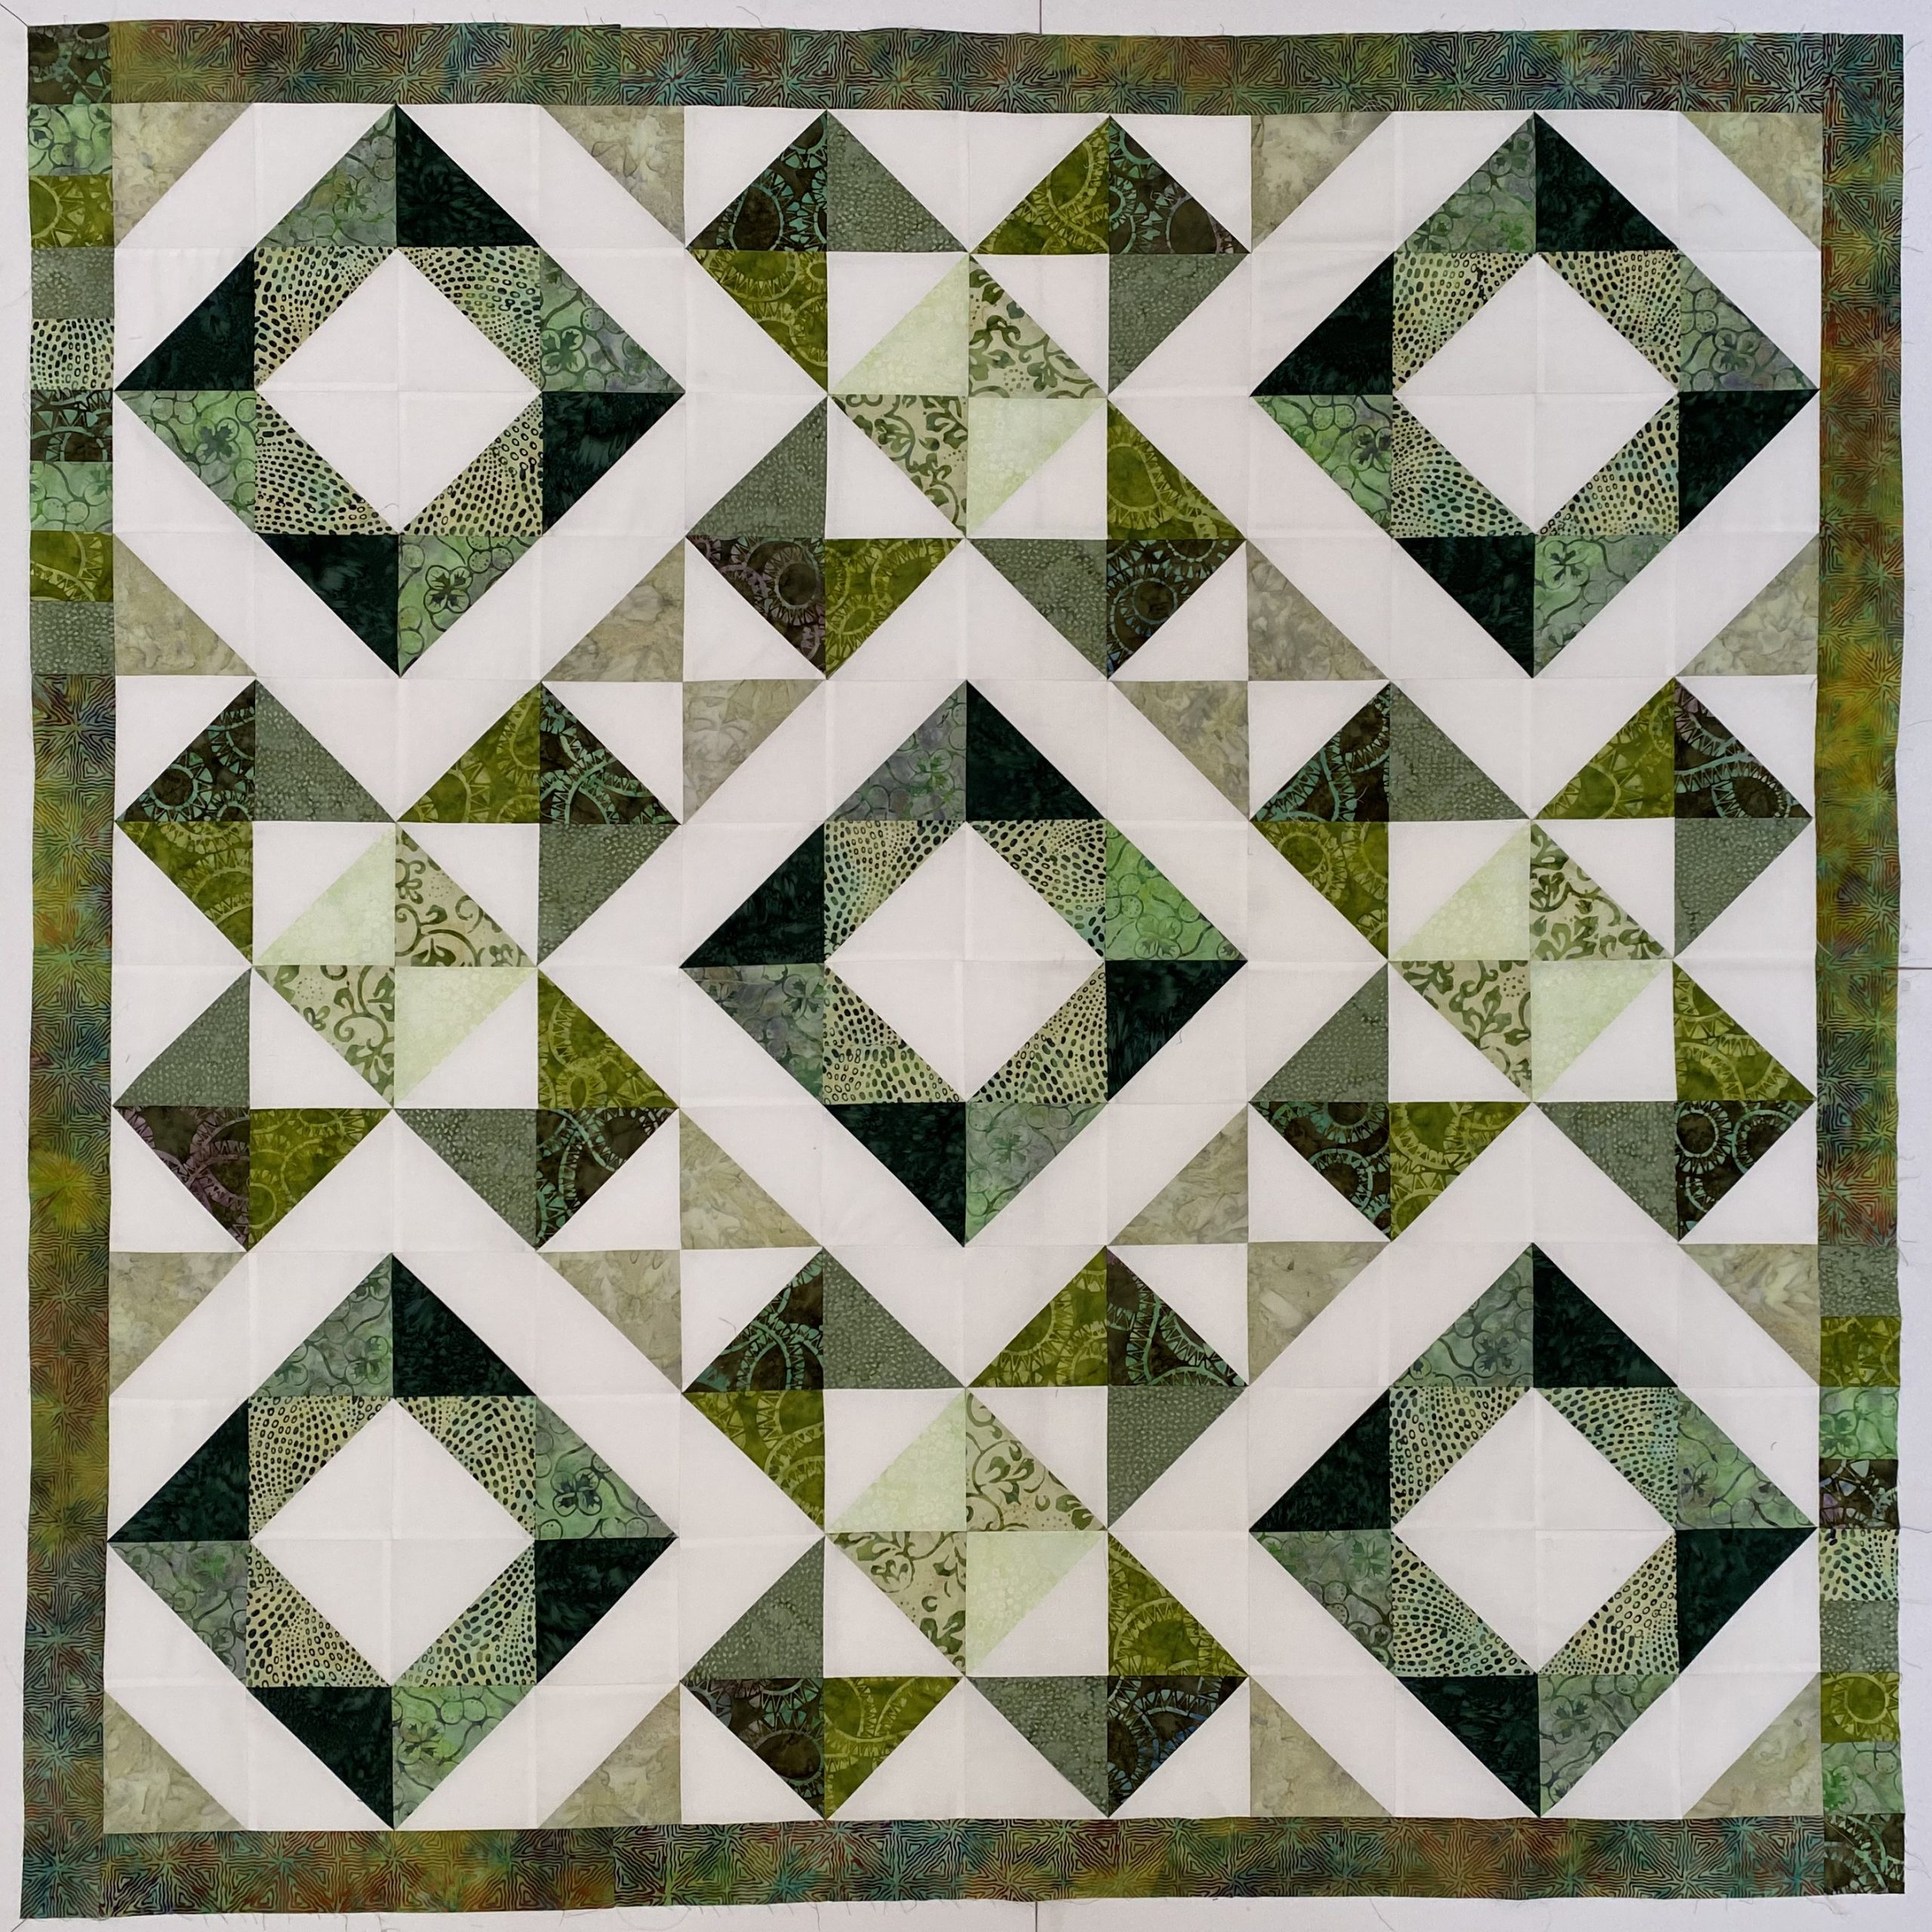
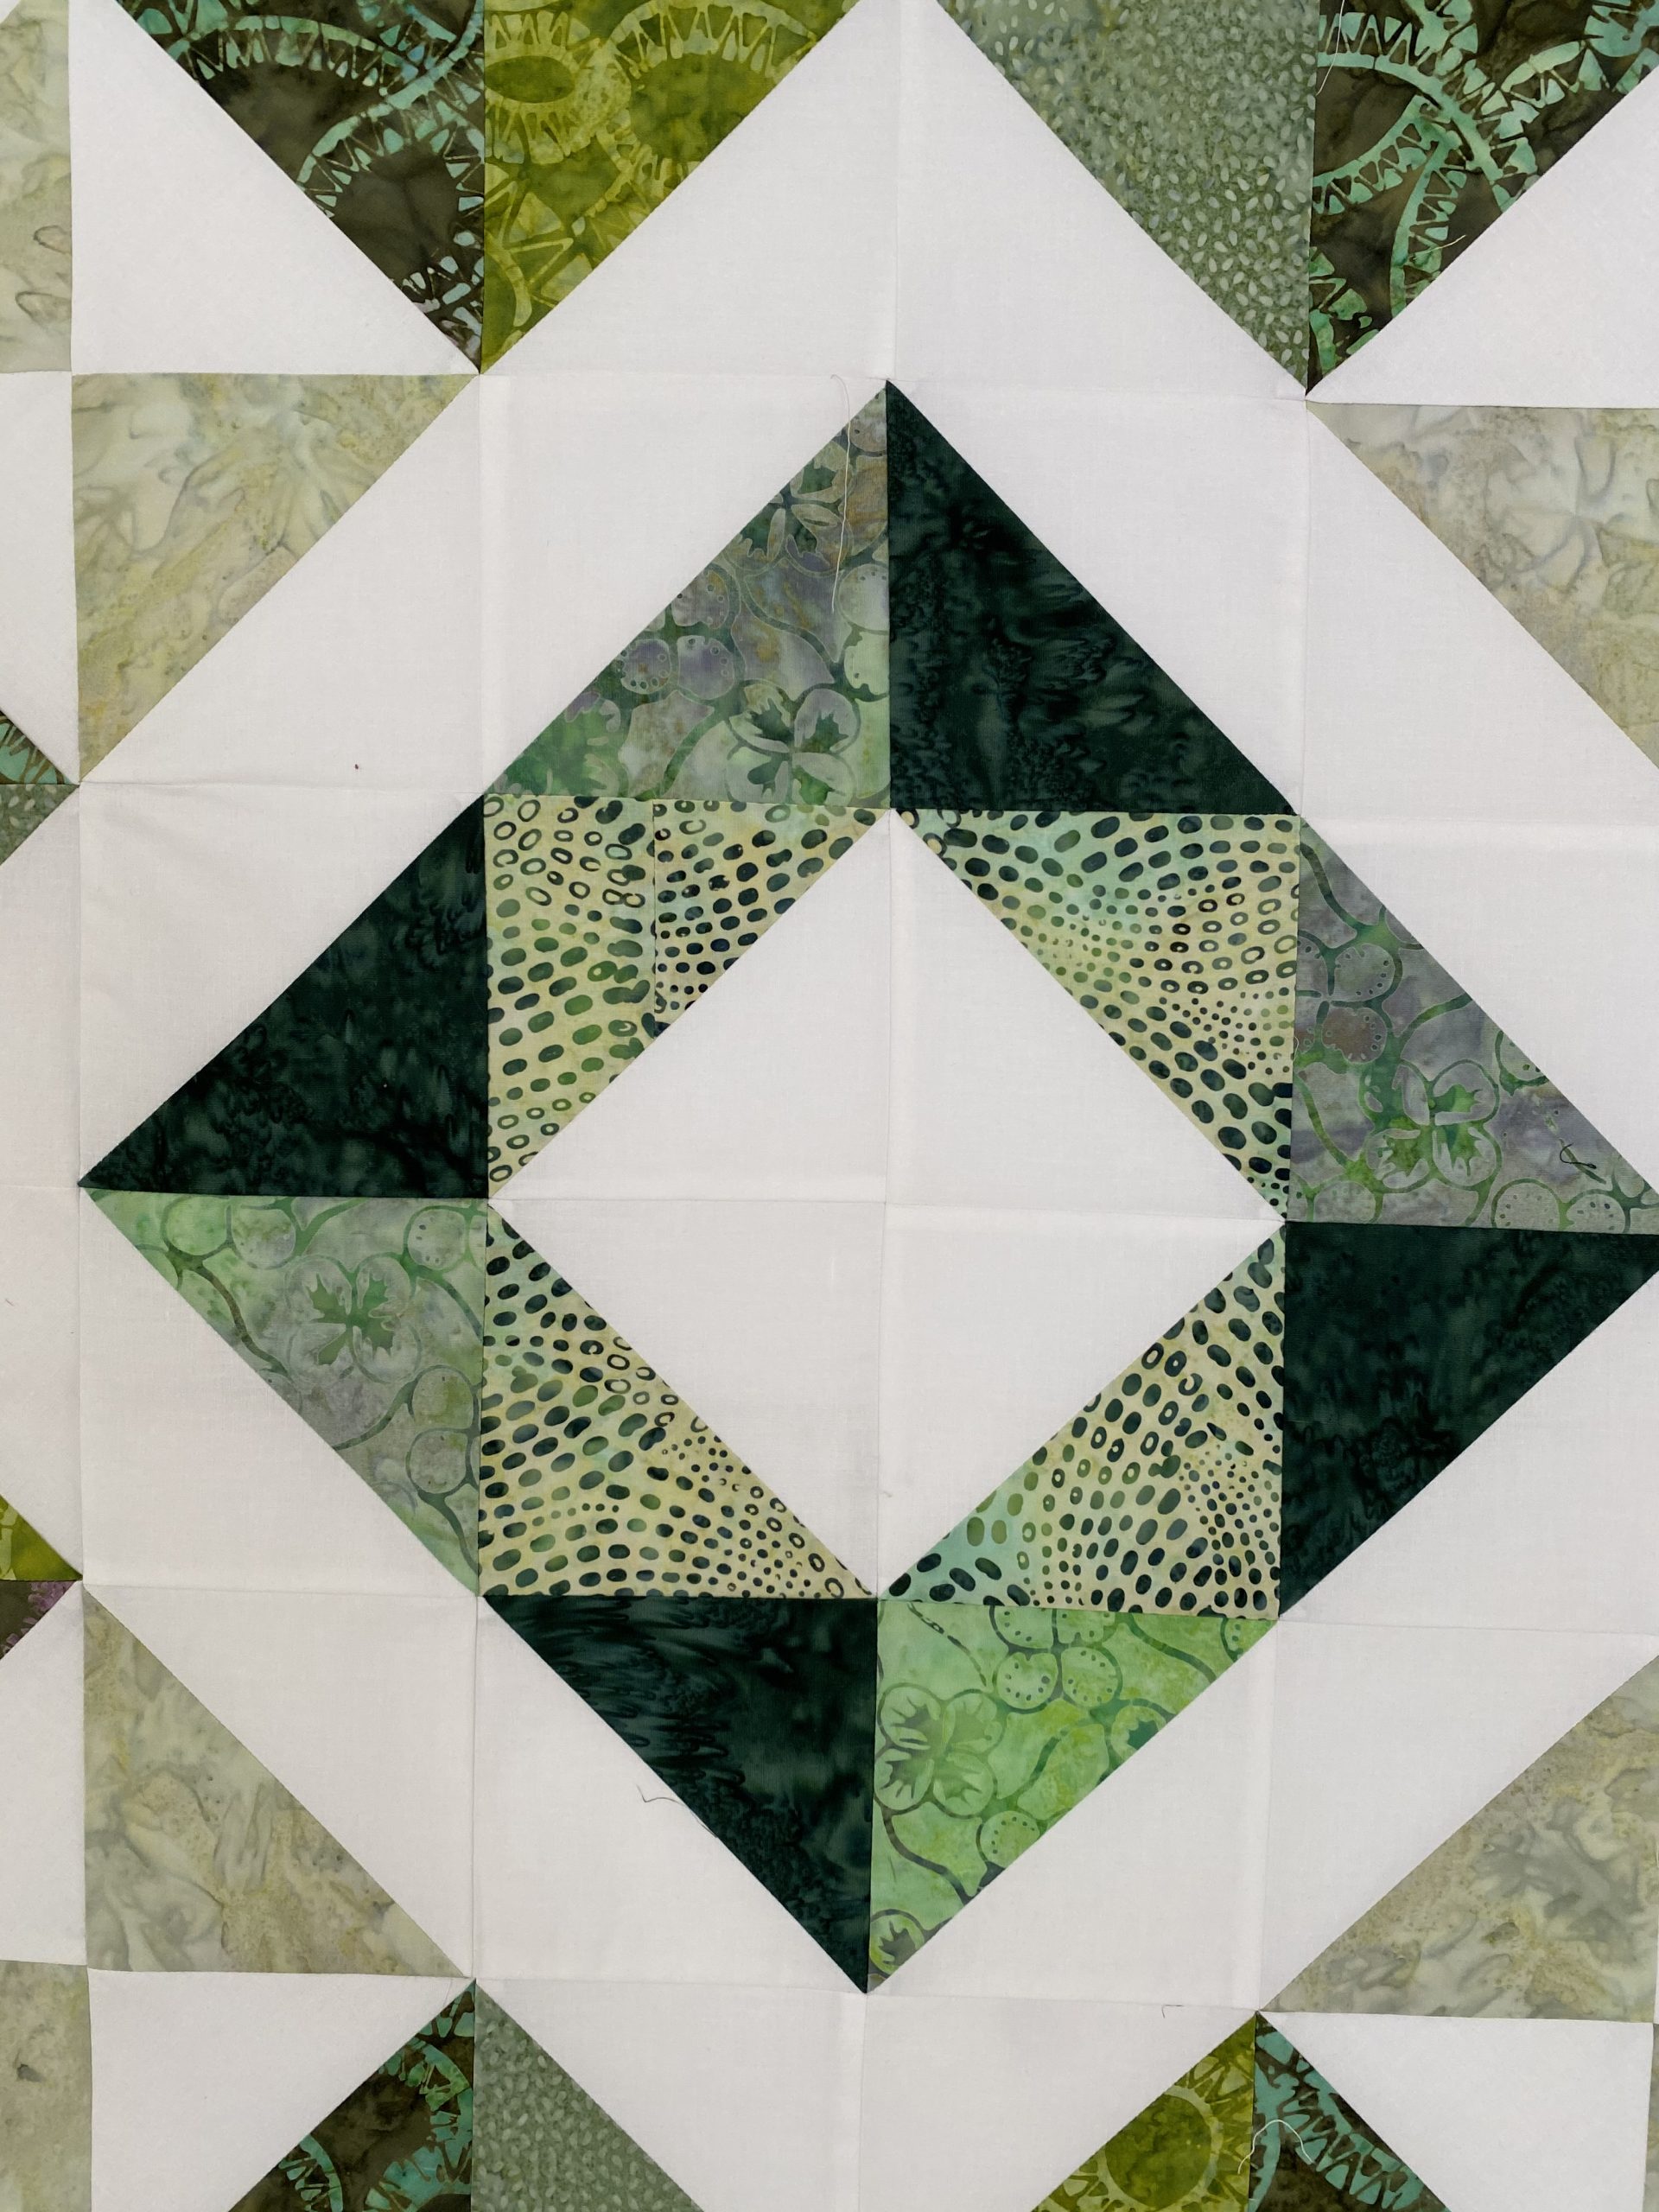
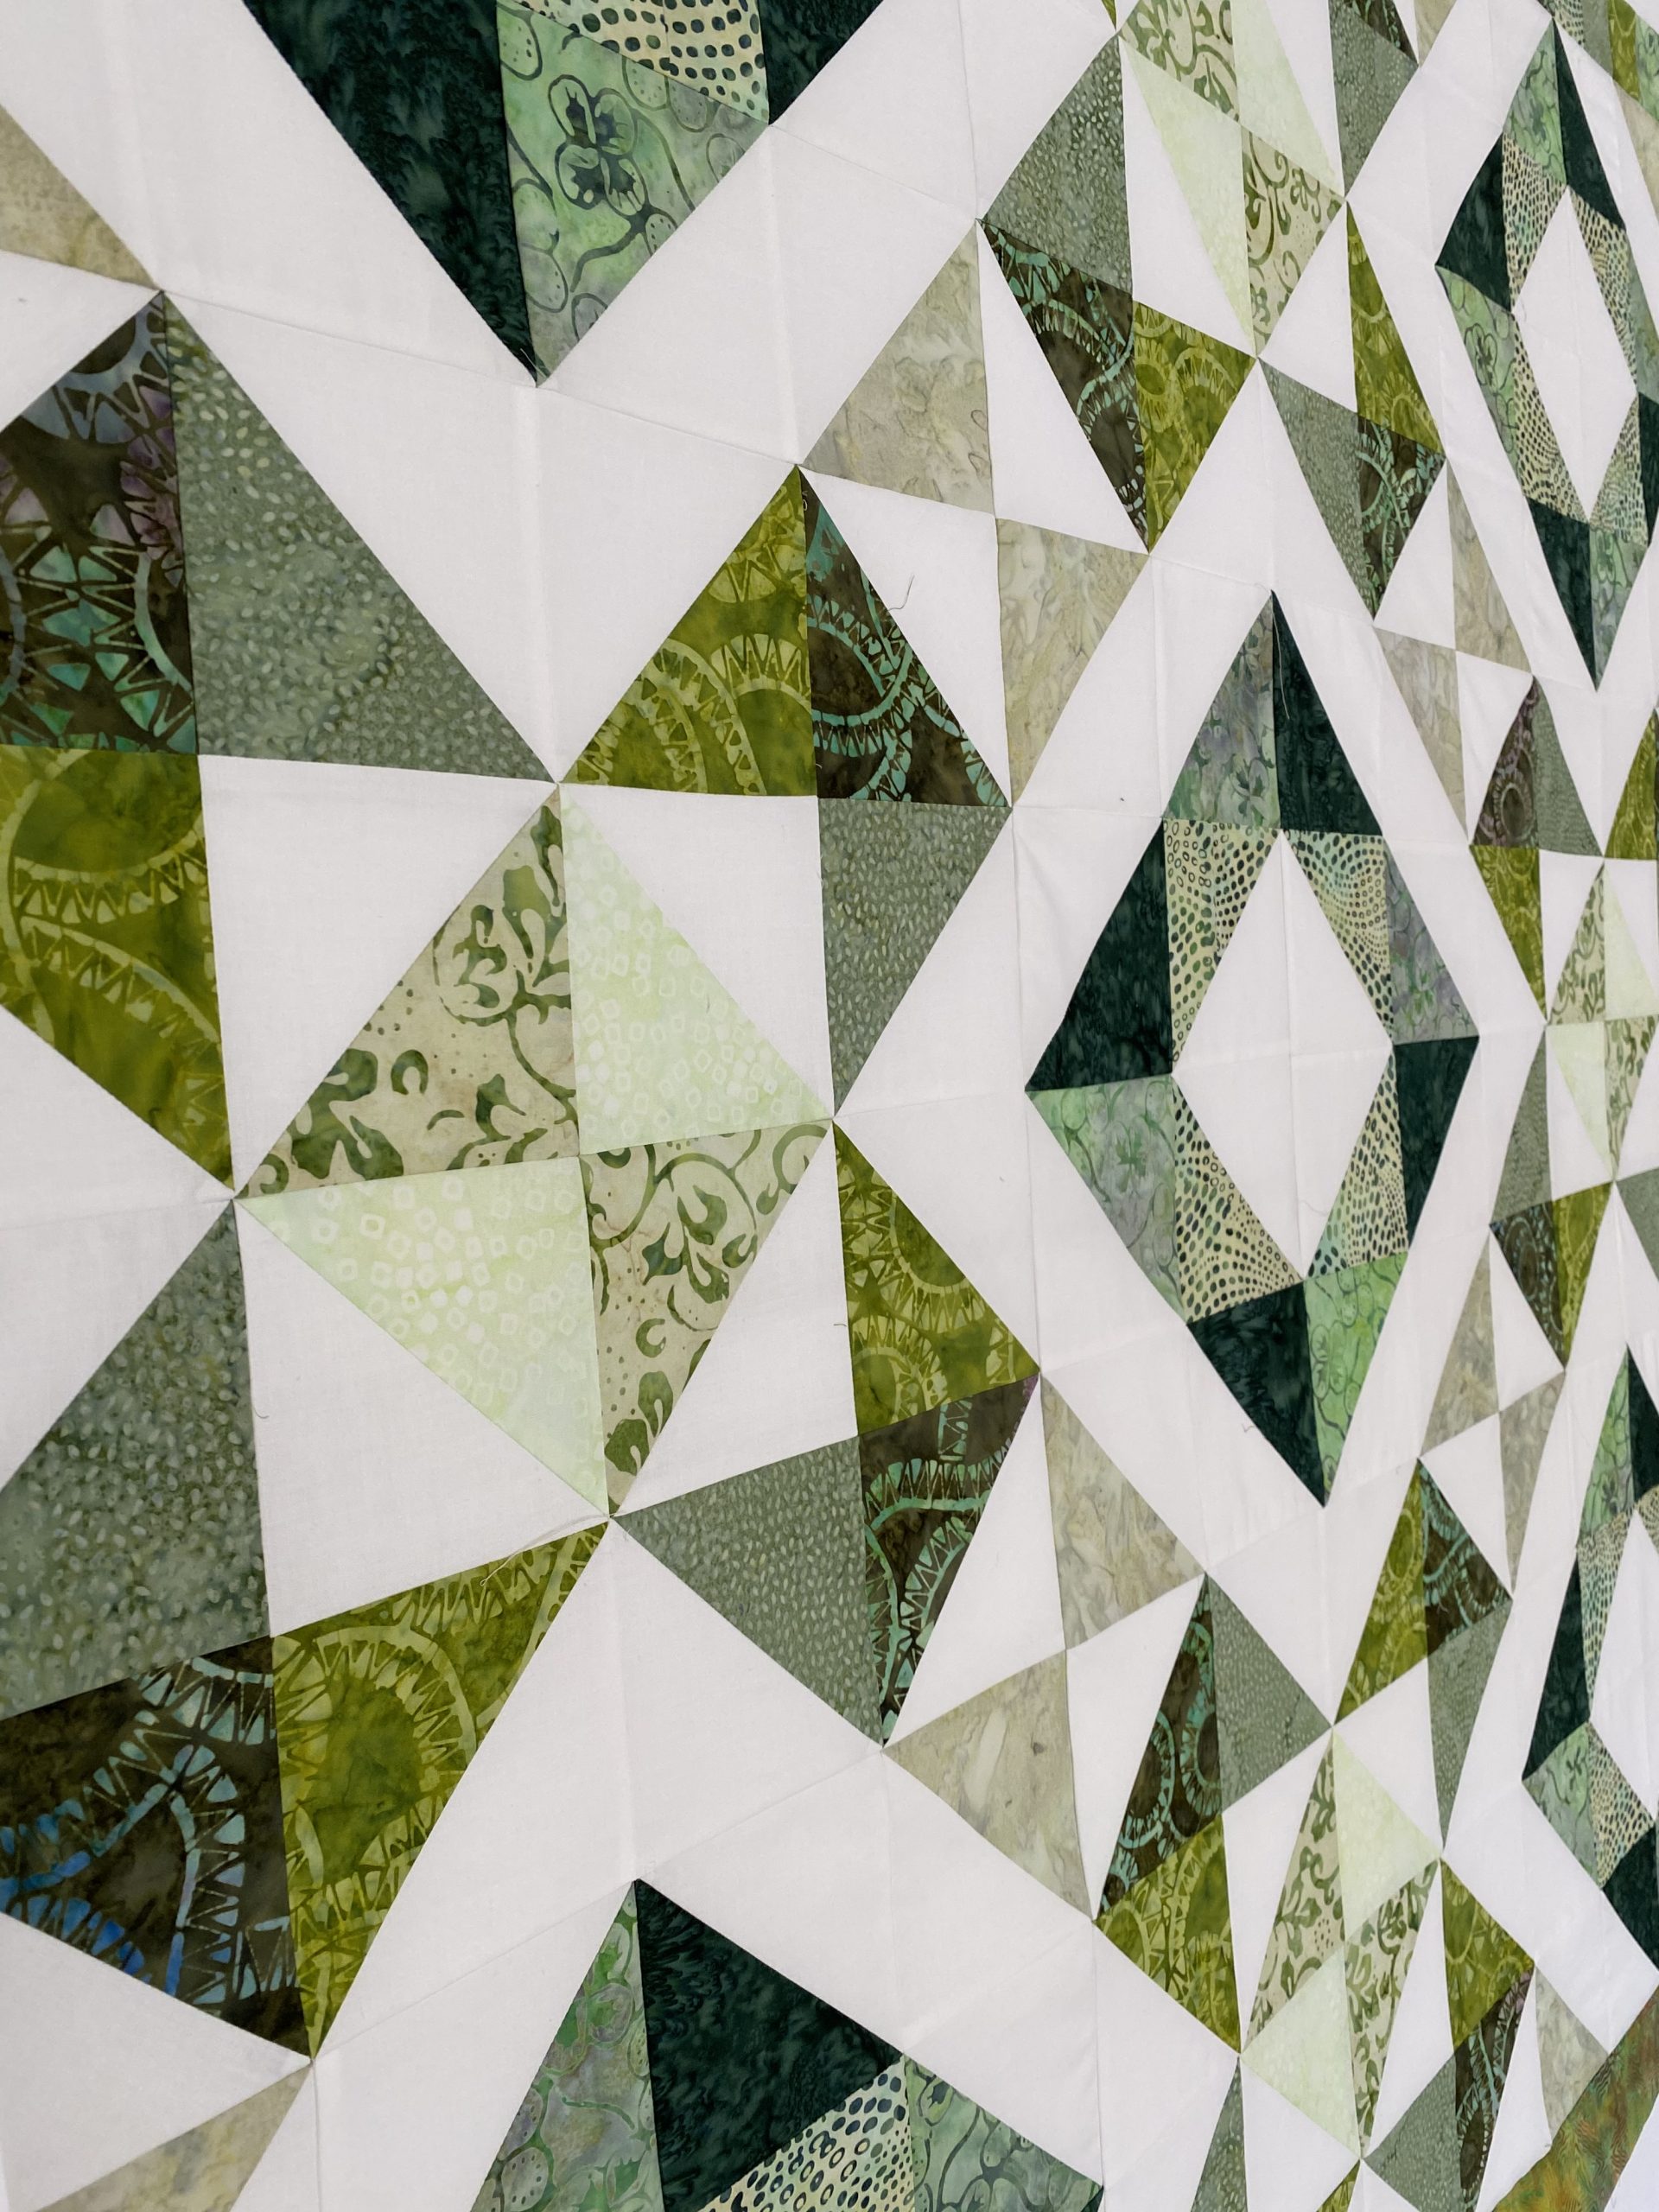
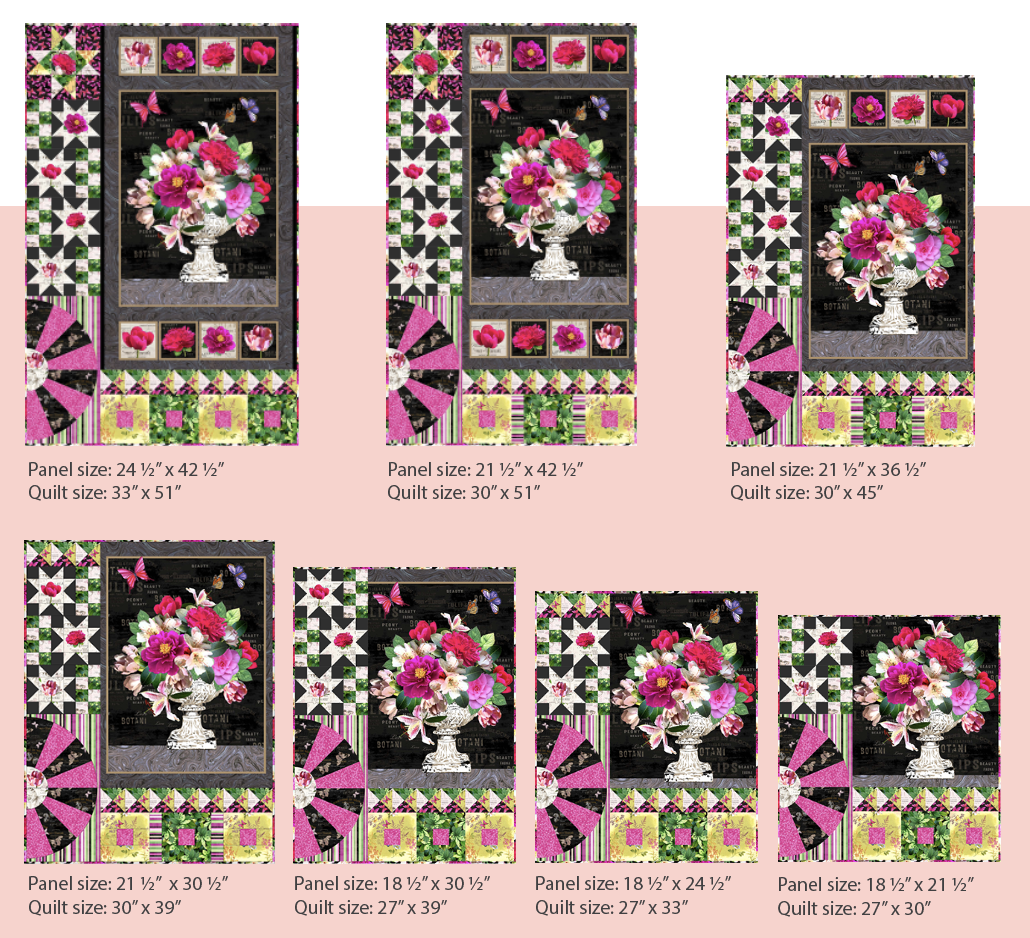
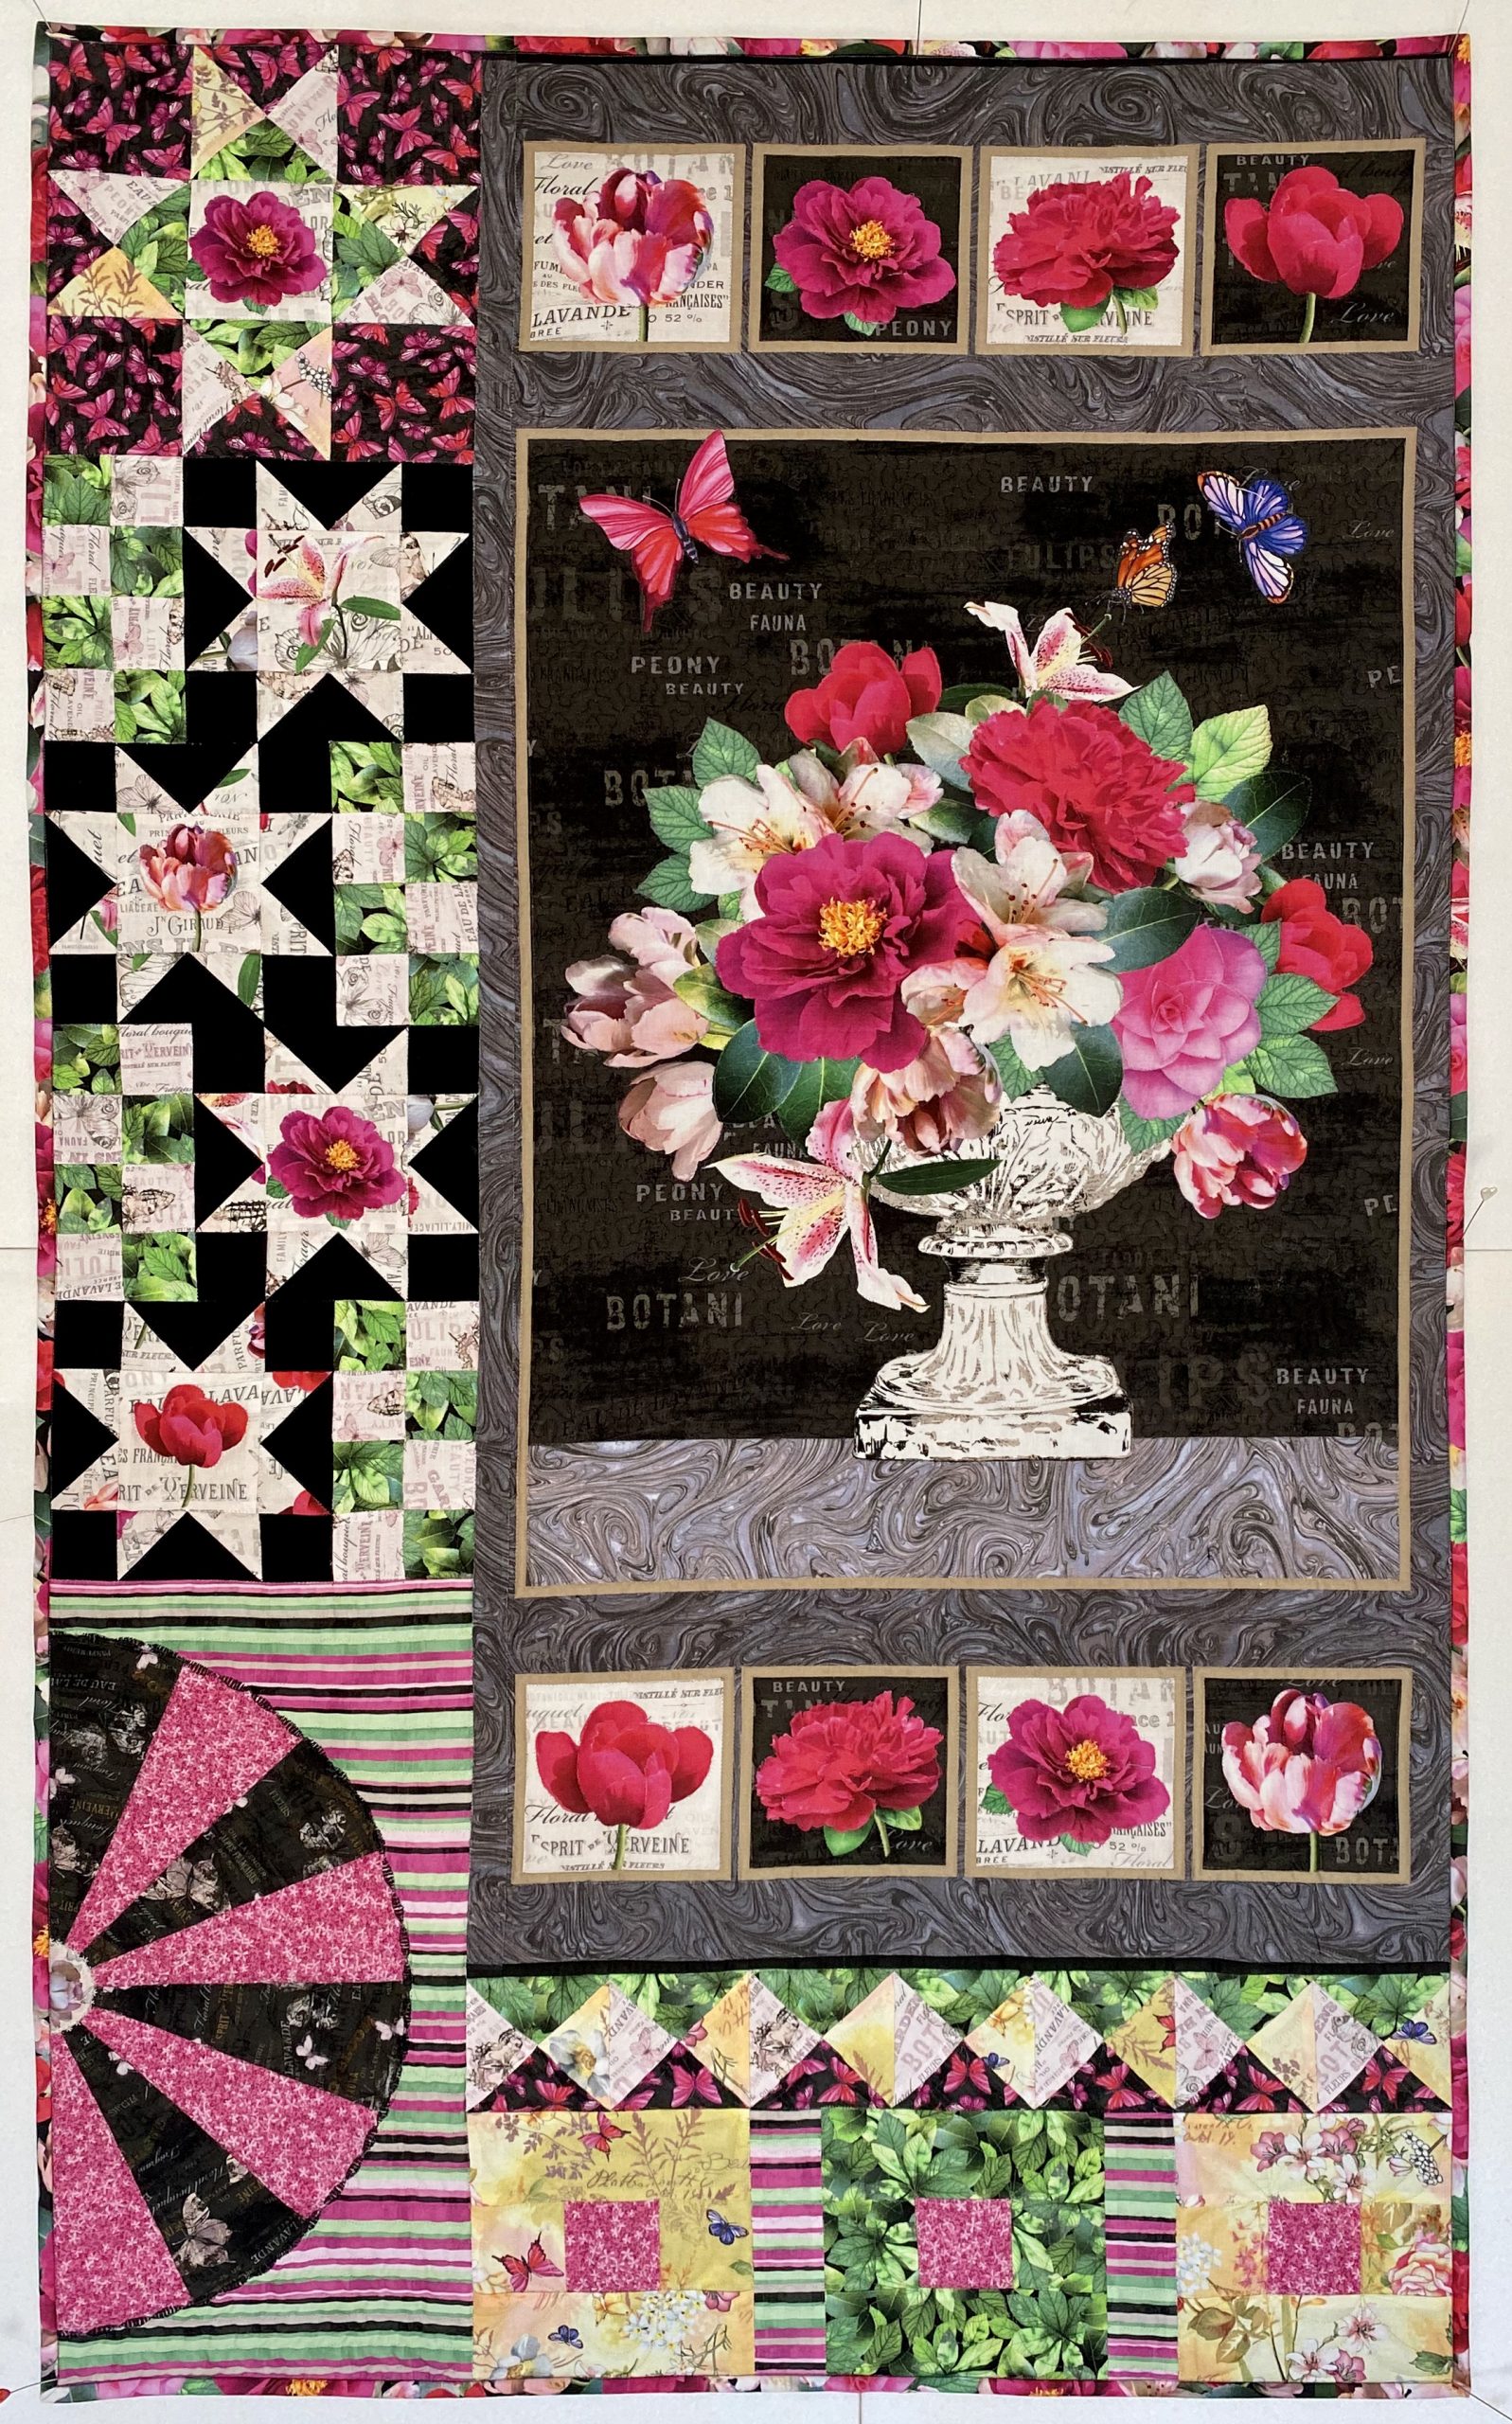
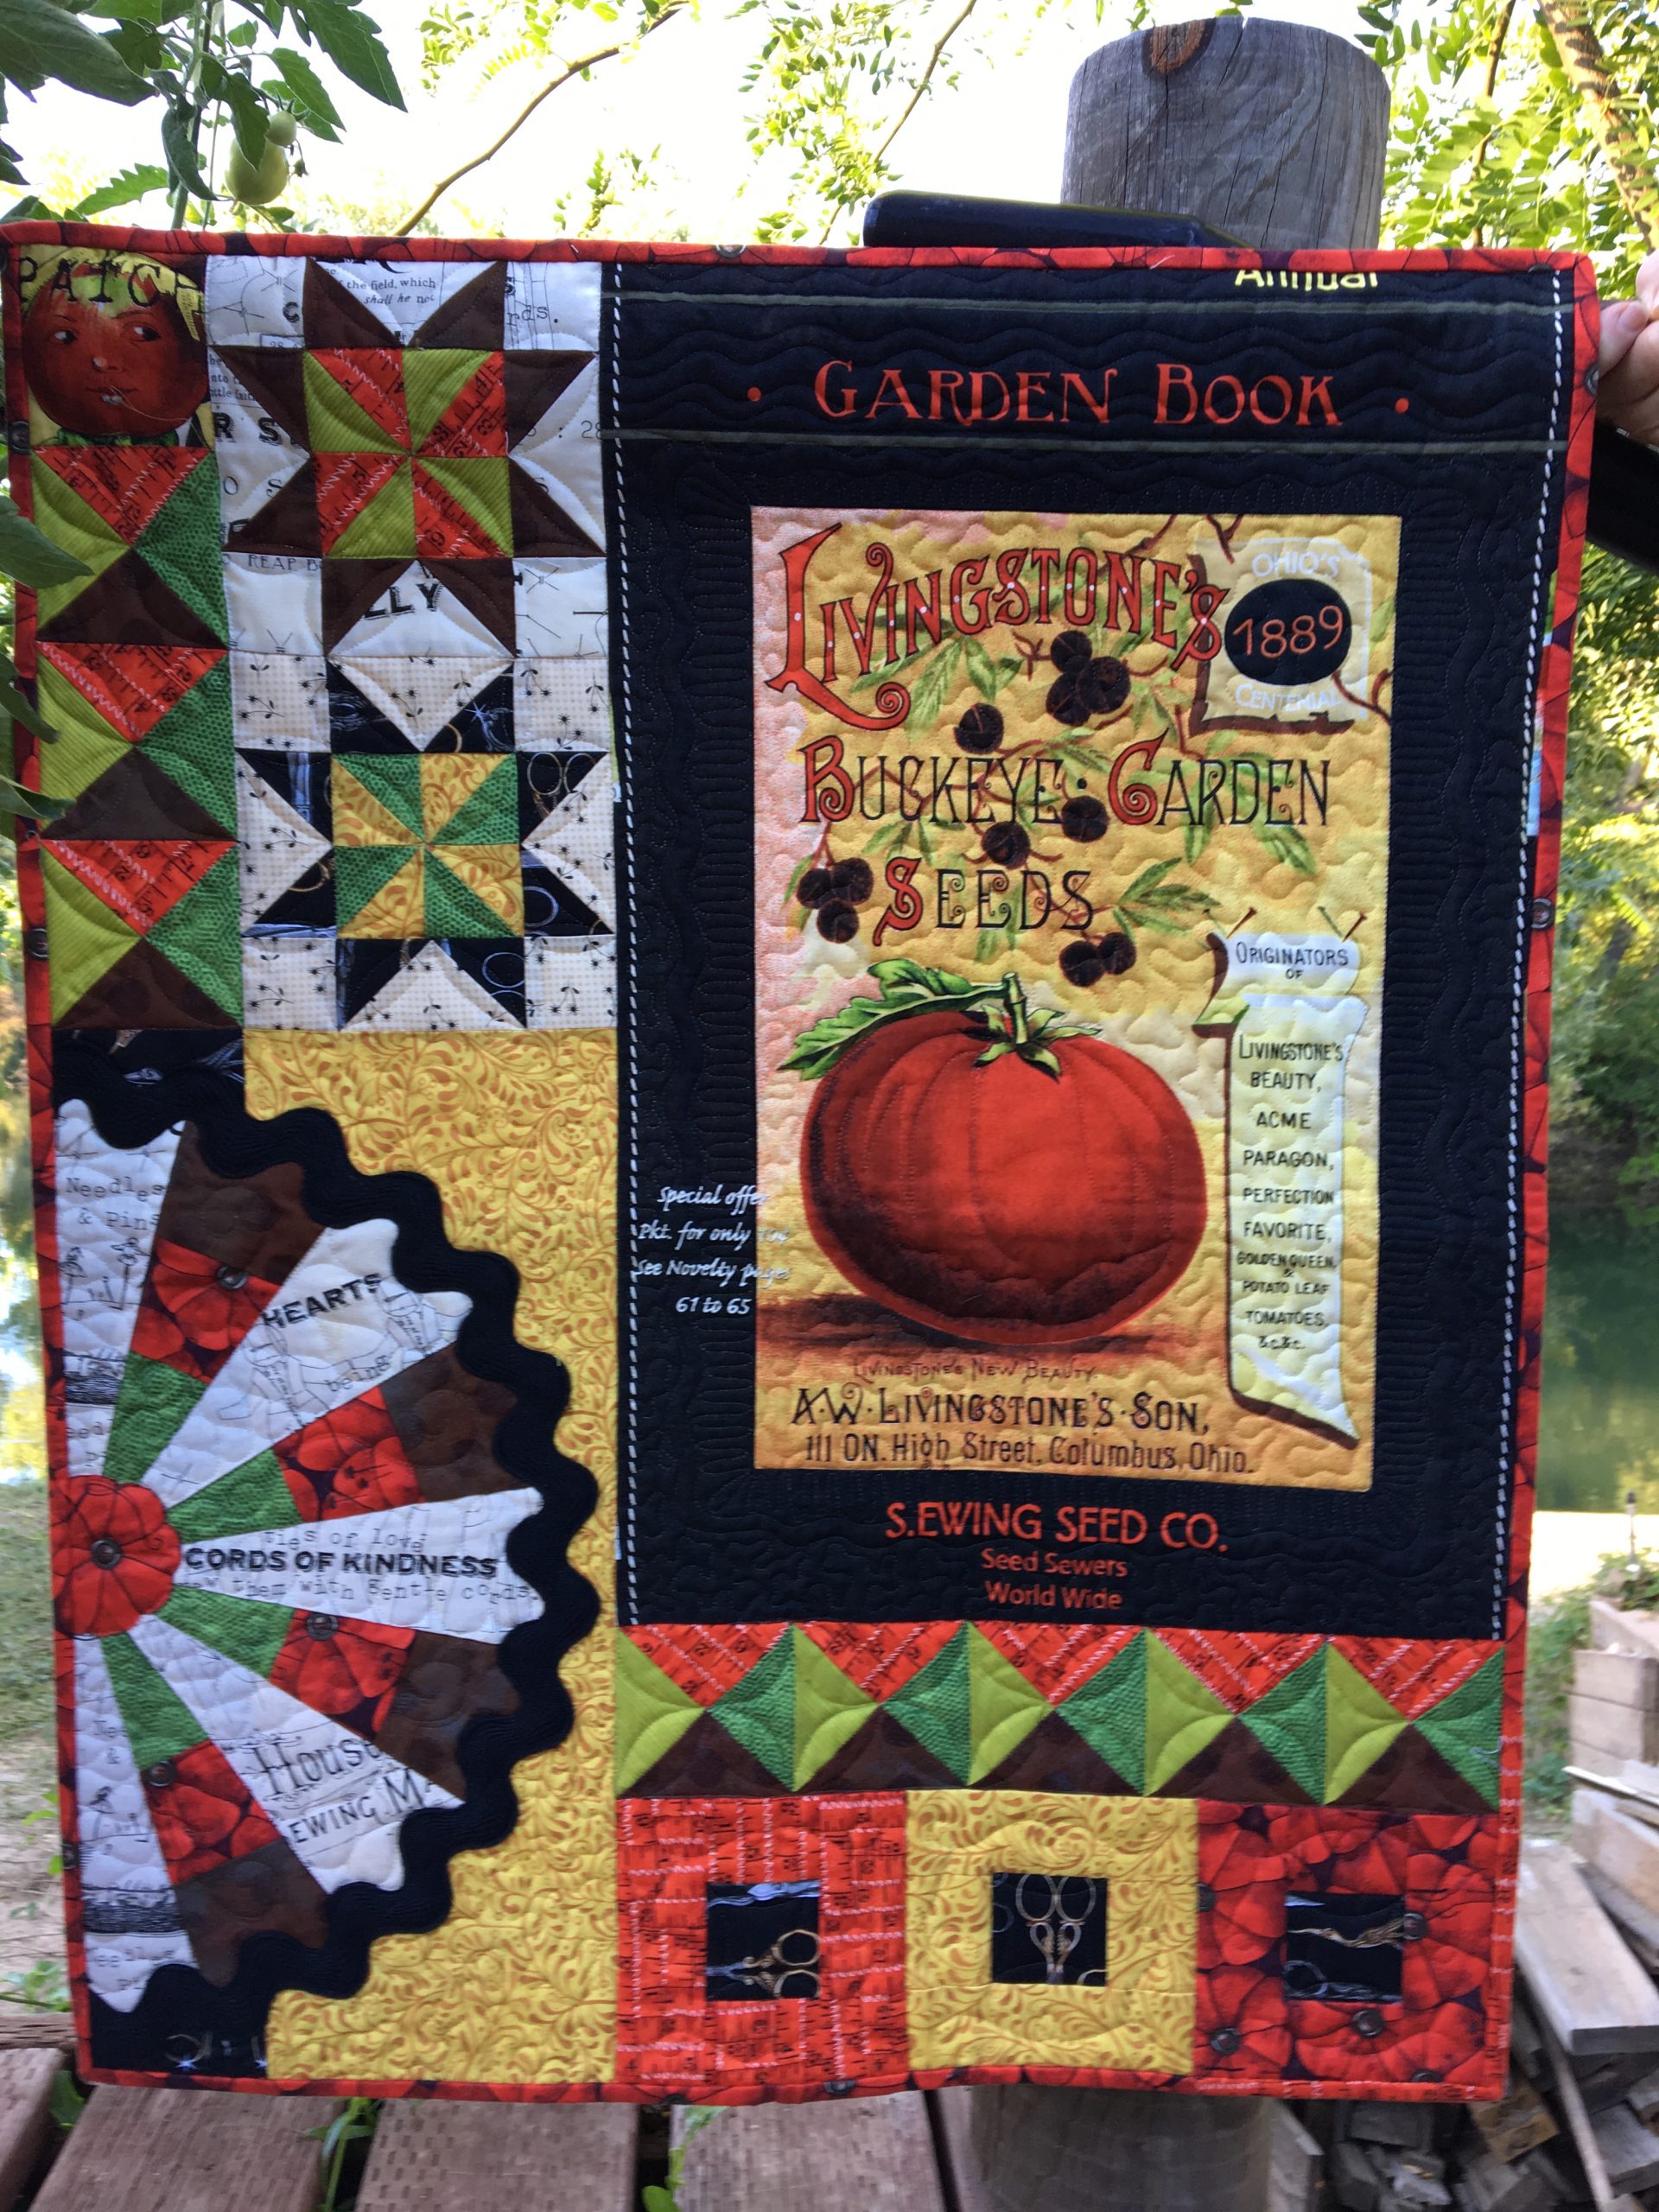
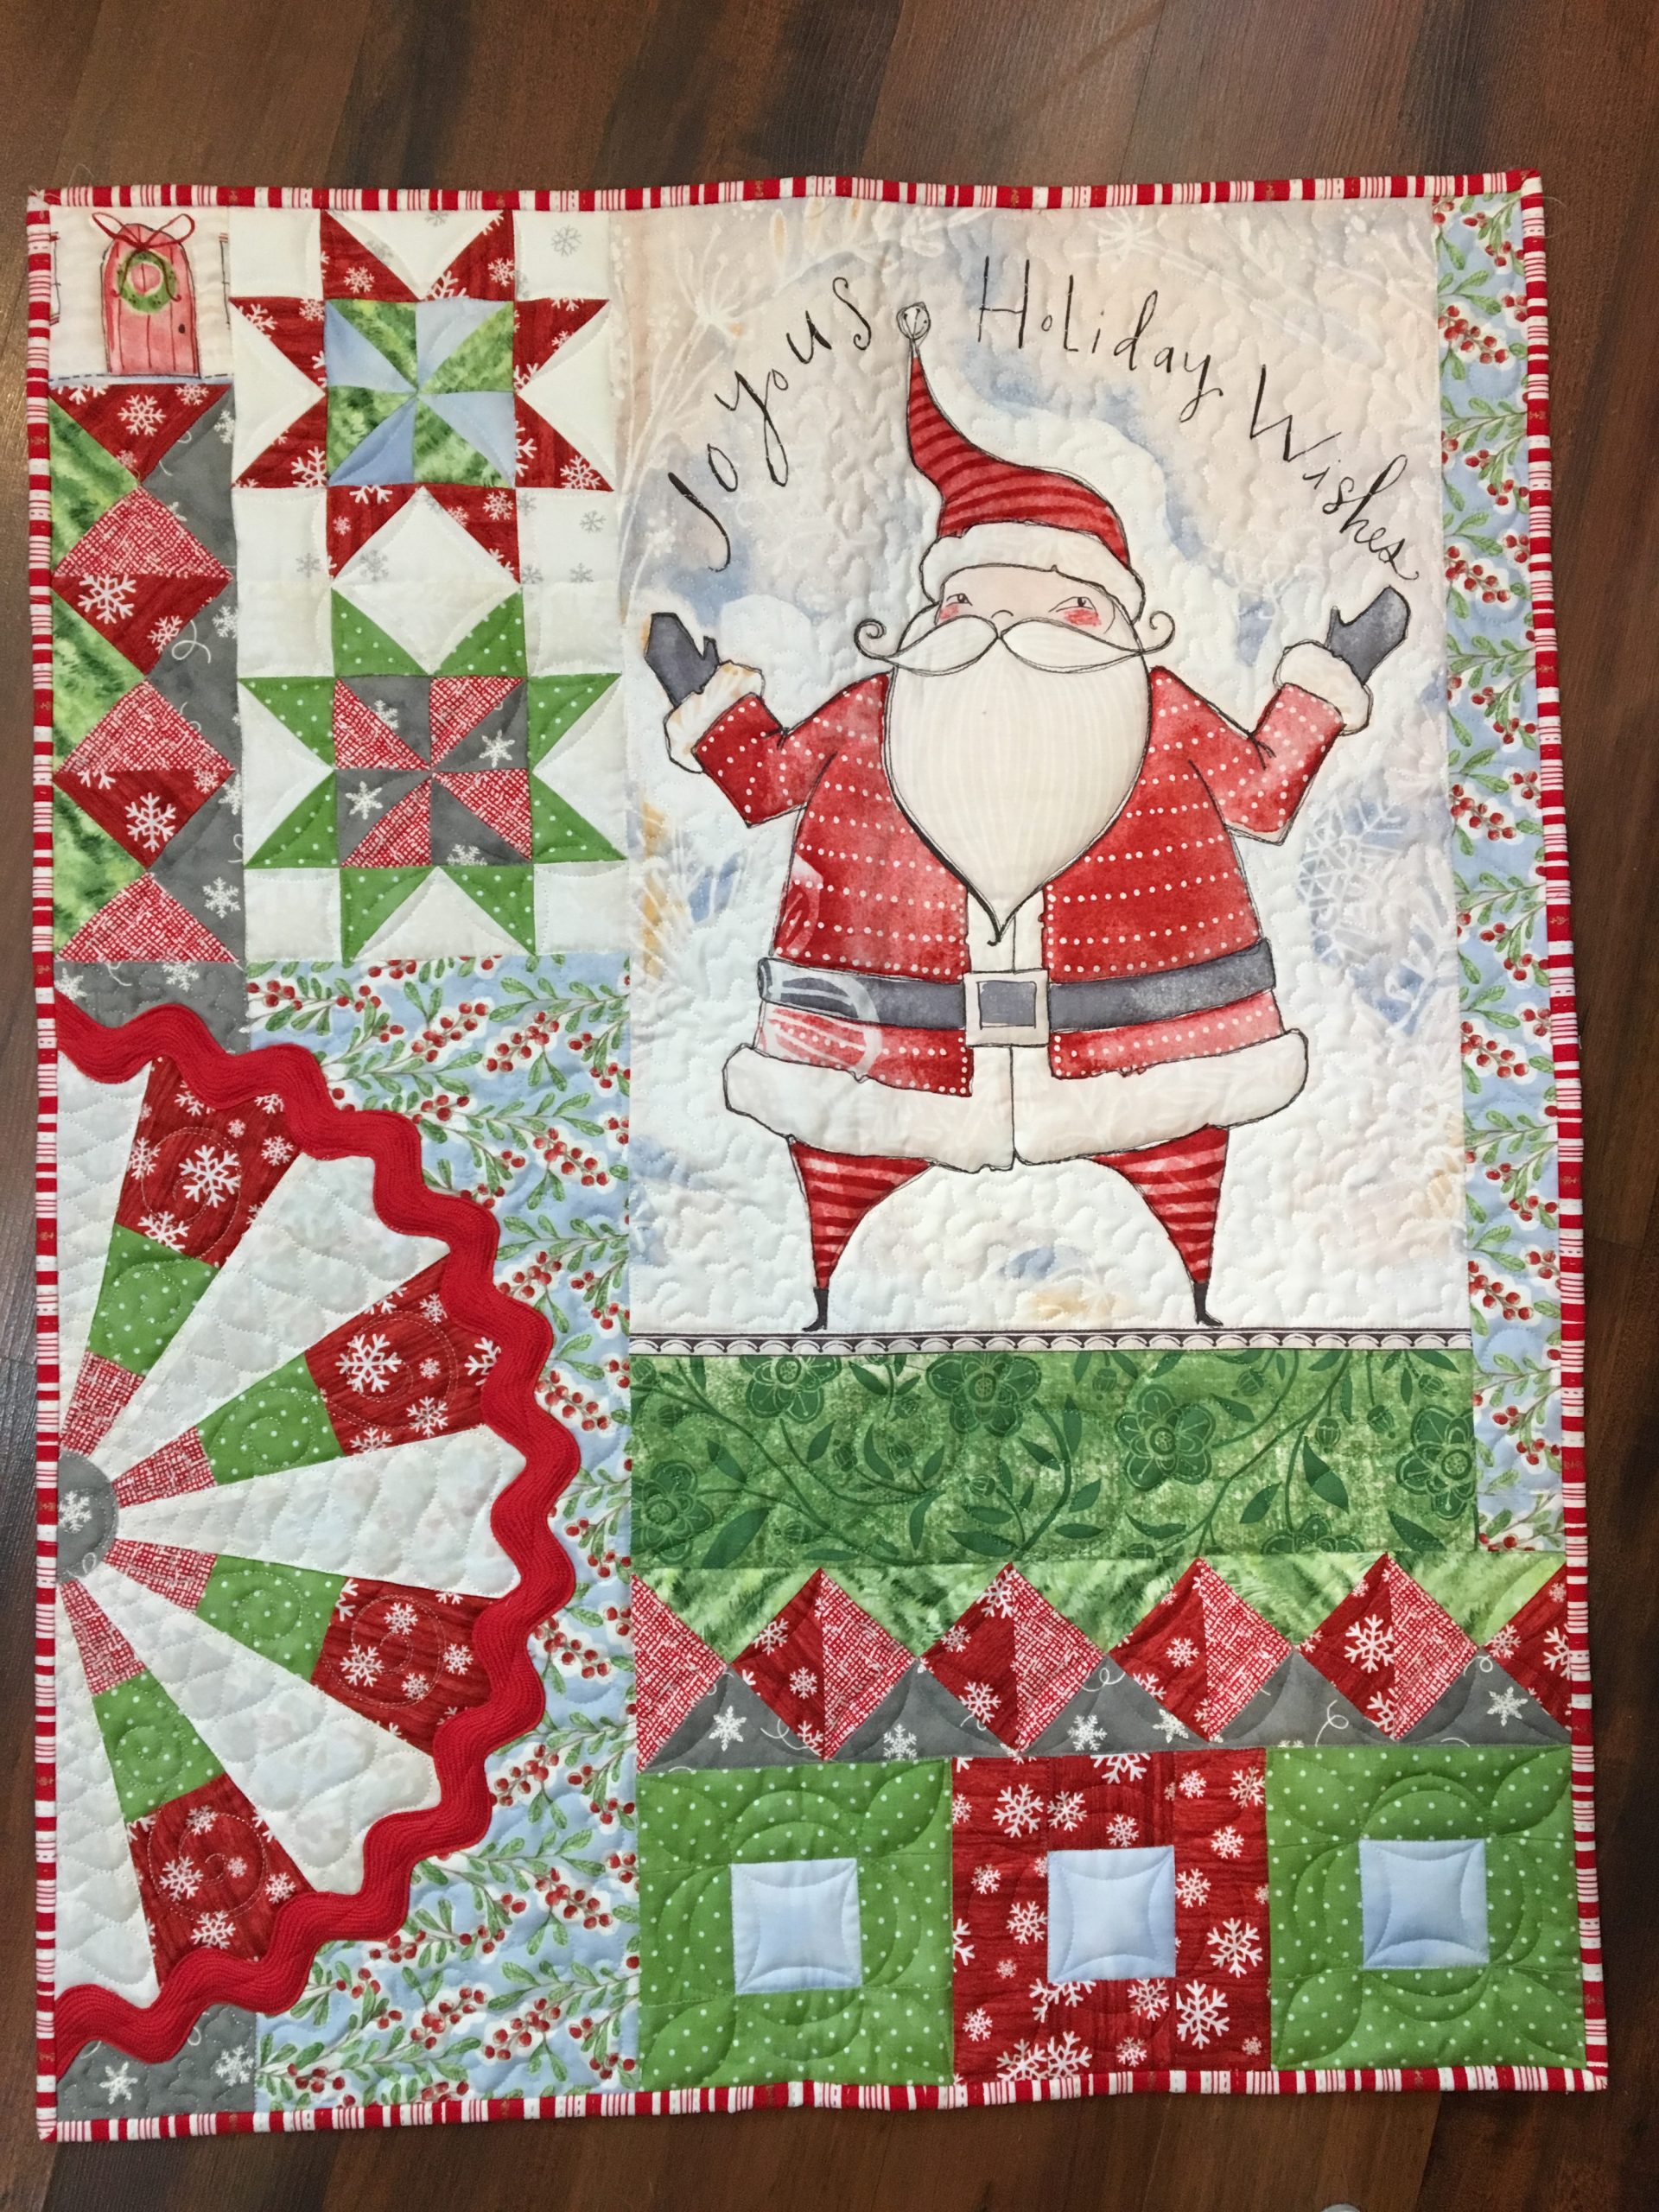
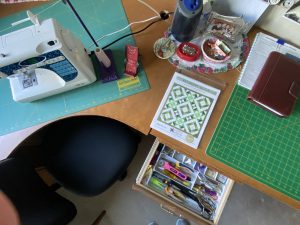
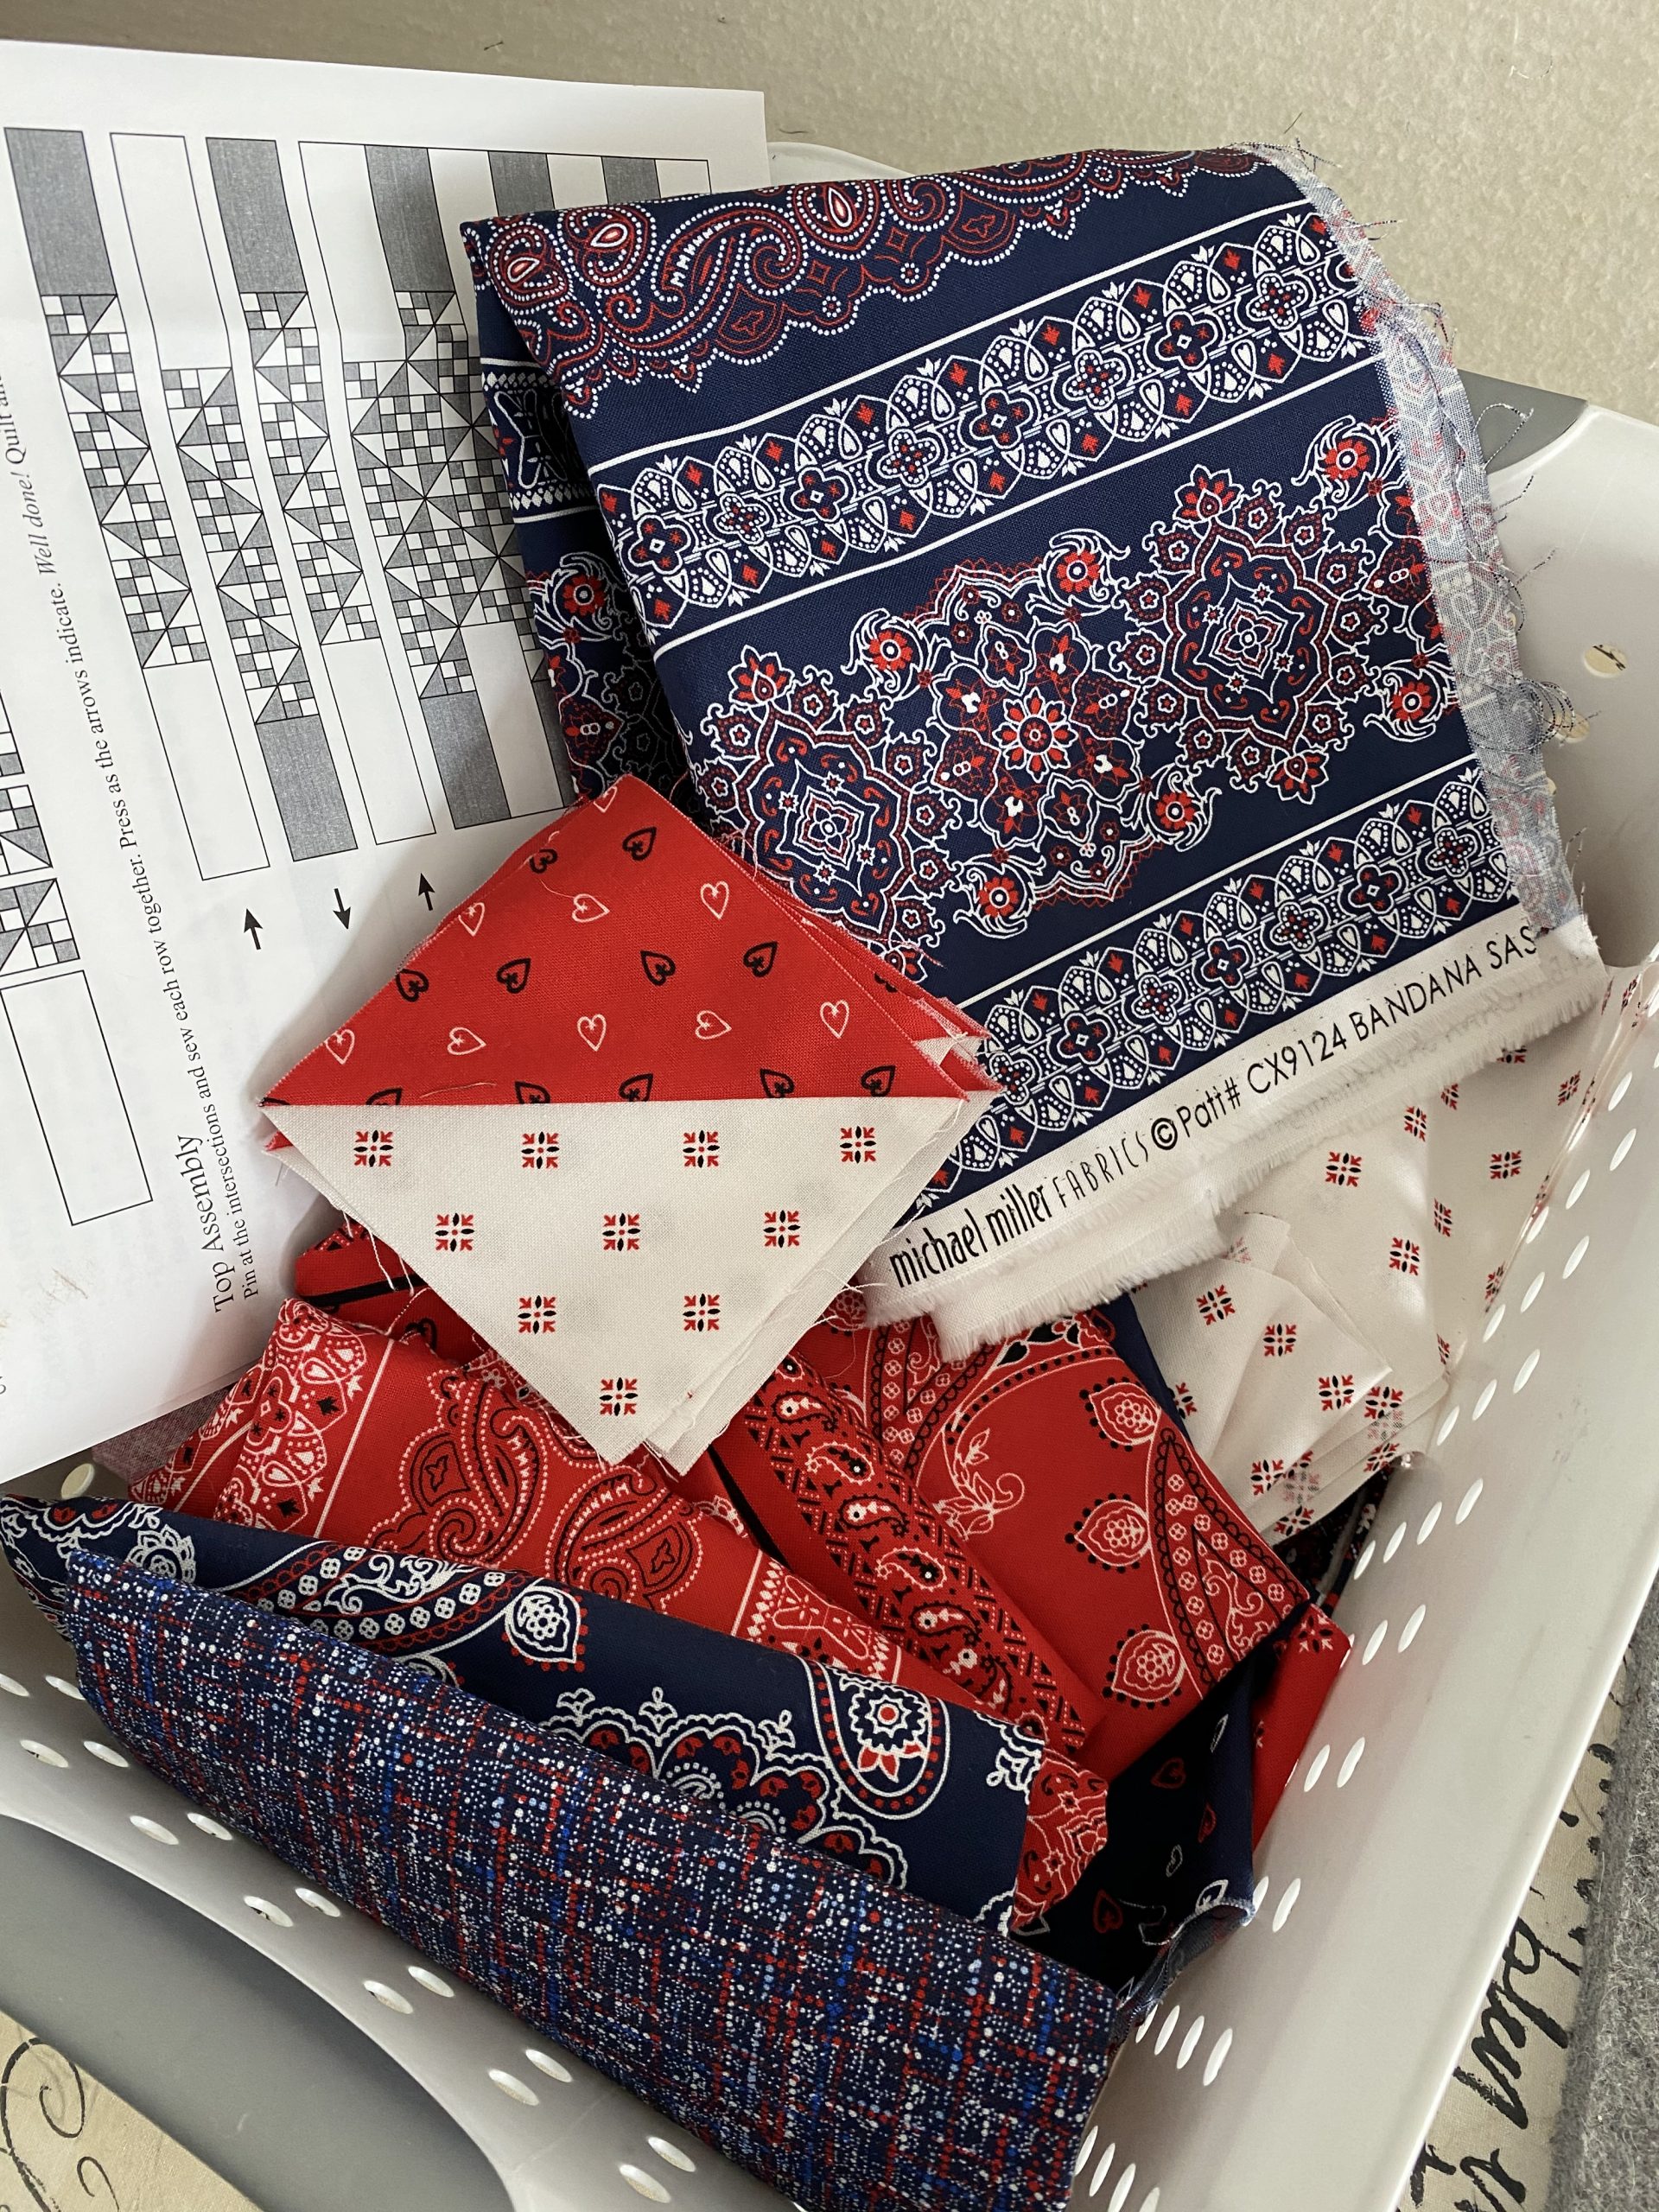
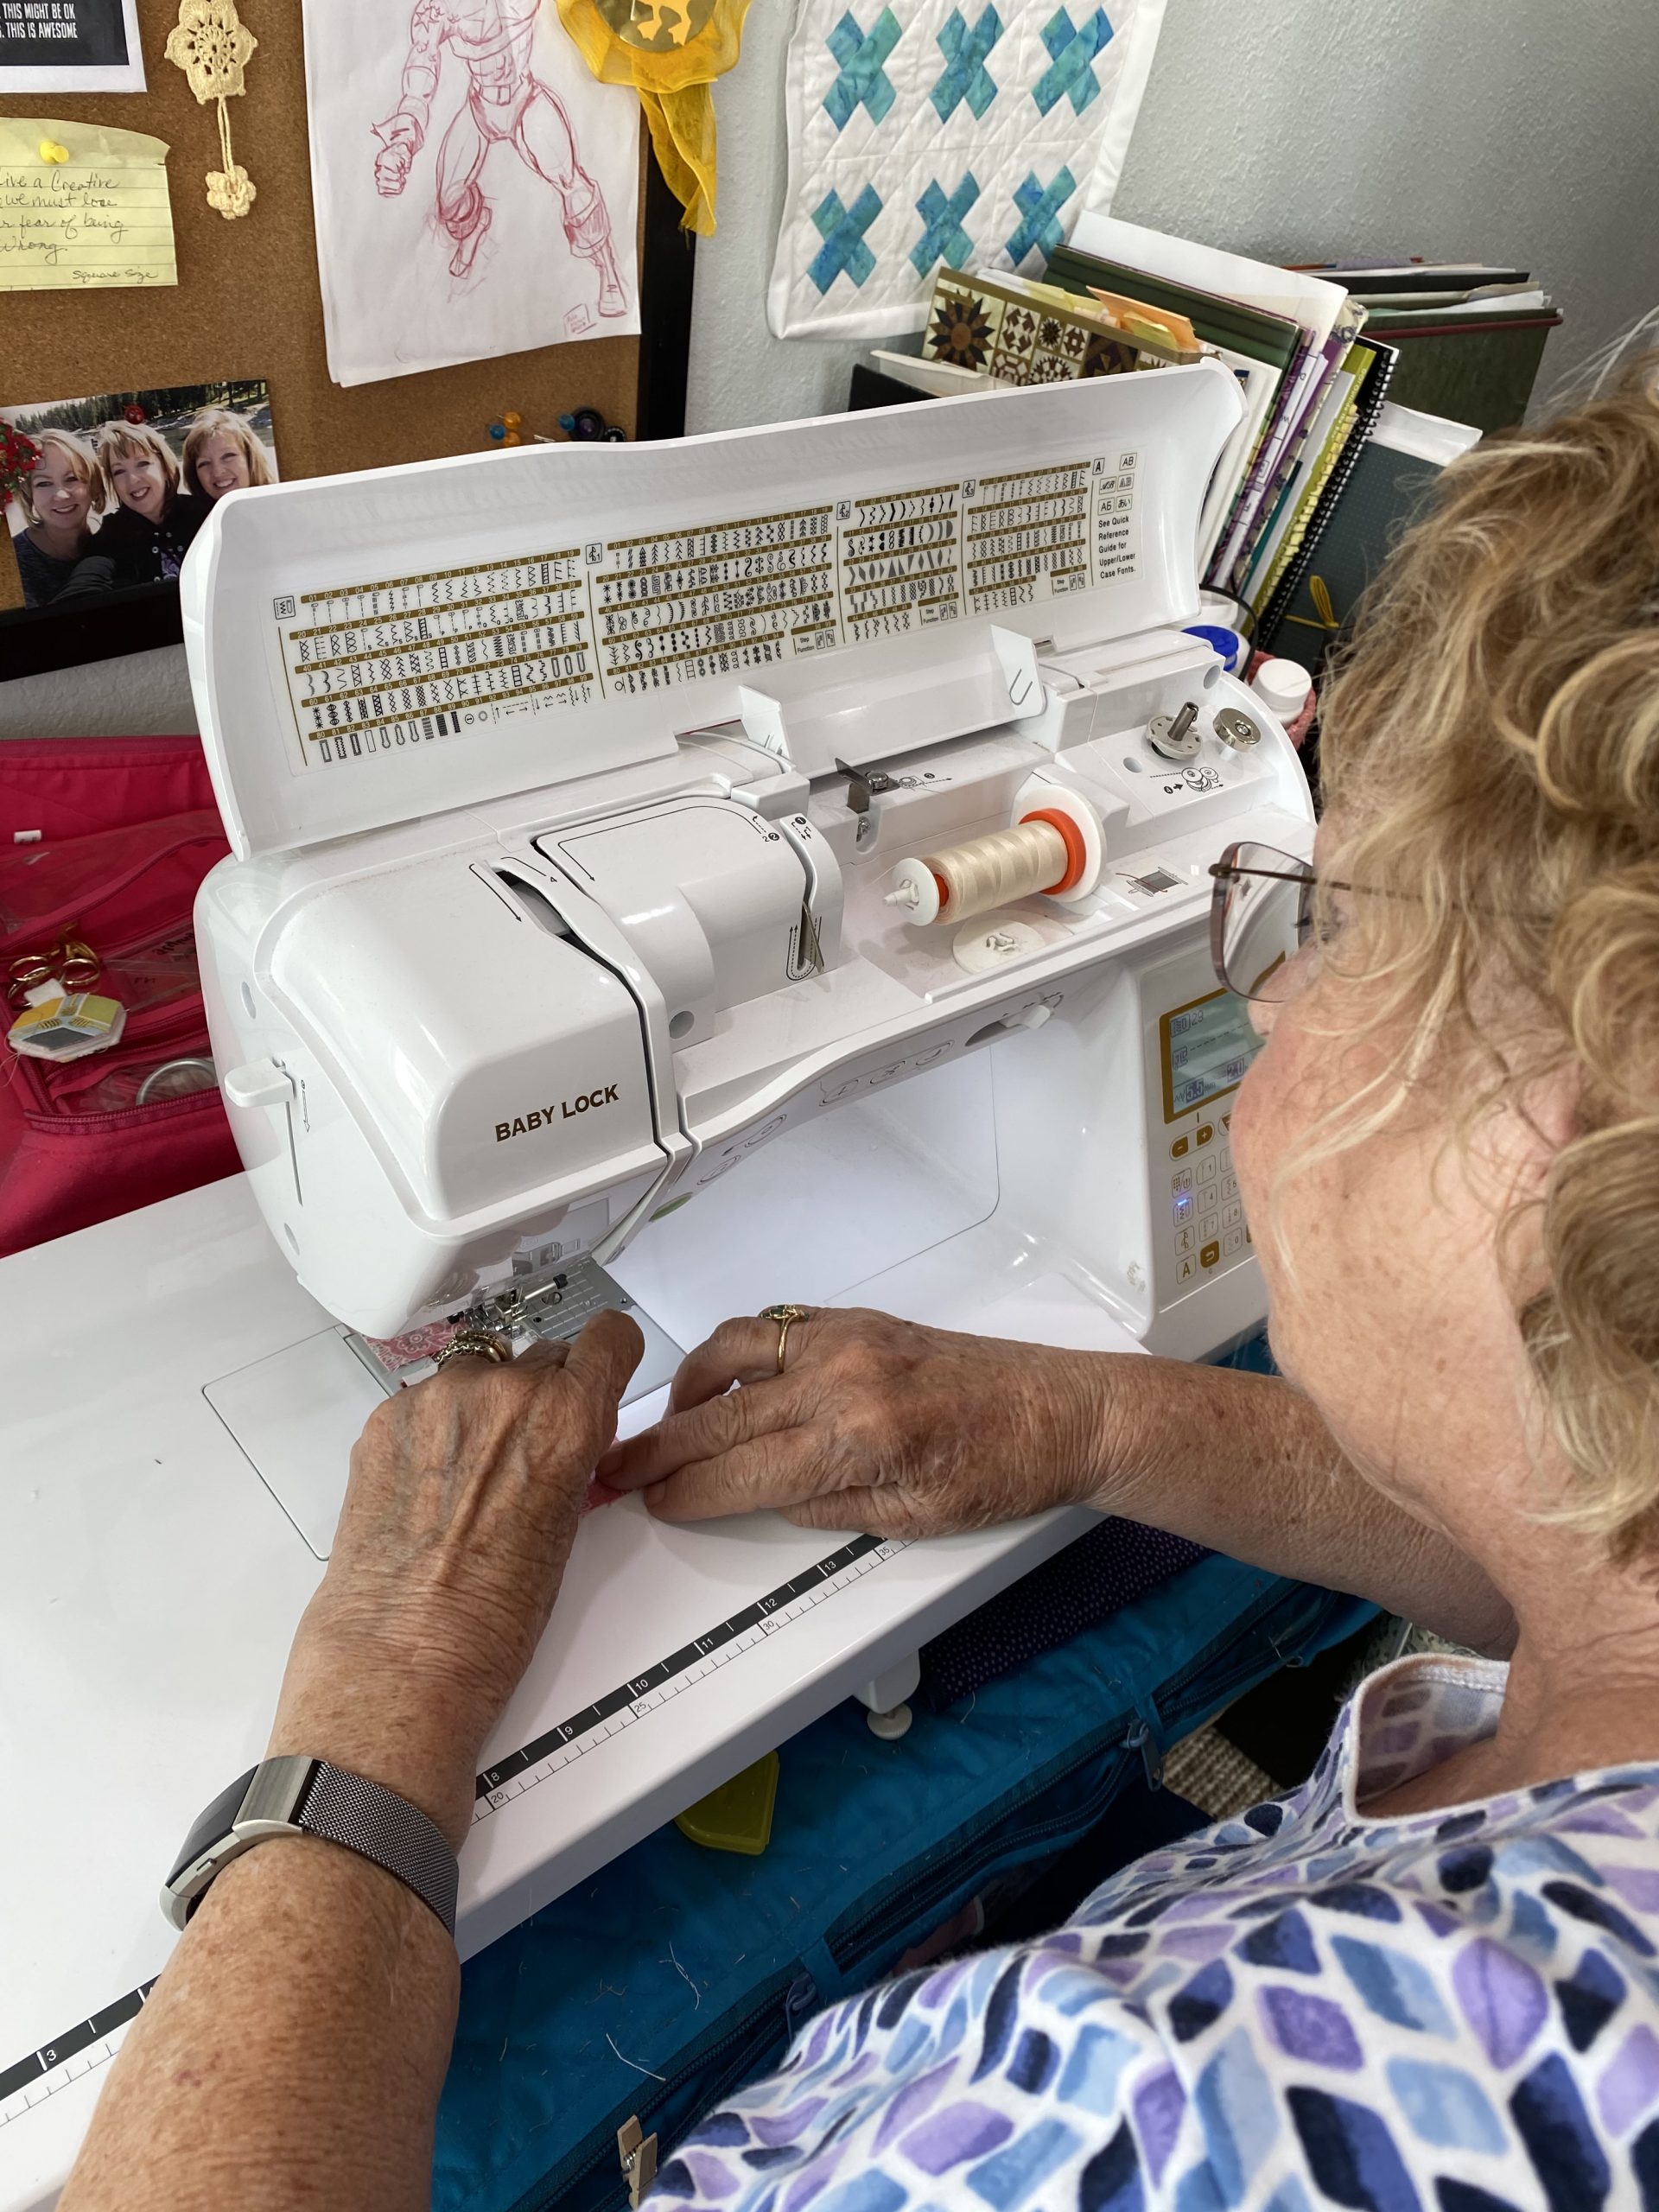
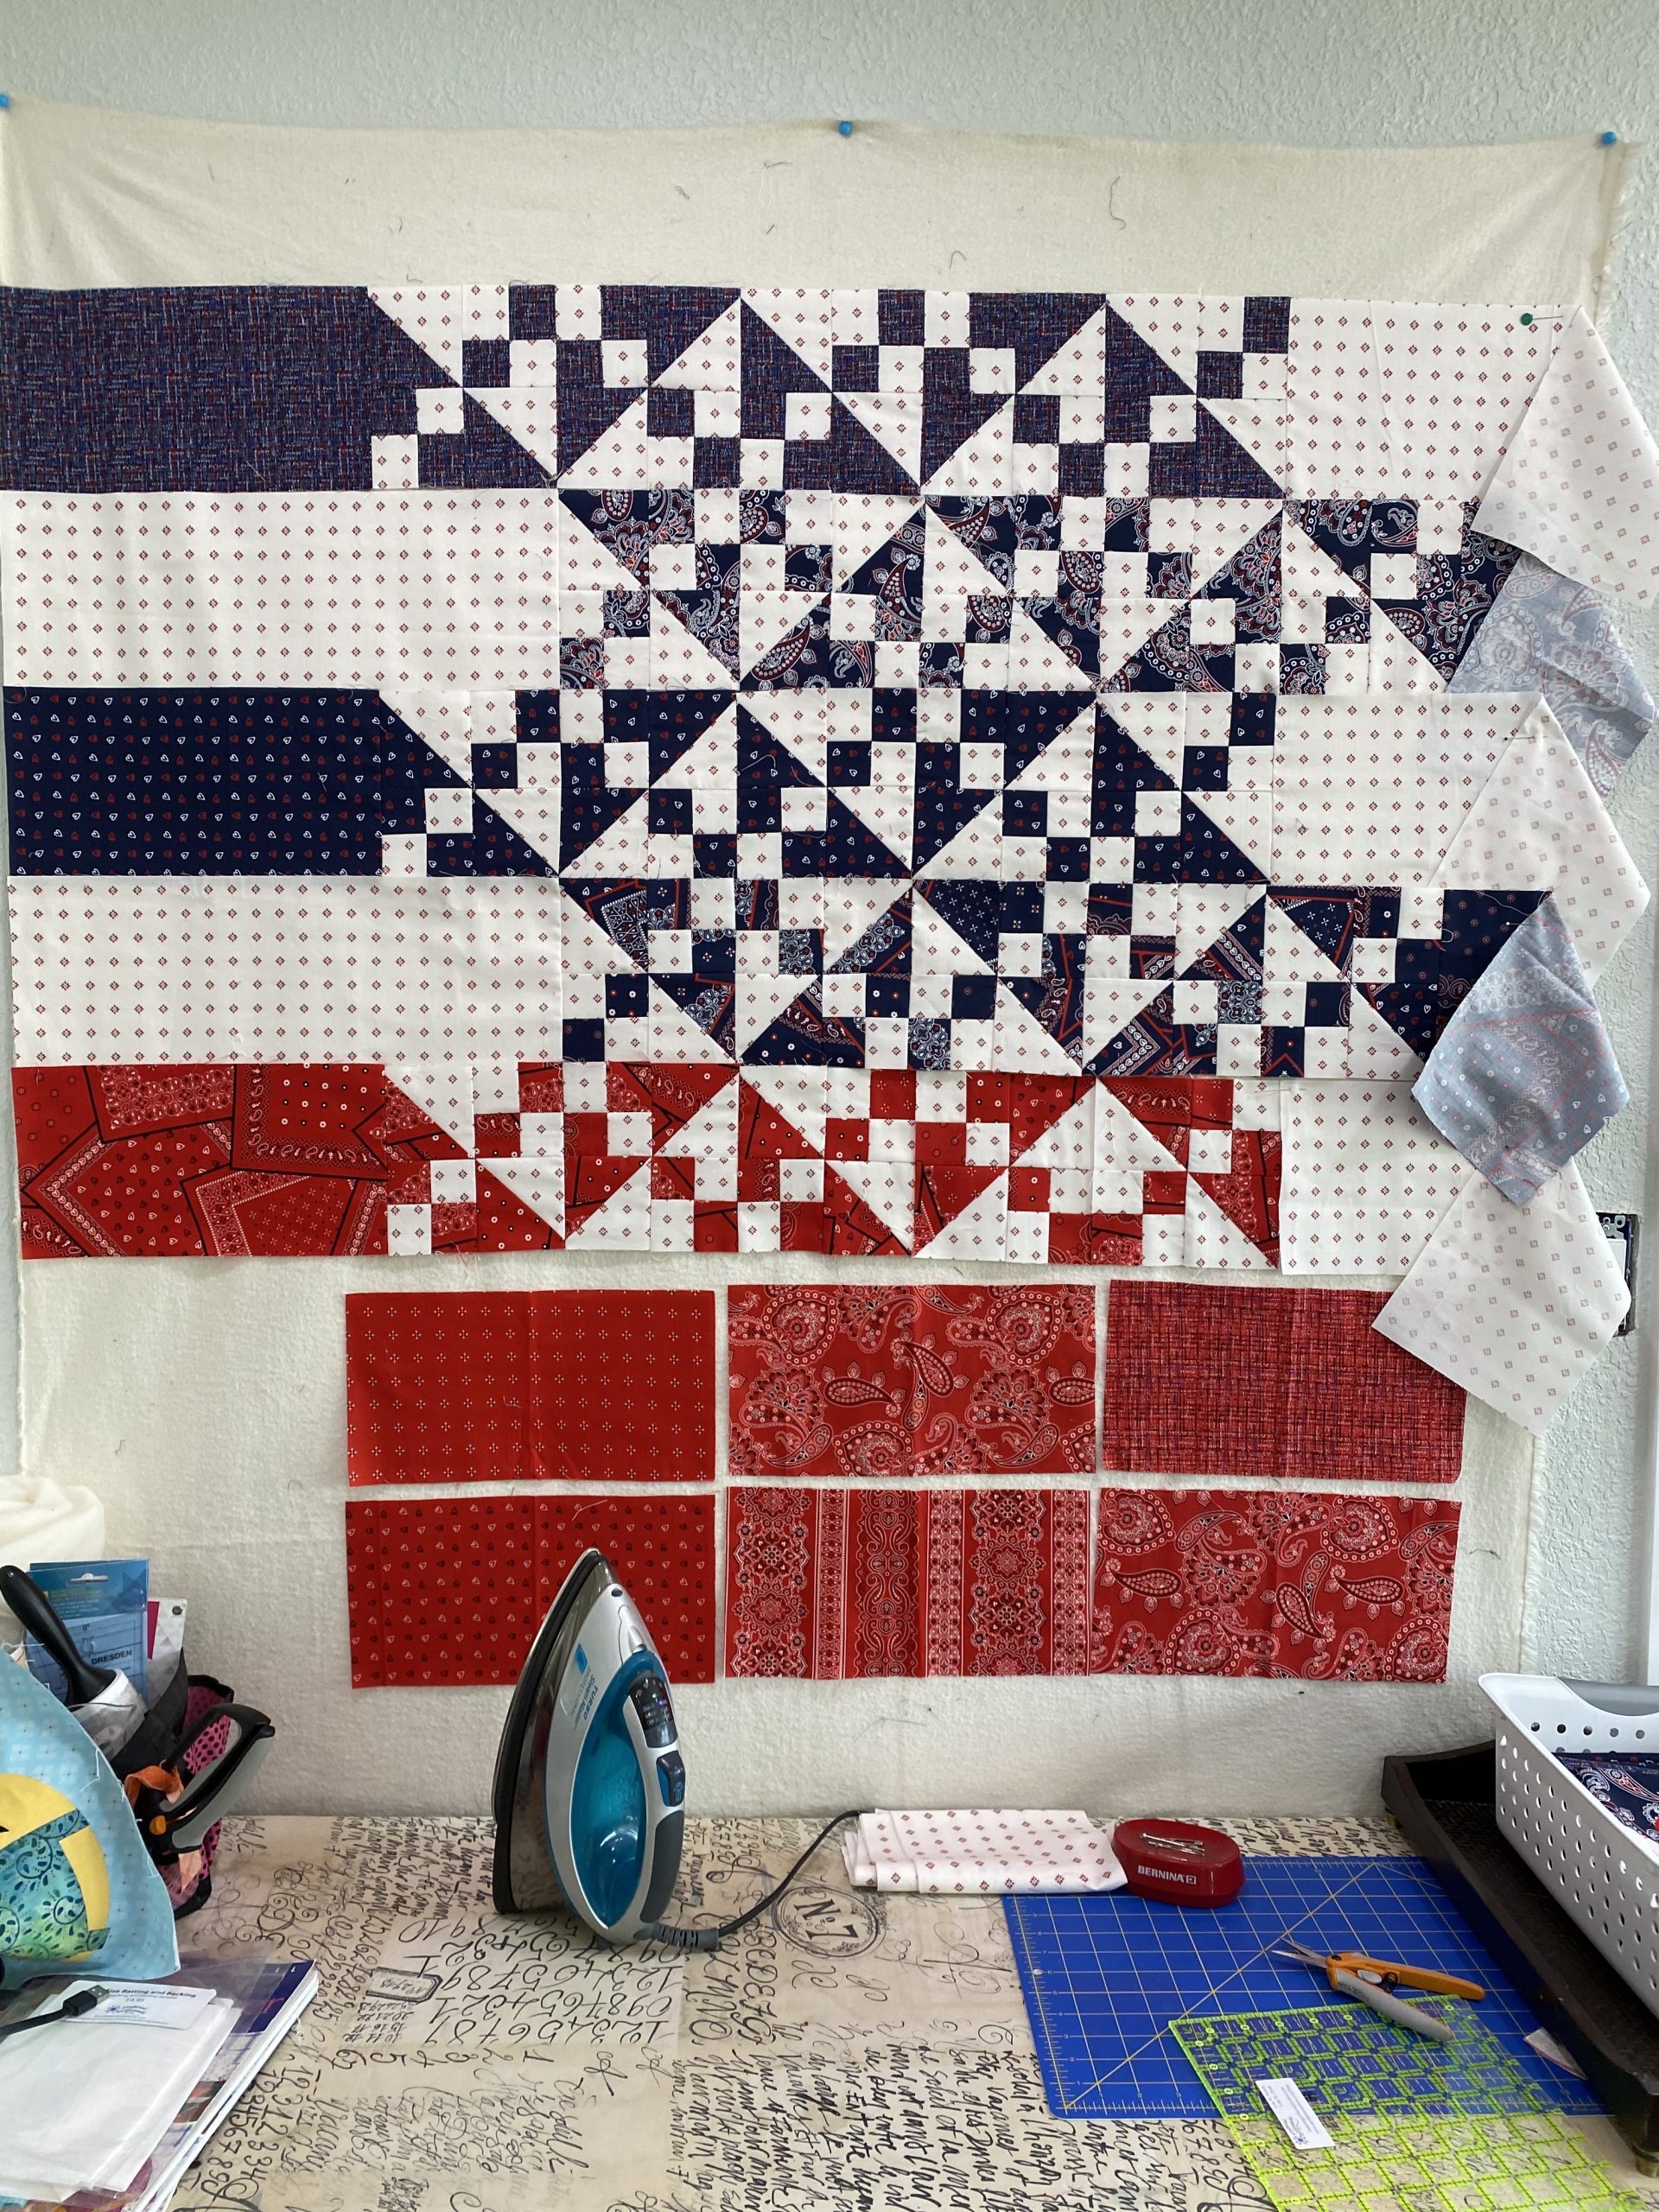
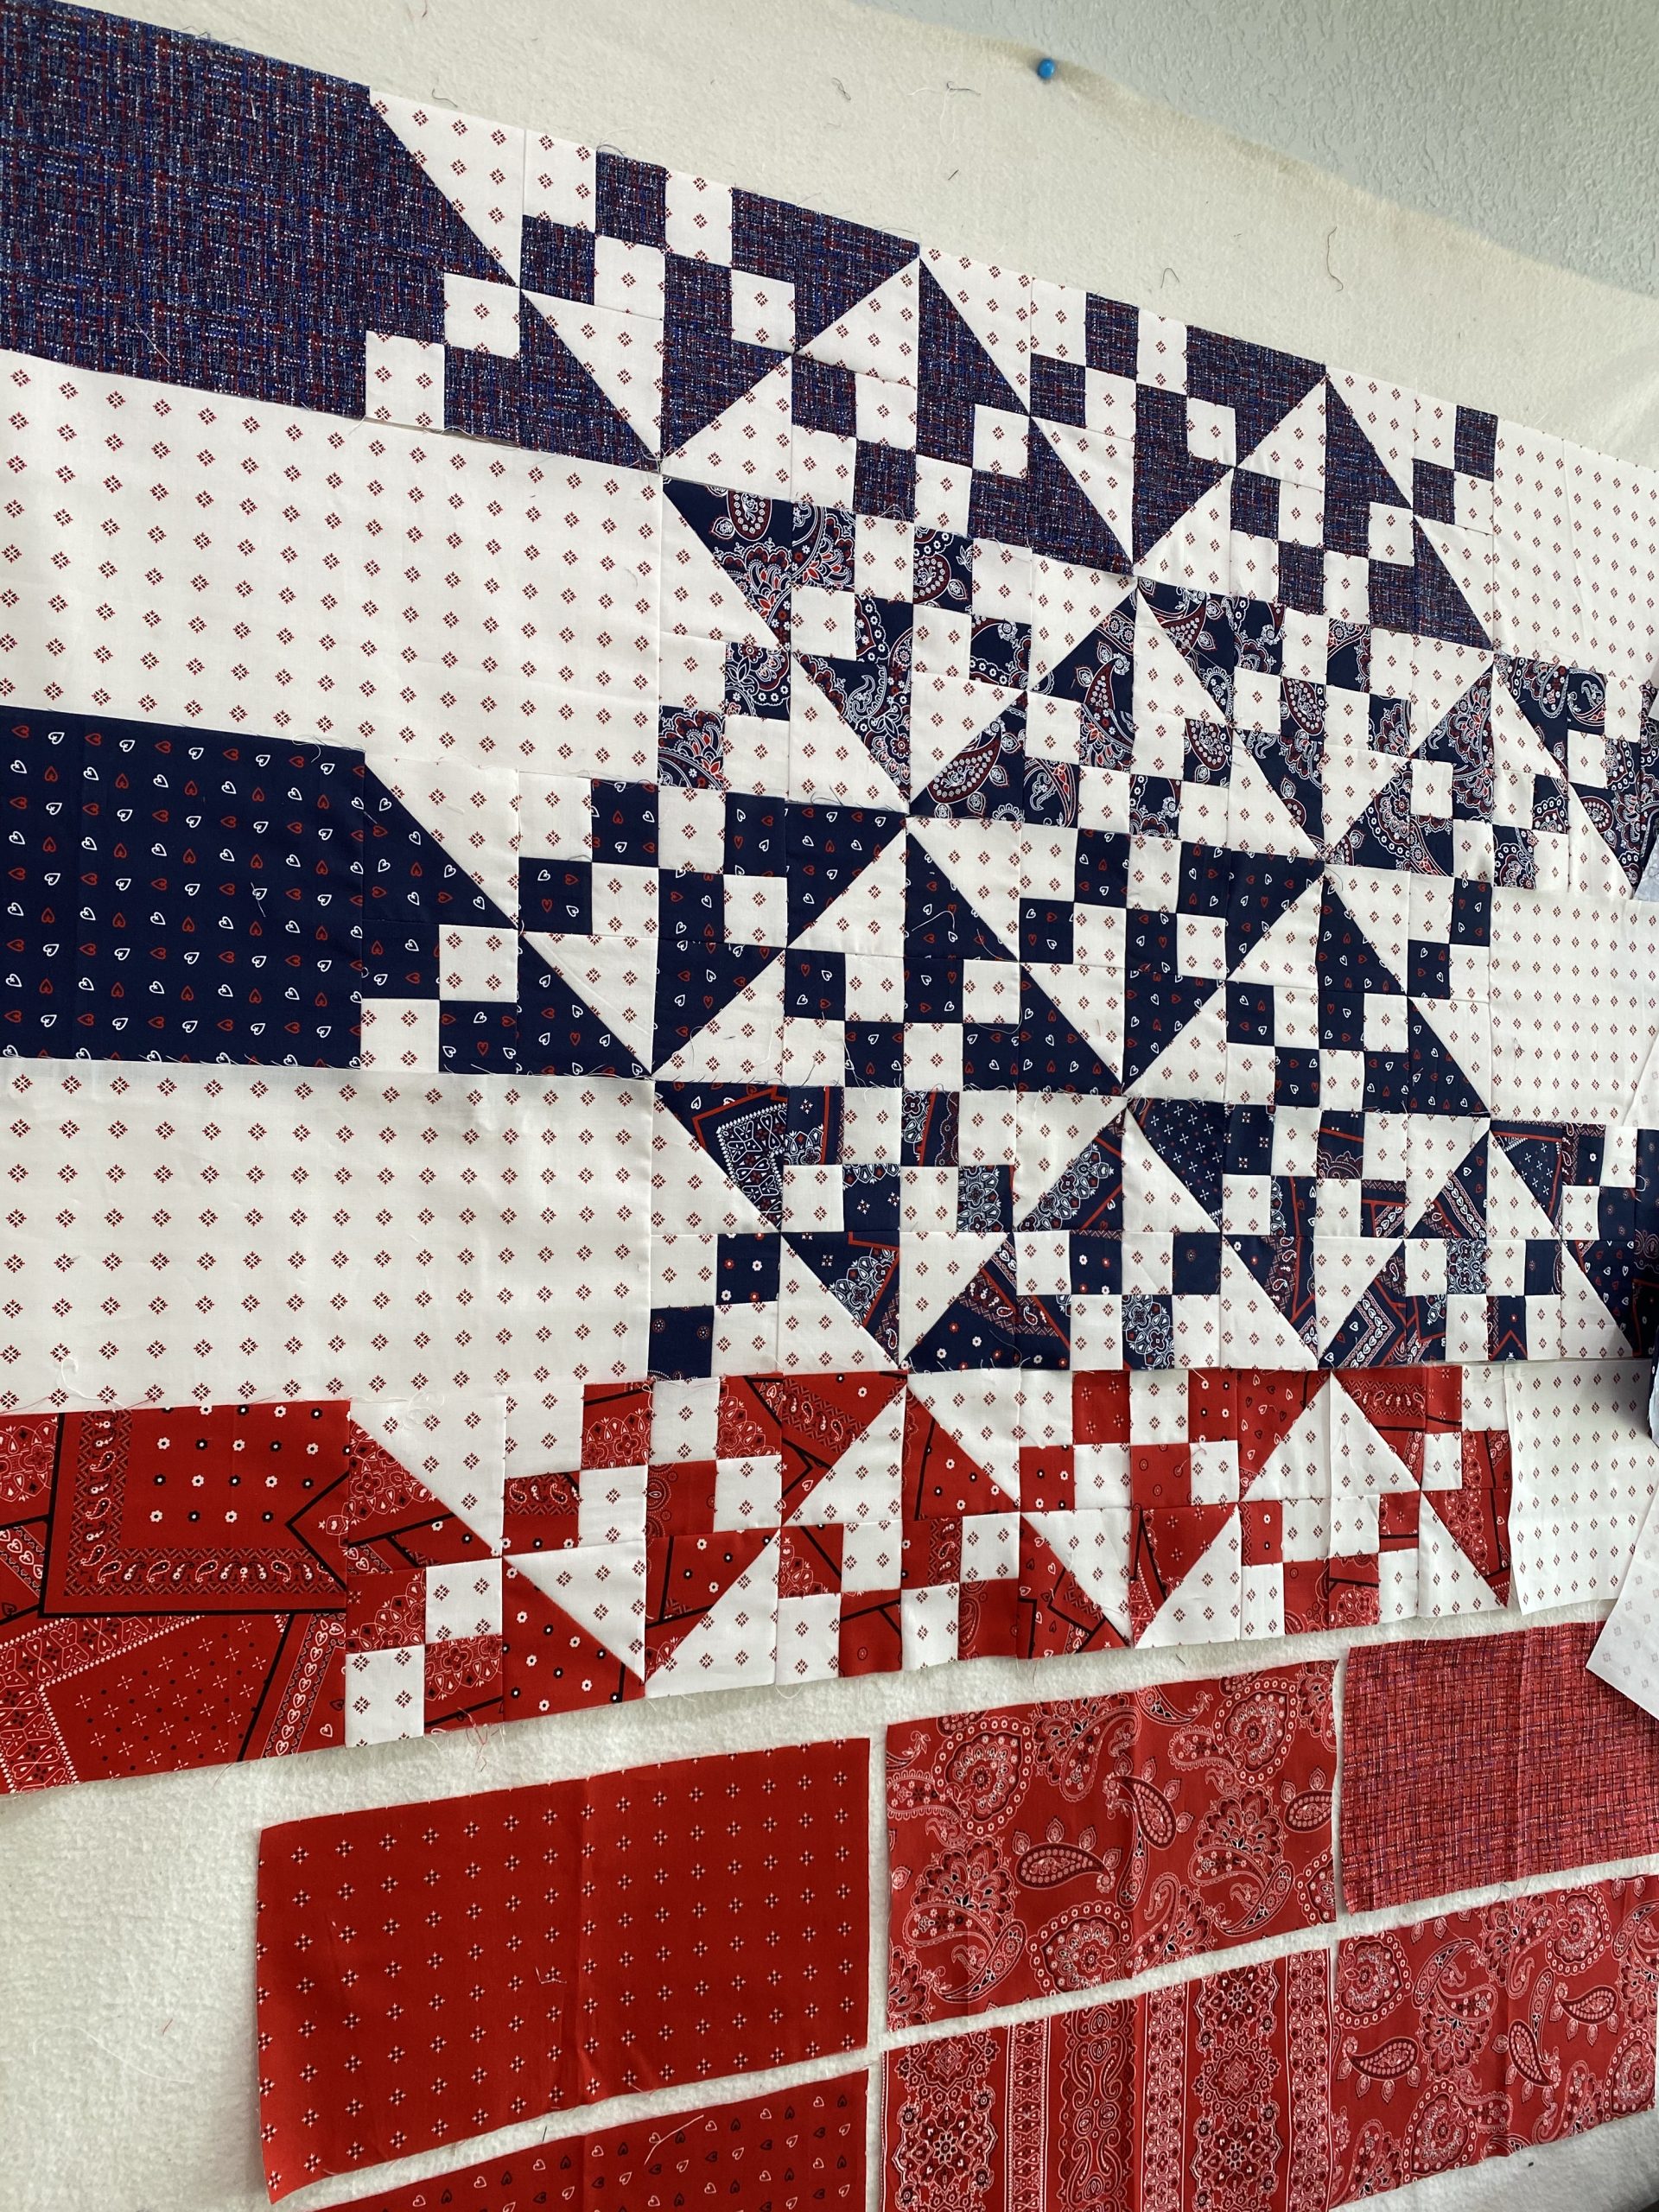
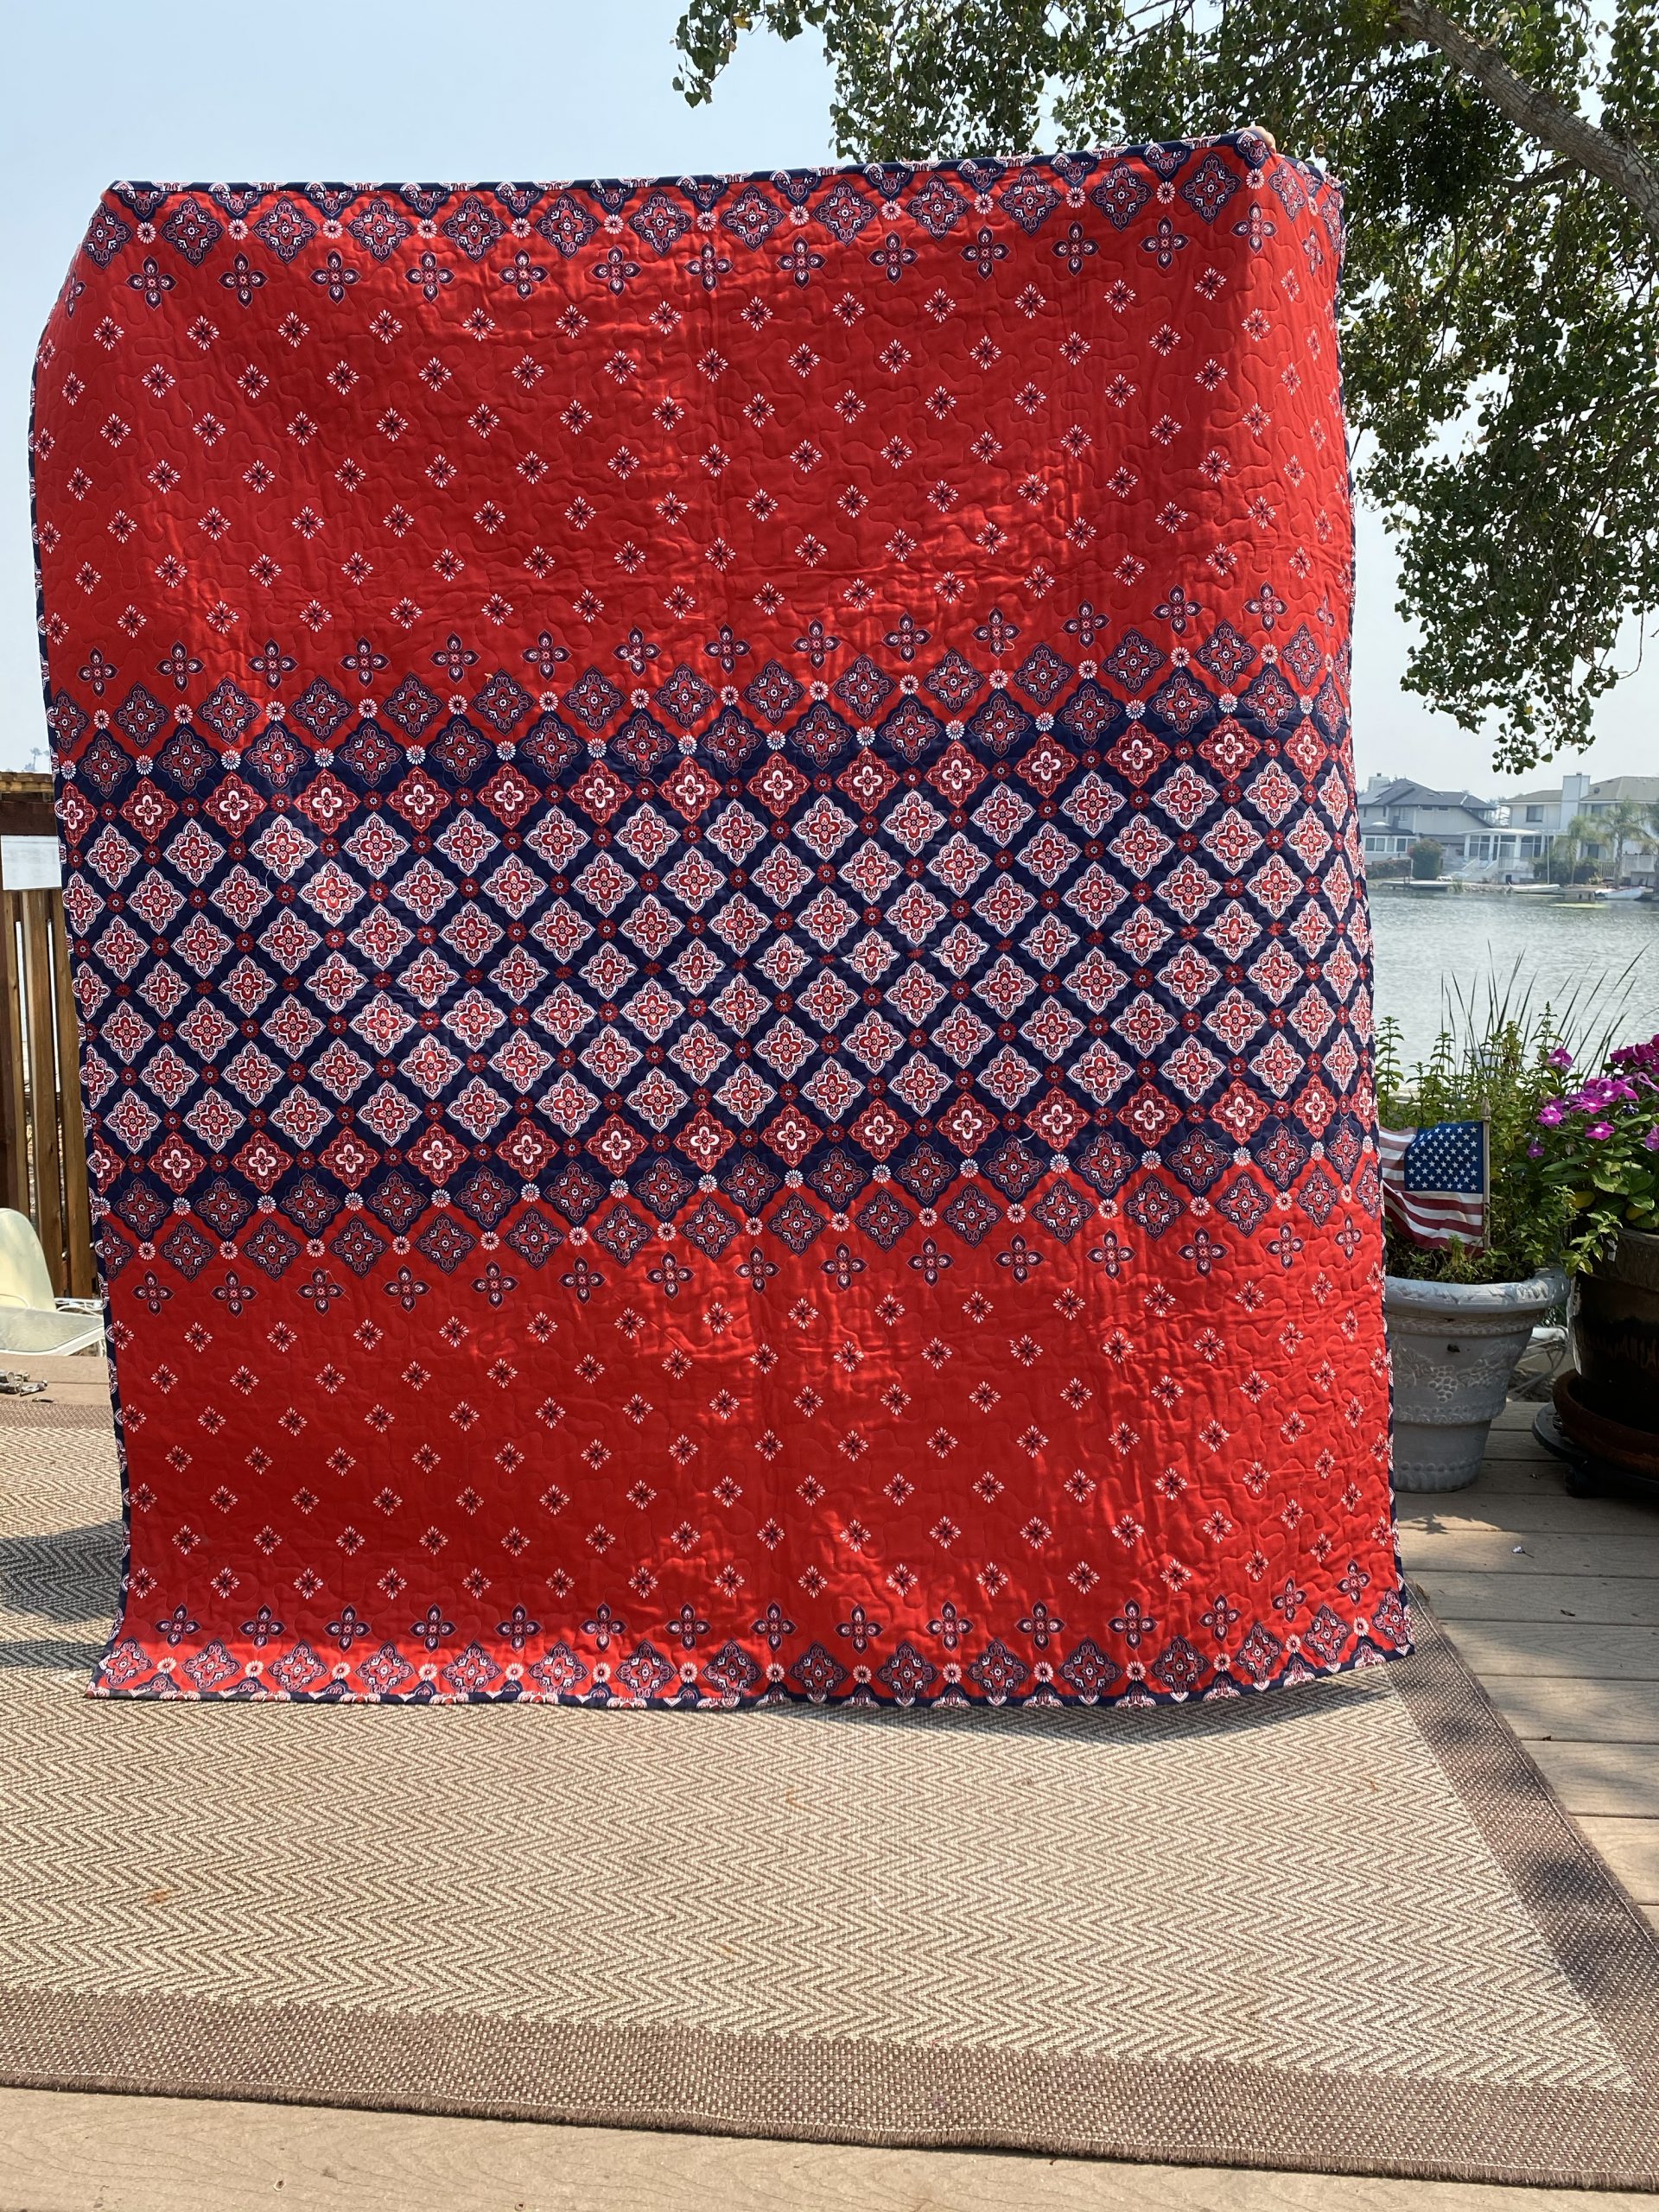
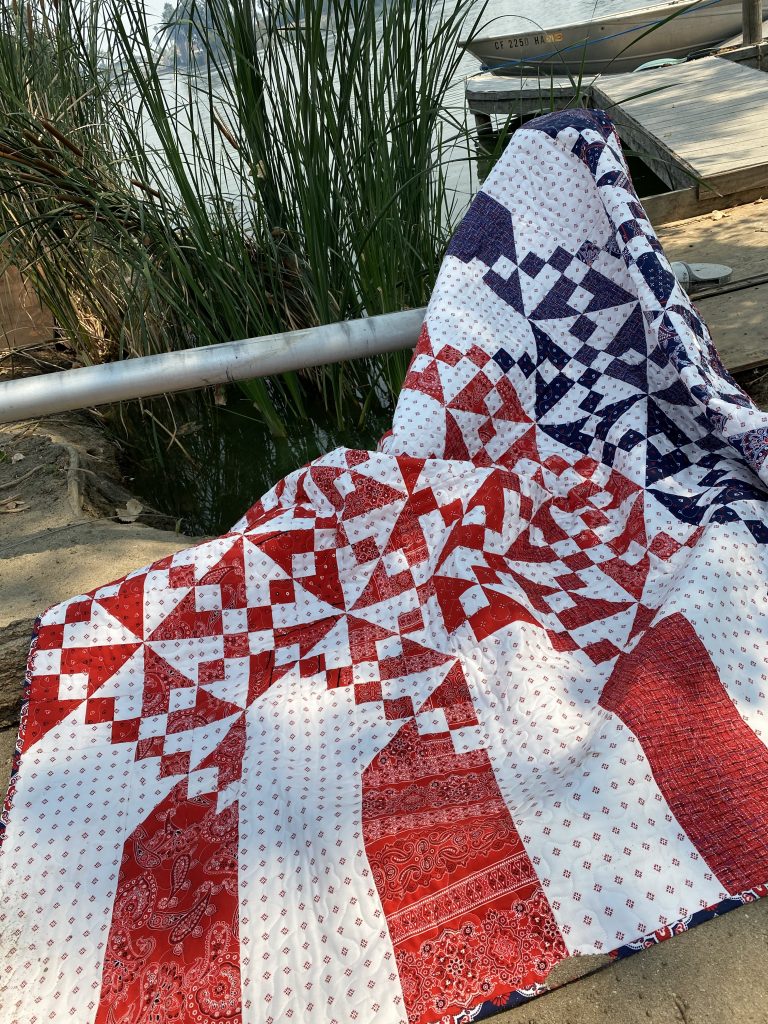
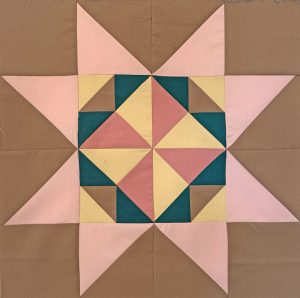
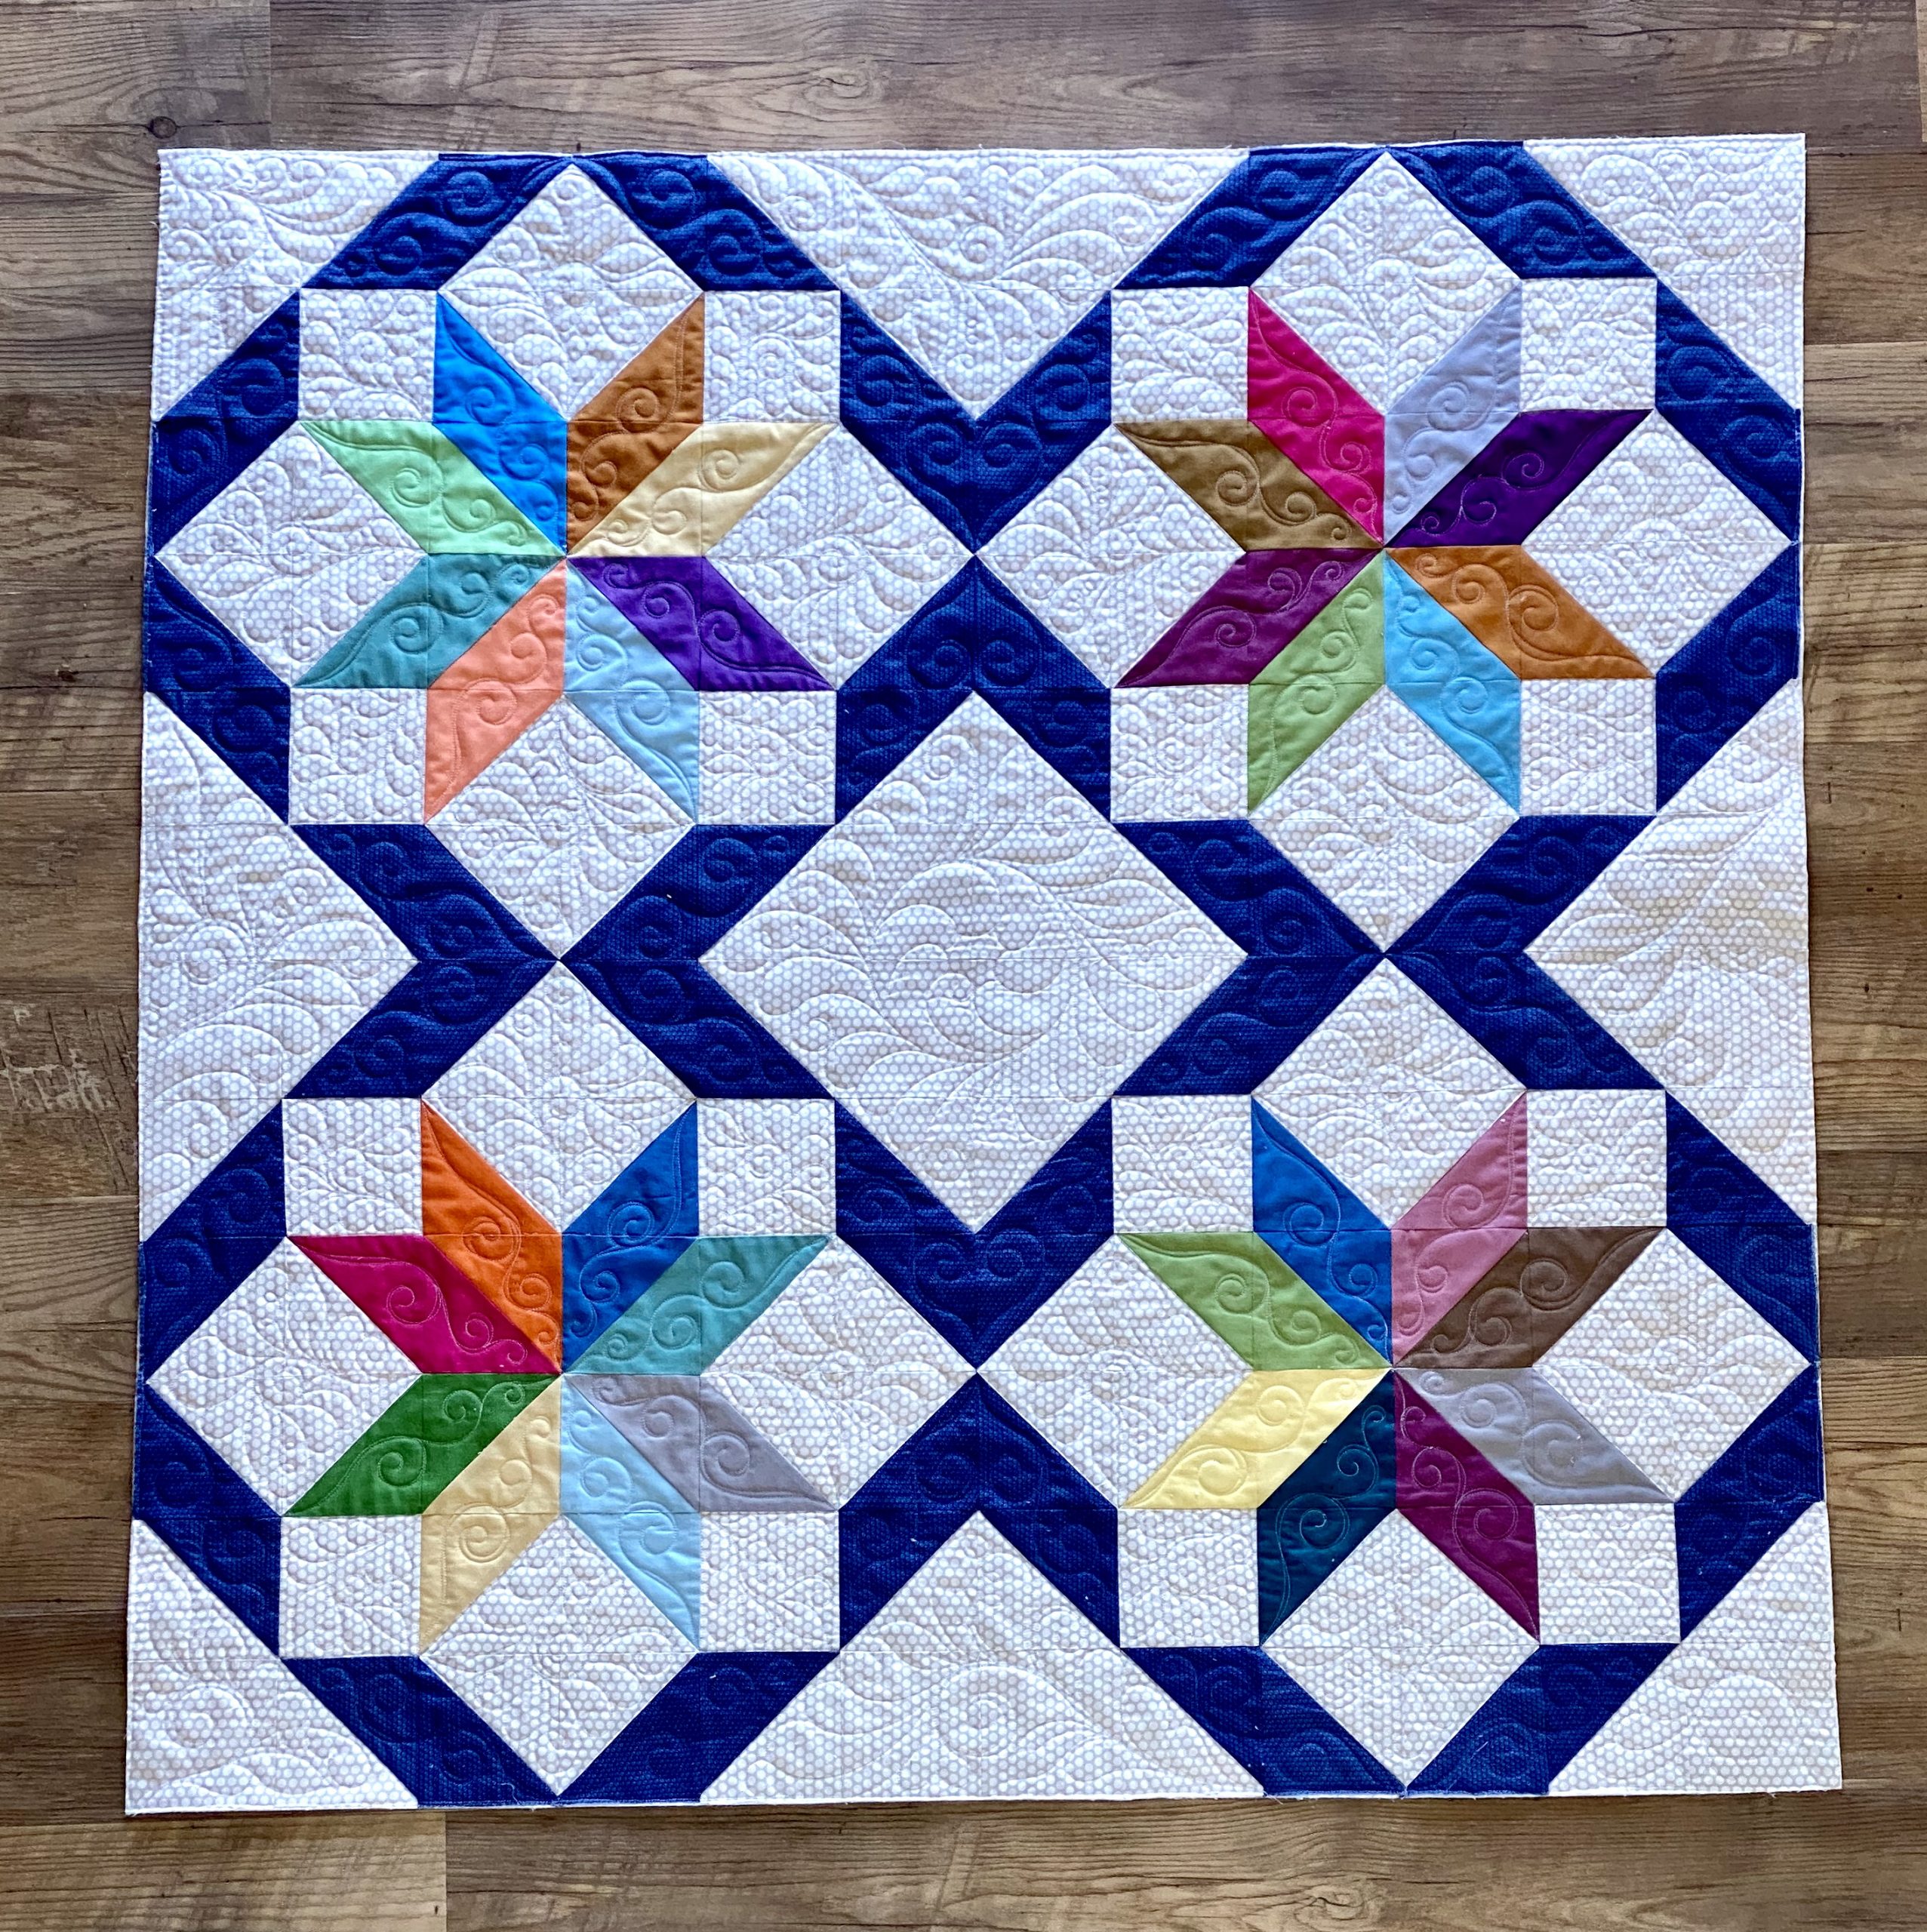
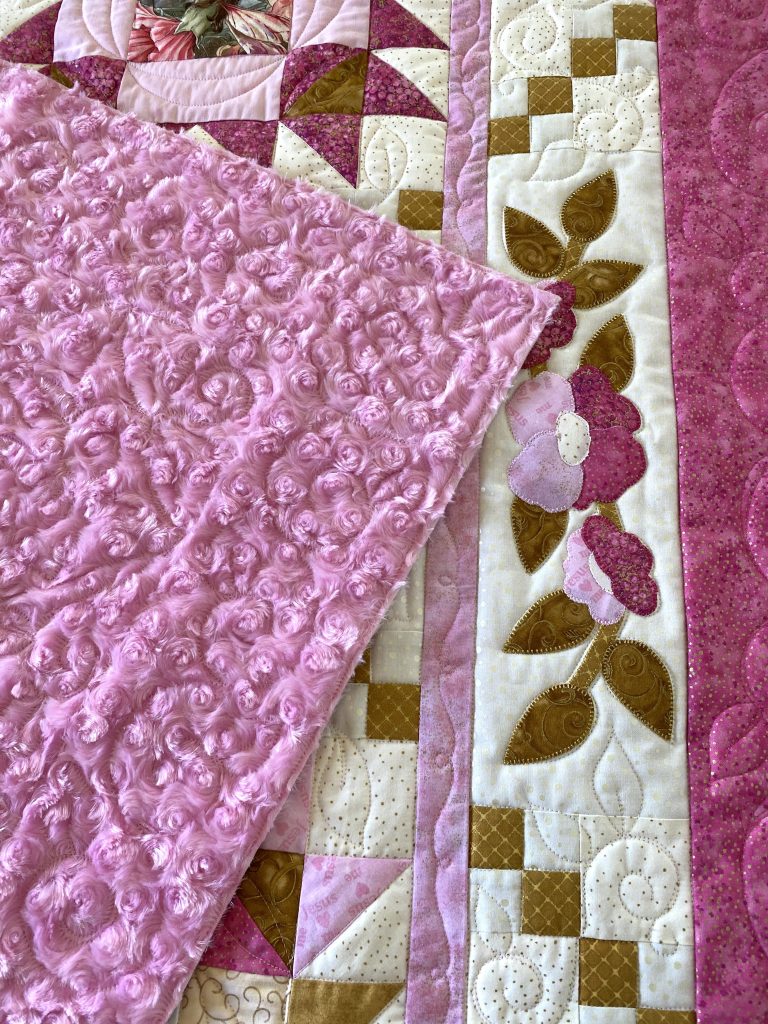
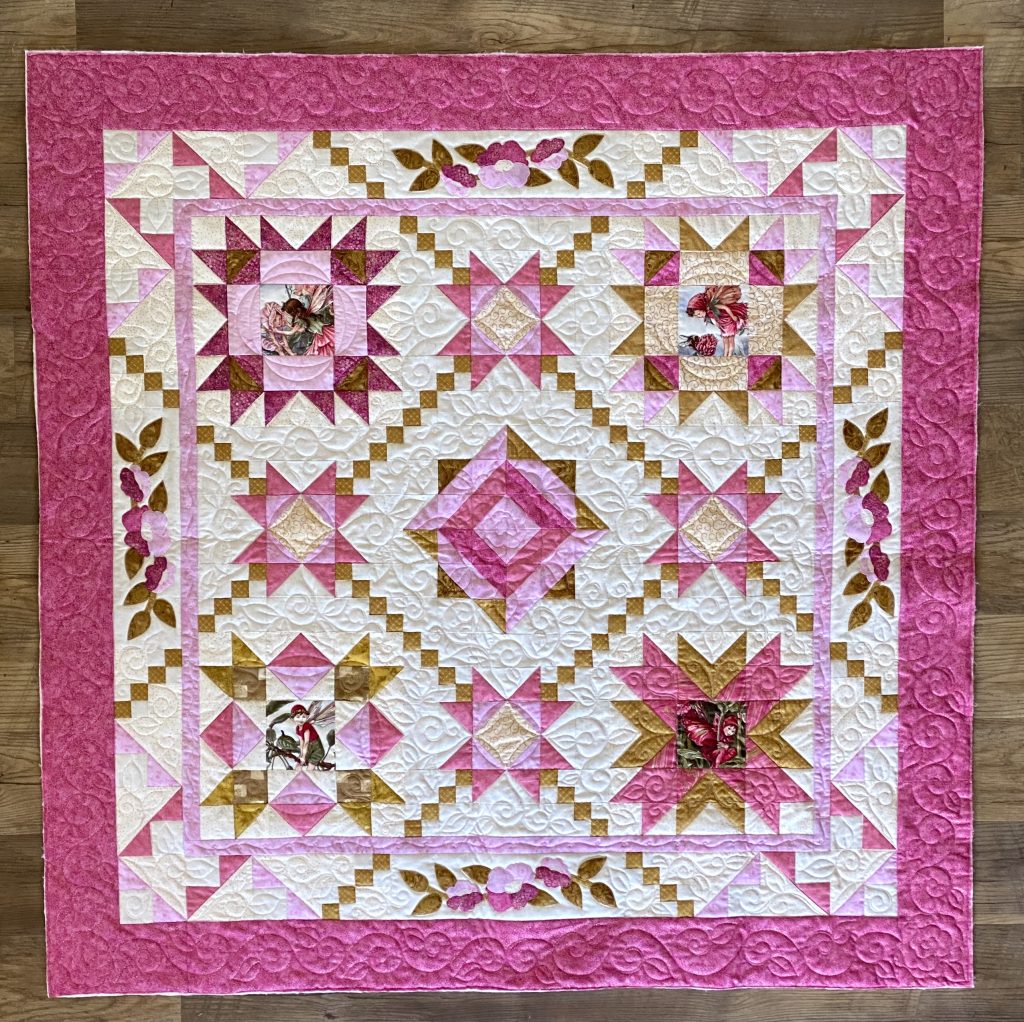
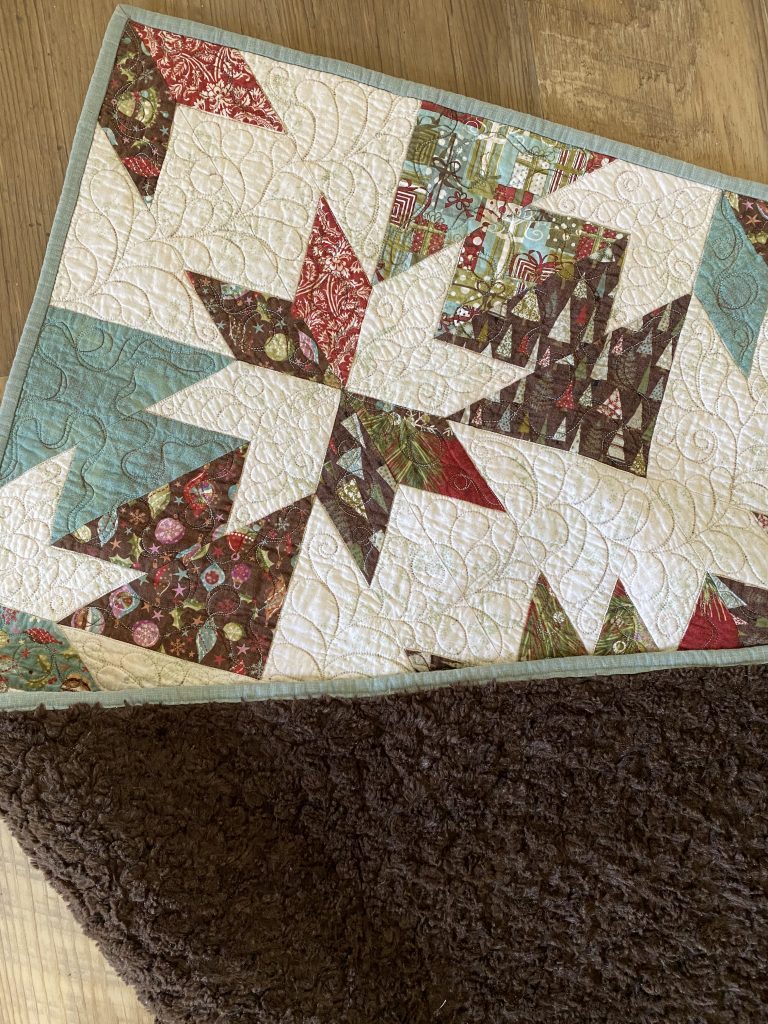
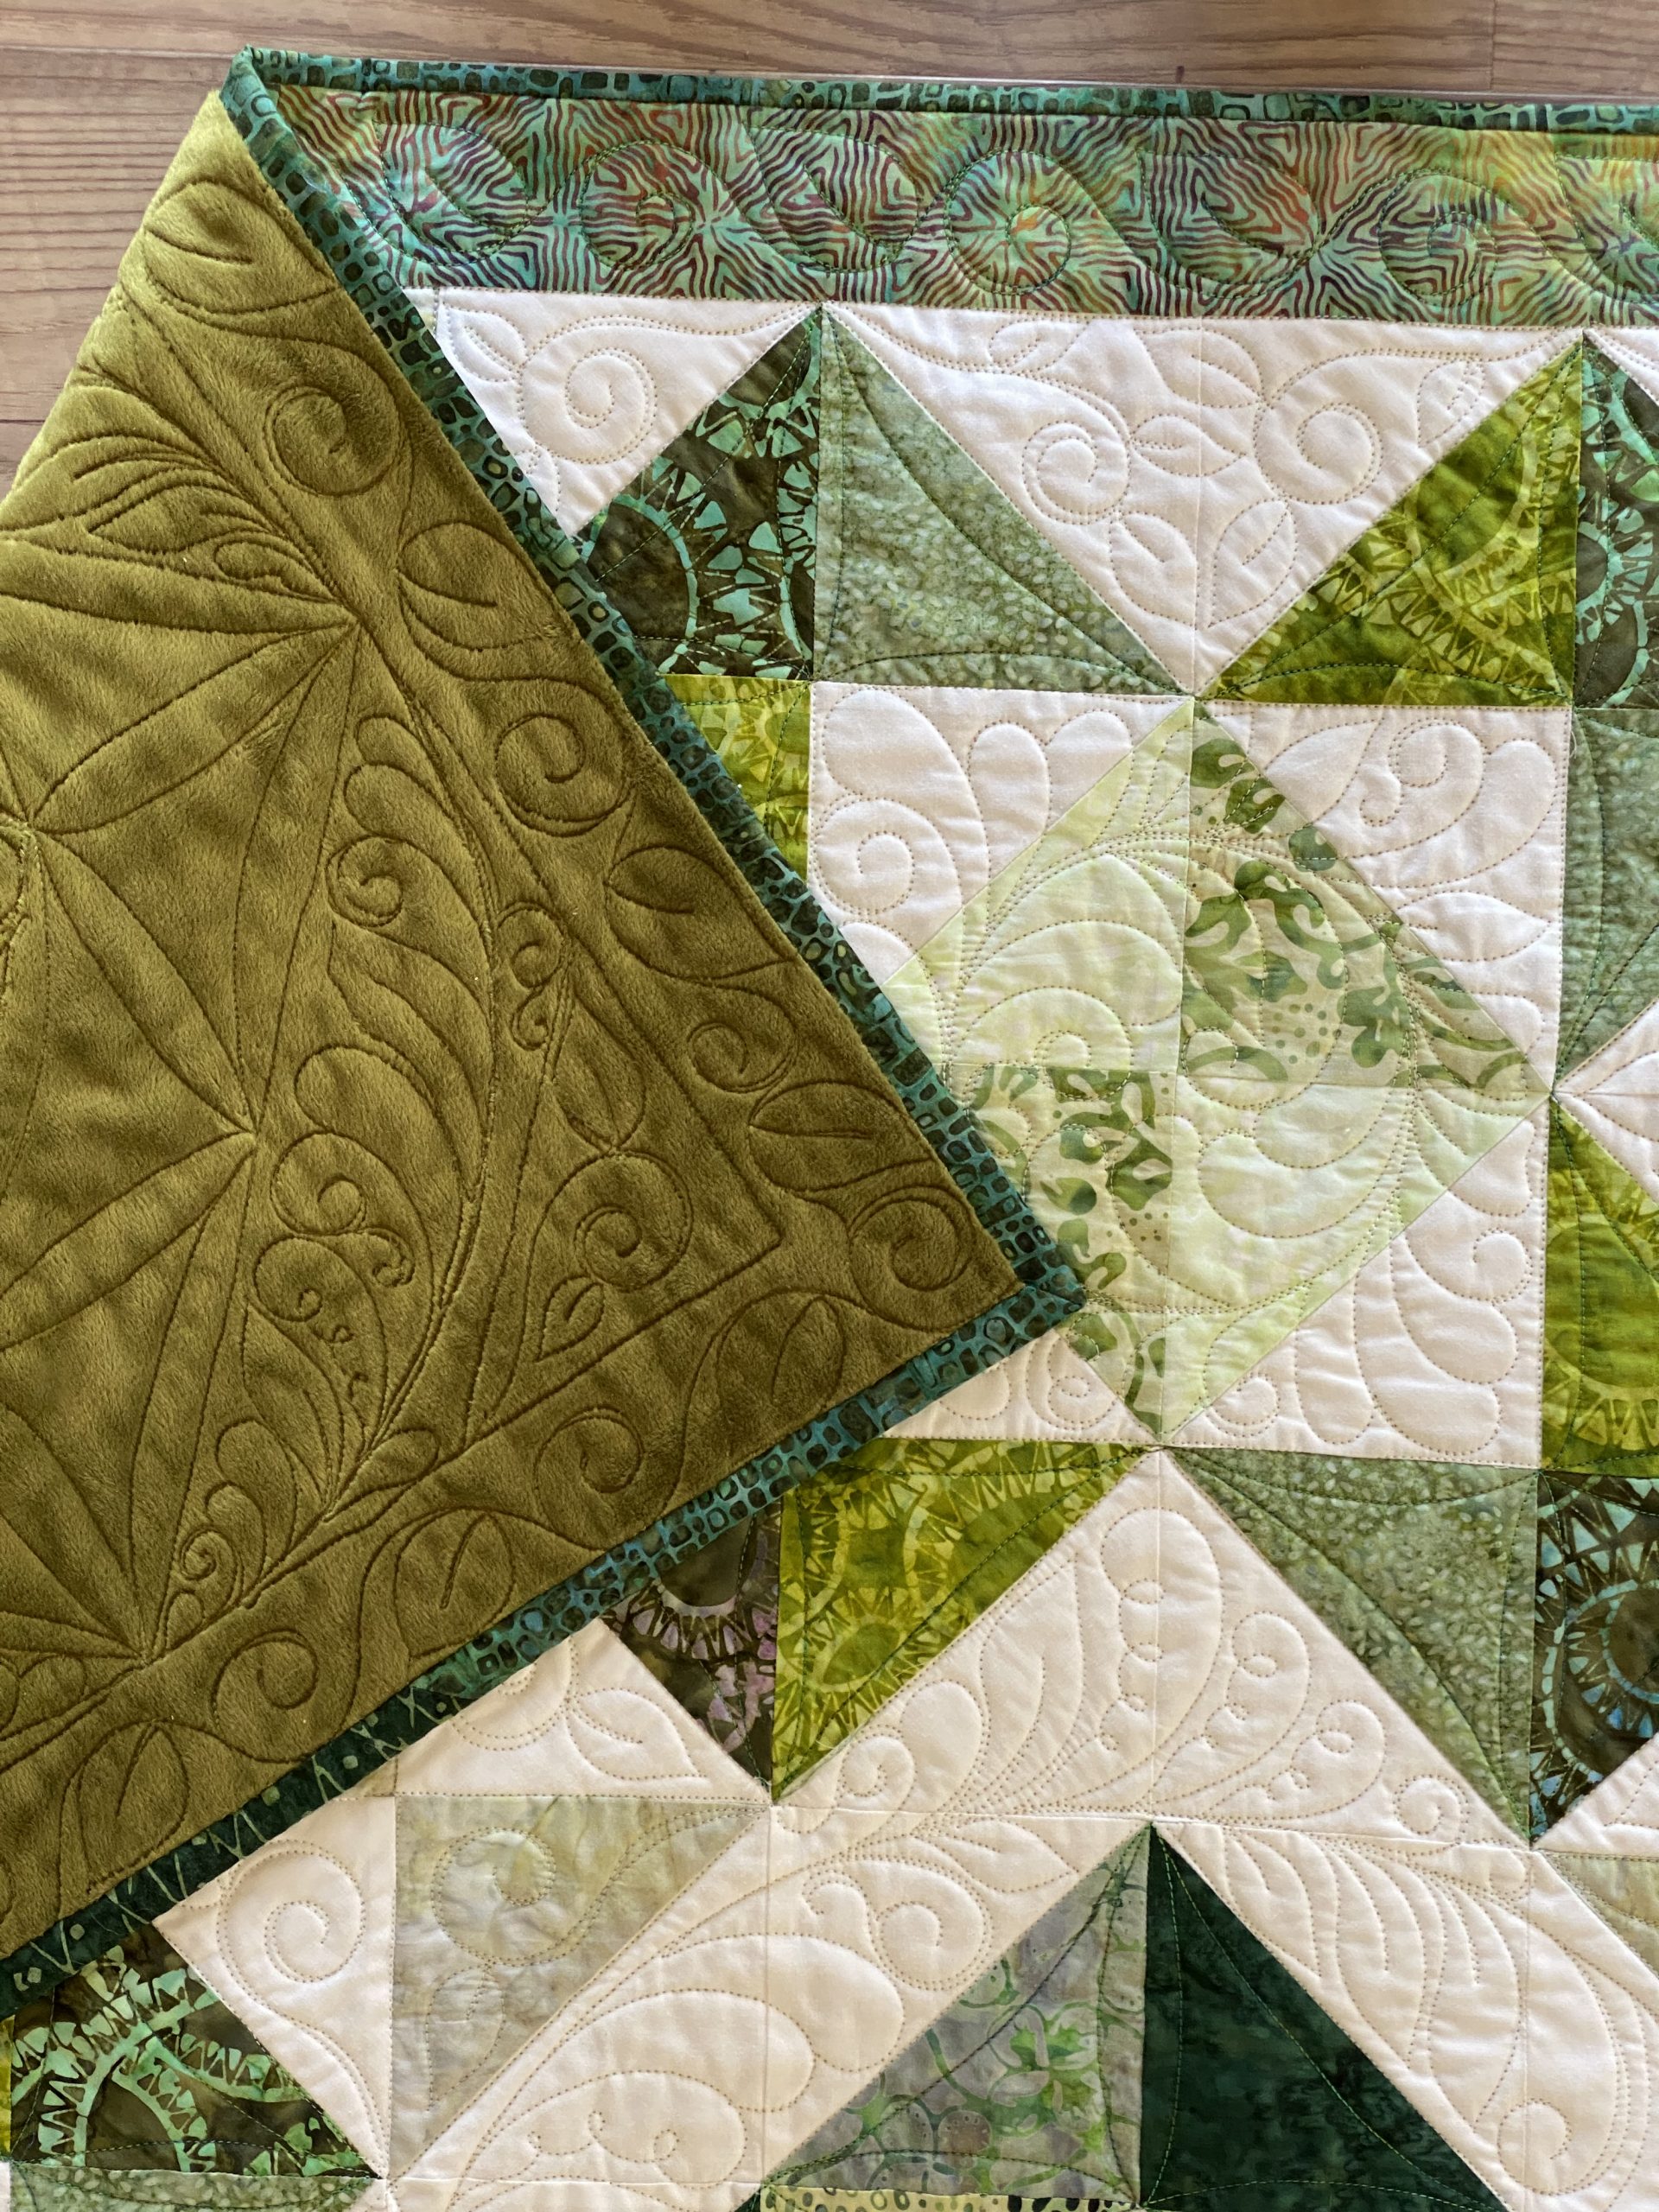
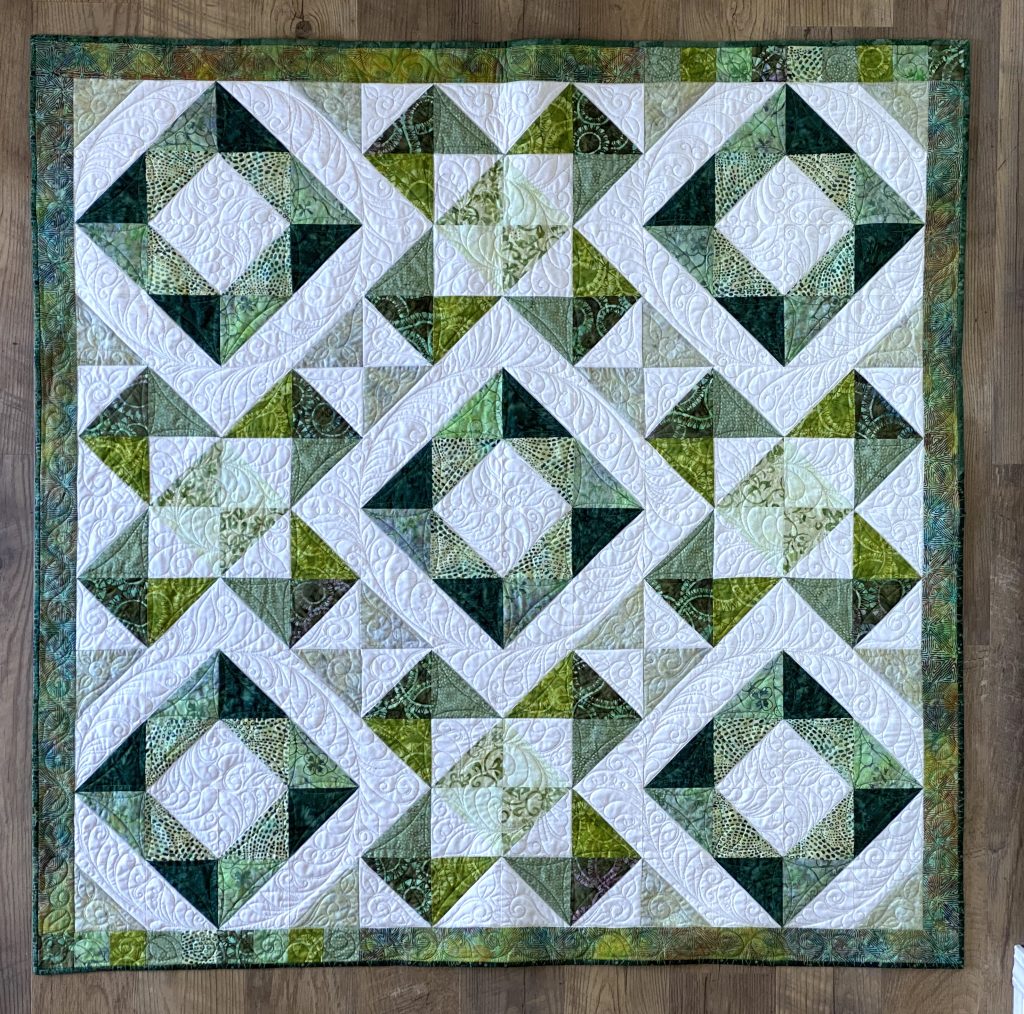
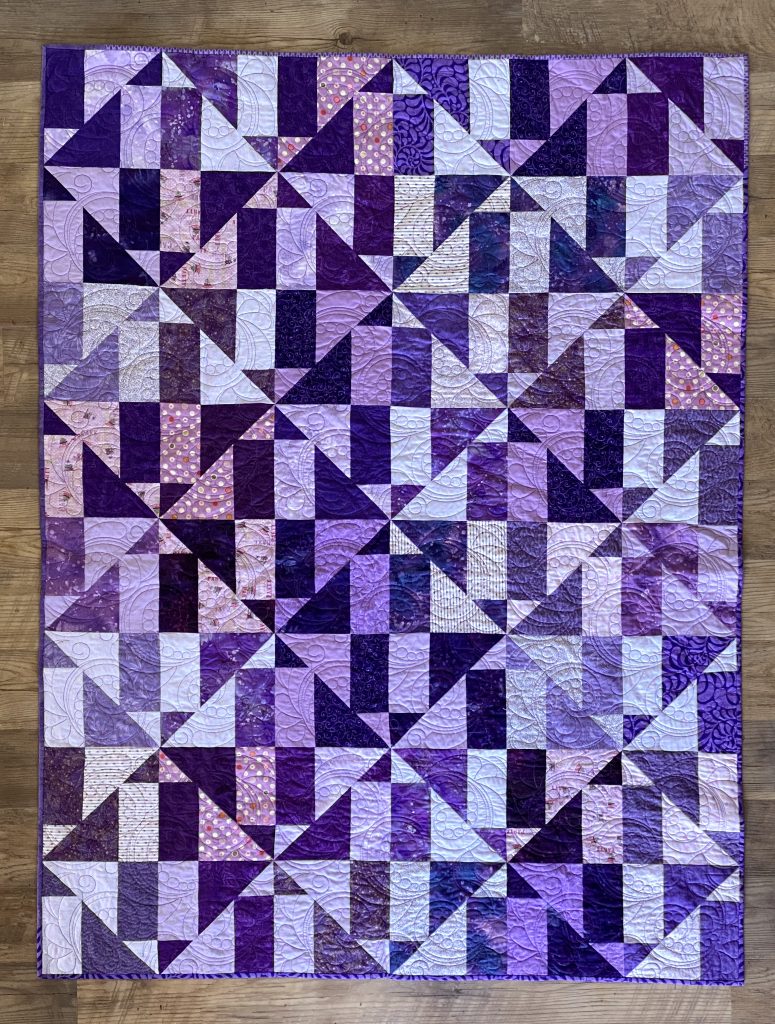
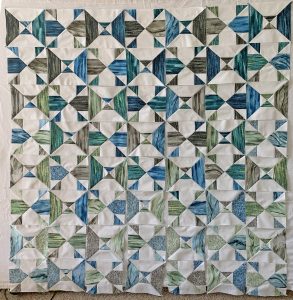
 4. Finish a UFO [UnFinished Object]. Finishing a project will give you a sense of achievement. Project saturation happens when you’ve worked so long on a single project that you’re sick of it. Then it goes in the basket or closet and becomes a UFO. First, take stock of your UFOs. Do some need to marinate in the closet a bit longer? Then put them back. Consider the Psychology of Color (see previous blog) Is there a UFO that has a color that would be emotionally beneficial at the moment? When working on a UFO, you don’t have to sew on that project until you’re finished. Sew on a project for an hour, and then put it away for a different project! A wise woman once told me that a project doesn’t get finished if you don’t sew on it. Treat it like eating an elephant, one little bite at a time.
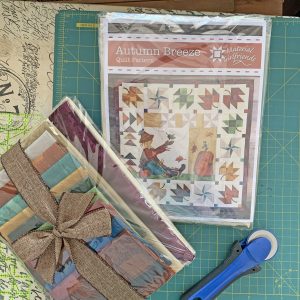 5. Treat yourself to a new project. Unlike an award that is earned for doing something (like completing any of the steps above) a treat is a small pleasure or indulgence that we give ourselves just because we want it. When we give ourselves a treat, we feel energized and content. A new project doesn’t have to be big, just something you want to do or try. It will make you feel better.
“By contrast, when we don’t get any treats, we feel depleted, resentful and angry and justified in self-indulgence. We start to crave comfort—and we’ll grab that comfort wherever we can, even if it means breaking good habits.” Oprah.com
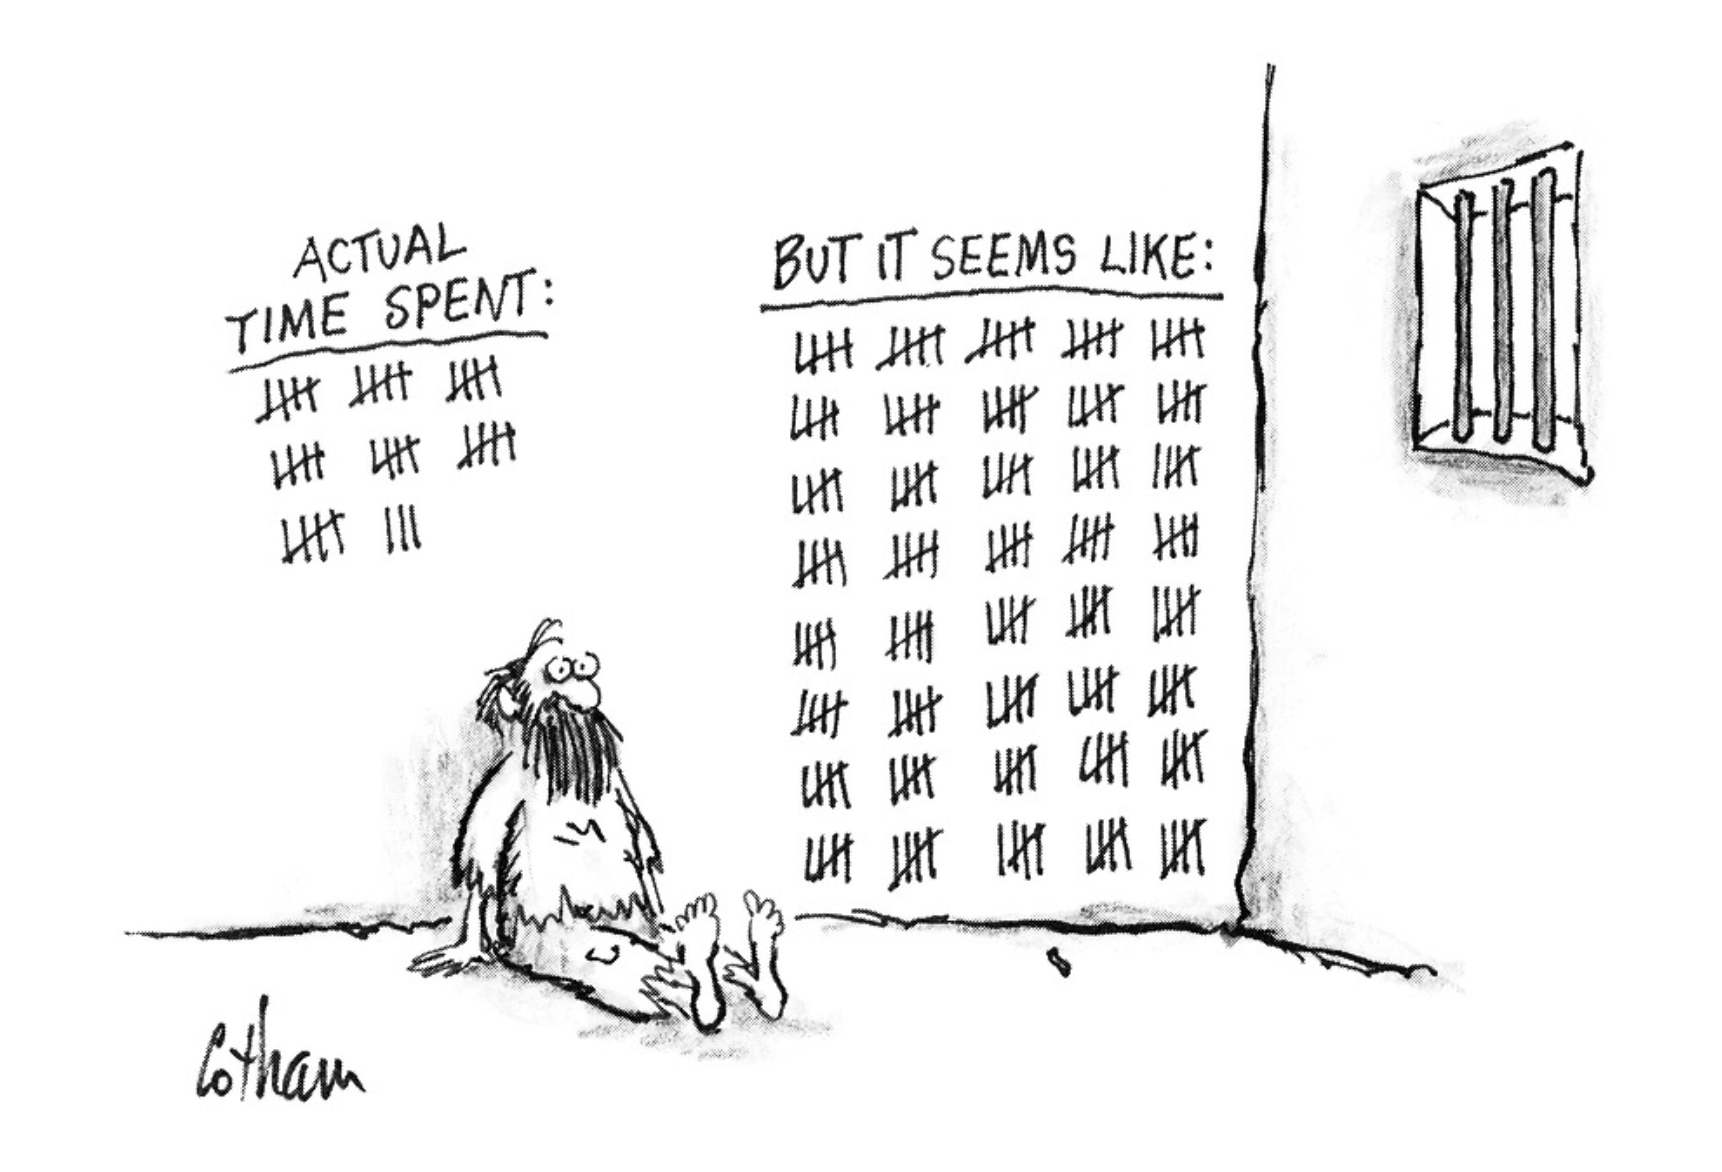
 Isewlation. One of my girlfriends mentioned that we had been in isewlation for 13 days. What? Only 13 days? It seemed so much longer than that. Depending on your personality type, extrovert or introvert, you may be climbing the walls, or you may almost be ready to peer out the peephole in the front door. I’d say I’m a bit of an extrovert. I love social interaction. I’m not home alone during this Shelter in Place. I’m home with three men. The old one is deaf, and the other two don’t listen. Oi.
Even though we are to have physical distancing, we still need social interaction. Isolation can lead to loneliness and depression. Do a self-check. How are you doing? The computer is an amazing way to stay connect. Face time, Skype, and a dozen other video conversation apps can keep you connected to friends and family. Create a text group of family and/or friends. Check in with them regularly. And Call. Don’t feel like you’re interrupting something important by calling. You’re important. Be sure to reach out.
I narrowed my Self Care for Quilters in Quarantine to just 5 steps for this blog. There are a lot more ways to stay sane while in isewlation. What are your Self Care steps? I would love to hear them. Leave me a comment below.
My mom always said attitude is the most important thing. Stay positive.This is a stressful time for everyone. Remember, we’re in this together.
Absewlutely,
Lisa Norton


 Lora’s Designs
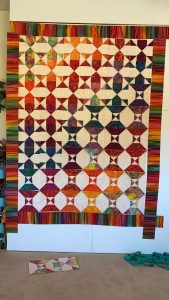
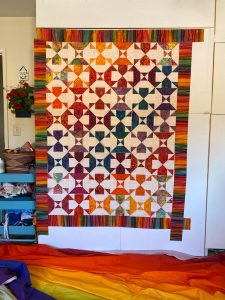 Judy’s Designs
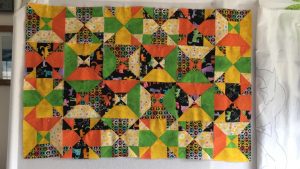
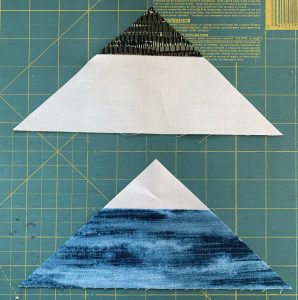 Mountain Peaks
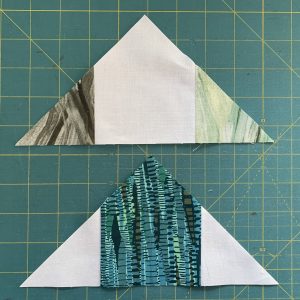 Houses