Hi Lo

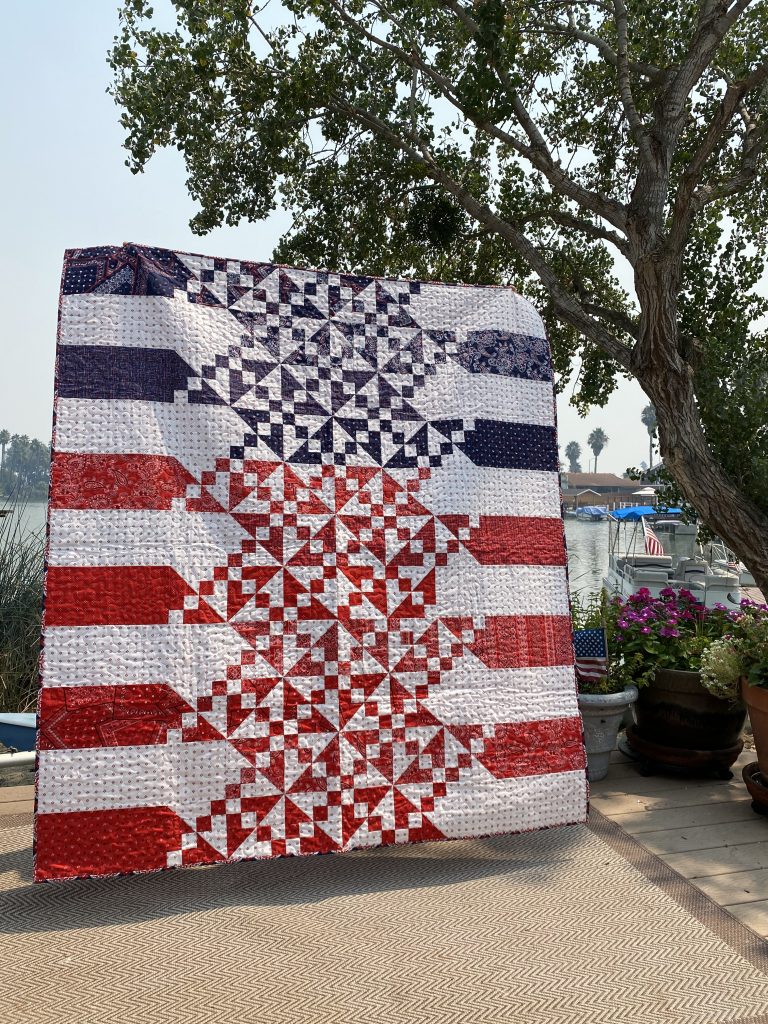
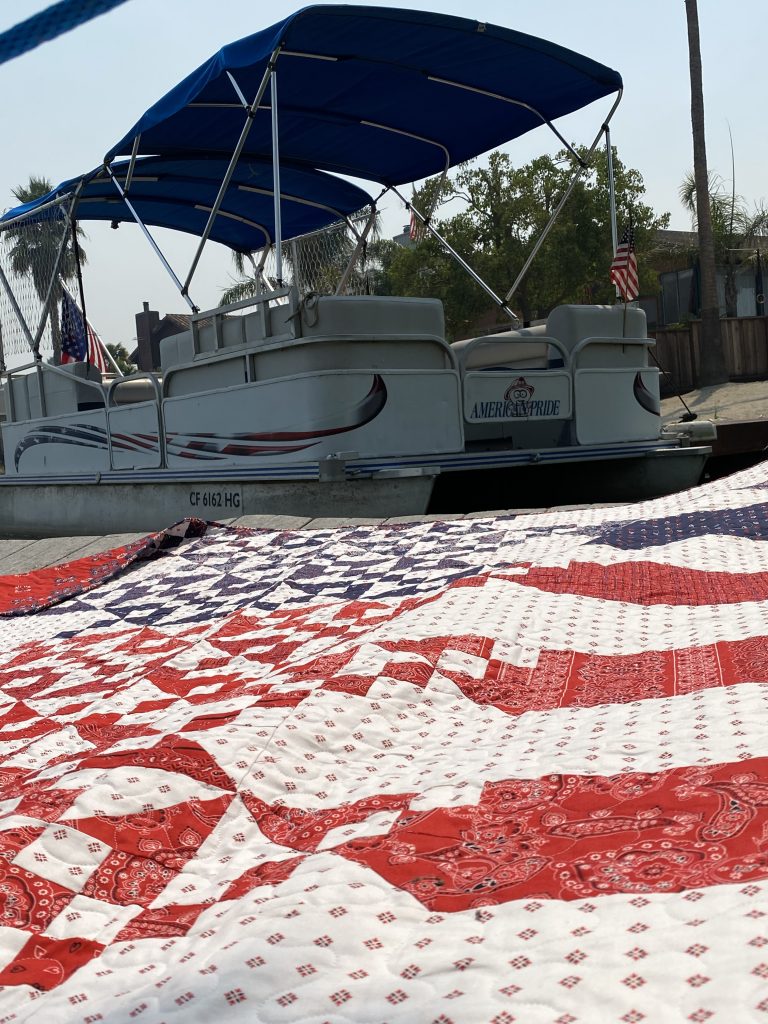
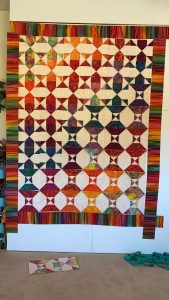
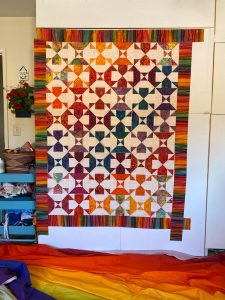
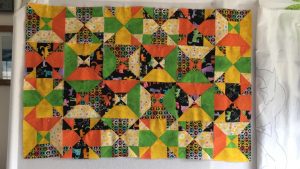
On a rare occasion, you come across a fabric line that takes your breath away. Your heart begins to beat faster and you know exactly what pattern you intend to use. I am making a Quilt of Valor!

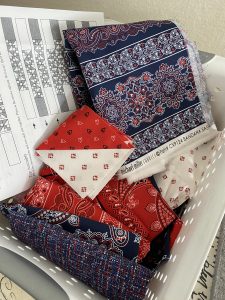
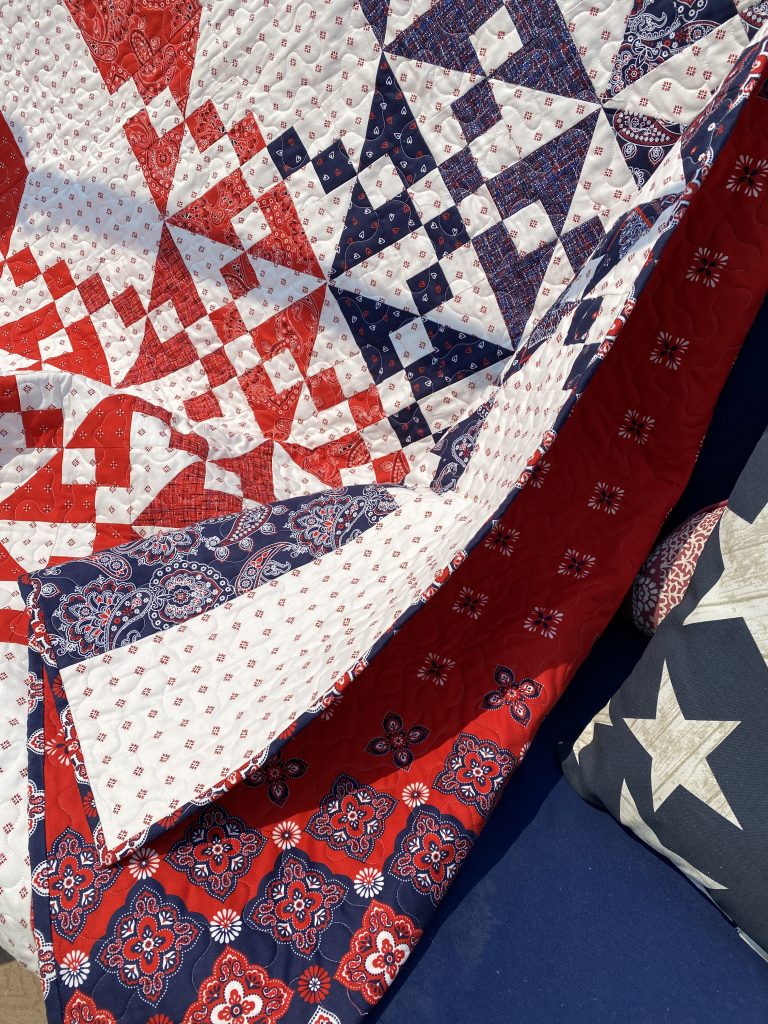
The Bandana Ballad by Michale Miller Fabrics sang a beautiful patriotic melody to my soul!

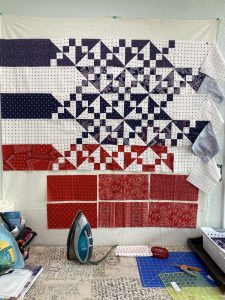
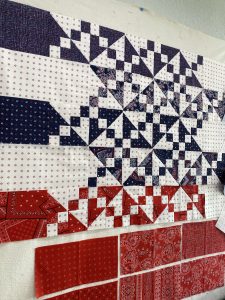
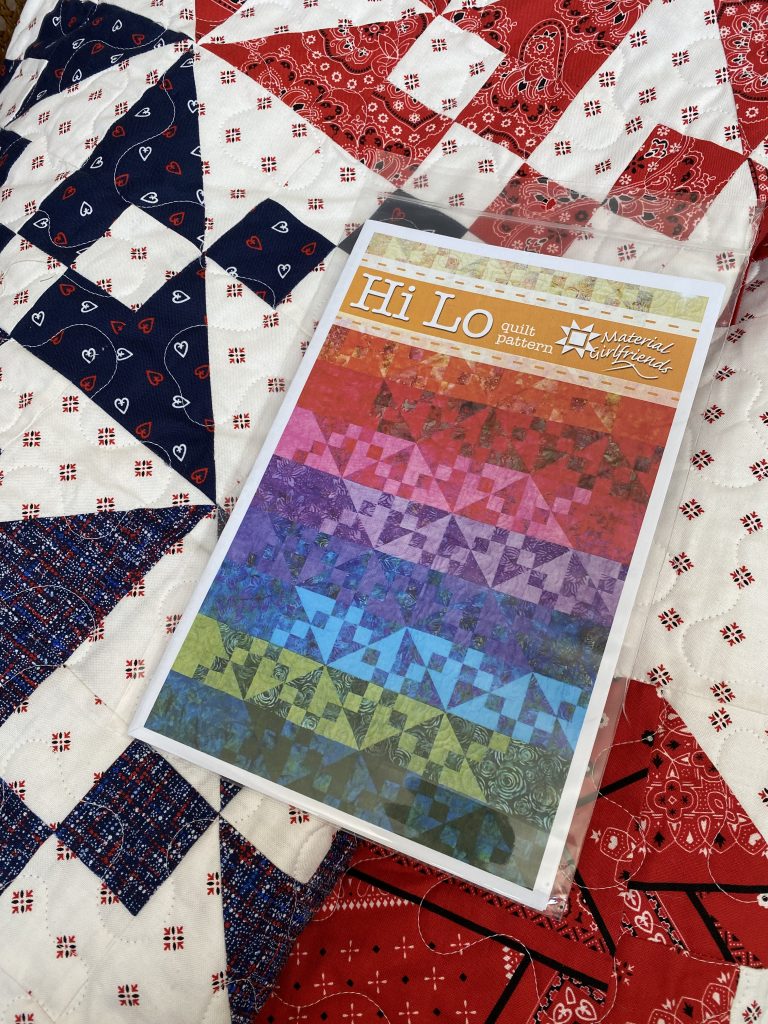
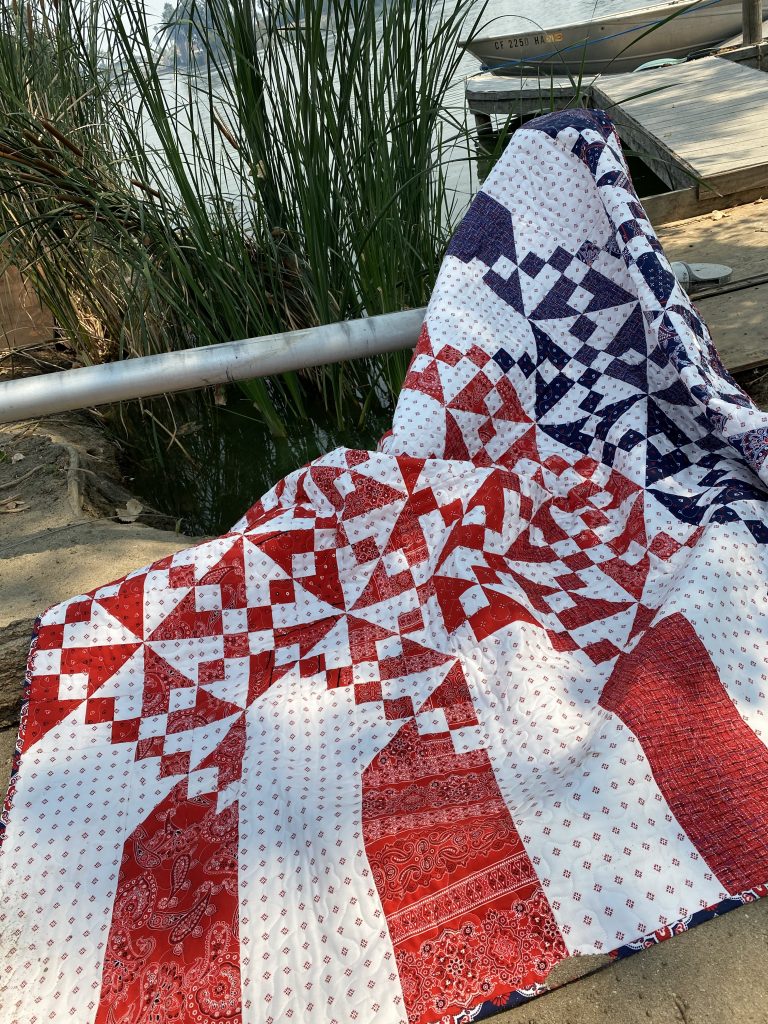
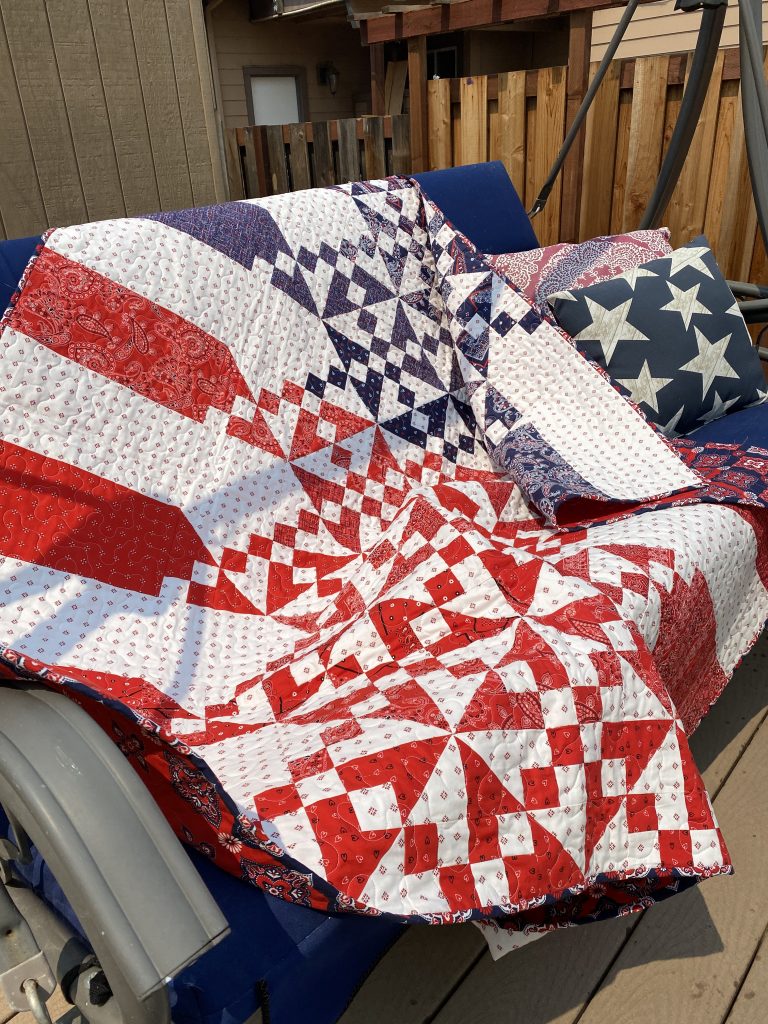
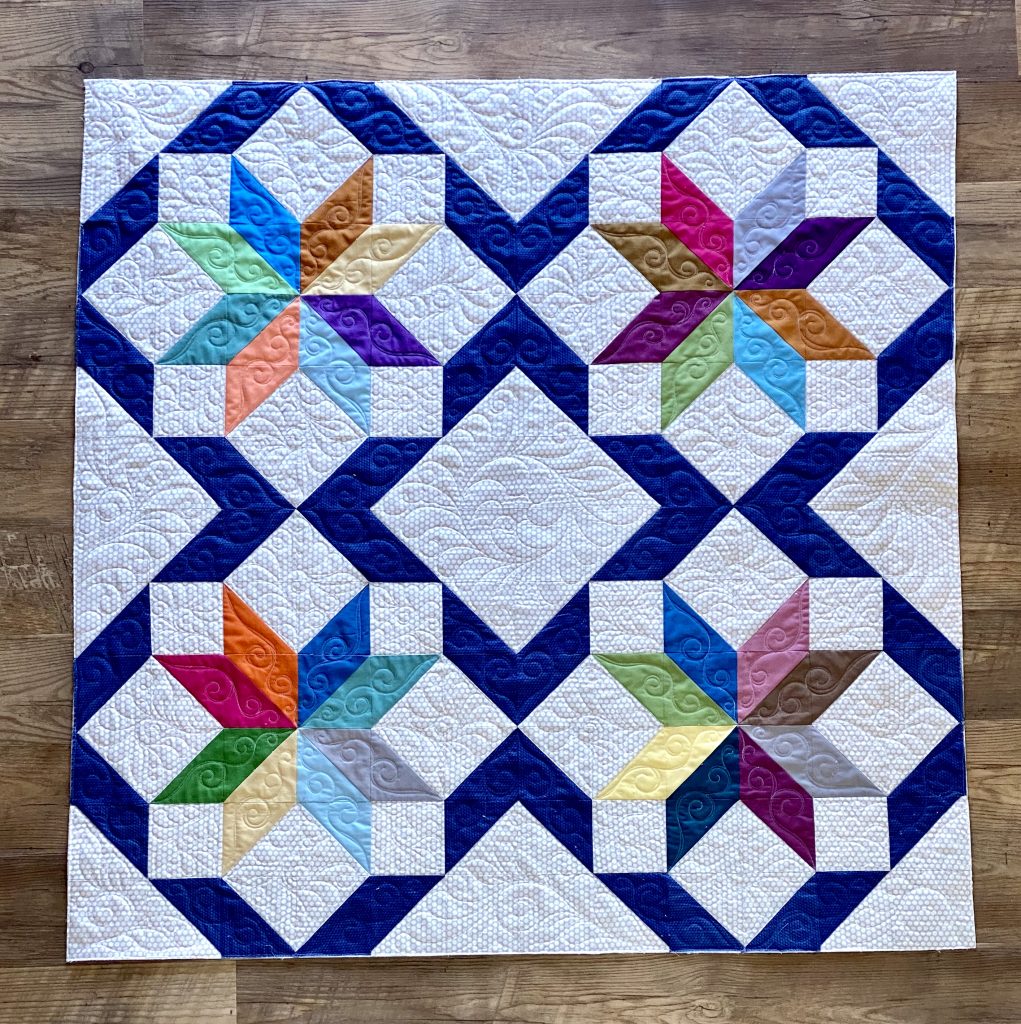
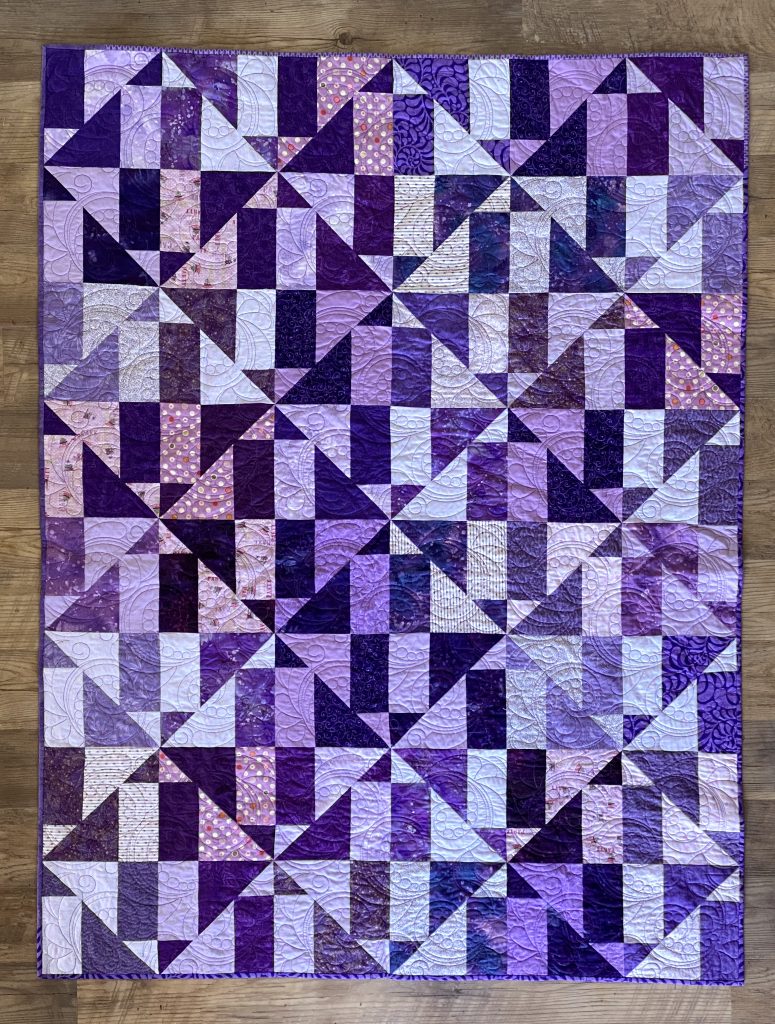
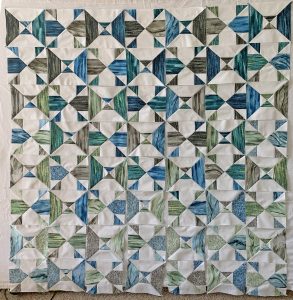
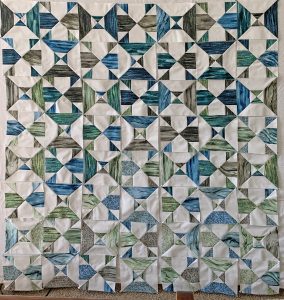
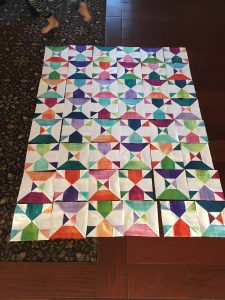
I had designed a simple quilt a couple years ago called Hi Lo.  It had 10 rows of rainbow fabrics. The row starts with a bright batik color and collided with a lighter hue of the same color. Sometimes when you see a design in black and white print, you see something new. What if? What if I had blue rows and red rows instead??  My heart sang again.  It is time to sew!!

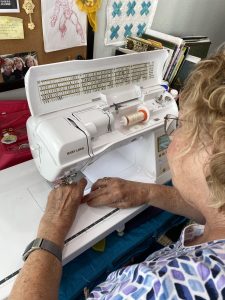
Momma met me at Lisa’s house and the three of us began to sew. We are really fast when one of us cuts and presses and the others two run the sewing machines. Before you knew it the quilt design was beginning to come together.

We added one more row because I wanted a strong blue in the top left corner, now I have 11 rows making the finished size, 60” x 66”.

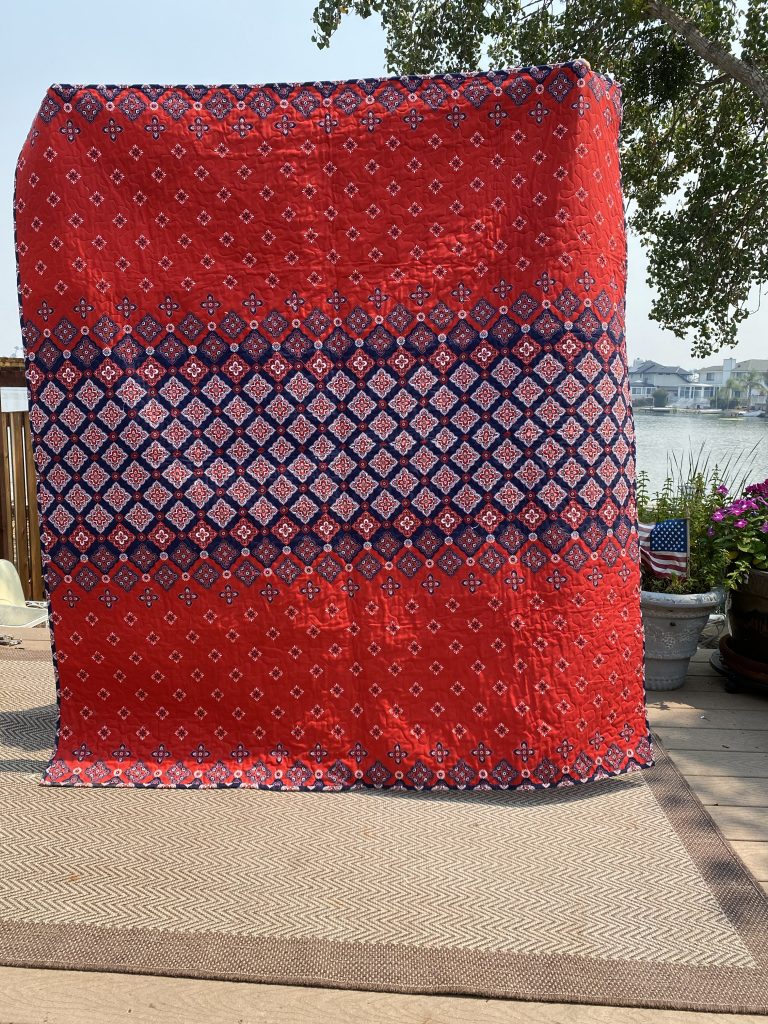
For our backing I used the bandanna border fabric.  I matched and aligned the fabric design in the seam in the back.  I used the leftover fabric from the backing for my binding.

I’m very pleased with how it turned out.

Lisa created a Hi Lo promotion on our Material Girlfriends Square Store. Enter HiLo in the coupon field when checking out and receive free shipping on your entire order. Check with Melissa and Leslie at our local quilt shop in Livermore, In Between Stitches for the Bandana Ballad fabrics. If you’re local, or just desperate for a road trip, In Between Stitches is where you can find many of the  Material Girlfriends patterns, including Hi Lo.

The first Monday of September is Labor Day. Already! Set out your red, white, and blue decor and enjoy sewing on this patriotic pattern.

We both miss you more than you’ll ever know. We look forward to when we can stitch face-to-face. In the meantime, stay safe and sound. Try out Zoom. We’ve found it a great way to connect with other quilters.

Hi Lo, Bye Lo!

Lo Ra Zmak

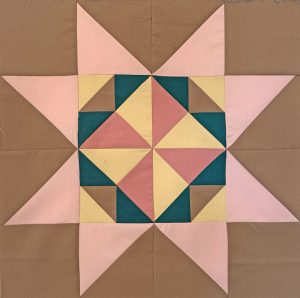
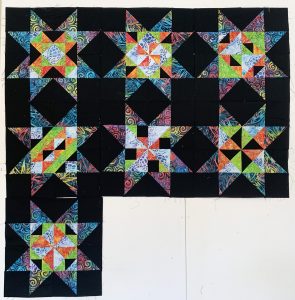
Peak into Batik Block #7

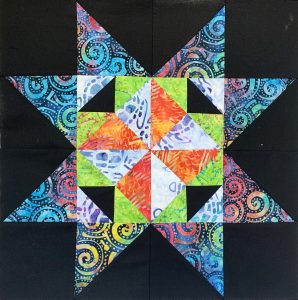
Are You Ready? Let’s SEW! Michael Miller Fabrics has a free Monthly Quilt Along going on this year. Block #7 instructions are now available. Video tutorial by Lora and Lisa of Material Girlfriends! Tadah!!

This has been a fun Quilt Along. You can either cut your pieces using your Accuquilt machine using the 8″ Qube or you can cut your pieces in the traditional way. Both cutting instructions are included on the Michael Miller blog. Find all the info here blog.michaelmillerfabrics.com

When we were asked to give the Accuquilt system a go for this program, I was… less than excited about it. I liked cutting fabric the traditional way. They said Accuquilt was fast and accurate. So was I. BUT, I was blown away. It is VERY fast and accurate. In December, we were generously given the AccuquiltGo! – the hand crank one – as well as the 8″ die block for being Michael Miller Ambassadors. Since then we have purchased the larger version, AccuquiltGo! Big, plus the 12″ and 6″ Qubes, as well as a few others dies. The 9″ Qube is next on my wish list. I’d like to start adding an Accuquilt page to all my compatible patterns. The cutting system is amazing. Pricey, but amazing.

Material Girlfriends was given the honor to present Month 7! The block looks complicated. After all, it has 44 pieces! Challenge accepted, right? We created this video to break it down into manageable units. The Michael Miller instructions are very clear too. Check it out.

If you didn’t fall asleep before the ending of the video, you’ll see that Lora and I are making two Michael Miller Fabric Quilt Along quilts. I’m making the one in the lovely Michael Miller batiks and Lora is making her quilt using their sumptuous Cotton Couture solids. Both fabric bundles were sent to us in December and we have had a huge amount of pleasure working with these high quality cottons. They are just delicious.

We have five more months, five more blocks. Let’s have fun together! It is not too late to join in on the fun. In December, I’ll share instructions for an optional layout design as well.

Absewlutely,

Lisa Norton

What’s for breakfast?

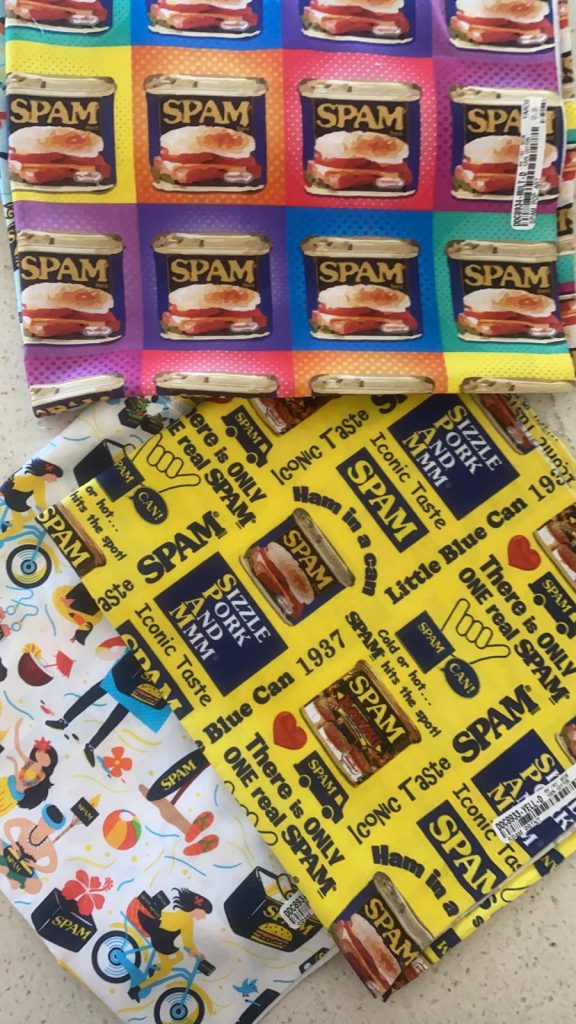
We have a love/hate relationship with SPAM®. I hate it in my email inbox. But I love it on my plate! Last month, Susan, from Michael Miller Fabrics, sent us an email with a link, asking if we’d be interested in creating a fun project from any of their new fabric releases. Lora was checking out the fabric lines from her house and I was looking at them from mine. I called her.

“What do you think?” I asked. 

“How many fabric lines can we choose?” She asked.

“Only three,” I answered. She groaned. Choosing only three is the tough part. “Which is your favorite?” I asked.

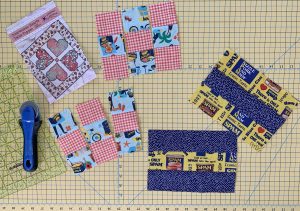
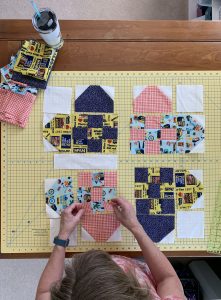
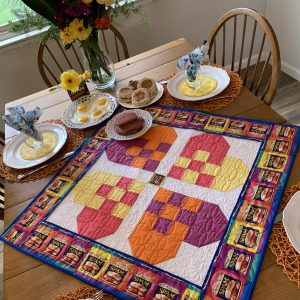
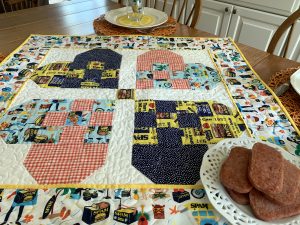
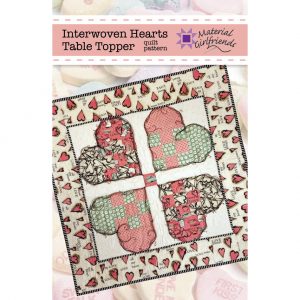
“SPAM!” “Mine too!” Sew here we are! SPAM for breakfast. When the fabrics arrived we made two table toppers. It isn’t a new design. It is, however, one of our favorites. The block is an old Scandinavian Christmas tradition of weaving a red and white paper or wool together to decorate their homes. This traditional block is called the Scandinavian (or Nordic, Danish, or Swedish) Woven Hearts. Our pattern is called Interwoven Hearts. We like putting a modern twist on traditional blocks. This one is easy, fast, and a perfect fit for our tables. We have made this pattern in Valentine, Christmas, Shamrock, Baby Girl, and Independence Day fabrics. As I said, it’s one of our favorites. 

Michael Miller Fabrics used:

The Interwoven Heart that used the Michael Miller Spam Pop Art for the border used solids from their Cotton Couture line, Apricot, Berry, Lipstick, and Lemon. Cobalt was used for the flange and binding. Soft White for the background

The Interwoven Heart that used the Michael Miller Spam Life White for the border, used Spam Life Aqua, Gingham Play Tangerine, Spam Print, Garden Pindot Ink, and Cotton Couture Citrus for the flange and binding.

I wish we had kits for you but this darn pandemic… Anyway, I’ve tracked down an awesome fabric source for you. Look for the above fabrics at fabrics.com 

To celebrate SPAM®, we decided to have free shipping on the Interwoven Hearts pattern. And if you decide on any other pattern, free shipping for that pattern too.

Absewlutely,

Lisa Norton

SPAM® by Hormel

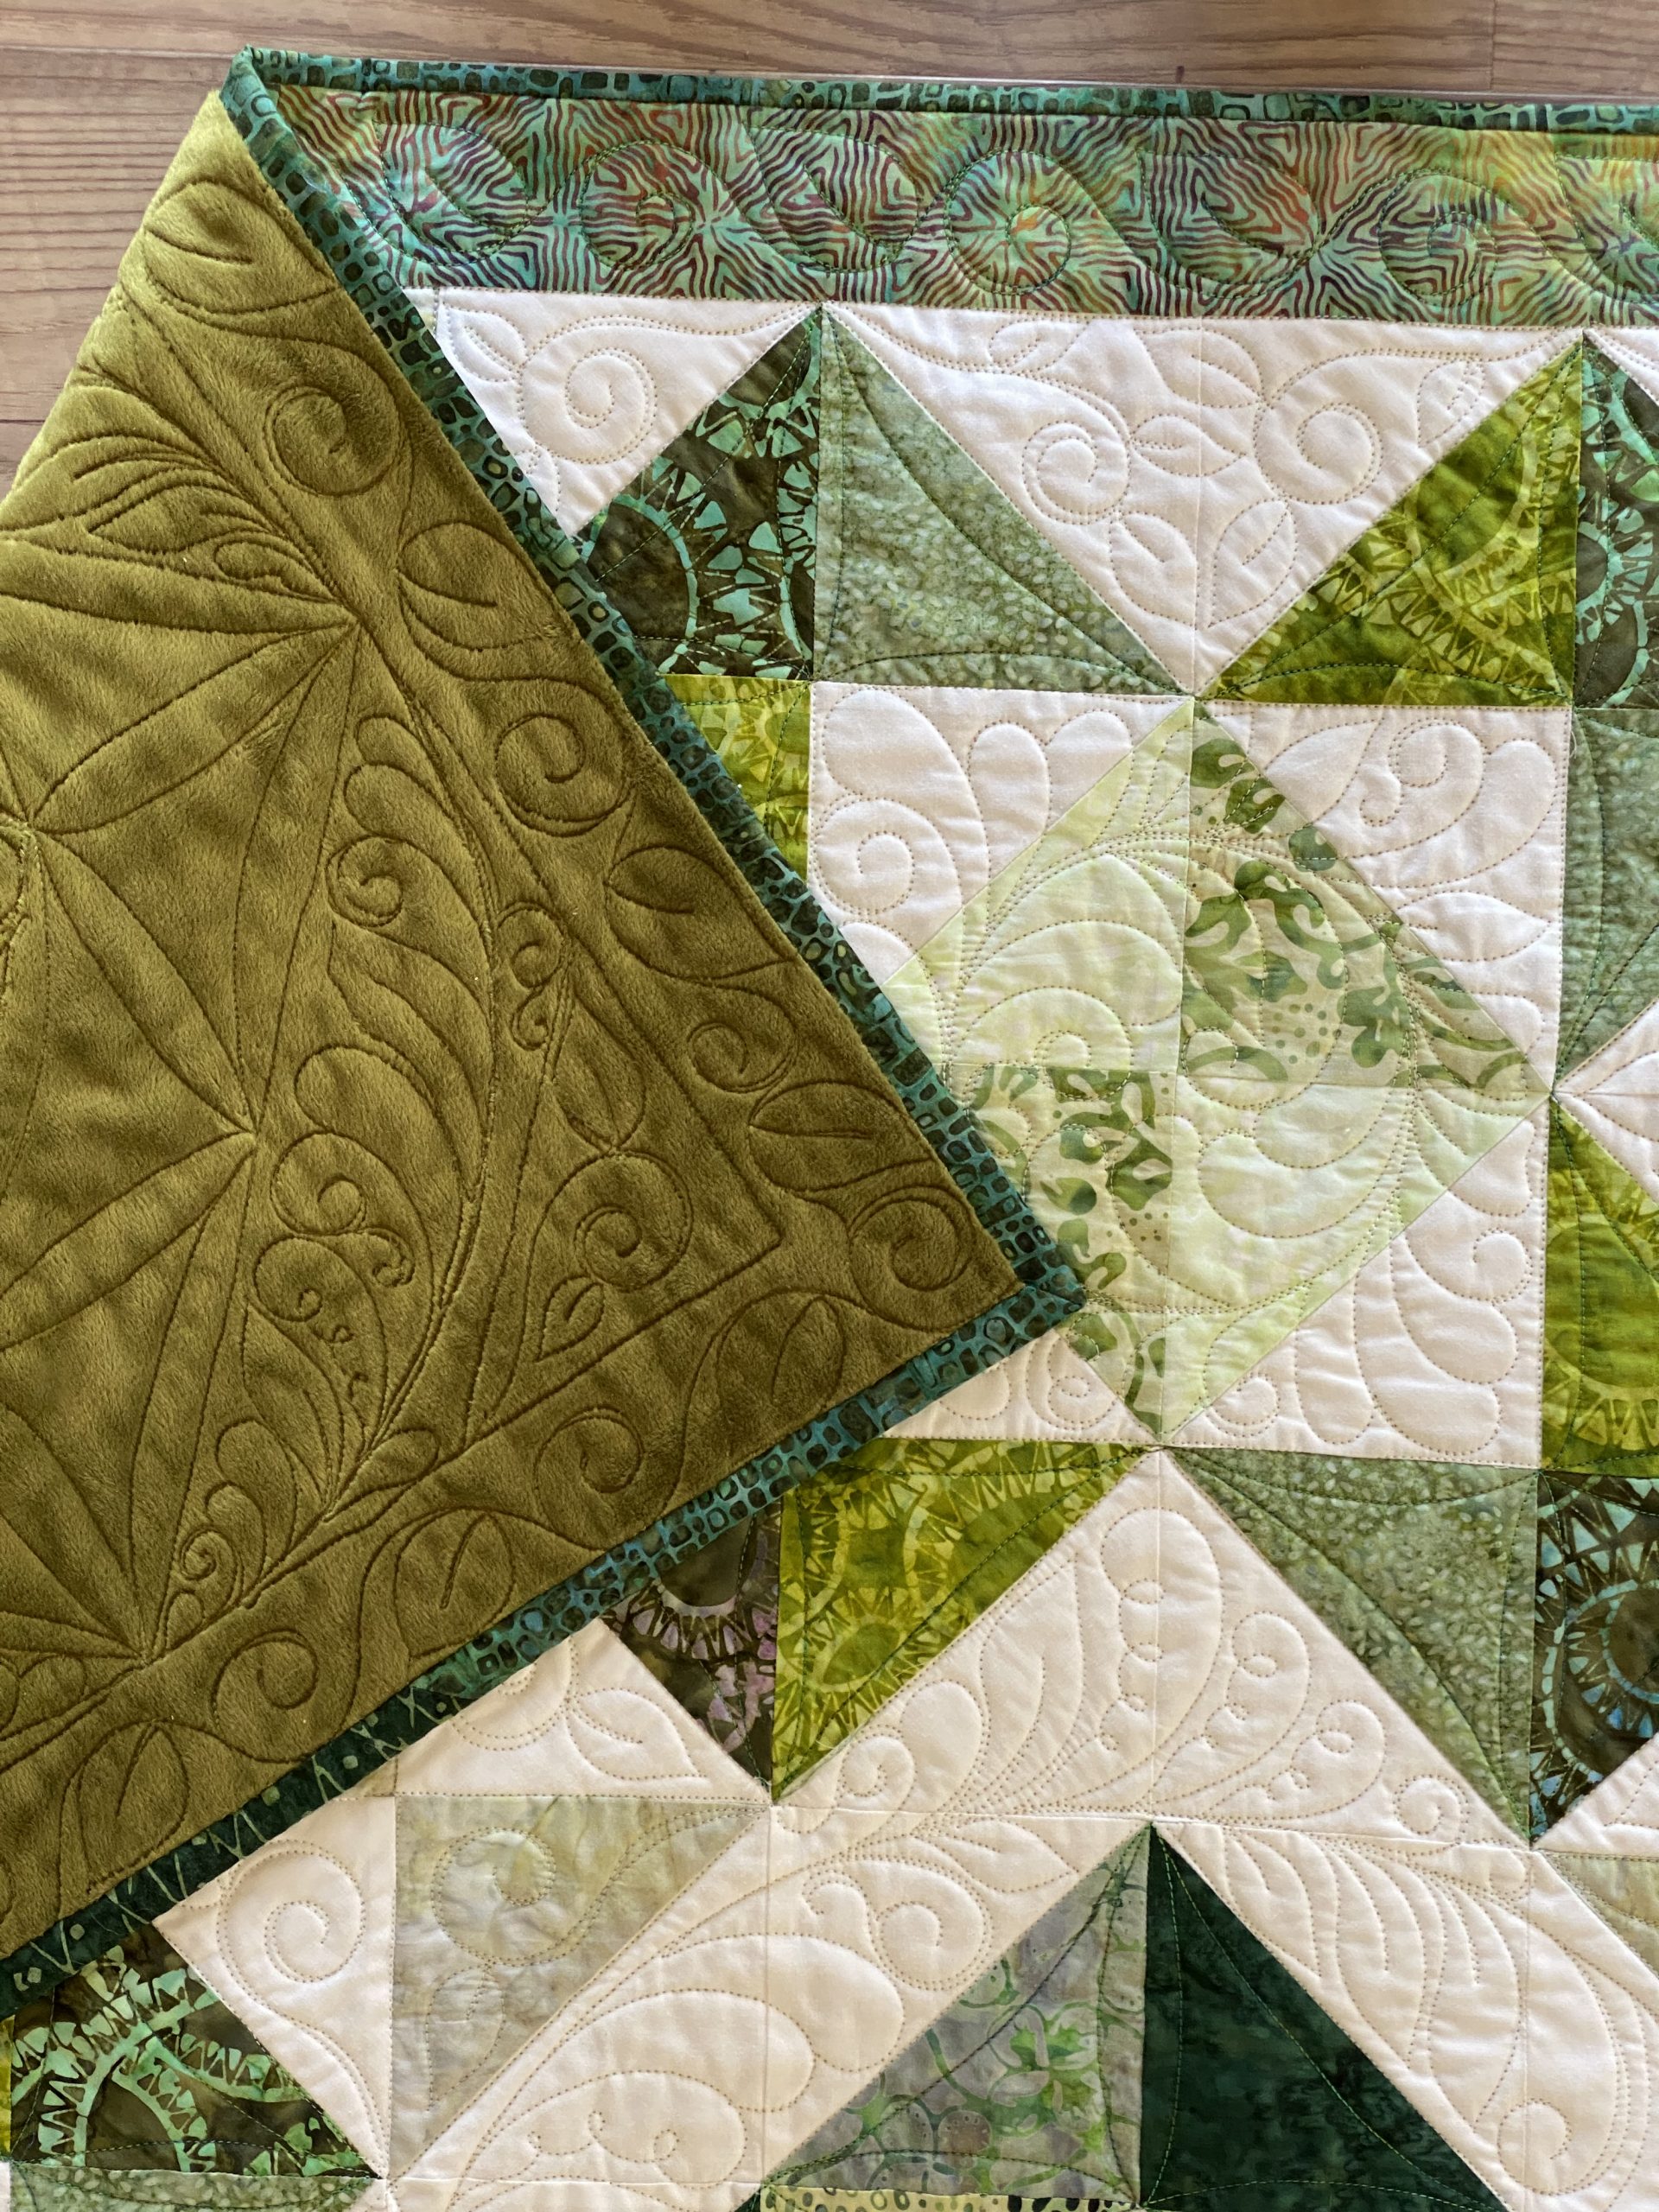
Let’s Start at the Back

We always start at the front, so today, let’s start at the back.

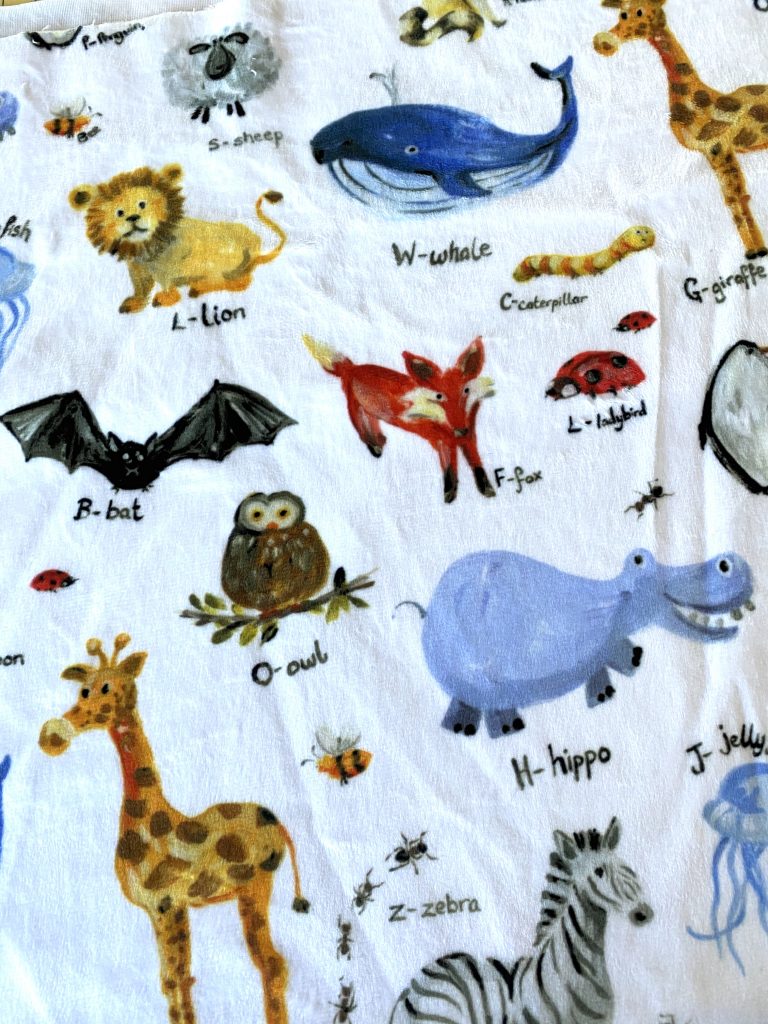
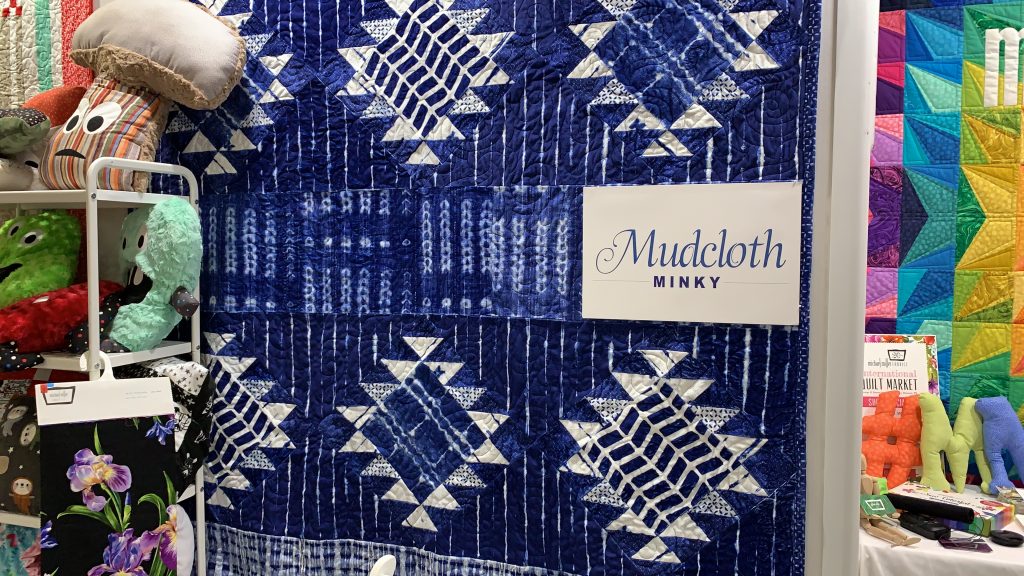
Let’s choose our backing fabric first. I was quilting grandbaby quilts for two of my friends this week.  Both chose minky backs.  I LOVE minky!  It is perfect for cuddly baby quilts. Nancy fell in love with Michael Miller’s Animal Alphabet minky.

For the front, she chose solid Michael Miller Cotton Couture in complimentary colors.  The quilt pattern is called Fresh, in a book called Simply Retro by Camille Roskelley.

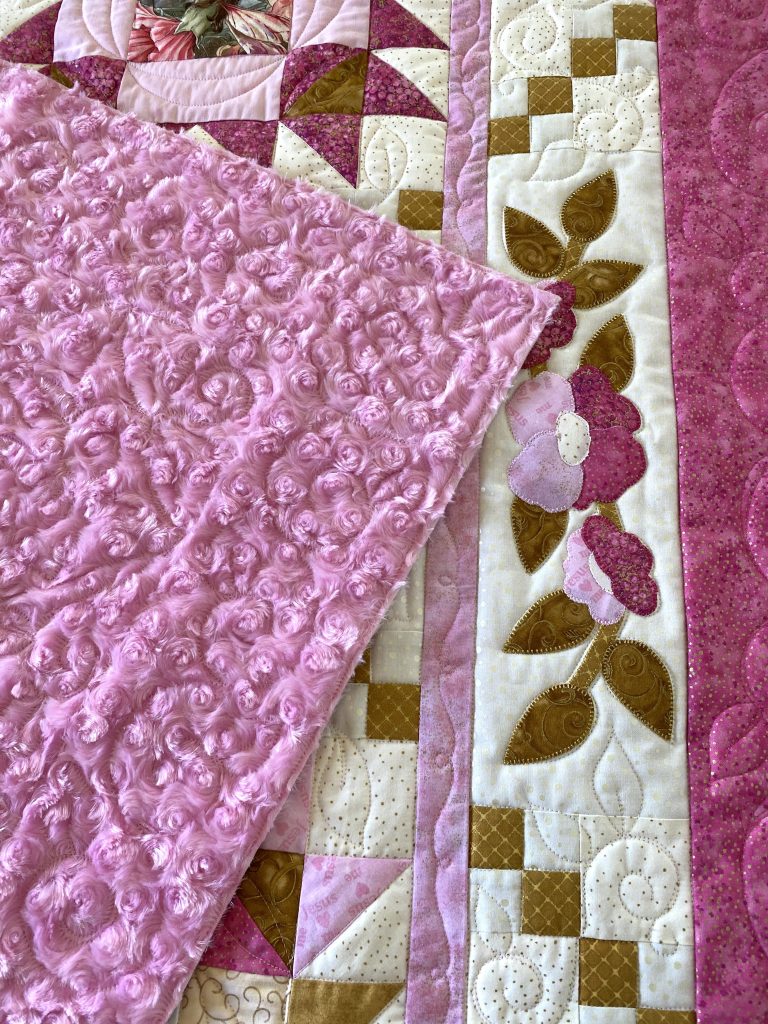
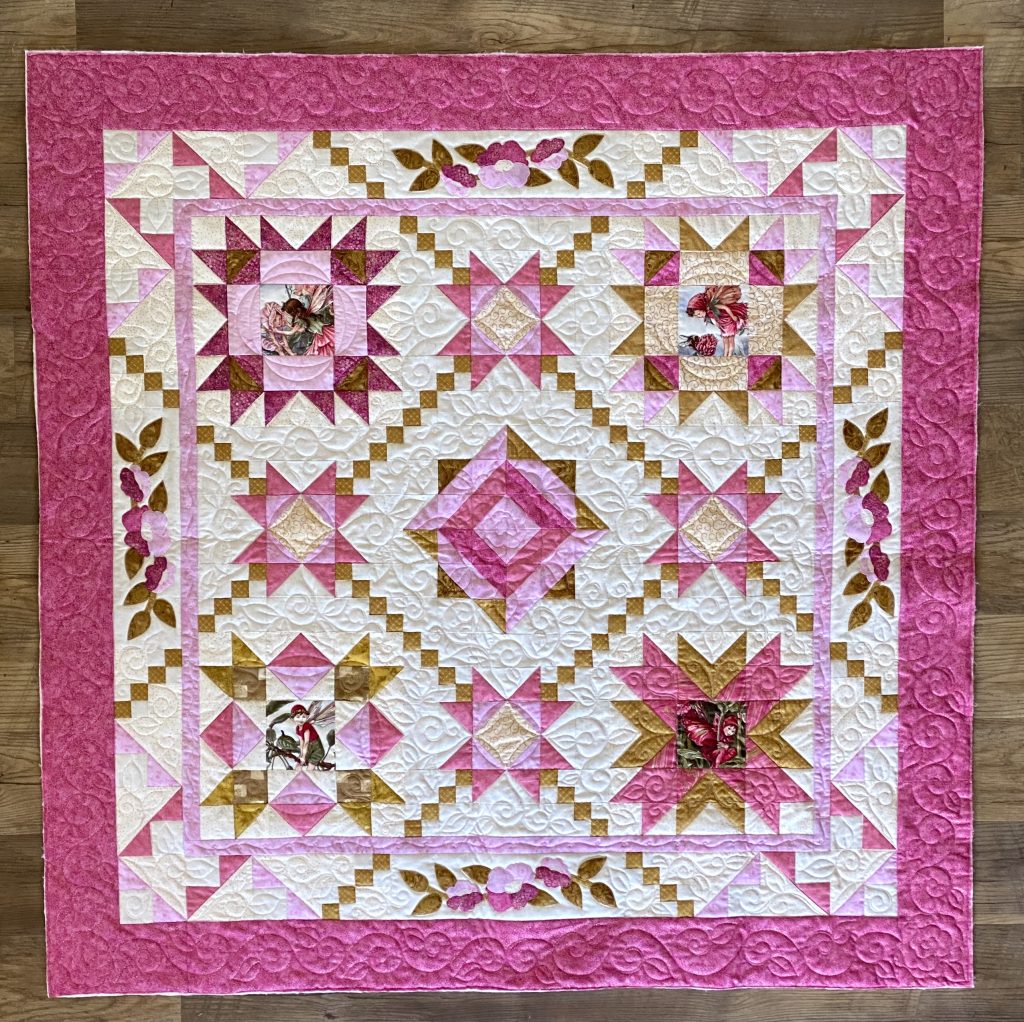
Katheline chose Michael Miller’s Rosebud snuggle solid pink minky for the back of her Granddaughter’s quilt.  So incredibly soft!!!
Her quilt pattern is called Bona Fide by Material Girlfriends.  I love how Katheline fussy cut her Michael Miller Fairy fabrics for the center of the blocks!

A few tips for quilting your quilt with a minky backing:

  • If you are quilting on your domestic machine spray baste AND use safety pins.  It does like to slide around a bit. Keep the quilt design loose. The best thing about minky is it’s drape, so don’t over quilt it.
  • If you are quilting with a long arm, be sure the stretch of the minky is from side to side and no stretch from top to bottom. Pin and baste the top and sides of the quilt top and then use your side clamps.
  • Don’t seam minky backing for long arm quilting. Never. It will lead to four letter words and/or heavy drinking.
  • On occasion, the long fibers of minky can be pulled to the top of the quilt as the stitch is made. If this happens, you can use a hair brush to brush the minky back.

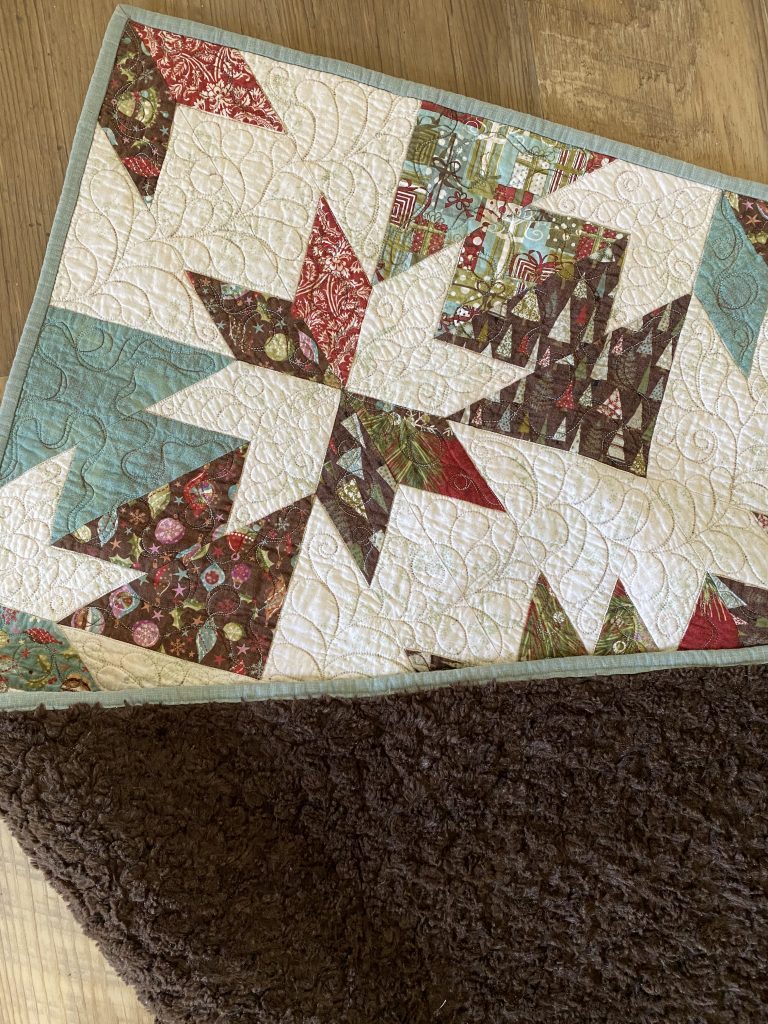
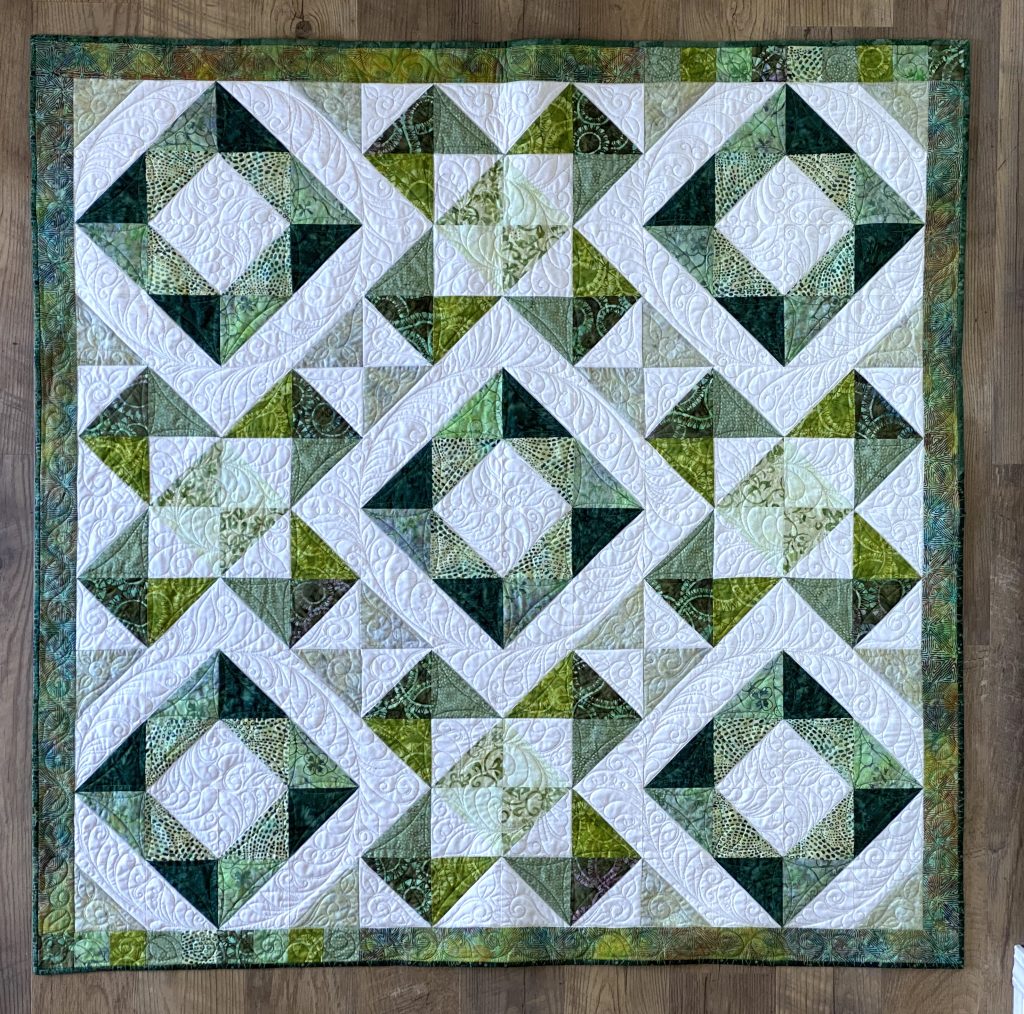
Here are a couple more dreamy examples of other minky backed quilts:  Confetti Star by Material Girlfriends is backed with a thick soft long haired brown minky.

Recovery Quilt by Material Girlfriends, has a luxurious pea green minky.
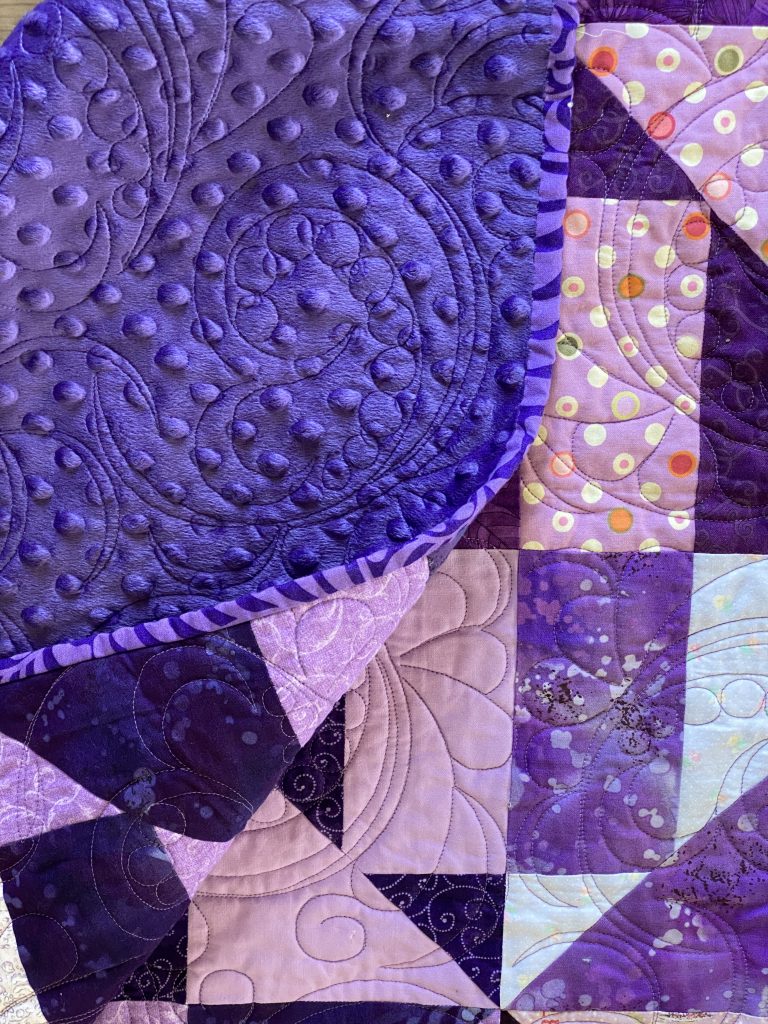
A Material Girlfriend Mystery quilt called Bricks and Window is adorned with Michael Miller’s Silky Minky dot purple.
My family always grab the minky backed quilts first! It’s comforting, soft, and cozy. Another advantage is that unlike fleece or flannel, minky doesn’t collect pet hair! So I can cuddle with our old puppy and not worry about his fur clinging to my quilt.
So next time you think about starting a quilt, begin with the back!
Lora

Material Girlfriends Mystery Final Clue #5

You did it! This last clue includes the finishing fabric requirements and four layout options. Visit www.inbetweenstitches.com to find the last Clue #5. Pat yourself on the back. For facing the “unknown” current events of our nation, you had the courage to also embrace the “unknown” of the Material Girlfriends Mystery. I feel honored that you trusted us for a fun project.

Check out these lay-outs! The first two images are from a beautiful 10″ square set from Michael Miller fabrics called Strata. I organized the blocks from dark to medium fabrics. I’m super please with how these turned out.

Lisa’s Designs
Lora’s DesignsJudy’s Designs

Melissa’s DesignFabrics from In Between Stitches

Quilt top instructions. Layout your blocks in a manner that pleases you. Sew your blocks into rows by aligning and pinning each block. Press the seams in the rows in alternate directions. Align seams, pin, and sew the rows together. Press the seams in one direction. Well done. If you did the 6 blocks x 8 blocks lay-out designs in Clue #5, your quilt top should measure 45″ x 60″.

I’m not really a border person and only add a border if I want the quilt bigger. If you love borders (Lora & Jennie) or if want to make it bigger, I’ve included yardage amounts for a 4 1/2″ (cut size) border. You need exactly 36″ so if you bought a yard and you have exactly 36″, cut your strips at 4″ instead. Otherwise, your last strip will be slightly small. If you have 36+” inches, straighten that first edge and then cut eight 4 1/2″ strips. Cut off the selvage and sew two strips end to end. Make four sets. Measure the left and right sides of your quilt top, cut two of the strip sets to that size. Pin and sew to the left and right sides. Repeat for the top and bottom border.

The clues will be a free download while we’re all in Shelter in Place. After we’re freed to roam, we’ll make the instructions available as a pattern. What should we name this pattern? I already know I’ll need to include a few more layout options. I keep seeing the creative layouts on facebook! Post your design on Facebook pages Material Girlfriends and In Between Stitches Inside the Hive or instagram #MaterialGirlfriendsMystery, #inbetweenstitches1.

Thank you Amy for finding I had a little typo. Third line should say 6 blocks x 8 blocks lay-out. I love receiving edits because I’m horrified if I have mistakes. Being slightly dyslexic, I assume I’ve made mistakes and scrub the instructions for my errors. I really believe the Material Girlfriends patterns have a great reputation BECAUSE of our proofing and testing friends (you too!). Thank you sew much!

Remember, with this Shelter in Place order, we must have physical distancing. We NEED social interaction. Stay connect. You introverts check on your extrovert friends. We’re not used to this kind of isolation and it has been a yo-yo of an emotional ride! 🙂

Have fun and I will be sitting on social media waiting to see your lay-outs!!

Absewlutely,

Lisa Norton

Material Girlfriend Mystery Clue #4

Clue #4 is here!! Whoohoo! Today we have the instructions to sew up our blocks. Material Girlfriends Shelter in Place Mystery Clues #1, #2, #3, and now #4 are hidden on inbetweenstitches.com. Click the link on the main page and then hunt for the pink Mystery Icon to download for the clues. The final Clue #5 will be released April 3.

Piecing tips for Clue #4:

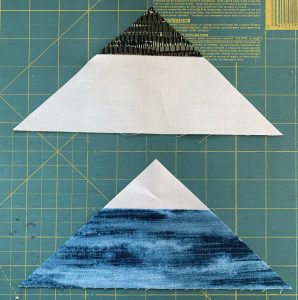
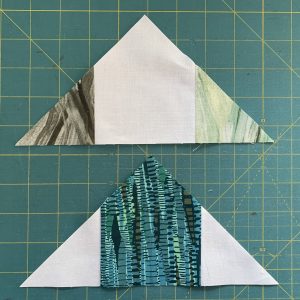
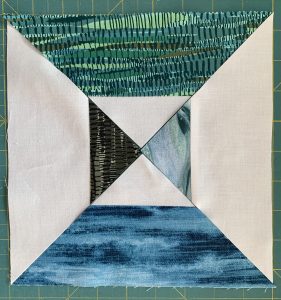
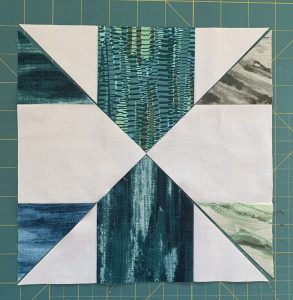
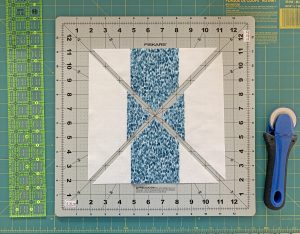
In Clue #3 you cut your blocks twice on the diagonal. What you have now are triangle units. The triangle units look like Mountain Peaks and Houses. Do you see the house image and mountain peak?

Mountain Peaks

Houses

You will sew two light Mountain Peak triangles and two dark Mountain Peak triangles together to create the Mountain Peak block. Likewise, you’ll sew two light House triangles and two dark House triangles together to create the House block.You can choose to use the same fabrics or mix up your fabrics.

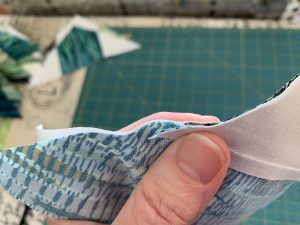
Refer to the diagrams in the Clue #4 download page for sewing instructions. For a successful block, it is important to nest the seams. Because you pressed your seams toward the darker fabric, the seam allowance creates a slight hump. Nest those two humps together by sliding and meeting the two humps. You can feel with your fingers when the seam humps are nested, there will be no tiny gap. Stick a pin in it. Then ease the two ends together by gently tugging the fabric if necessary.

We’re working with the bias with this seam. The good news is, the fabric with stretch when you need to ease the ends. The bad news is the fabric will stretch. LOL! Seam ripping can cause the fabric to stretch out so nesting and pinning is important. Seam rip carefully without tugging the fabric. No steam and press gently, not vigorously. Otherwise, your blocks will get a little wonky.

Last step is to square up your block to 8″. Align the 45 degree line of your square with a diagonal seam. Pull corners in the correct position and trim with your rotary cutter. You’ll just be trimming slivers of fabric.

Have fun!

Absewlutely,

Lisa Norton


Material Girlfriends Mystery Clue #3

We have an easy clue today! You’ll just be cutting up the blocks that you’ve sewn.

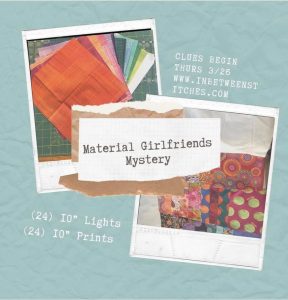
If you’ve been sitting on the fence, wondering if you should play with us, it is not too late! Material Girlfriends Shelter in Place Mystery Clues #1, #2, and now #3 are hidden on inbetweenstitches.com. Click the link on the main page and then hunt for the pink Mystery Icon to download for the clues. The Clues are delivered every other day. Clue #4 will be released Wednesday, April Fools Day. Then on April 3, we will release the final Clue #5.

Here are some tips on cutting Clue #3.

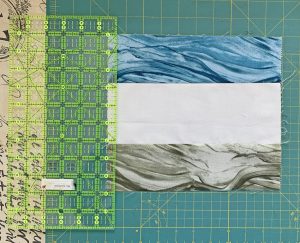
Your blocks should measure 10″ x 9″. The 10″ length is what is getting trimmed. The edges are probably a bit uneven so squaring up will make your block look nice and clean.

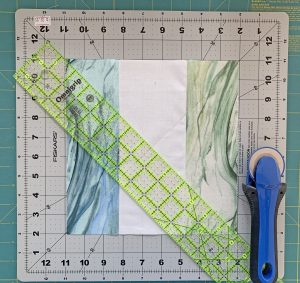
For ALL of the blocks, trim a little off both sides to make the block 9″ x 9″. For accurate cutting, have good light, wear your pretty glasses, and stand while cutting at counter height.  Cut with a sharp rotary cutter and away from your body. Hold the ruler with a flat hand, not the spider finger tip hold. If you anchor your pinking finger on the mat off the outside of the ruler, it helps to keep the ruler from sliding and keeps the important fingers out of the way of the rotary cutter.

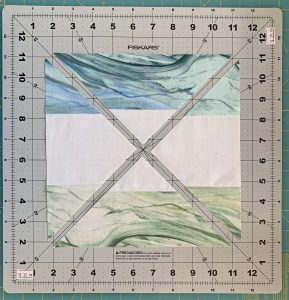
Next, you’re going to cut ALL your blocks, twice on the diagonal. This is when you’ll want to get out your rotating mat if you have one. If not, a small mat spins quite nicely on the kitchen counter.

There are 45 degree lines on your mat. Ignore those. In a perfect quilters world the blocks would be 9″ square and fit within those lines. In reality, your blocks are probably a little cattywampus and won’t fit perfectly. Check first that you don’t have an overlap of fabric from pressing. Repress if necessary. Align your ruler, corner to corner, and cut. Rotate your mat and cut corner to corner again.

Fun!! Can’t wait for the next clue!

Absewlutely,

Lisa Norton

Don’t Ruffle My Feathers

We were sent some beautiful batiks by Michael Miller Fabrics for the Peek into Batiks Monthly Sew Along. Check out the program here Peek into Batiks

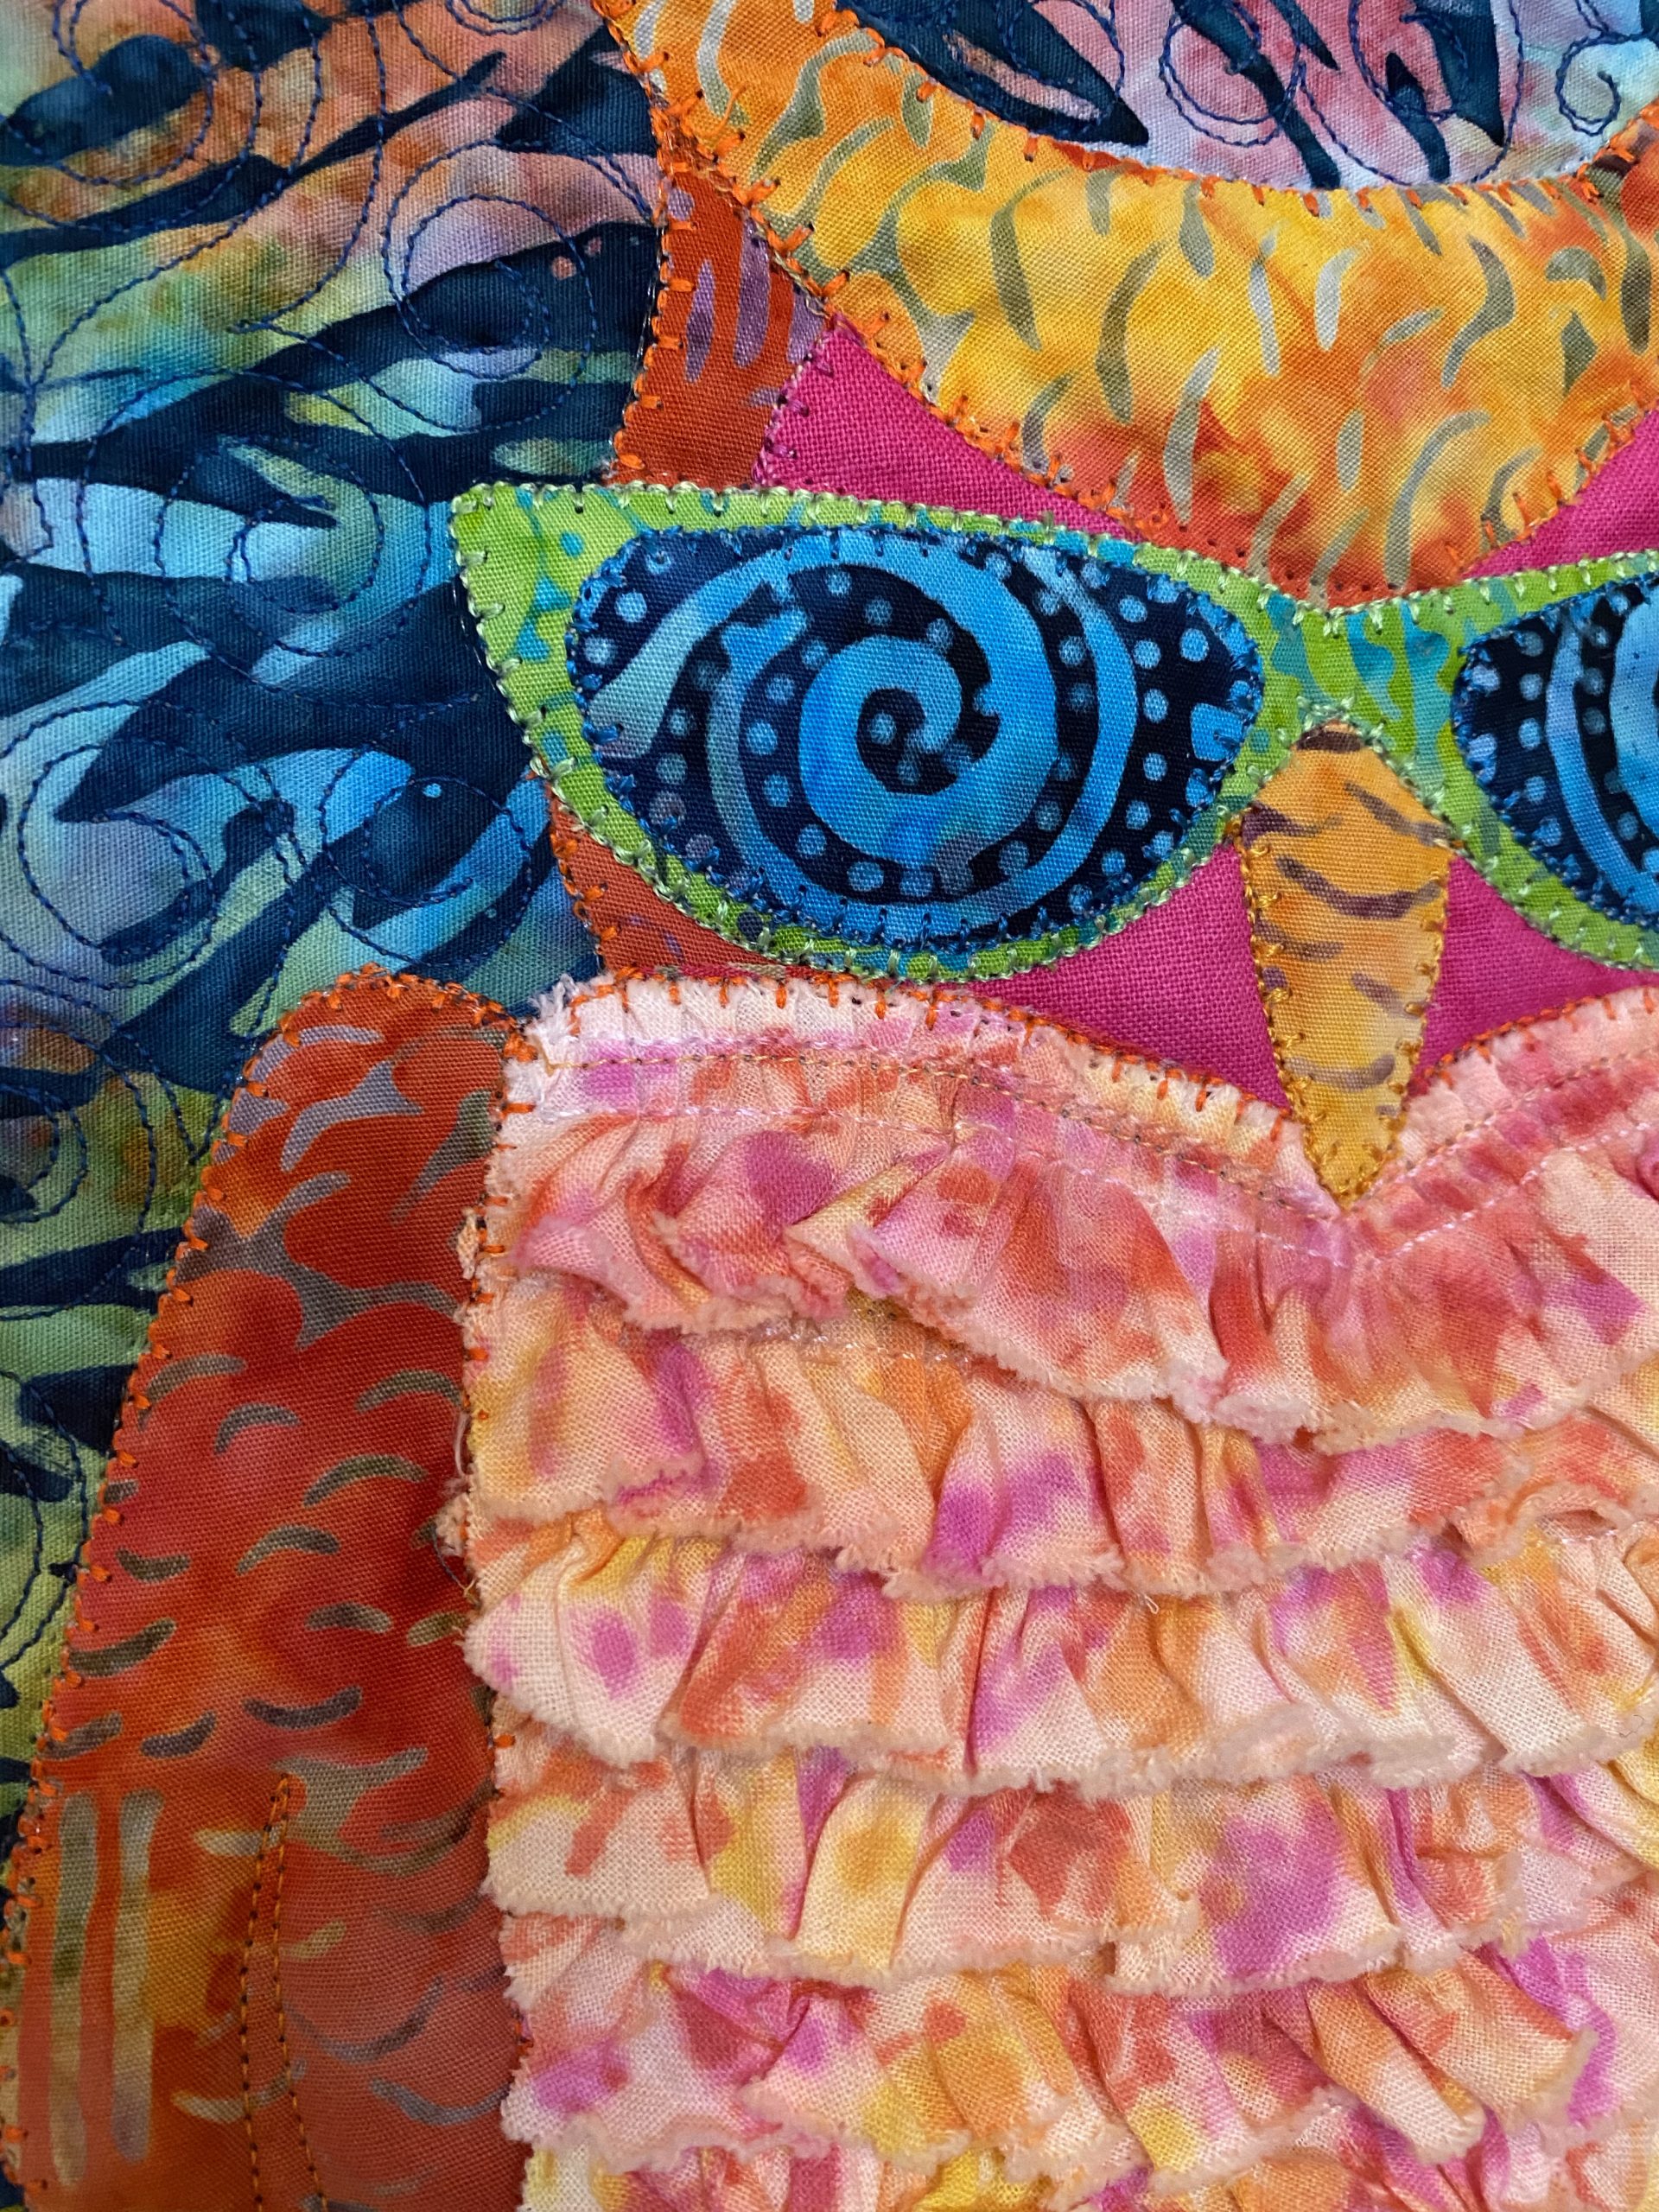
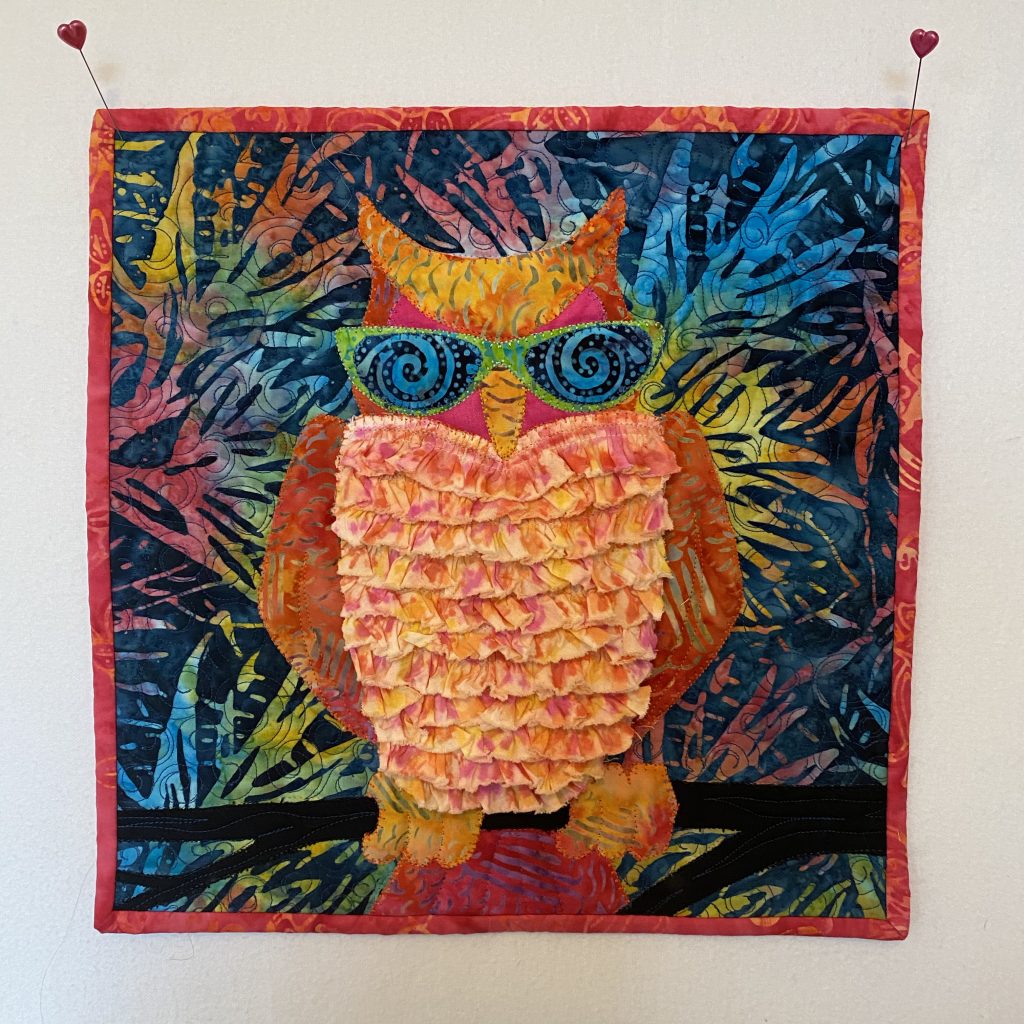
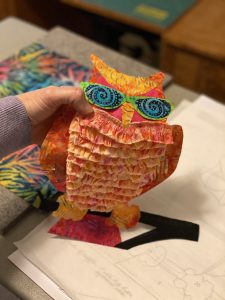
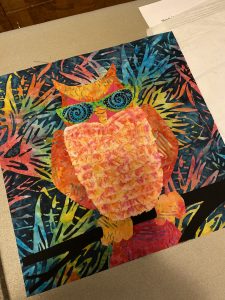
These are the fabrics being used. I LOVE THEM! While waiting for the program to start, we just couldn’t keep our hands off.We made this cute 12 1/2″ block, “Don’t Ruffle My Feathers”.

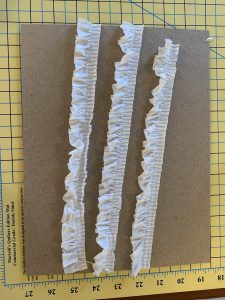
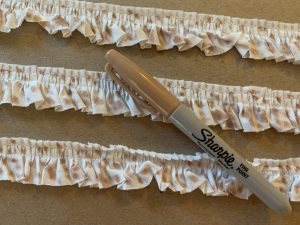
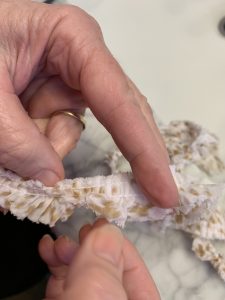
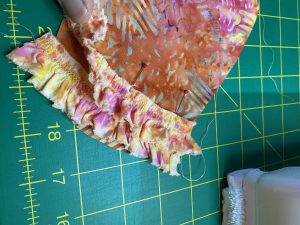
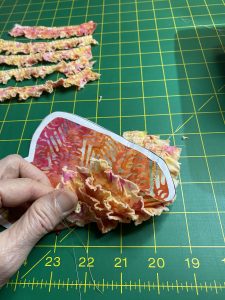
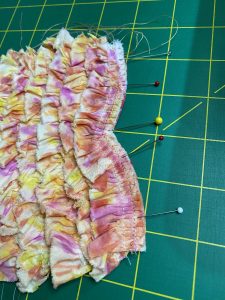
In the Michael Miller Ambassador box we received in December, there was a bunch of ruffles included, 1″ Ruff Ruffles. My first response to the ruffle was, “What the heck am I suppose to do with this?”. Challenge accepted. We used the ruffle for the owl’s chest! The ruffle is a 100% cotton with a raw edge. Lora decided to try a permanent marker dye technique she had read about. Too fun!

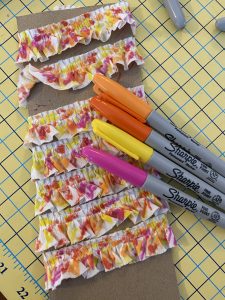
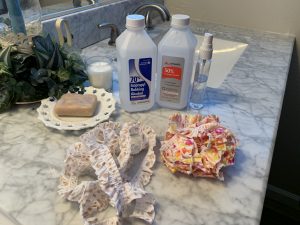
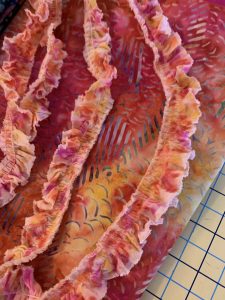
You’ll need about 2 yards of ruffle. Start by wrapping the ruffle around a piece of cardboard. Then select Sharpie Markers in the colors you’d like to dye your ruffle. My ruffle is with tan speckles. Lora’s ruffle is yellow, orange, and pink to match the batik she wanted to use.

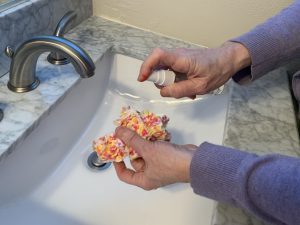
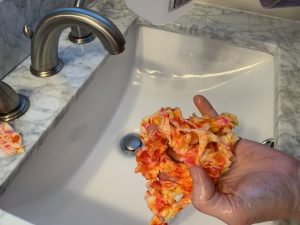
After you speckled the heck out of the white ruffle, spray or sprinkle Rubbing Alcohol on the dyed ruffle. This blurs the pen inks. Rinse with water until the water runs clear. Allow to dry.


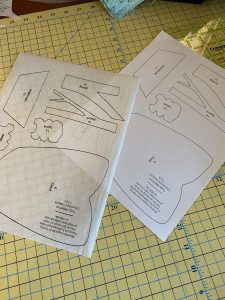
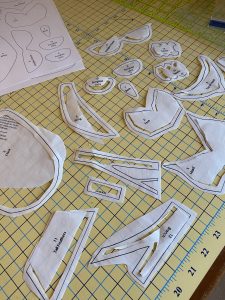
Lora’s ruffle turned out great! It matched the batik fabulously. While you’re waiting for the ruffle to dry. Print out the appliqué pieces here. 12×12.DontRufflyMyFeathersOwl.Applique, DontRuffleMyFeathersOwl.AppliqueSheet1DontRuffleMyFeathersOwl.AppliqueSheet2 (Limited time only so don’t wait to download!) Be sure to tile at 100% size the 12×12 sheet and print 100% size the pieces sheets. Cut your background square at 12 1/2″.

I really like using Heatn’Bond EZ Print Lite Fusible sheets for double sided fusible appliqué. You can put your reversed appliqué images (already done for you in the download images above) on the glass of your home inkjet copier/printer. Then put one sheet of the EZ Print Lite Fusible product in the tray. Copy your images directly to the fusible web!! No tracing.
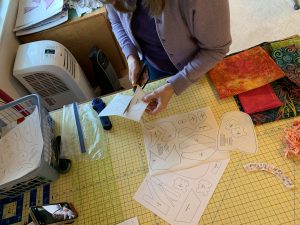
Next you’ll trim out your images, 1/4” from the outer edges and then “window pane” the larger images by trimming a 1/4” on the inside of the lines. This gives your appliqué a soft feel instead of being stiff from too much fusible product.

Fuse for just a couple seconds to the wrong side of your fabric. Trim out on the line.
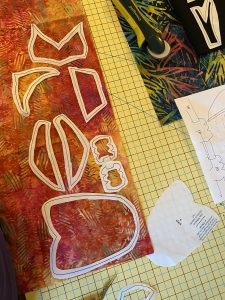
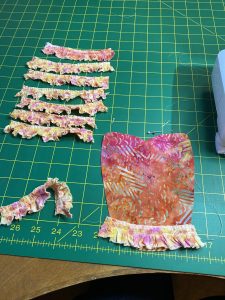
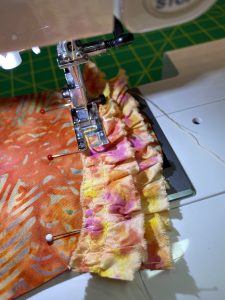
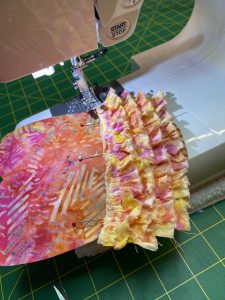
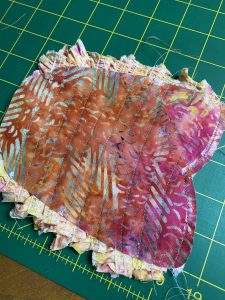
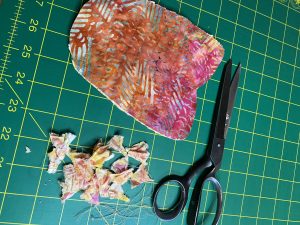
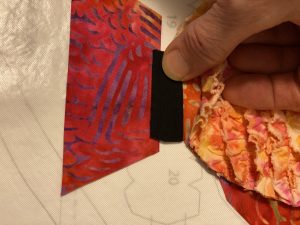
Trim your dyed ruffle just a bit wider than the chest of the owl. Beginning at the bottom, sew a ruffle on about every inch allowing about half an inch of ruffle to show with each layer.  Lora added 11 rows of ruffle. Trim off the excess ruffle on each side. Remove the fusible paper around the edge and it is ready to fuse to your background! 
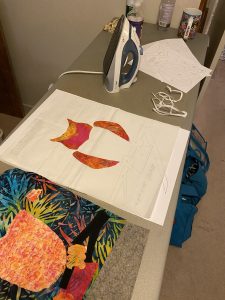
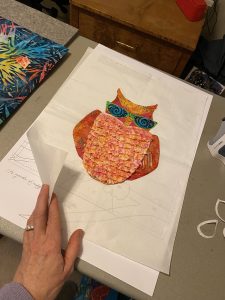
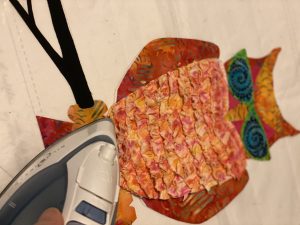
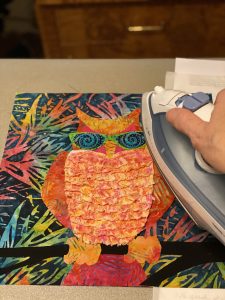
Since the background is dark, it is easier to layer your appliqué pieces on a white fusible teflon sheet on top of the 12×12 positioning sheet. Position your owl and branch pieces and then lightly fuse the pieces together with a light tap of the iron. Just enough to hold the pieces together. Then peel the entire fused unit off the teflon sheet. Lay on the 12 1/2″ square and fuse into place.

Add a blanket stitch in coordinating threads around the edges of the appliqué pieces.
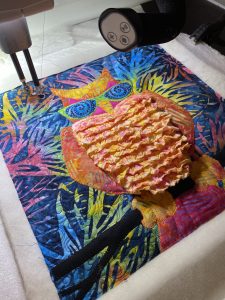
Yes, Lora put the 12 1/2″ square on her long arm. Quilt as desired, bind and enjoy on your wall or stand or make into a pillow or tote!

Too much fun! Yes, I suppose we’ll have to order more fabric for the Sew Along, but I’m okay with that.

Absewlutely,

Lisa Norton

Christmas Came Early!

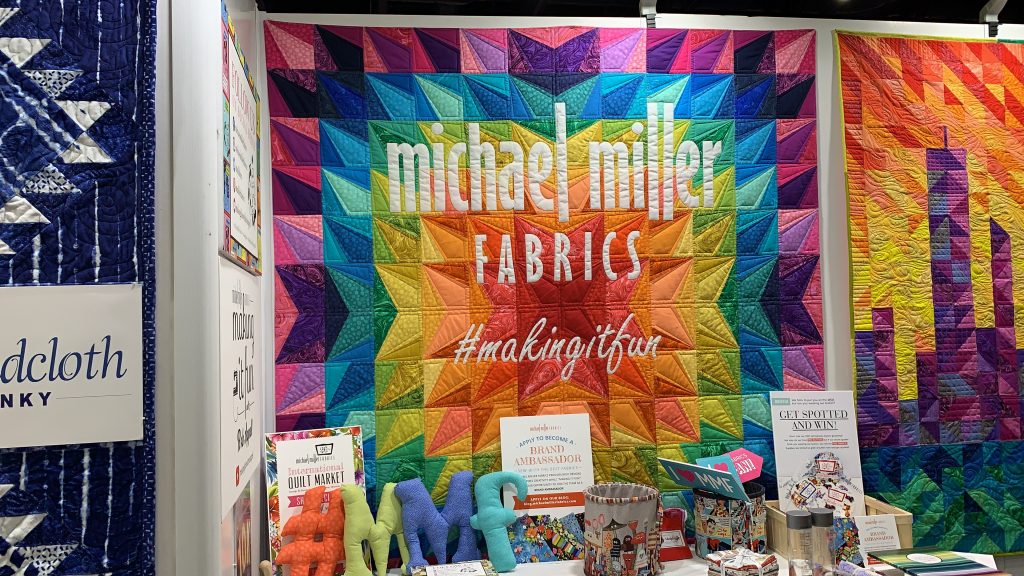
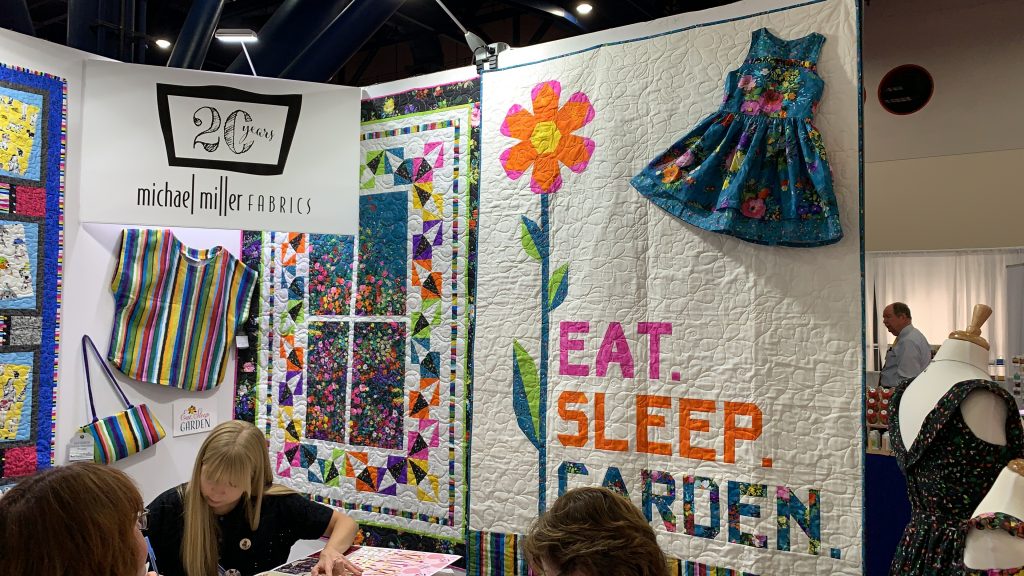
Last month, when Lora and I were in Houston at the National Quilt Market (see a couple of blogs back for the Houston show report), we were approached by a super cool quilter that told us we should apply to be Michael Miller Ambassadors. She loved our patterns and thought we’d be a great addition to their program. She even went back to the Michael Miller Fabrics booth to collect the program information for us! Talk about sweet. Quilt Market and Festival were busy, but when we got home, I immediately went online, and I applied for the program. So what was the program, you ask? This was what was on their webpage.

1.    Free fabric and goodies.

Go no further, right? You got me at number 1.

2.    Promotion of you and your brand by sharing your content on our social media channels.

Uh, yes, please. This would be awesome for our little pattern company.

3.    Opportunities for you to be featured on our blog and marketing channels.

Really? Can it get any better?

4.    Sharing our “I Like Mike” promo badge and other graphics and images for your posts.

Easy-Peasy. (Already up, did you notice?)

5.    Opportunities for your patterns/projects to be included in our catalogs and marketing materials.

OMG! It just doesn’t stop!

6.    Connections to magazine publications for your projects using Michael Miller fabric.

Someone help me off the floor.

So of course, I applied. But, considering the competition out there, I didn’t hold my breath. Imagine my surprise when I got an acceptance email. It was to just 11 email addresses welcoming us into the program! YES!!! I was so excited. I shared the info immediately with Lora, mom, and a few Material Girlfriends, but didn’t share with you all yet. I kinda had a little fear that they would email again and say, “Just kidding, we changed our mind.” But it is happening!! Pinch me. We feel so honored that they would trust us with this program!

My Material Girlfriend proofing and editing team is now in a group chat called MM Am-bad-ass-editors. LOL.
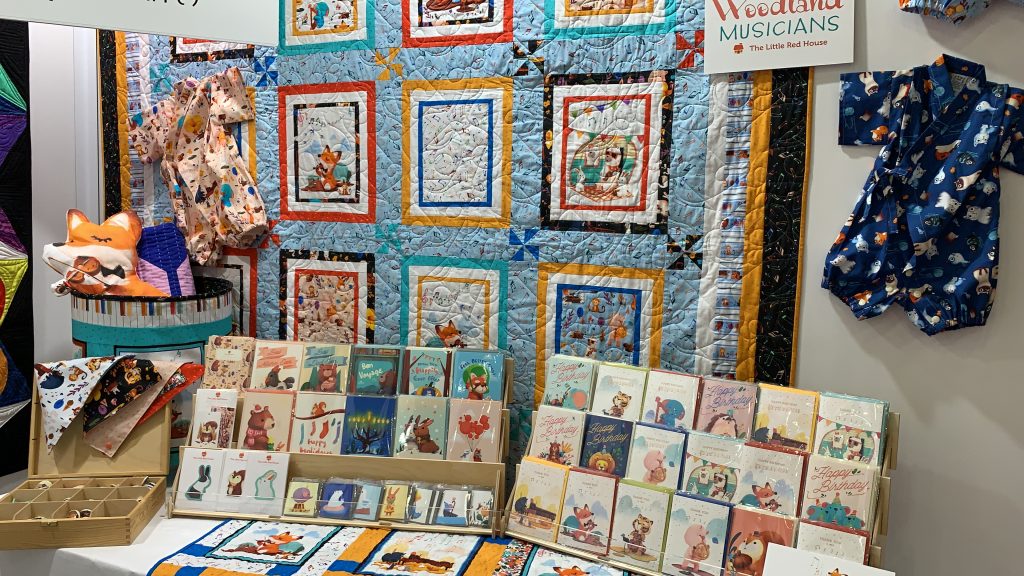
The Minky was cool. They had cute stuffy toys made of it too.
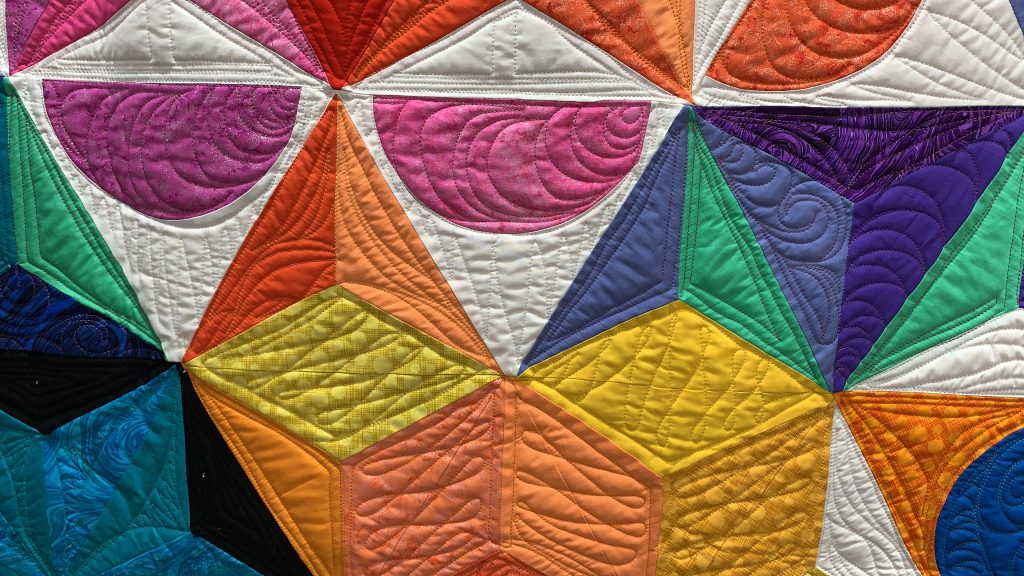
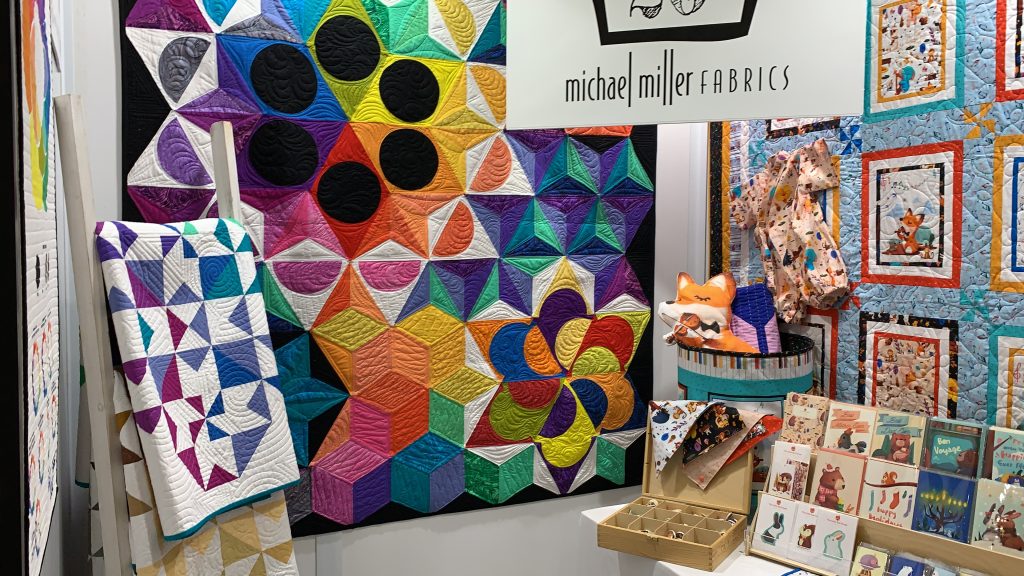
The Michael Miller Solids, called Cotton Couture, are to DYE for. They have 214 colors! Woodland Musicians cute display
My husband, Michael, wanted to know if I was getting my own embassy too. “No,” I told him, “just an embassy car, with Material Girlfriend logo flags flying over the side mirrors (aka my old blue Durango).” I get free parking in Discovery Bay.

Sew, we will keep you posted. We should be receiving a box full of goodies later this month. We’ll show you all the fun things we will be creating with Michale Miller fabrics in 2020!

Absewlutely,

Lisa Norton

Michael Miller Fabrics Brand Ambassador