Hi Lo

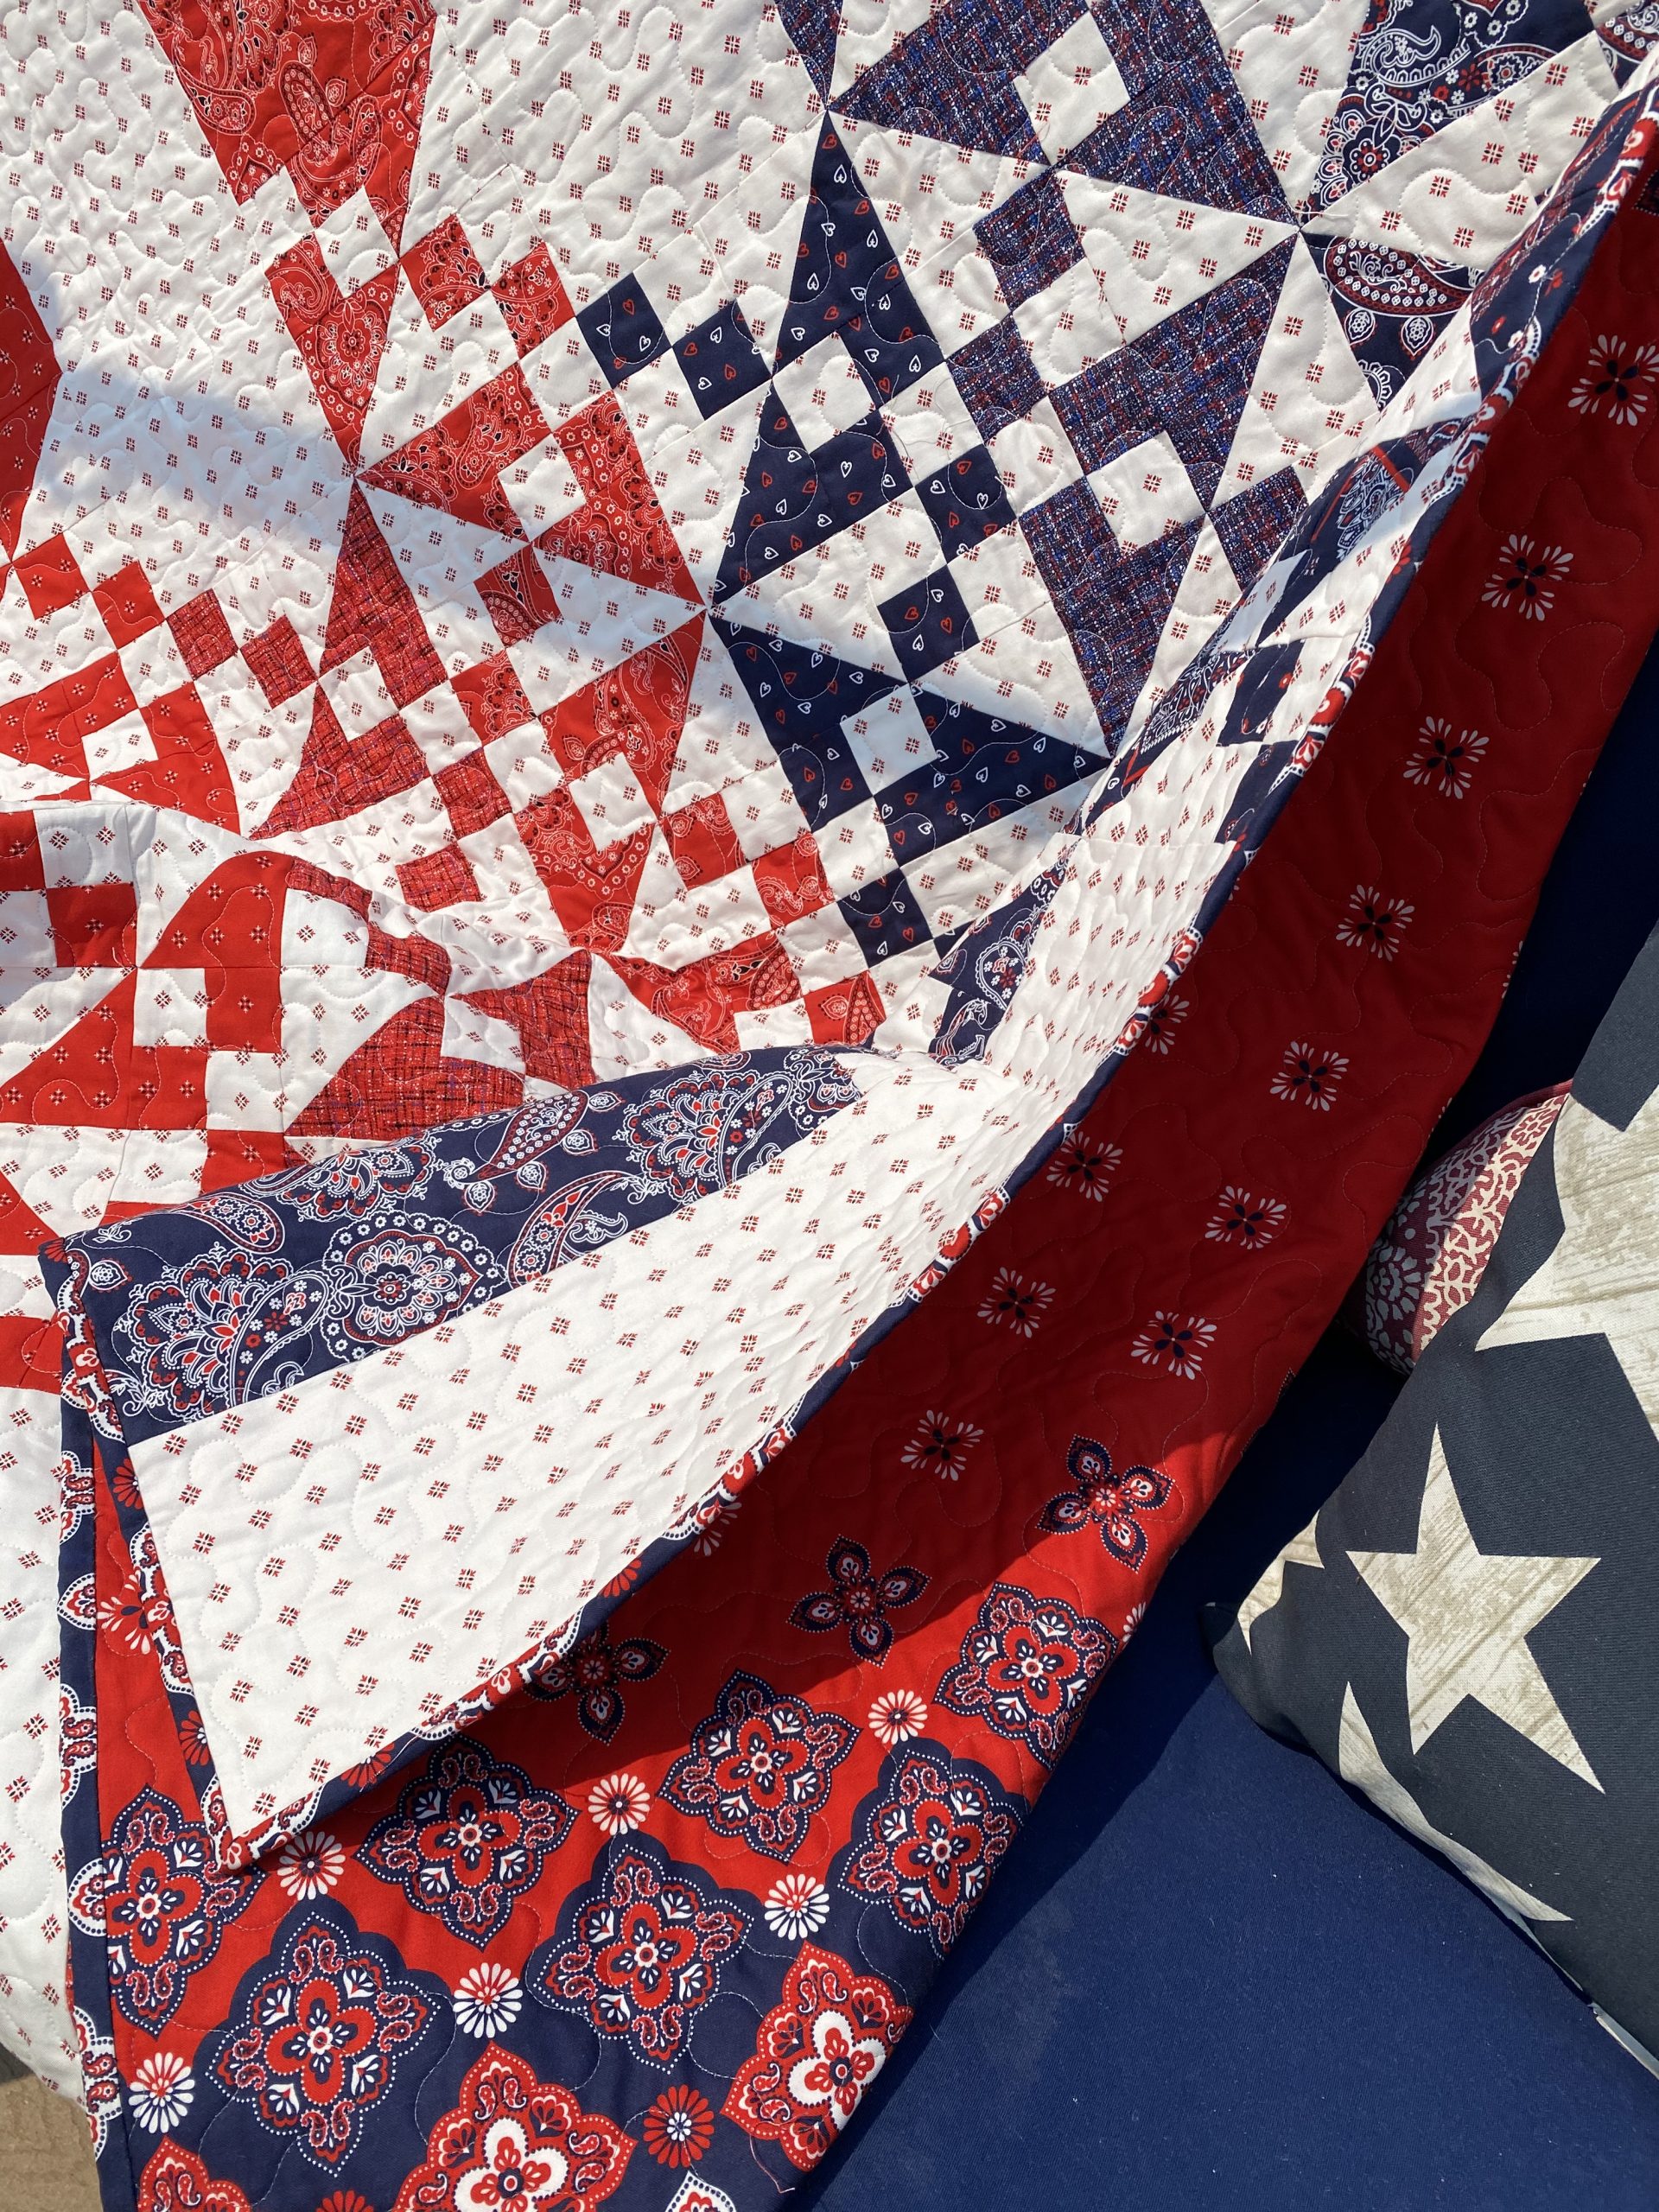
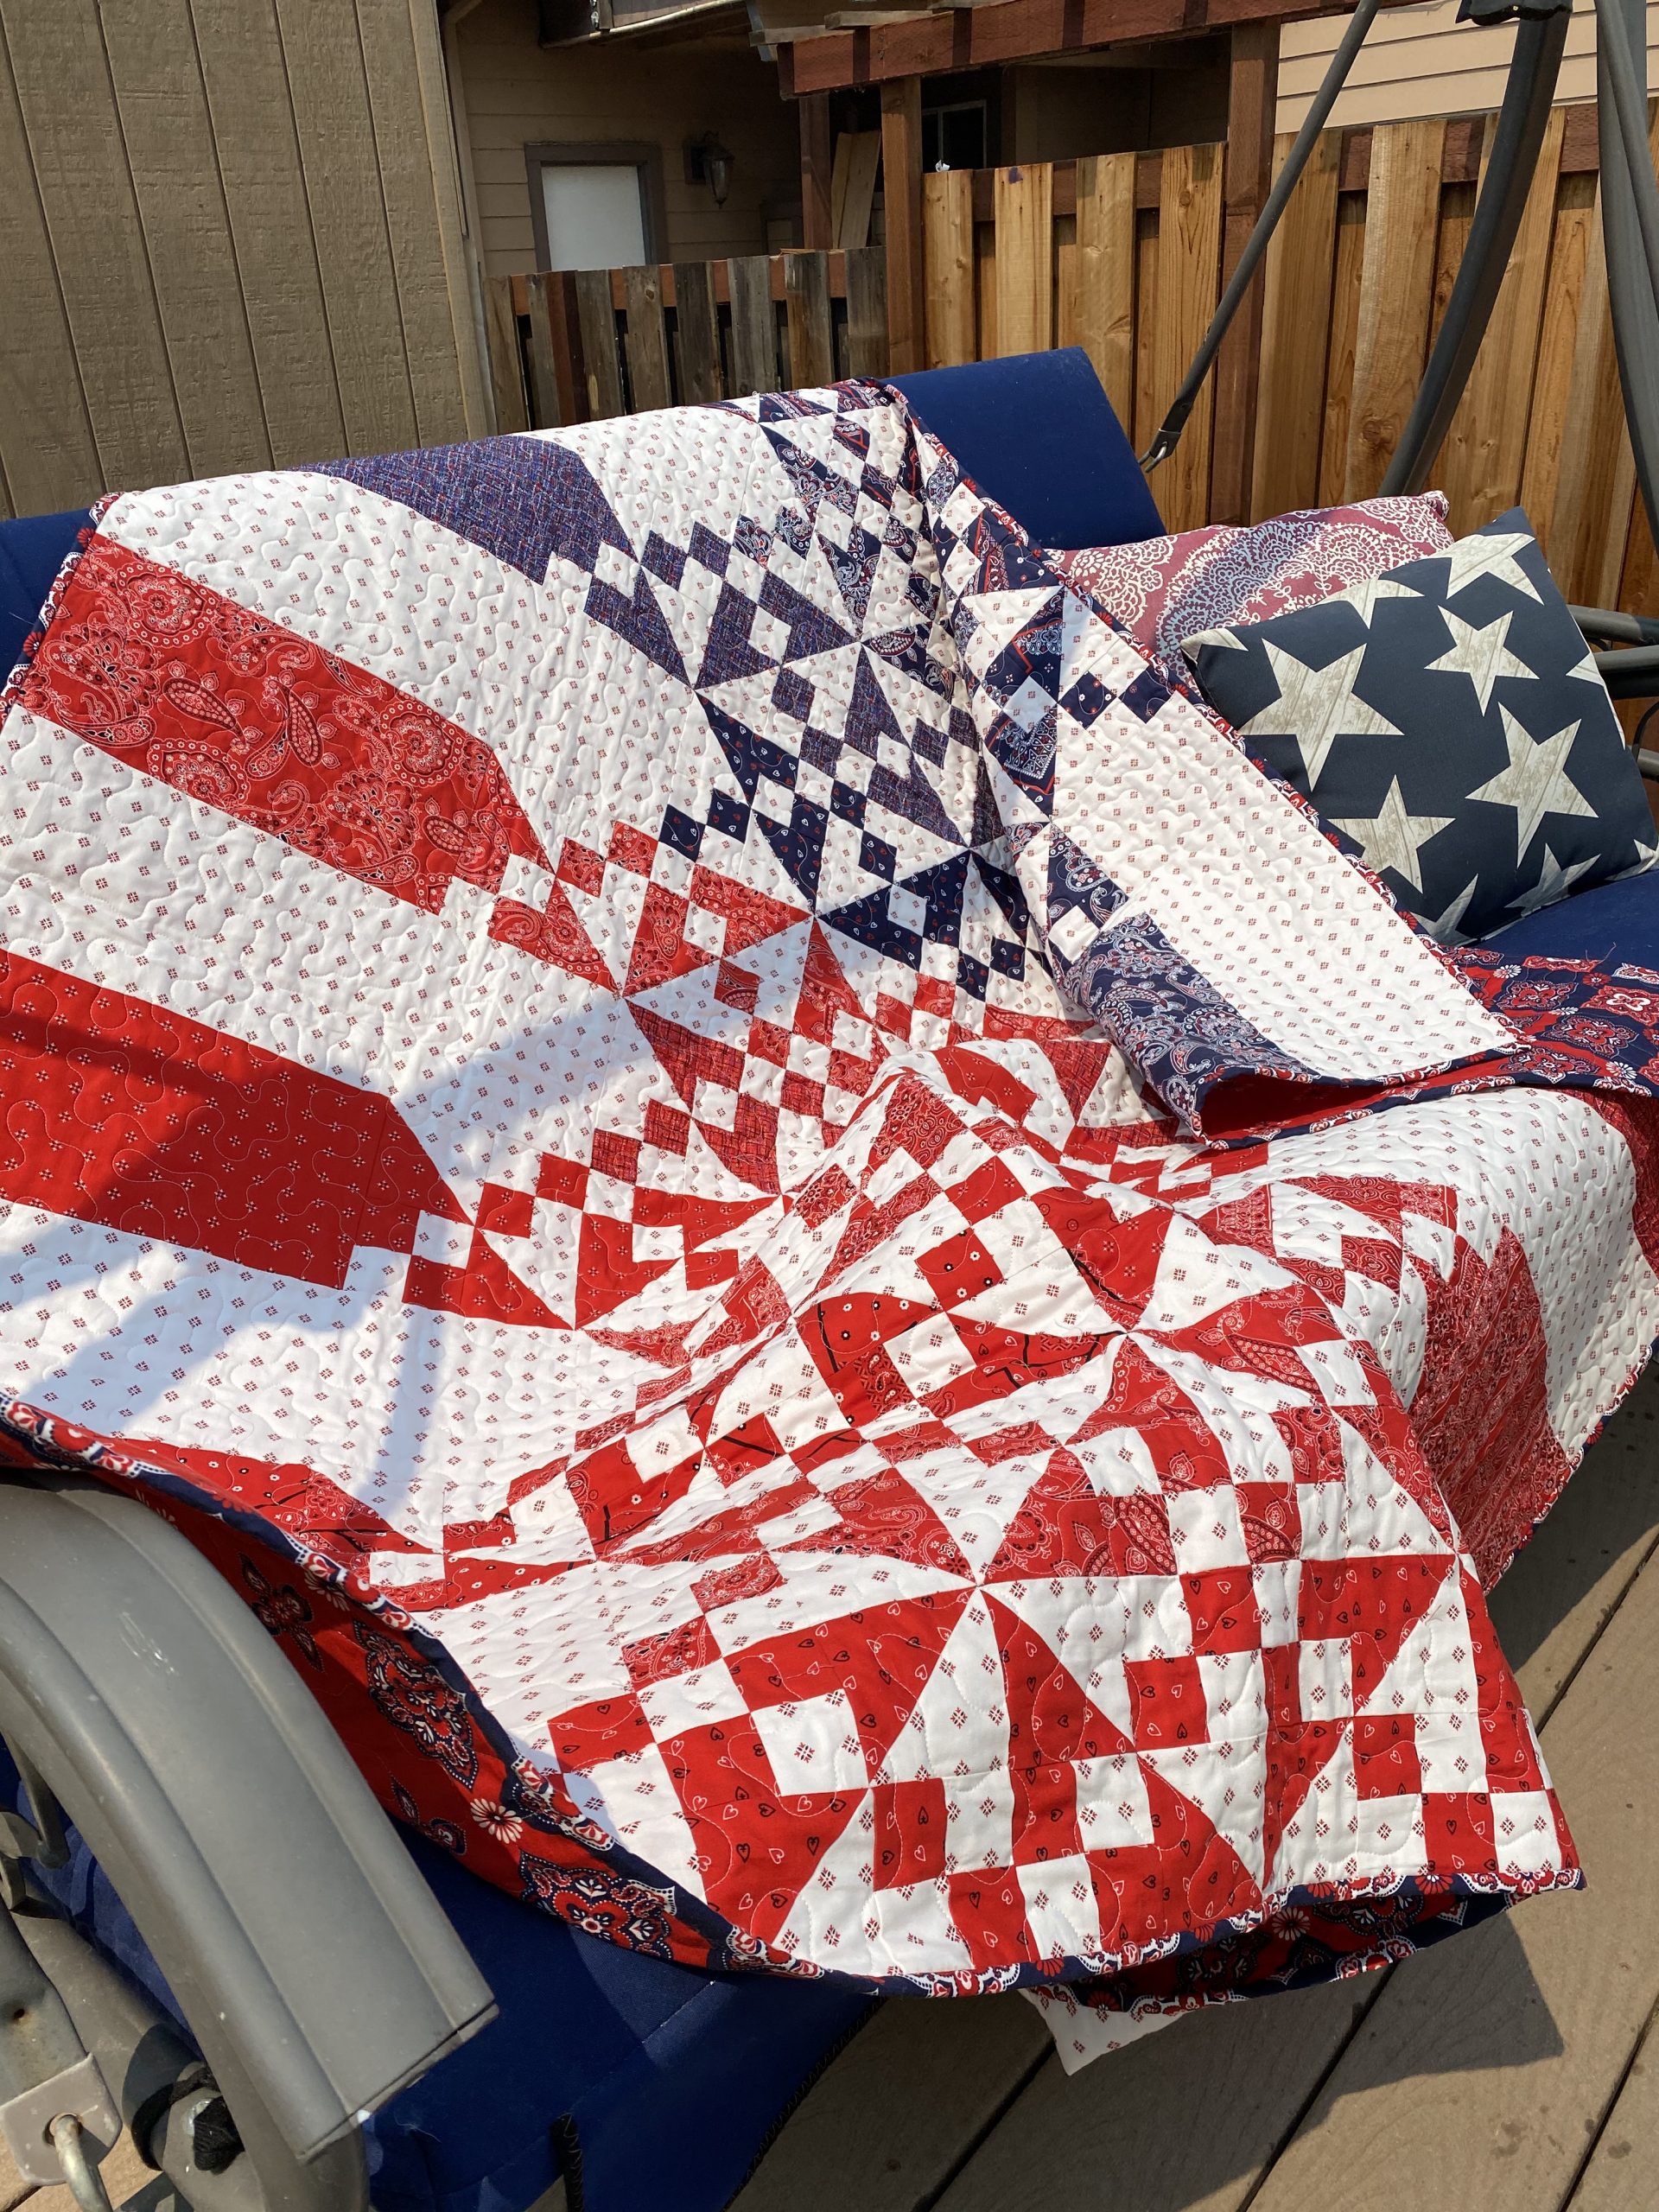
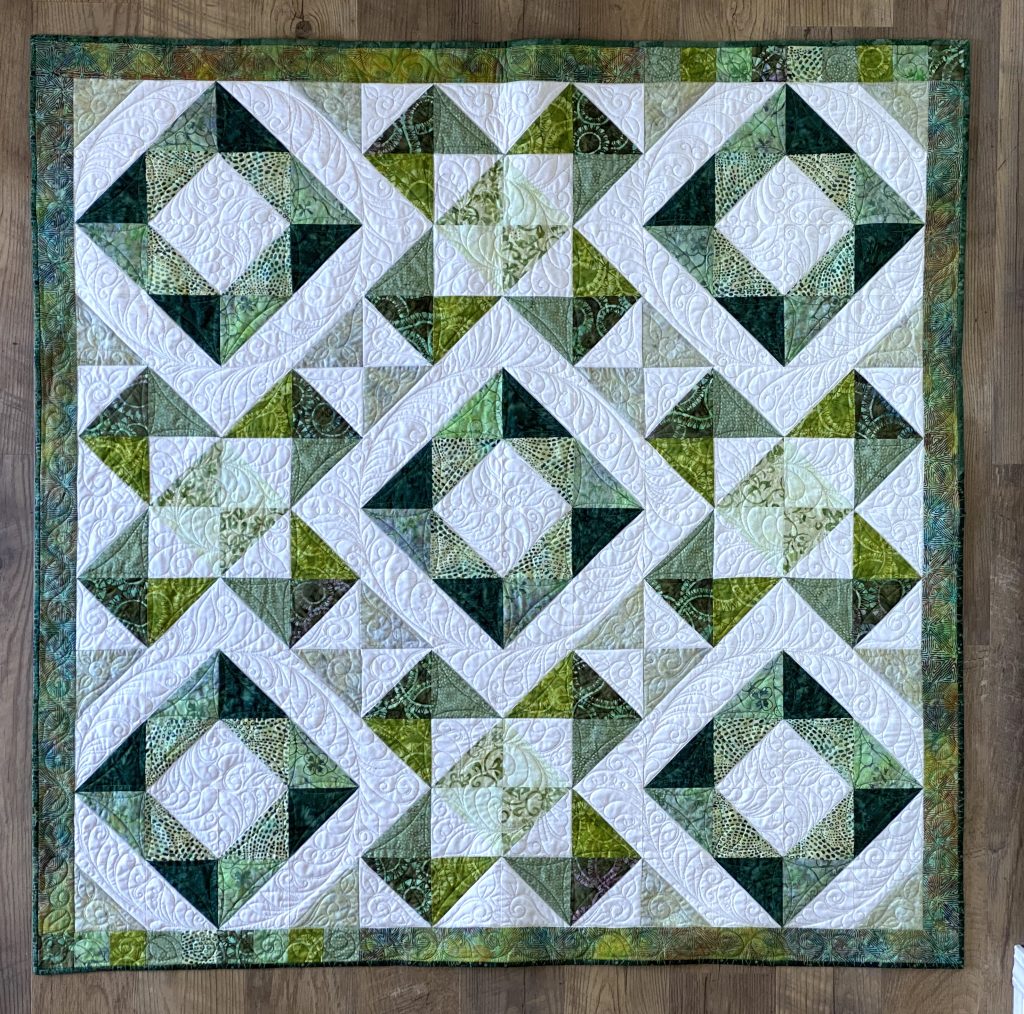
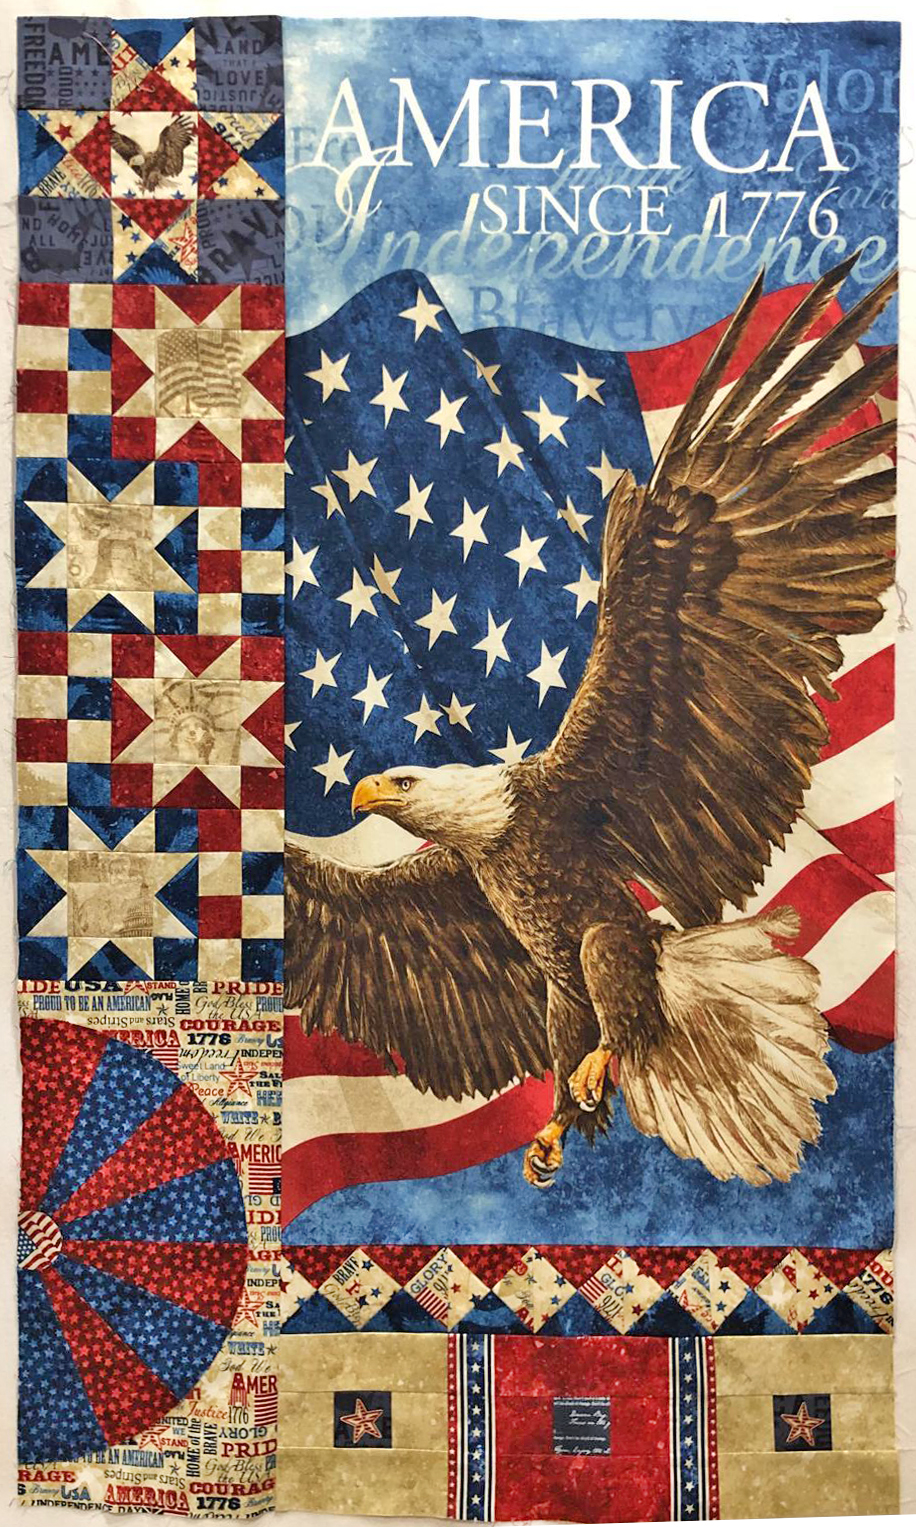
On a rare occasion, you come across a fabric line that takes your breath away. Your heart begins to beat faster and you know exactly what pattern you intend to use. I am making a Quilt of Valor!

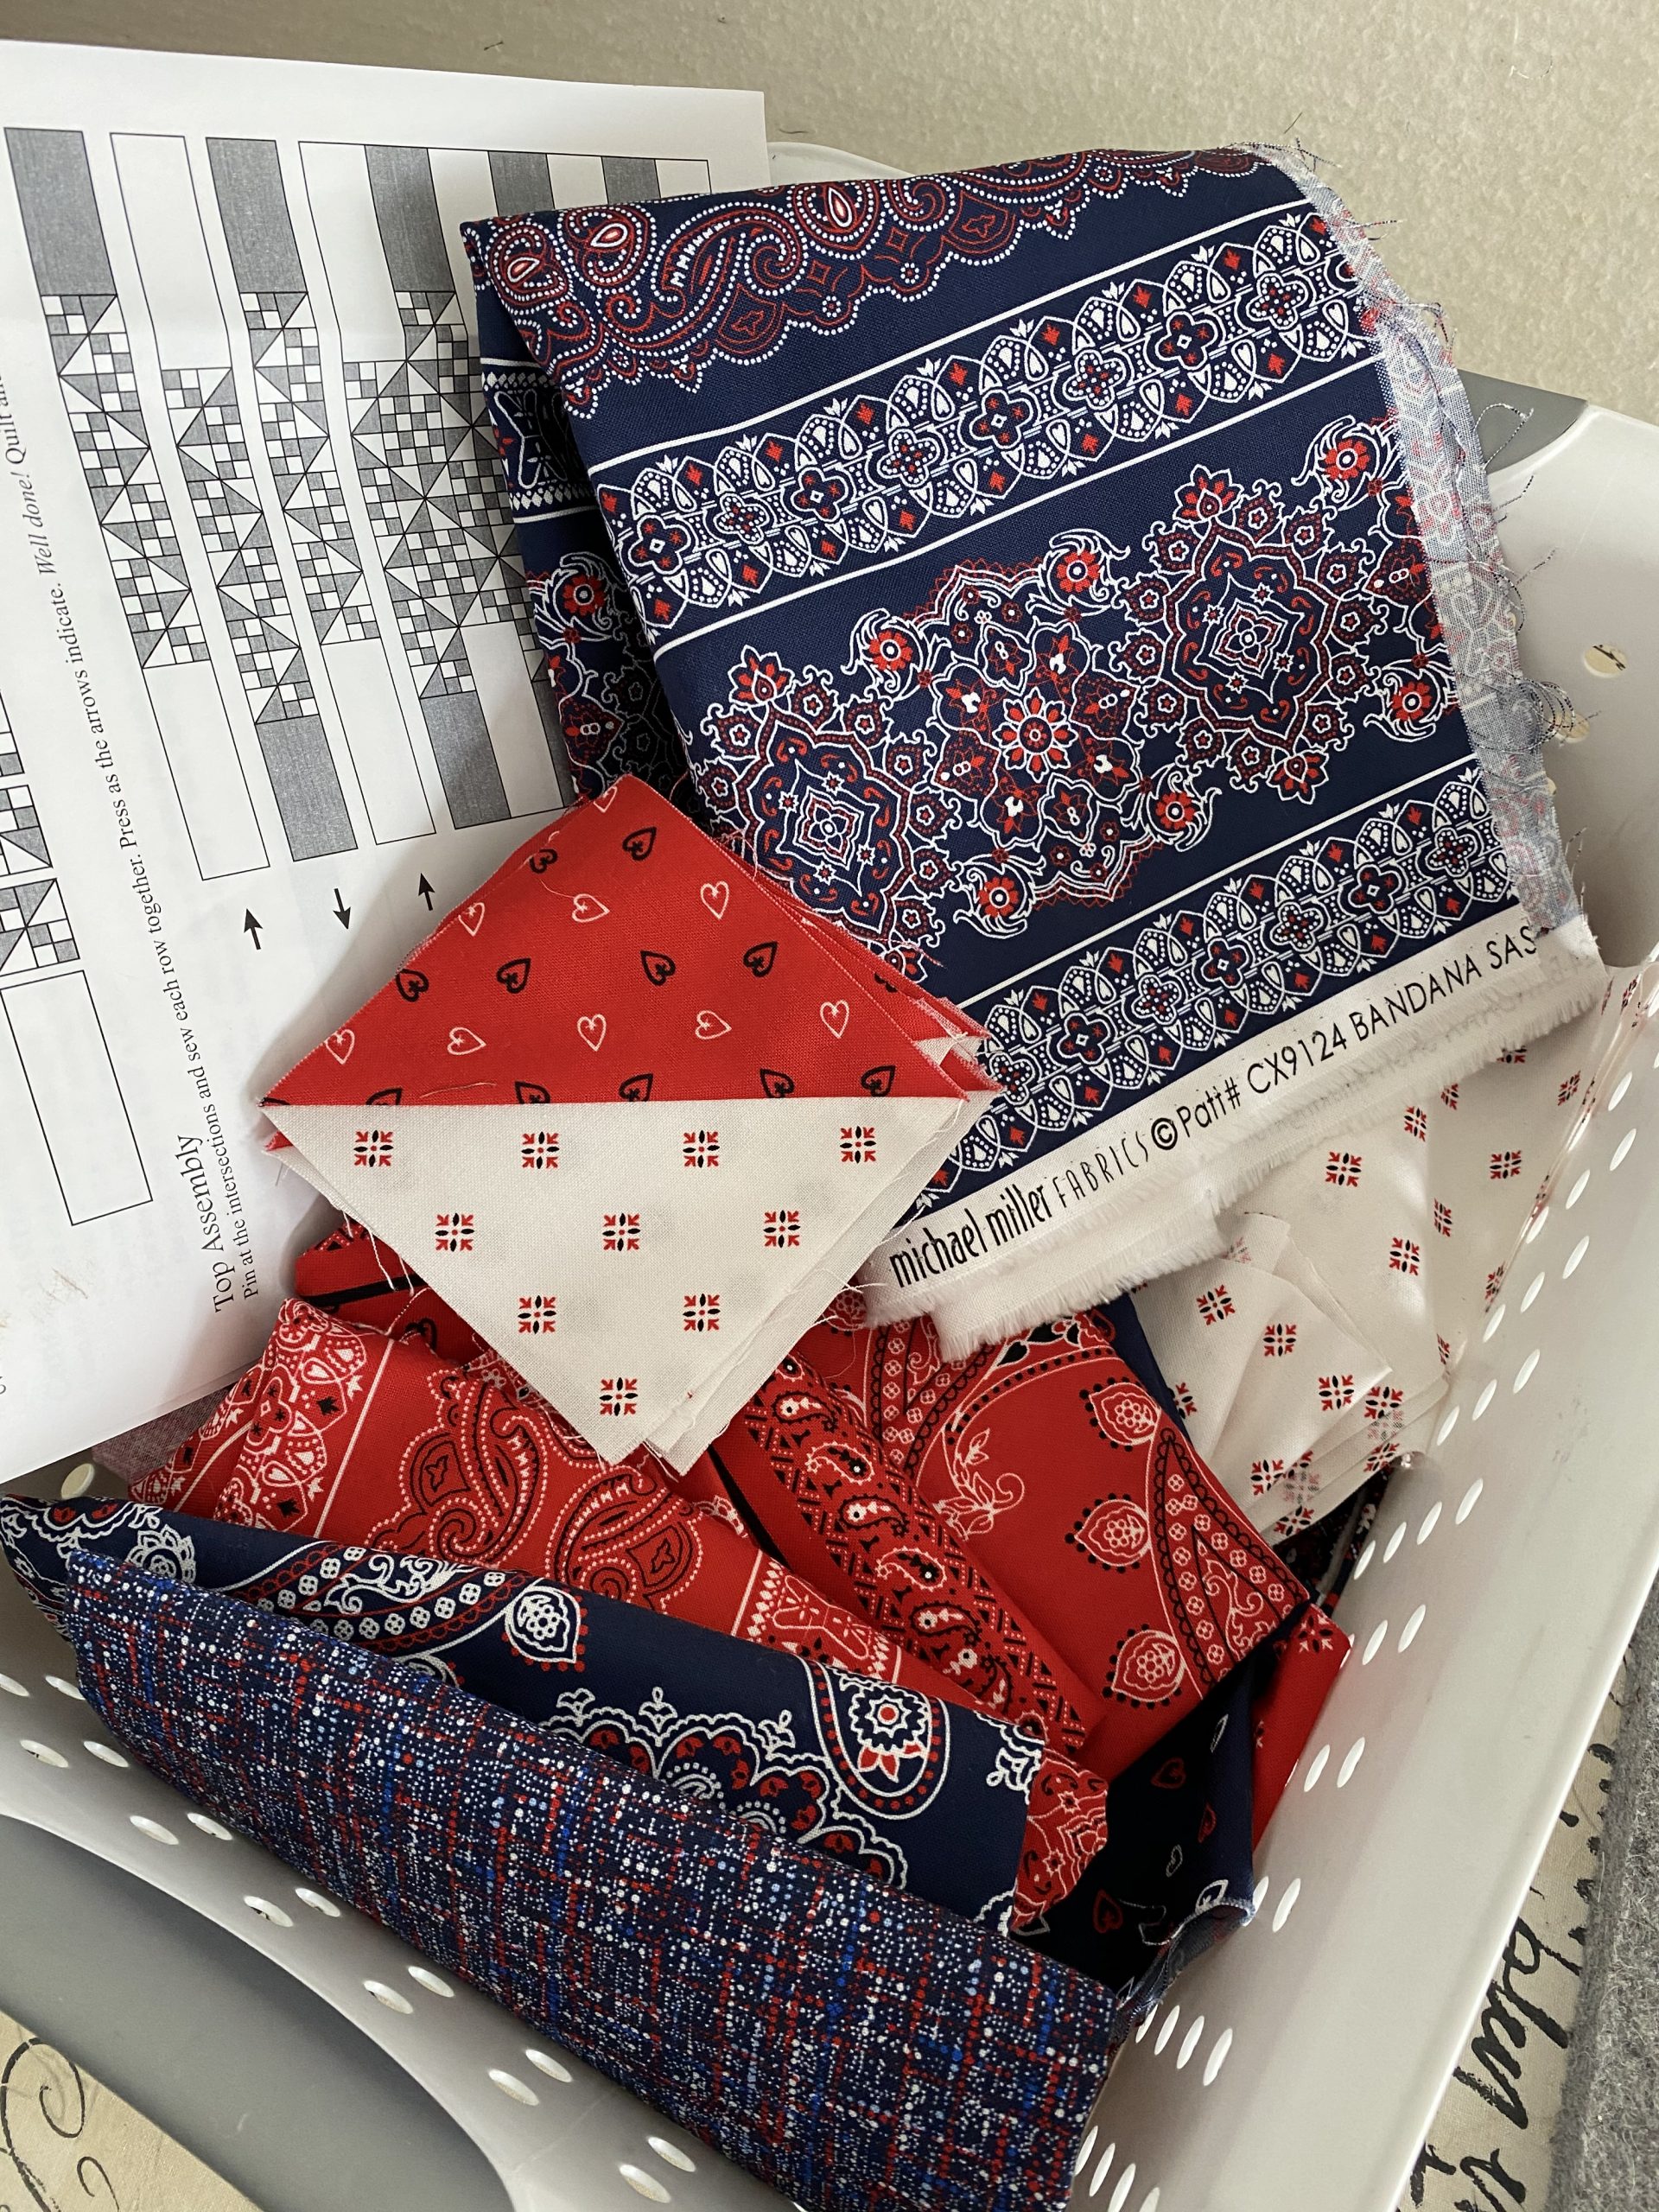
The Bandana Ballad by Michale Miller Fabrics sang a beautiful patriotic melody to my soul!

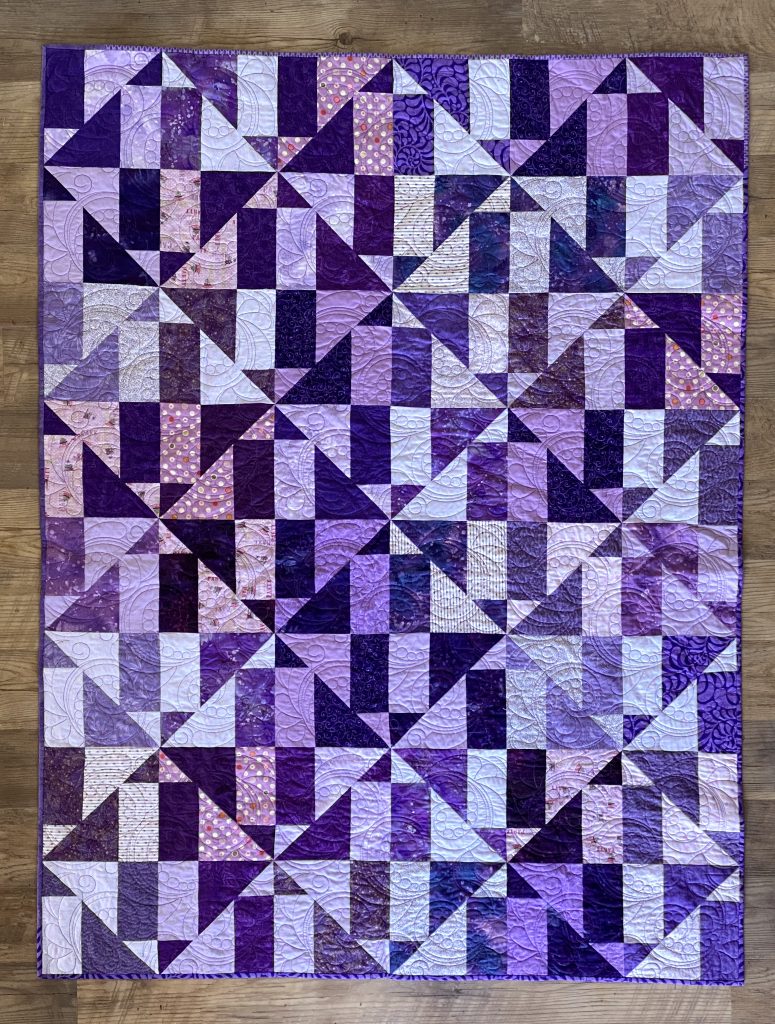
I had designed a simple quilt a couple years ago called Hi Lo.  It had 10 rows of rainbow fabrics. The row starts with a bright batik color and collided with a lighter hue of the same color. Sometimes when you see a design in black and white print, you see something new. What if? What if I had blue rows and red rows instead??  My heart sang again.  It is time to sew!!

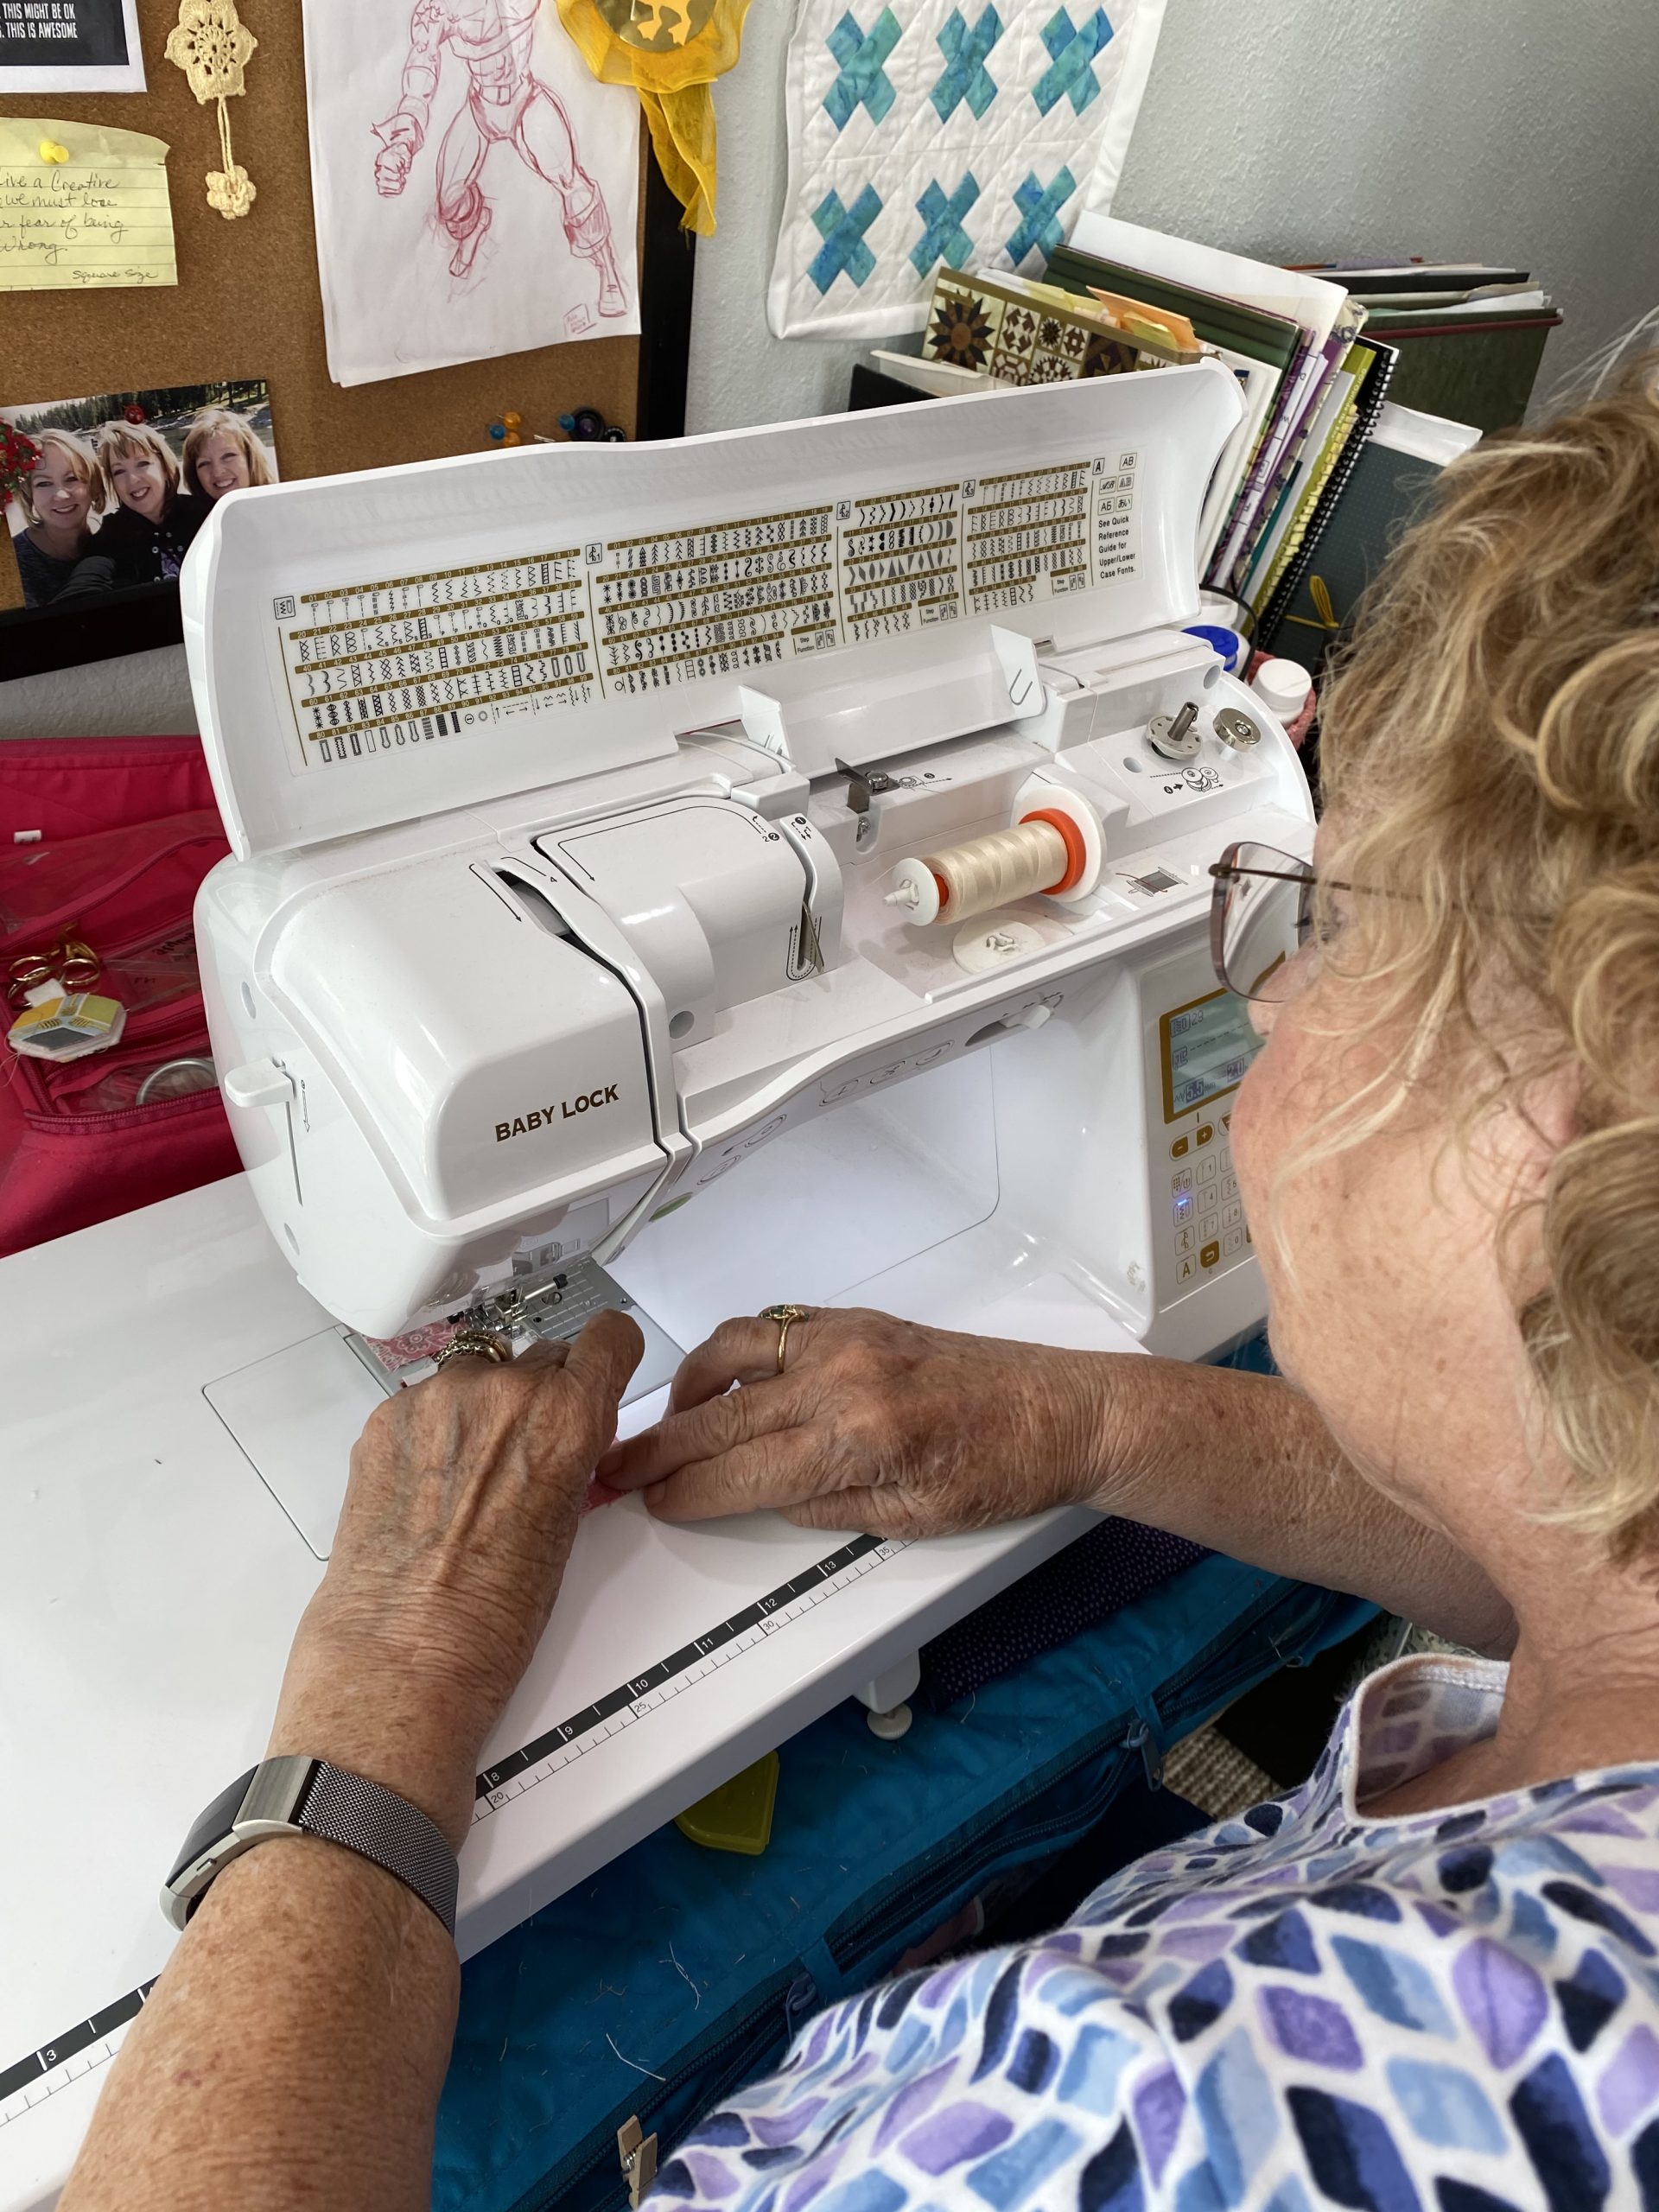
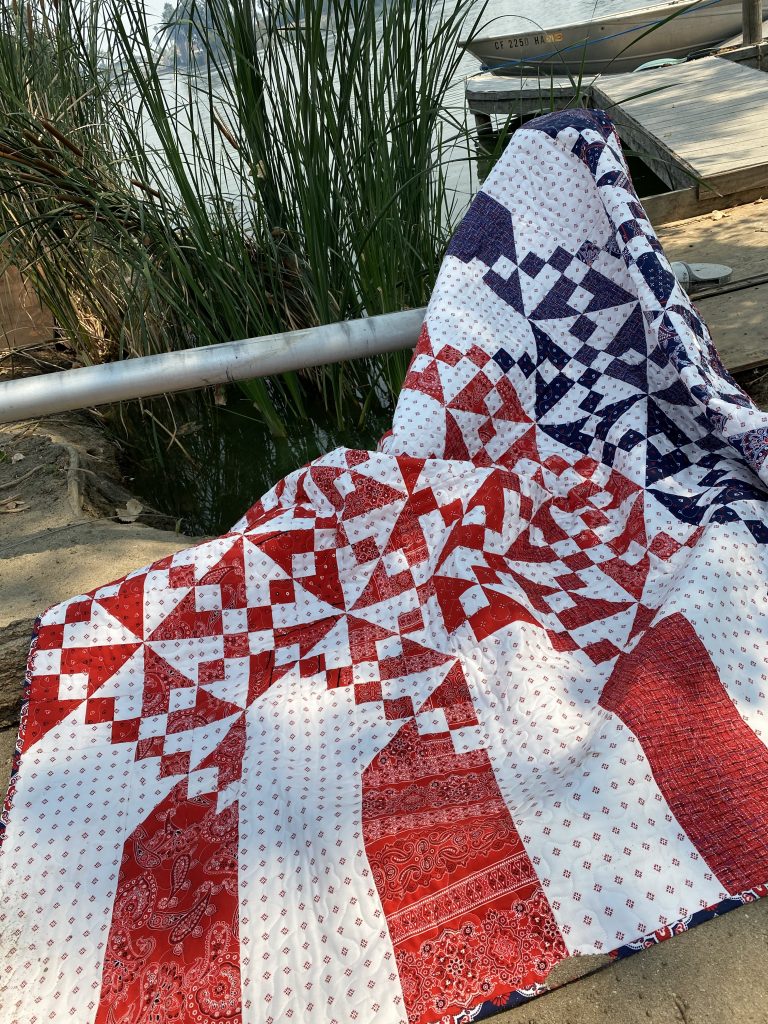
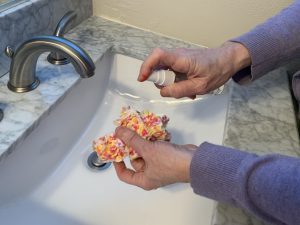
Momma met me at Lisa’s house and the three of us began to sew. We are really fast when one of us cuts and presses and the others two run the sewing machines. Before you knew it the quilt design was beginning to come together.

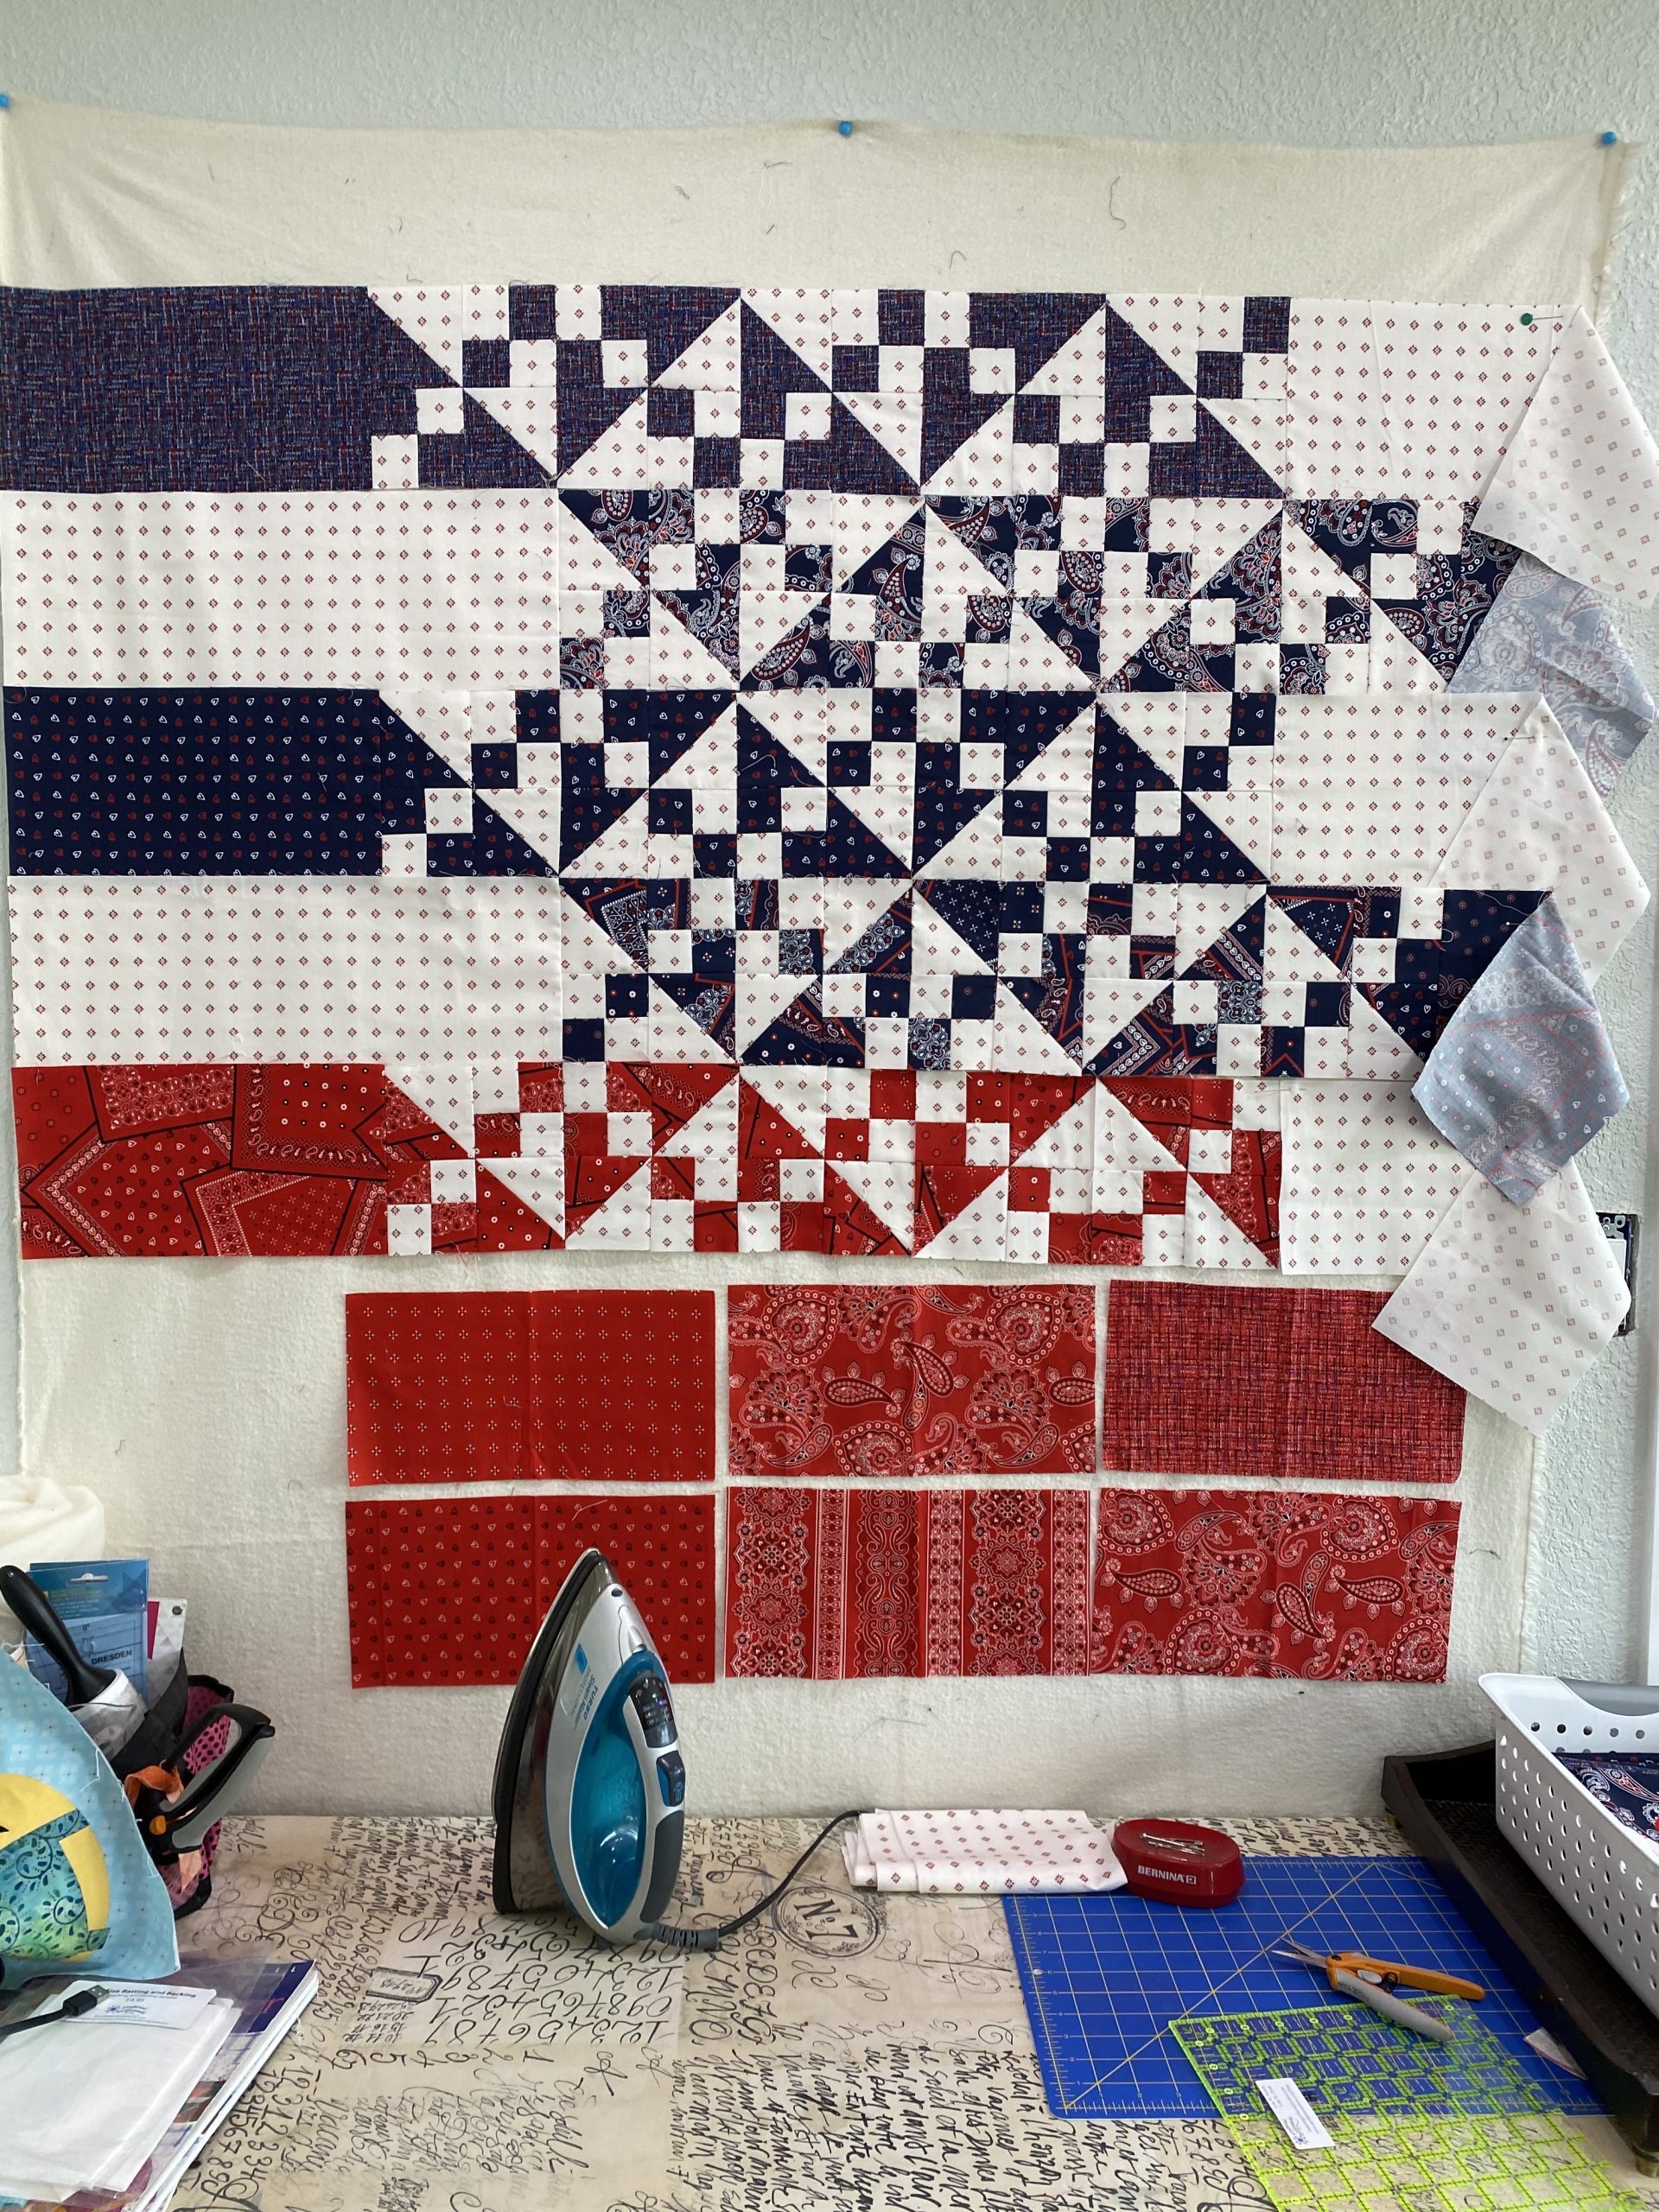
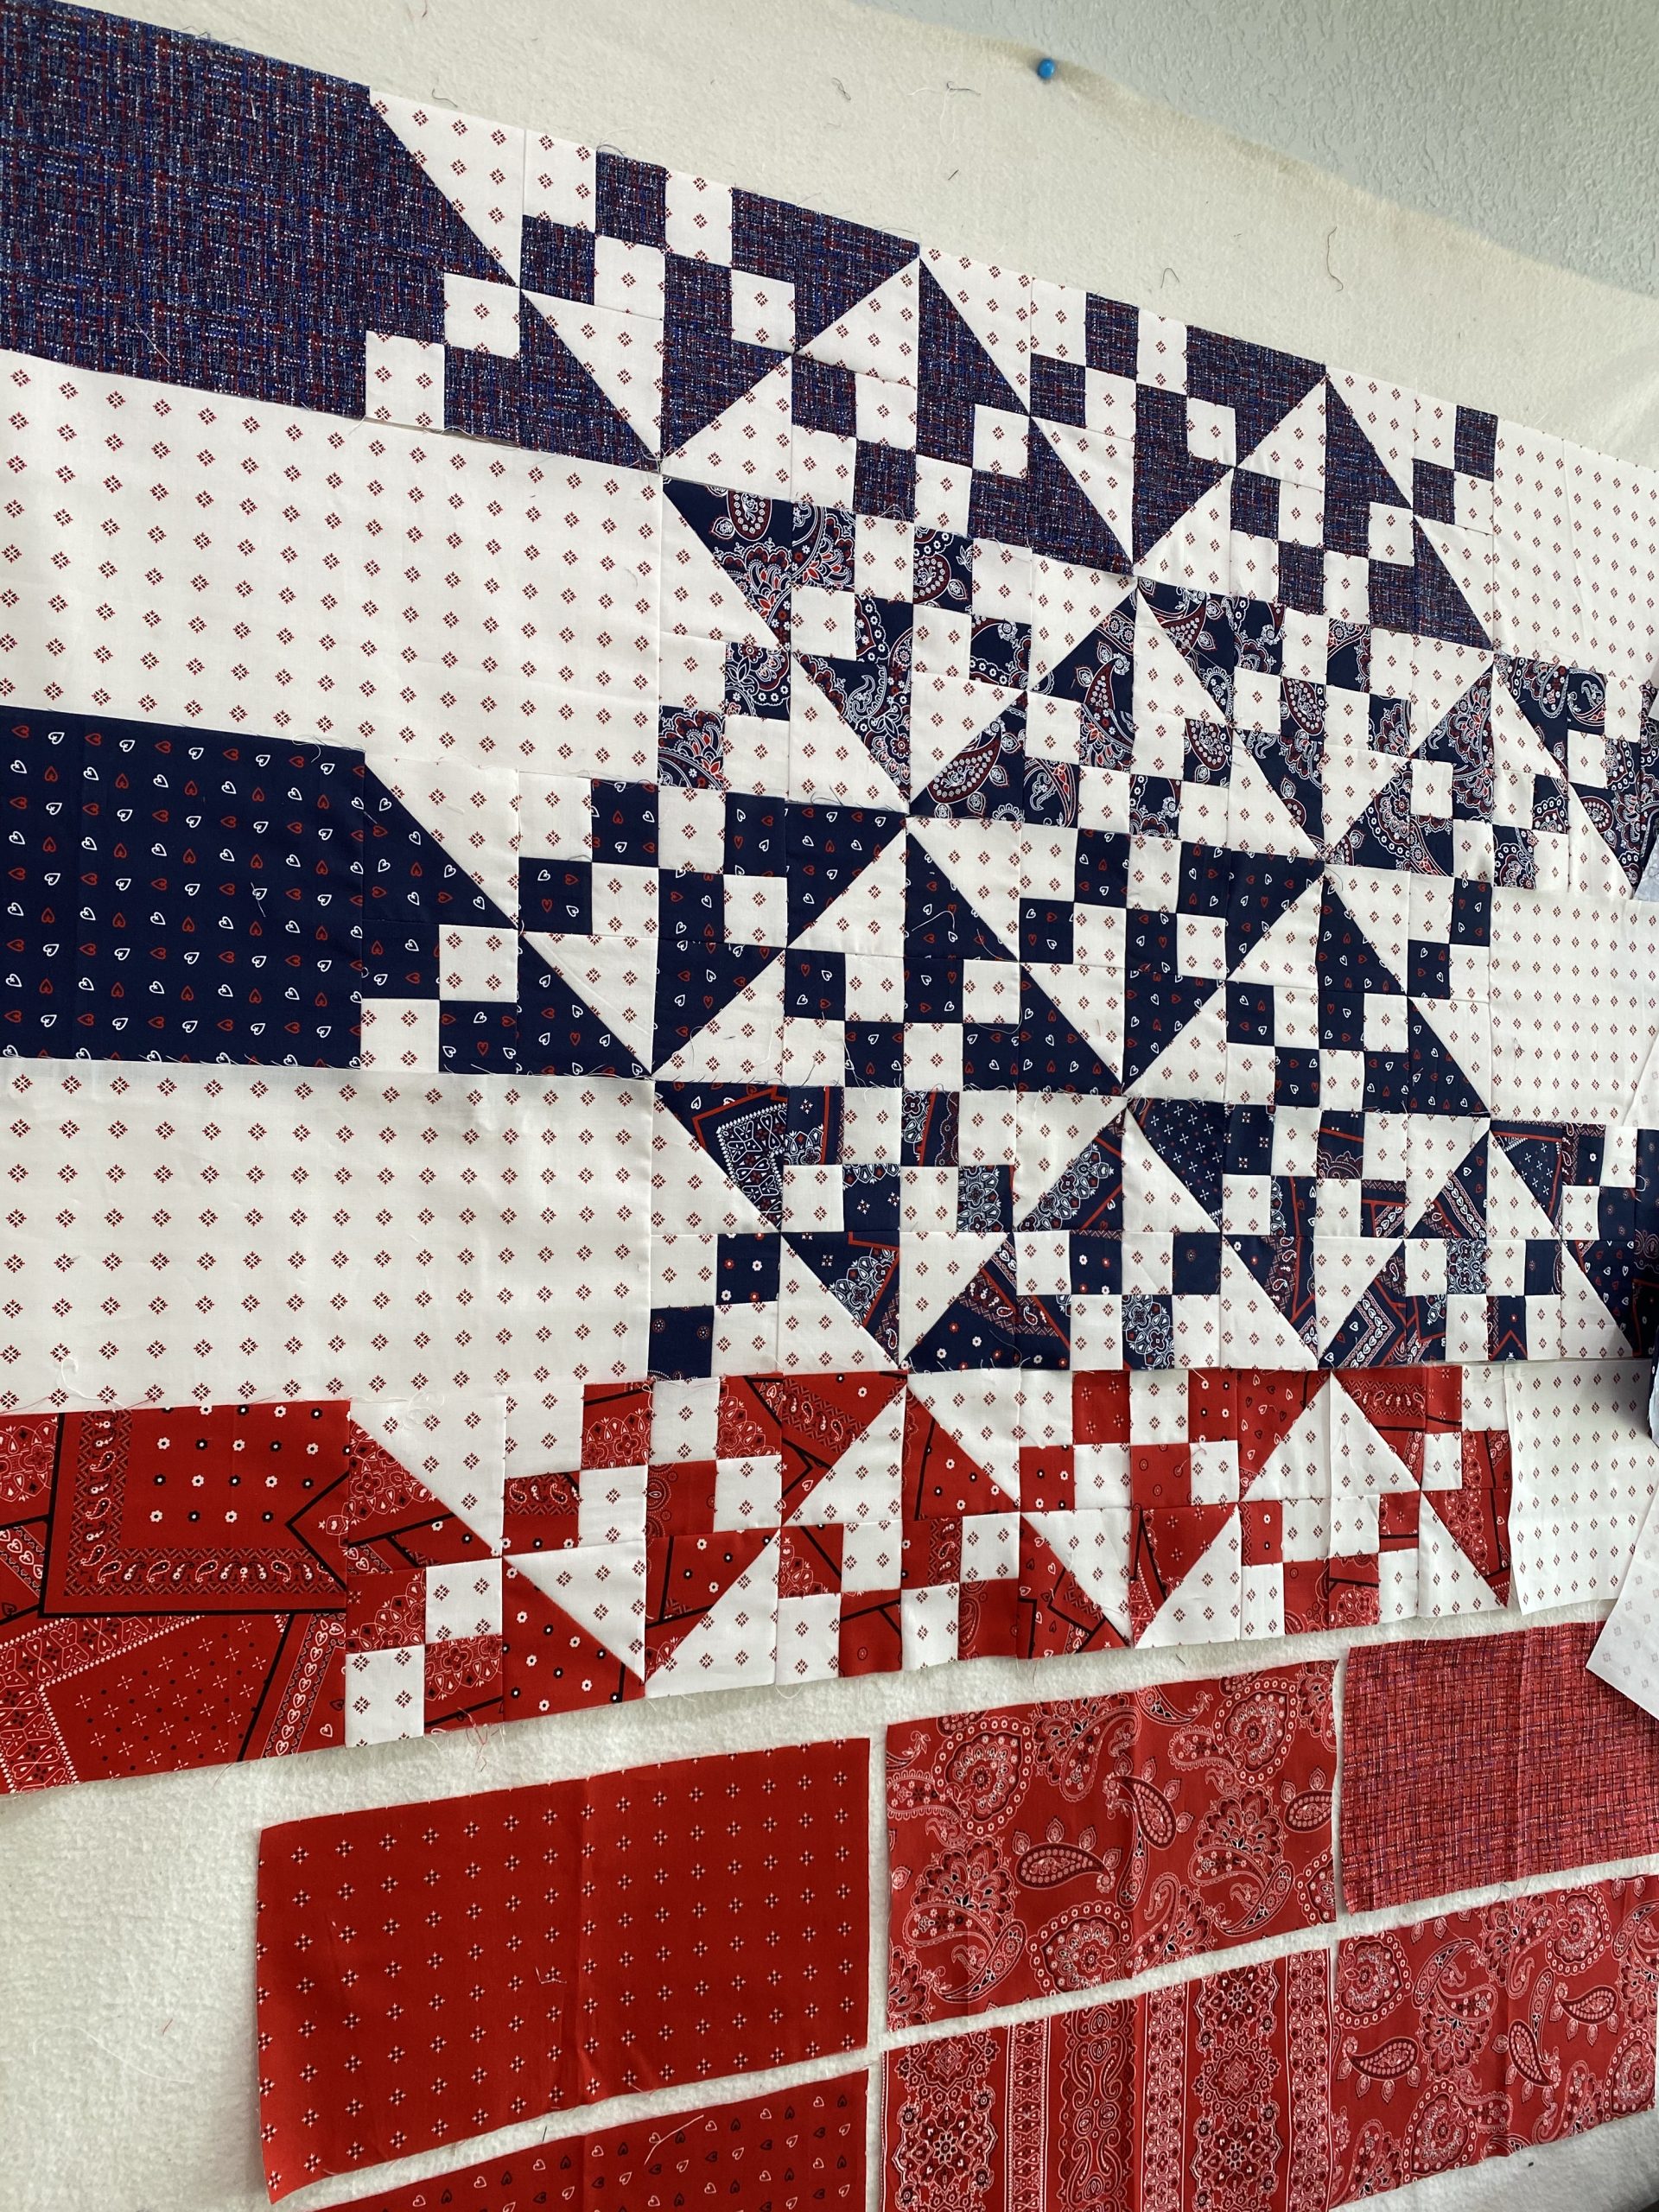
We added one more row because I wanted a strong blue in the top left corner, now I have 11 rows making the finished size, 60” x 66”.

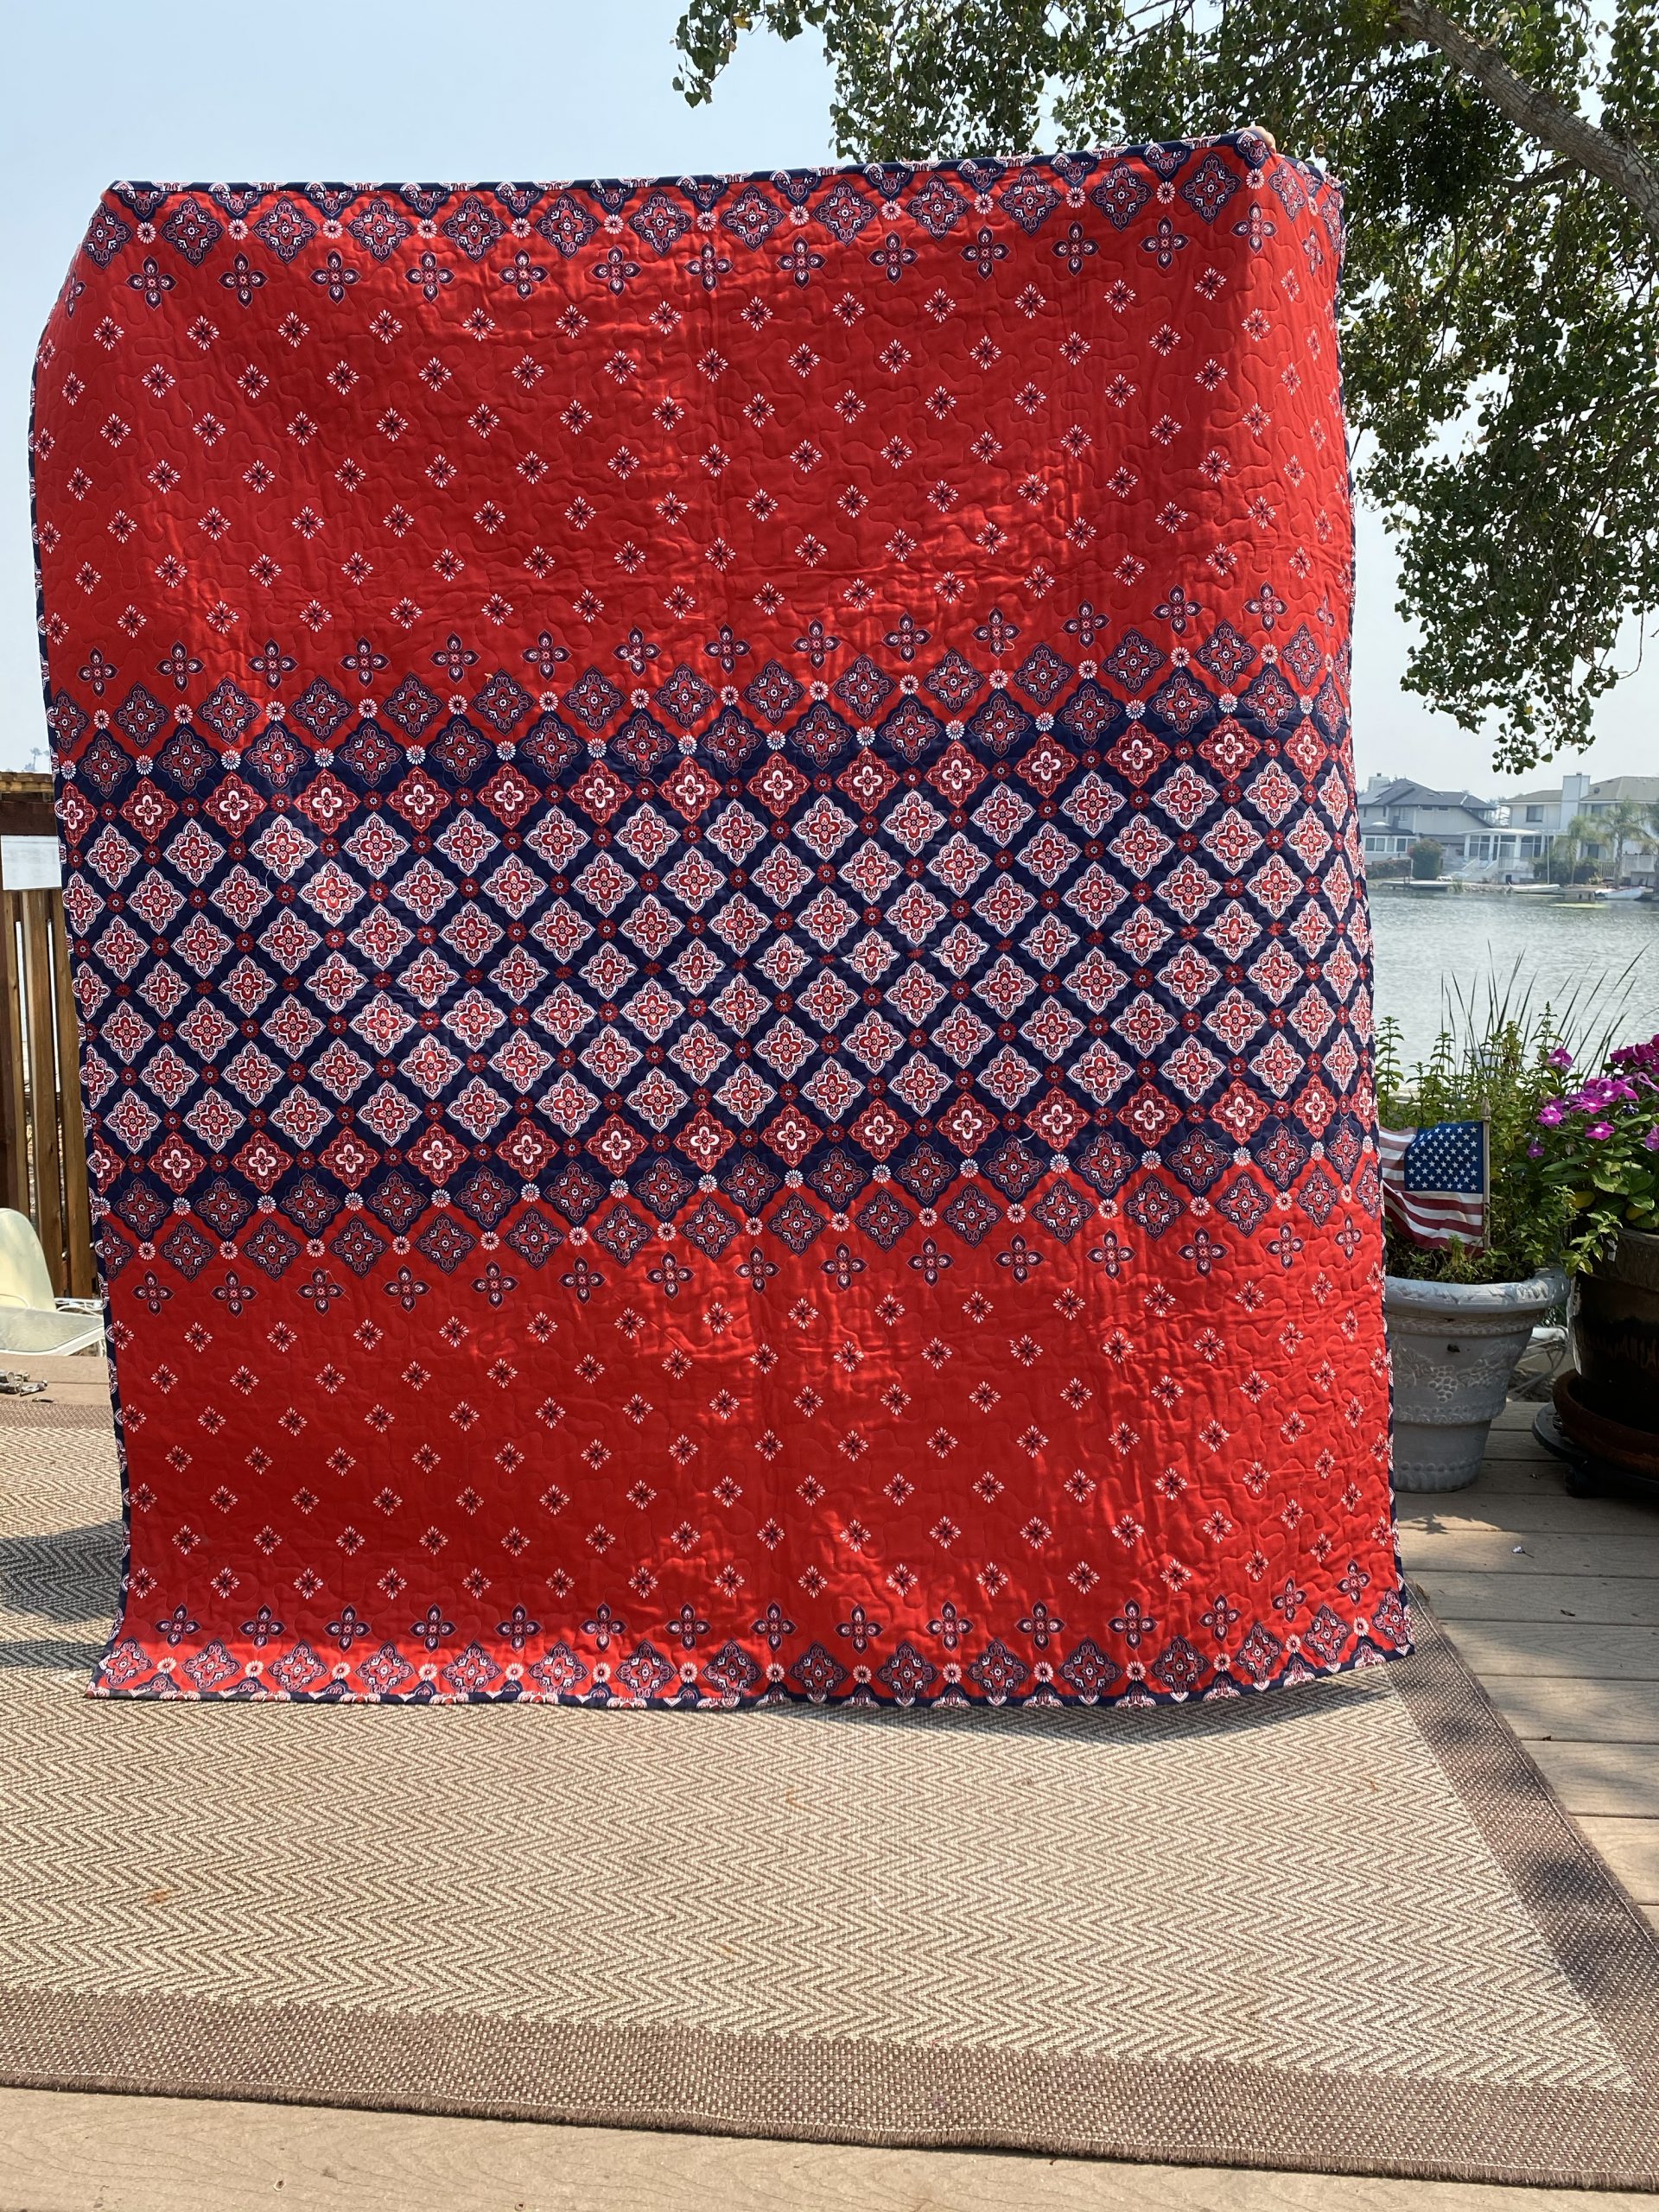
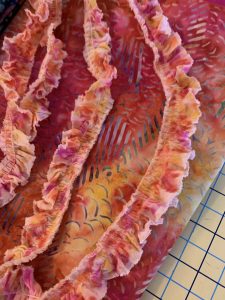
For our backing I used the bandanna border fabric.  I matched and aligned the fabric design in the seam in the back.  I used the leftover fabric from the backing for my binding.

I’m very pleased with how it turned out.

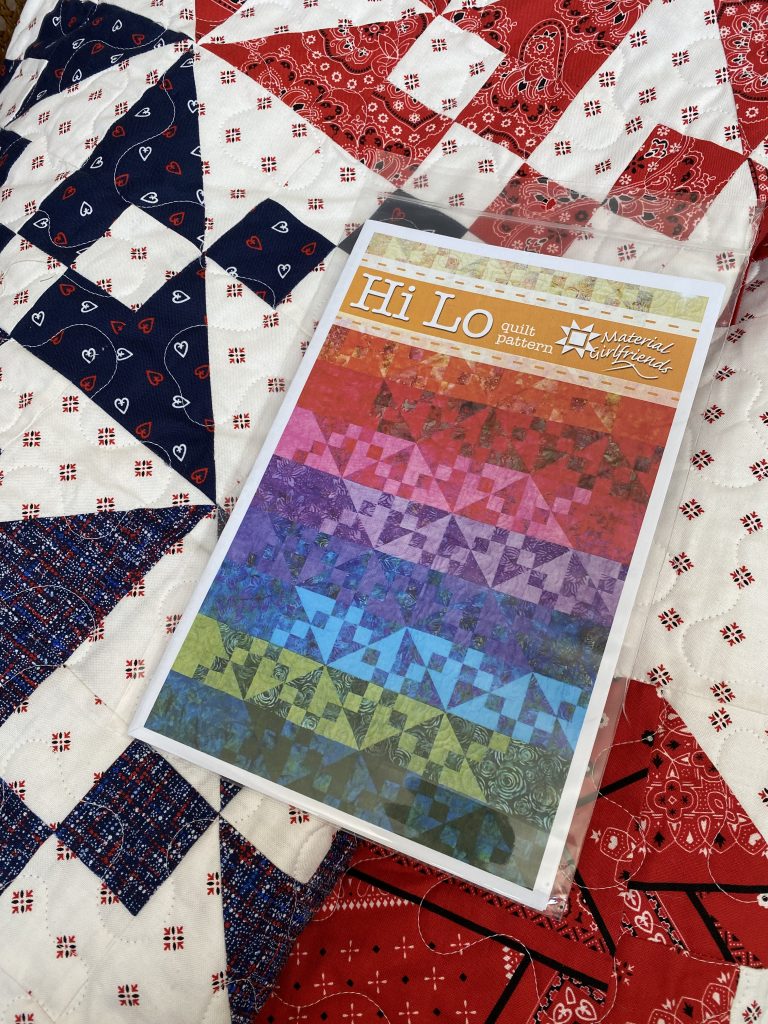
Lisa created a Hi Lo promotion on our Material Girlfriends Square Store. Enter HiLo in the coupon field when checking out and receive free shipping on your entire order. Check with Melissa and Leslie at our local quilt shop in Livermore, In Between Stitches for the Bandana Ballad fabrics. If you’re local, or just desperate for a road trip, In Between Stitches is where you can find many of the  Material Girlfriends patterns, including Hi Lo.

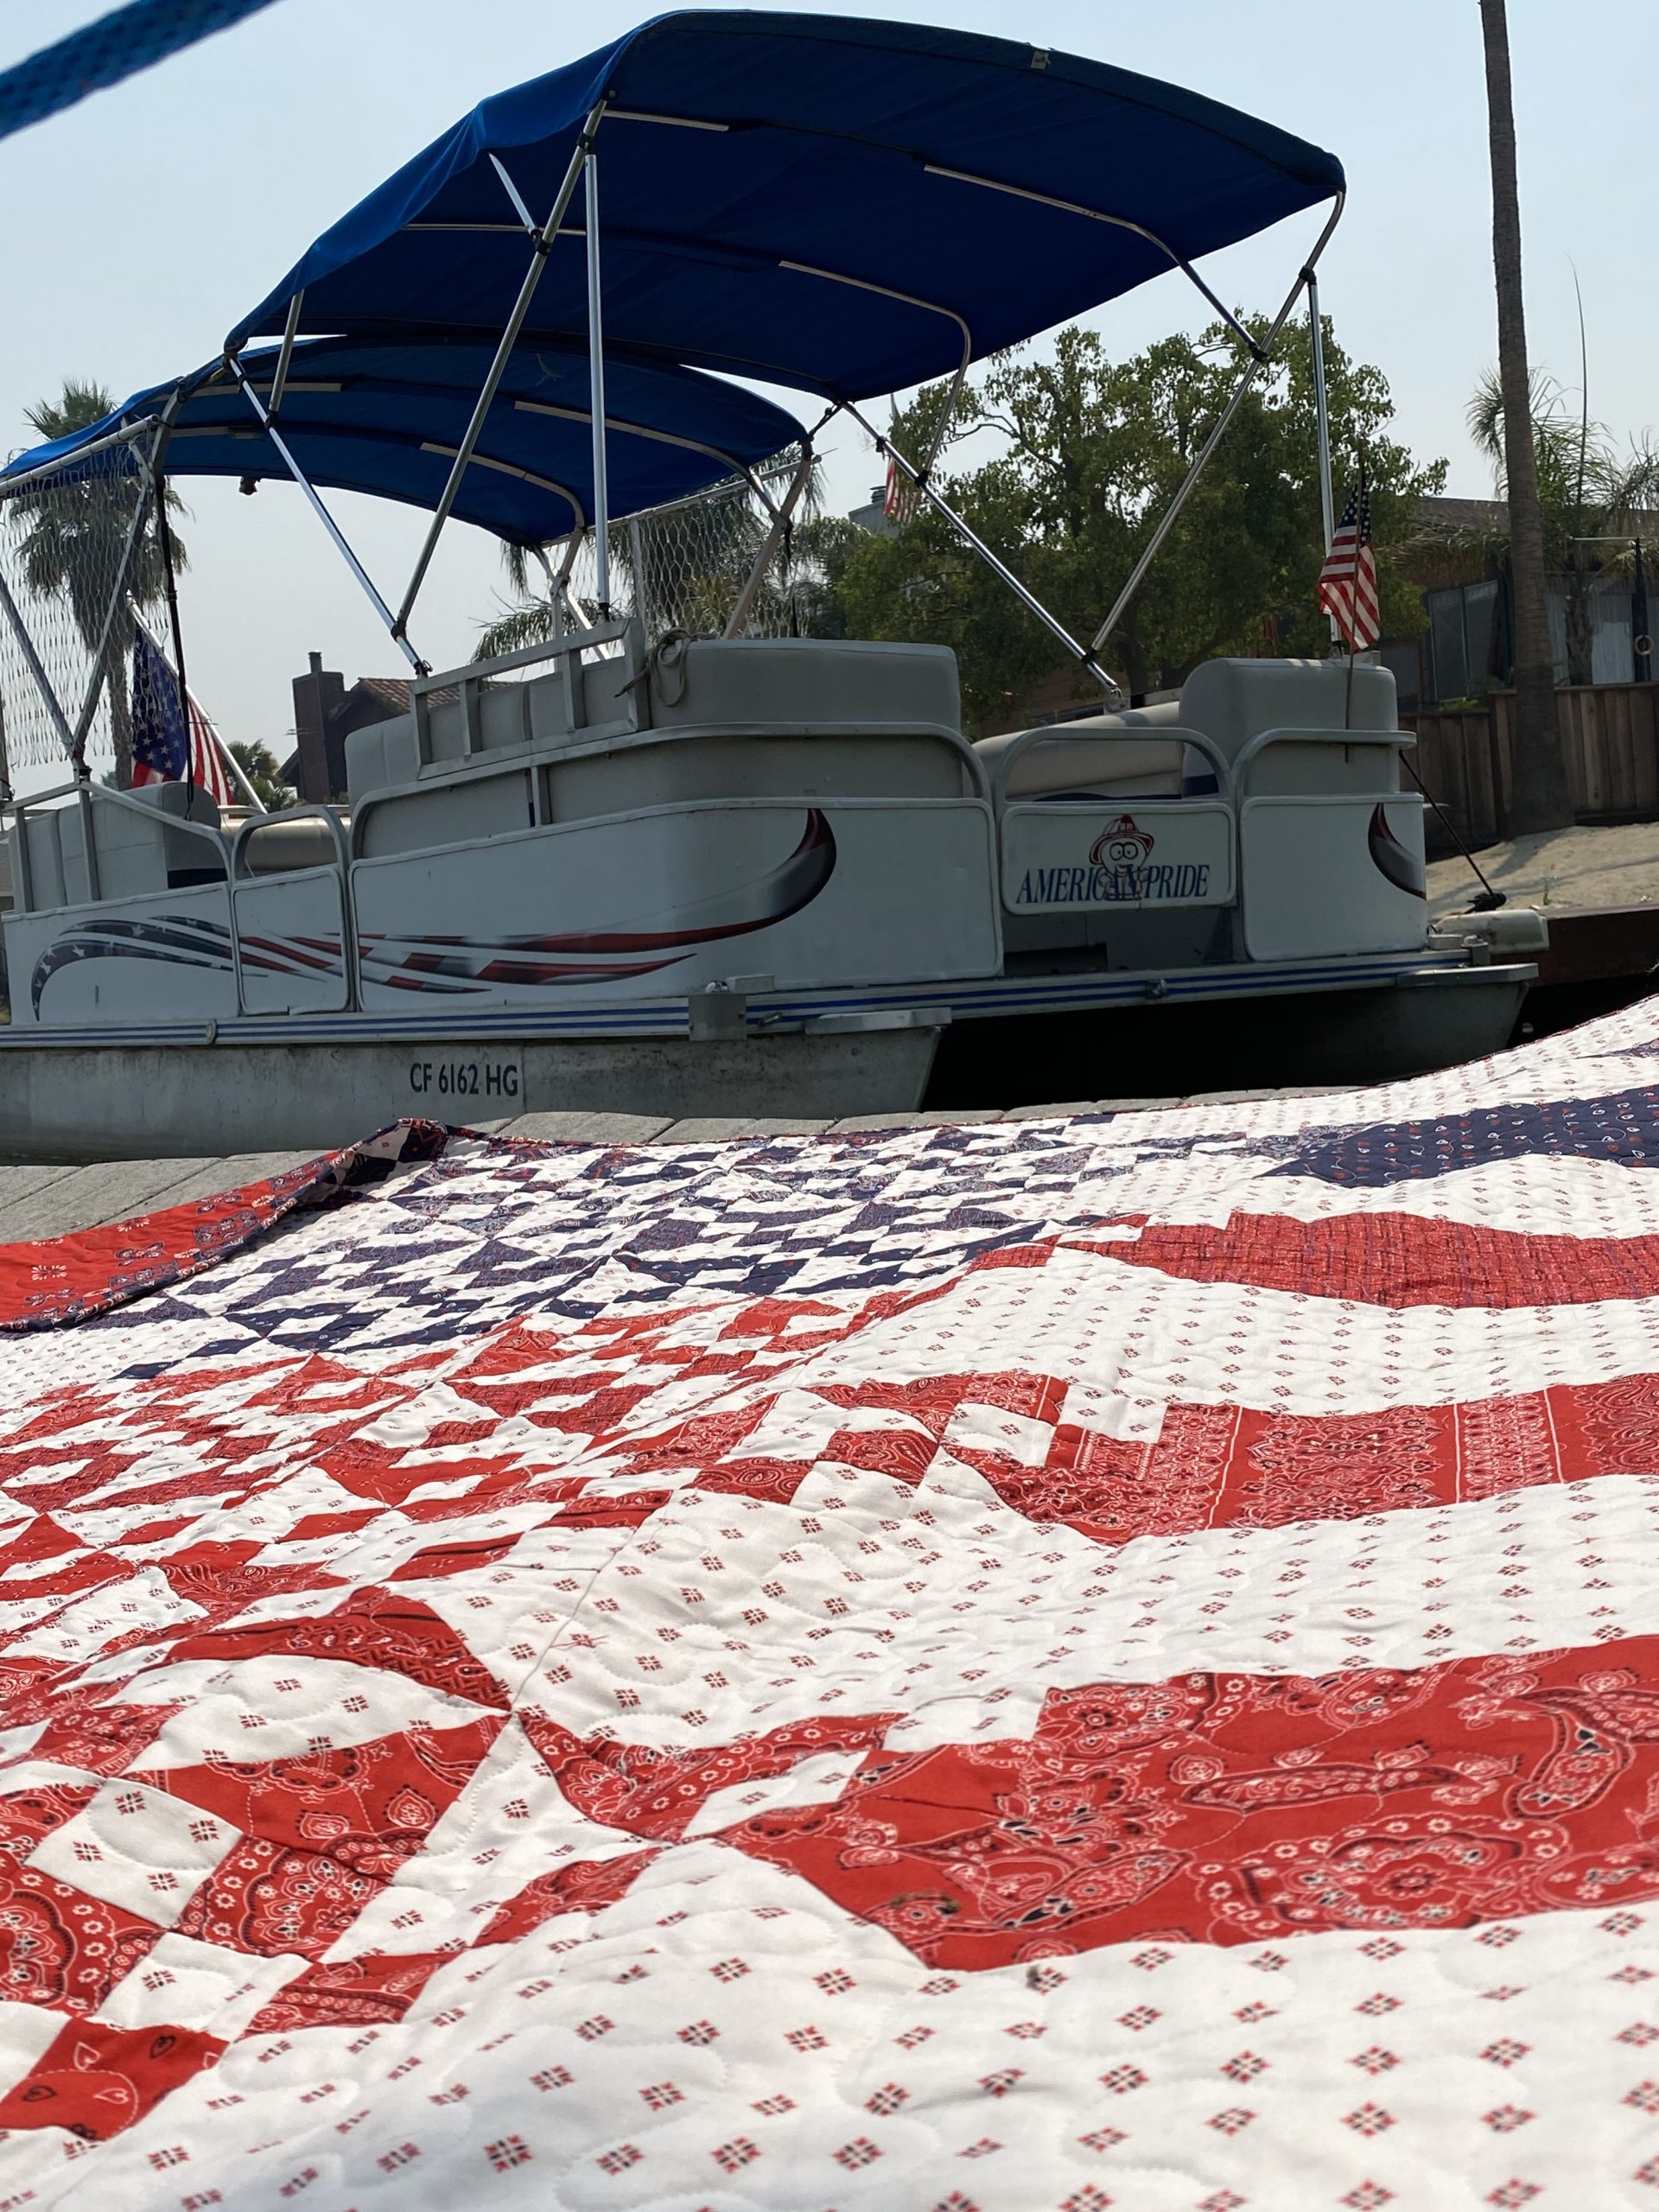
The first Monday of September is Labor Day. Already! Set out your red, white, and blue decor and enjoy sewing on this patriotic pattern.

We both miss you more than you’ll ever know. We look forward to when we can stitch face-to-face. In the meantime, stay safe and sound. Try out Zoom. We’ve found it a great way to connect with other quilters.

Hi Lo, Bye Lo!

Lo Ra Zmak

Let’s Start at the Back

We always start at the front, so today, let’s start at the back.

Let’s choose our backing fabric first. I was quilting grandbaby quilts for two of my friends this week.  Both chose minky backs.  I LOVE minky!  It is perfect for cuddly baby quilts. Nancy fell in love with Michael Miller’s Animal Alphabet minky.

For the front, she chose solid Michael Miller Cotton Couture in complimentary colors.  The quilt pattern is called Fresh, in a book called Simply Retro by Camille Roskelley.

Katheline chose Michael Miller’s Rosebud snuggle solid pink minky for the back of her Granddaughter’s quilt.  So incredibly soft!!!
Her quilt pattern is called Bona Fide by Material Girlfriends.  I love how Katheline fussy cut her Michael Miller Fairy fabrics for the center of the blocks!

A few tips for quilting your quilt with a minky backing:

  • If you are quilting on your domestic machine spray baste AND use safety pins.  It does like to slide around a bit. Keep the quilt design loose. The best thing about minky is it’s drape, so don’t over quilt it.
  • If you are quilting with a long arm, be sure the stretch of the minky is from side to side and no stretch from top to bottom. Pin and baste the top and sides of the quilt top and then use your side clamps.
  • Don’t seam minky backing for long arm quilting. Never. It will lead to four letter words and/or heavy drinking.
  • On occasion, the long fibers of minky can be pulled to the top of the quilt as the stitch is made. If this happens, you can use a hair brush to brush the minky back.

Here are a couple more dreamy examples of other minky backed quilts:  Confetti Star by Material Girlfriends is backed with a thick soft long haired brown minky.

Recovery Quilt by Material Girlfriends, has a luxurious pea green minky.
A Material Girlfriend Mystery quilt called Bricks and Window is adorned with Michael Miller’s Silky Minky dot purple.
My family always grab the minky backed quilts first! It’s comforting, soft, and cozy. Another advantage is that unlike fleece or flannel, minky doesn’t collect pet hair! So I can cuddle with our old puppy and not worry about his fur clinging to my quilt.
So next time you think about starting a quilt, begin with the back!
Lora

What Makes a Good Recipe?

Flexibility, good ingredients, and ease. Inspired by Michael Miller’s new panel, Mon Ami, we decided to cook up a new pattern. The trouble with panel patterns are not all panels are the same size. Therefore, panel patterns are really limited. We needed one that would be flexible, have good ingredients, and easy to put together.

With any good recipe, start with your main ingredient, the panel. The pattern example uses Mon Ami fabric panel by Michael Miller Fabrics. The panel size is 2/3 yard by WOF [Width of Fabric] before trimming. It was just too pretty. What you can’t see in the tiny picture is the lovely marble background and the lush deep colors of this panel.

The other good ingredients for this panel are the beautiful fabrics in the Mon Ami line. Check out this Michael Miller’s link to see all the coordinating fabrics.

The Panel Sampler Recipe Pattern was designed to give you flexibility and control. By changing just a few design ingredients, you have the ability to create a variety of flavors. You can customize your quilt around the size of your panel. The design options are given in 3” increments, making your panel project a successful experience to design and sew.

We’ve made two versions of the Mon Ami while testing this pattern. The first uses the whole panel. The second trims the panel down to just the bouquet.

The examples below show how the Panel Sampler Recipe Pattern can be customized to fit any size panel, full cut or a portion of the cut. Since panels come in many shapes and sizes, having the design flexibility of 3” increments allows you to fit a fun sampler design to the panel size of your choosing.

Fabric requirements: 1 panel, 3 fat quarters of light, 3 fat quarters of medium and 3 fat quarters of dark. If your panel is small, you’ll end up with a little extra fabric.

Because this sampler pattern booklet is so new, it hasn’t returned from the printers yet. But we decided to have an instant download available for a short time. Because, who likes to wait?! The printed version will resale at $16.95 and should be available in 2 weeks. Or you can visit our Etsy store today to purchase your instant download for half price, $8.00. Don’t wait to purchase the instant download. This really will be for a limited time only.

Check out these Panel Sampler Recipe quilts from our Gallery!

The eagle one was sewn up by Diana Garnhart. She said she recently bought the panel at Quilters’ Hollow in Stockton.

Ric-Rac added to the wheel gives it an animated look.We would love to see what you whip up with your panel and the Panel Sampler Recipe pattern. Send us a picture to Lisa@materialgirlfriends.com or share on your social media #PanelSamplerRecipePattern

Absewlutely,

Lisa Norton

Don’t Ruffle My Feathers

We were sent some beautiful batiks by Michael Miller Fabrics for the Peek into Batiks Monthly Sew Along. Check out the program here Peek into Batiks

These are the fabrics being used. I LOVE THEM! While waiting for the program to start, we just couldn’t keep our hands off.We made this cute 12 1/2″ block, “Don’t Ruffle My Feathers”.

In the Michael Miller Ambassador box we received in December, there was a bunch of ruffles included, 1″ Ruff Ruffles. My first response to the ruffle was, “What the heck am I suppose to do with this?”. Challenge accepted. We used the ruffle for the owl’s chest! The ruffle is a 100% cotton with a raw edge. Lora decided to try a permanent marker dye technique she had read about. Too fun!

You’ll need about 2 yards of ruffle. Start by wrapping the ruffle around a piece of cardboard. Then select Sharpie Markers in the colors you’d like to dye your ruffle. My ruffle is with tan speckles. Lora’s ruffle is yellow, orange, and pink to match the batik she wanted to use.

After you speckled the heck out of the white ruffle, spray or sprinkle Rubbing Alcohol on the dyed ruffle. This blurs the pen inks. Rinse with water until the water runs clear. Allow to dry.


Lora’s ruffle turned out great! It matched the batik fabulously. While you’re waiting for the ruffle to dry. Print out the appliqué pieces here. 12×12.DontRufflyMyFeathersOwl.Applique, DontRuffleMyFeathersOwl.AppliqueSheet1DontRuffleMyFeathersOwl.AppliqueSheet2 (Limited time only so don’t wait to download!) Be sure to tile at 100% size the 12×12 sheet and print 100% size the pieces sheets. Cut your background square at 12 1/2″.

I really like using Heatn’Bond EZ Print Lite Fusible sheets for double sided fusible appliqué. You can put your reversed appliqué images (already done for you in the download images above) on the glass of your home inkjet copier/printer. Then put one sheet of the EZ Print Lite Fusible product in the tray. Copy your images directly to the fusible web!! No tracing.
Next you’ll trim out your images, 1/4” from the outer edges and then “window pane” the larger images by trimming a 1/4” on the inside of the lines. This gives your appliqué a soft feel instead of being stiff from too much fusible product.

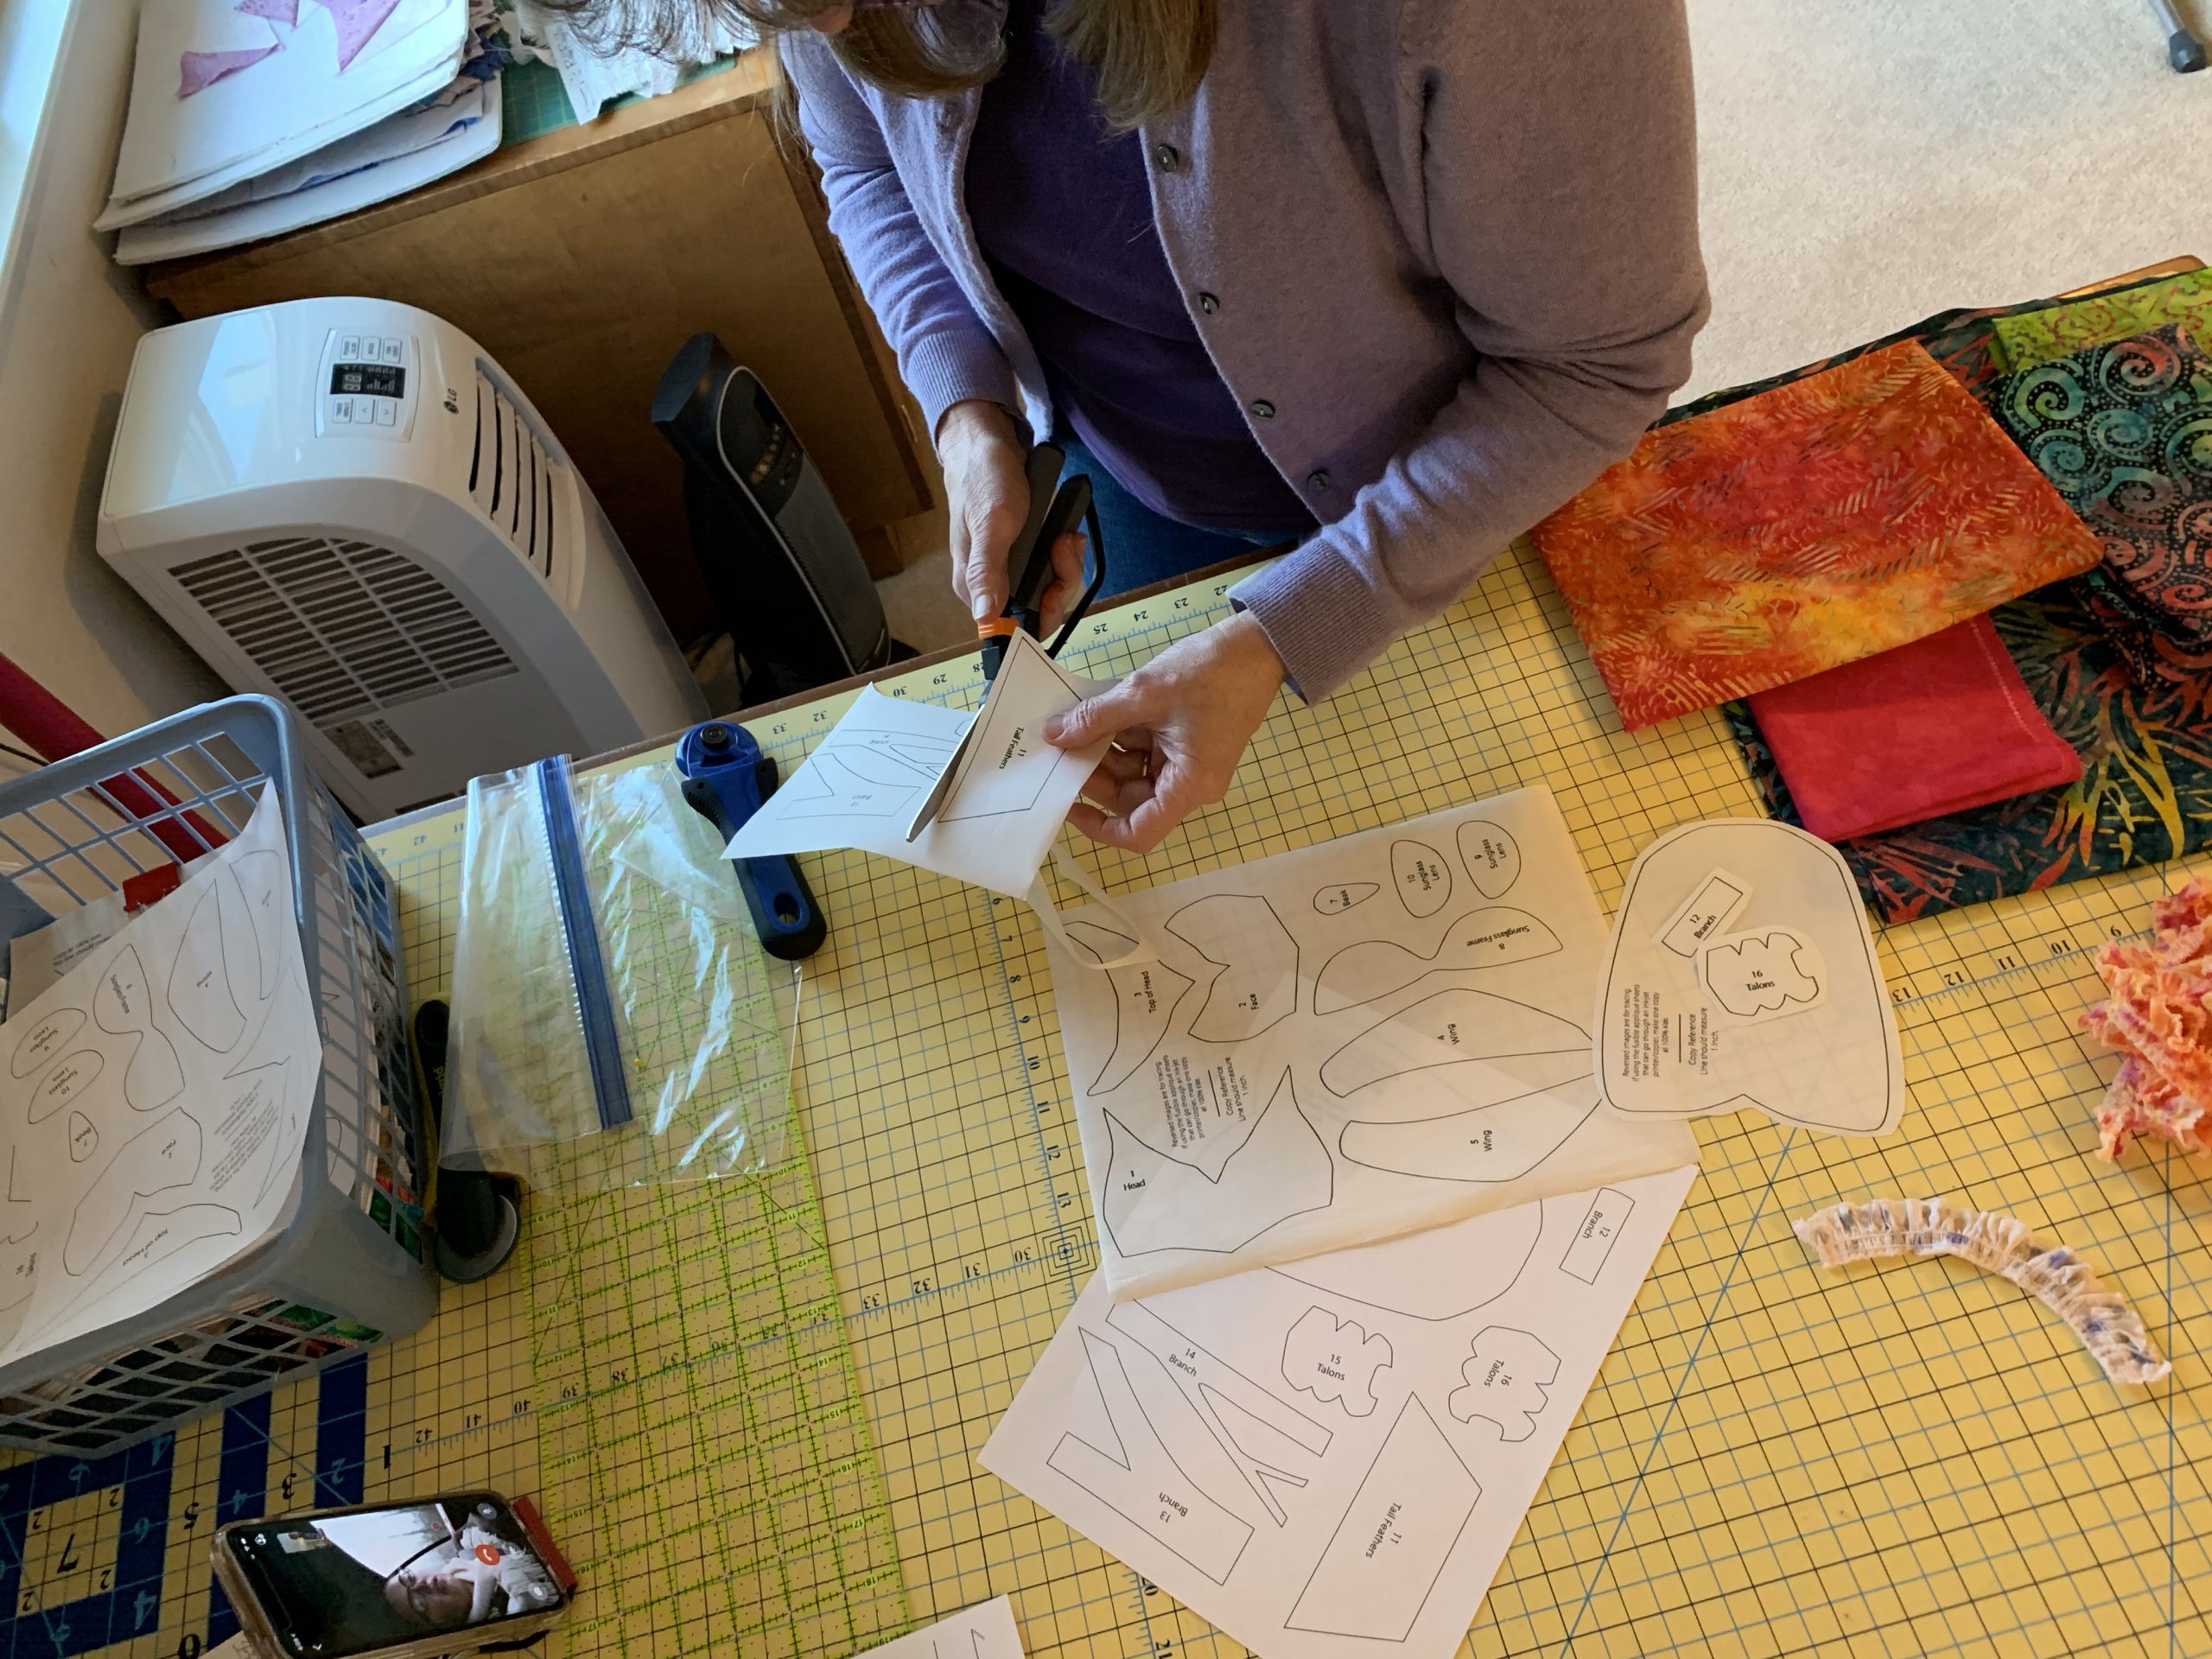
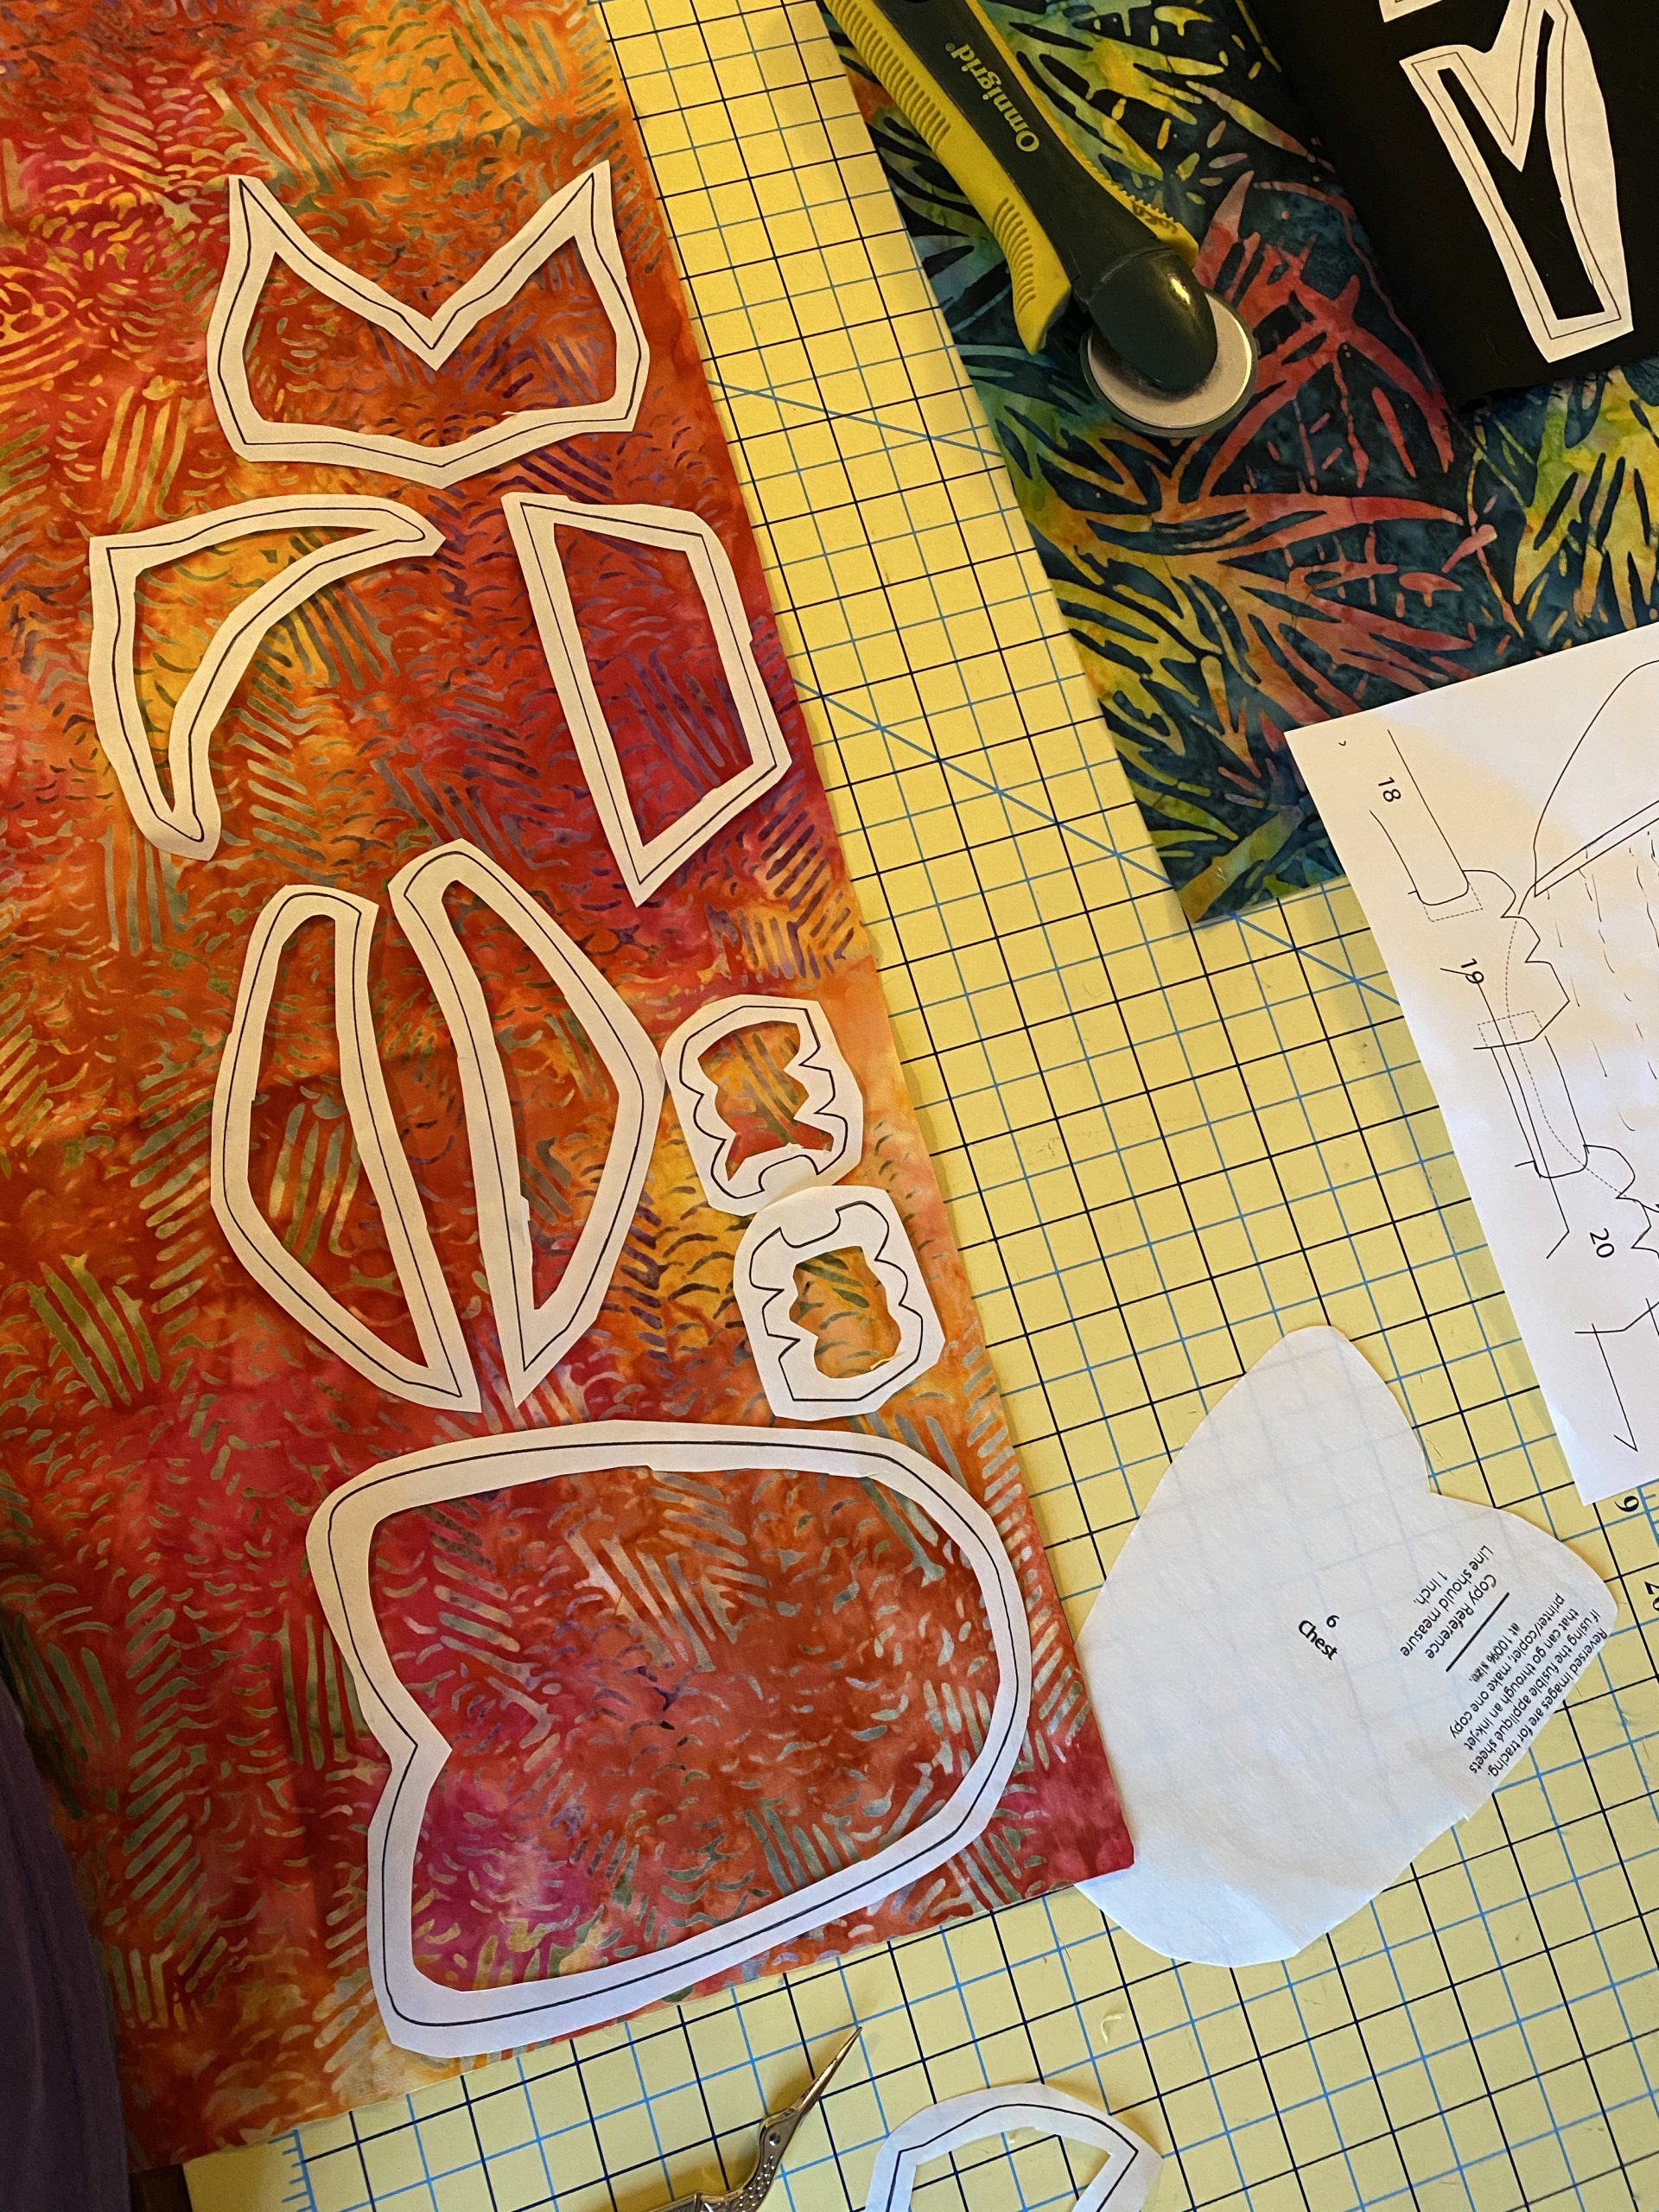
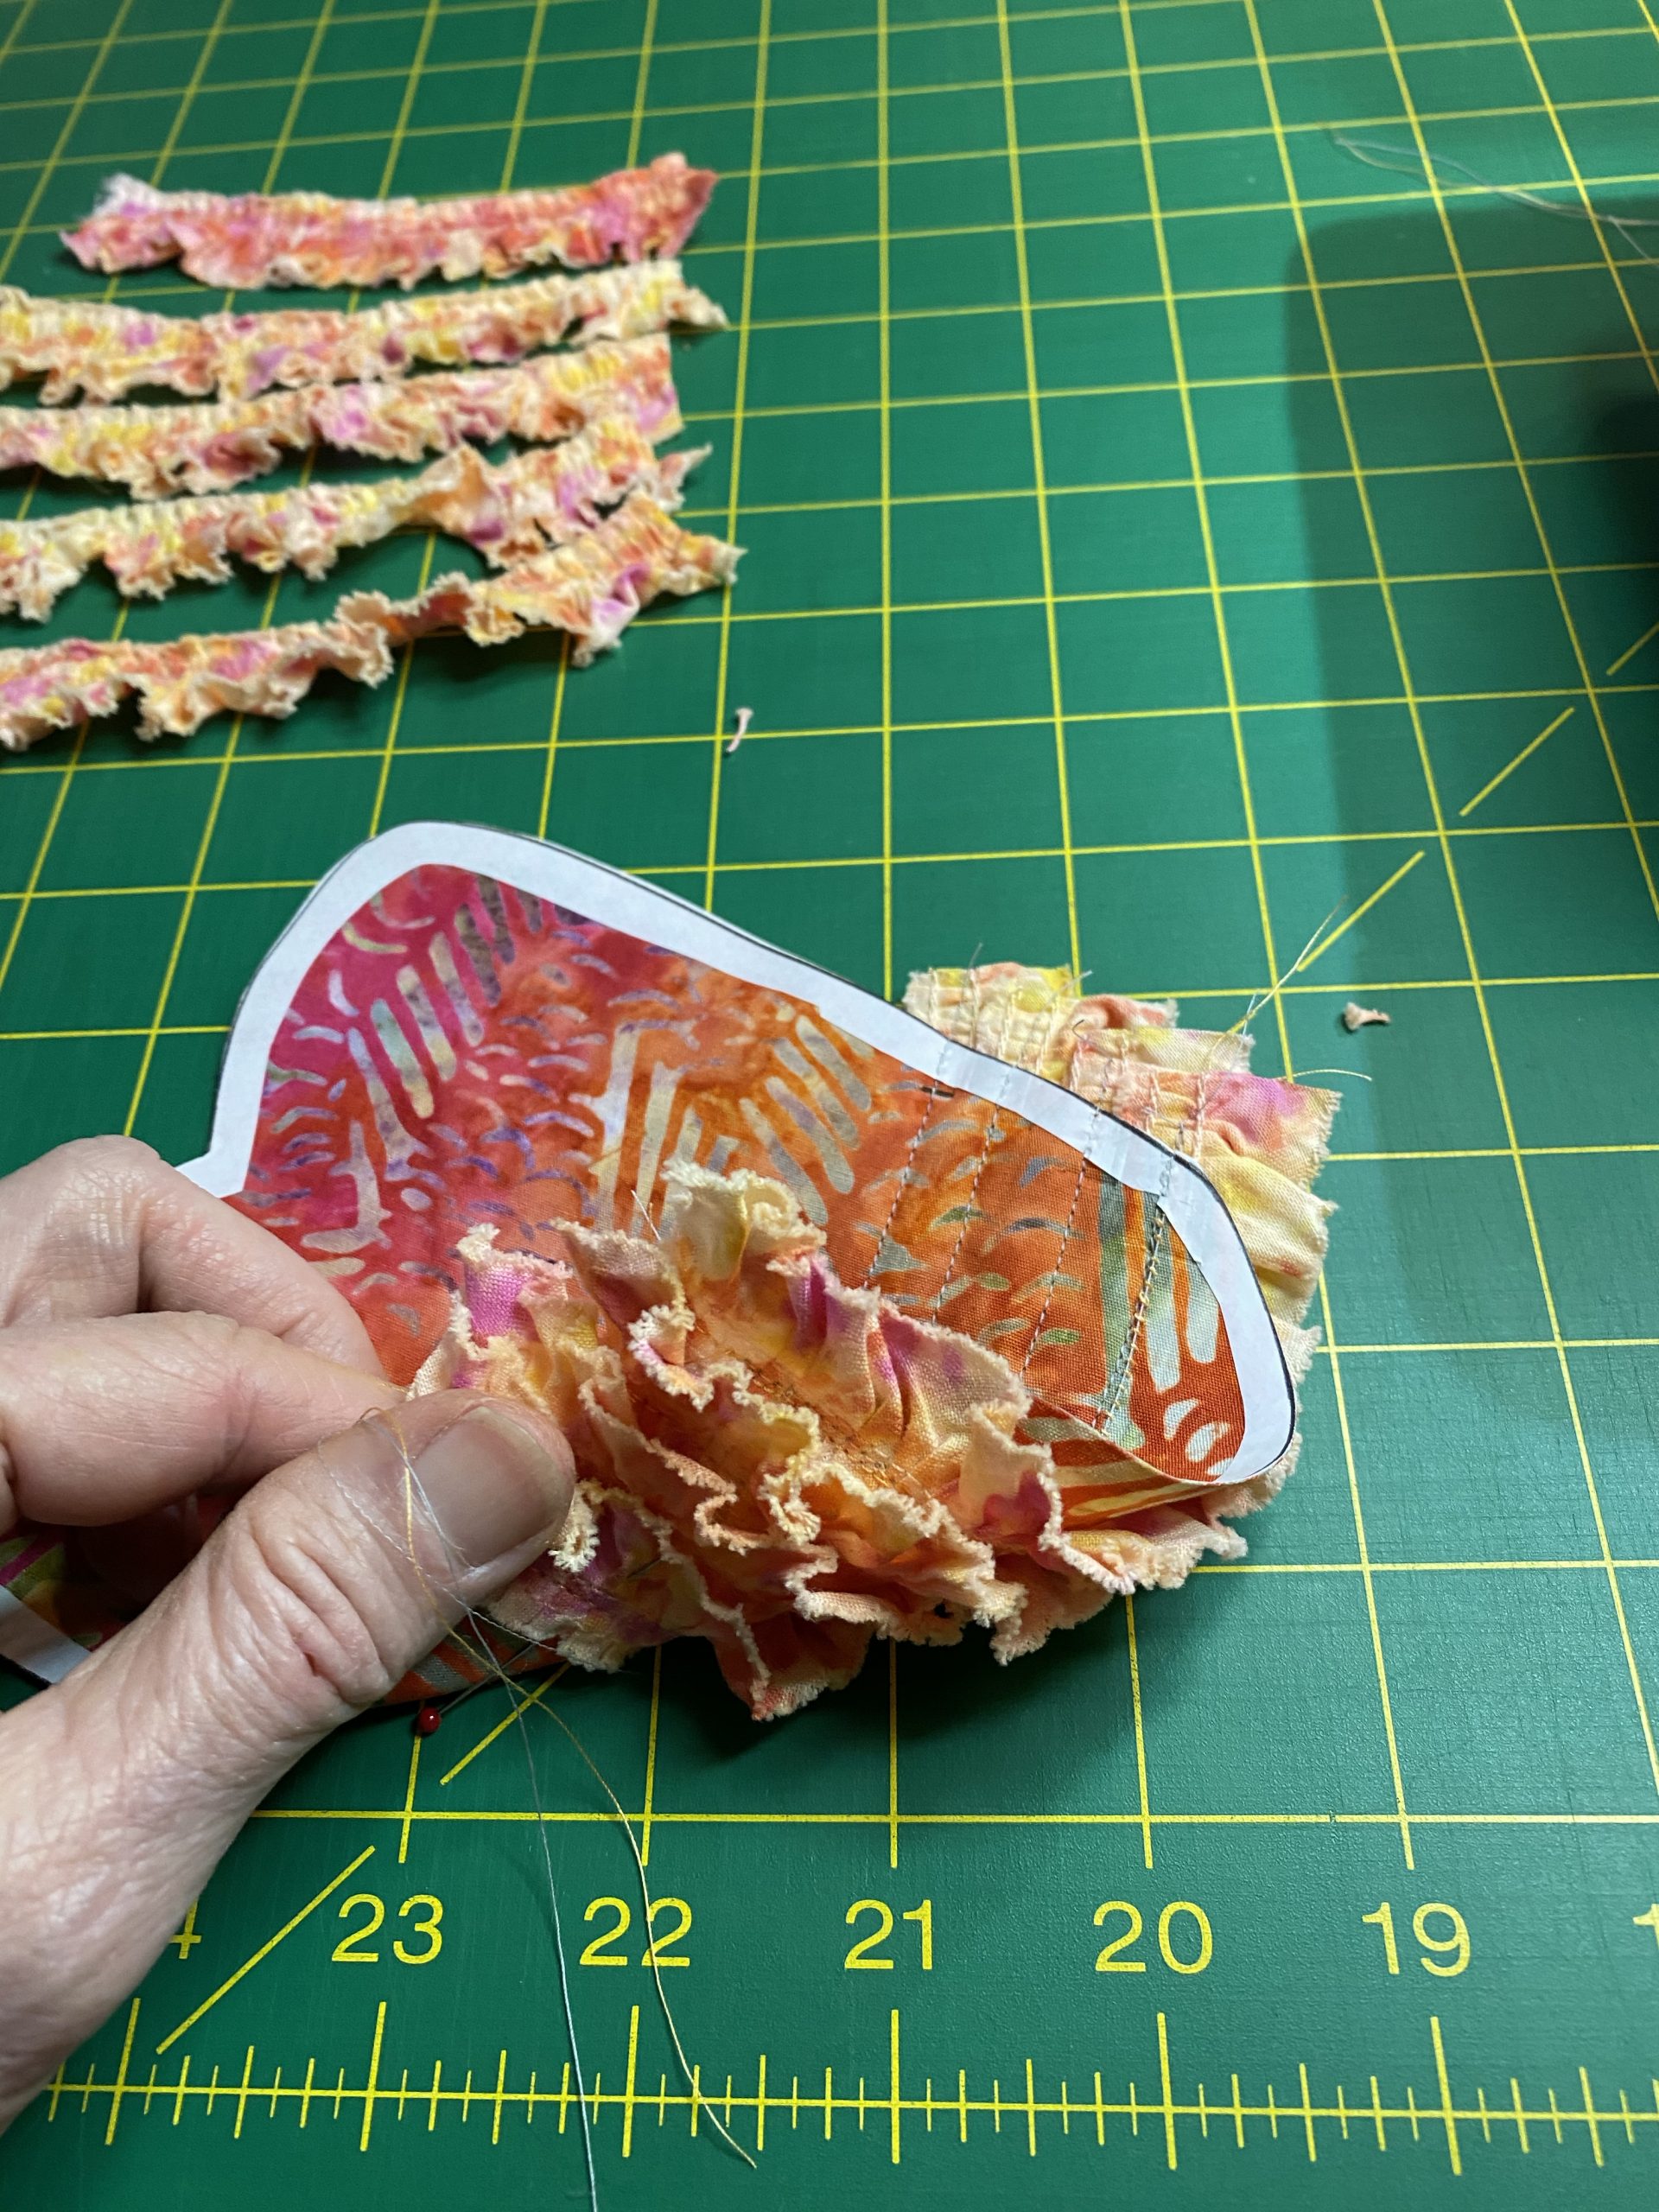
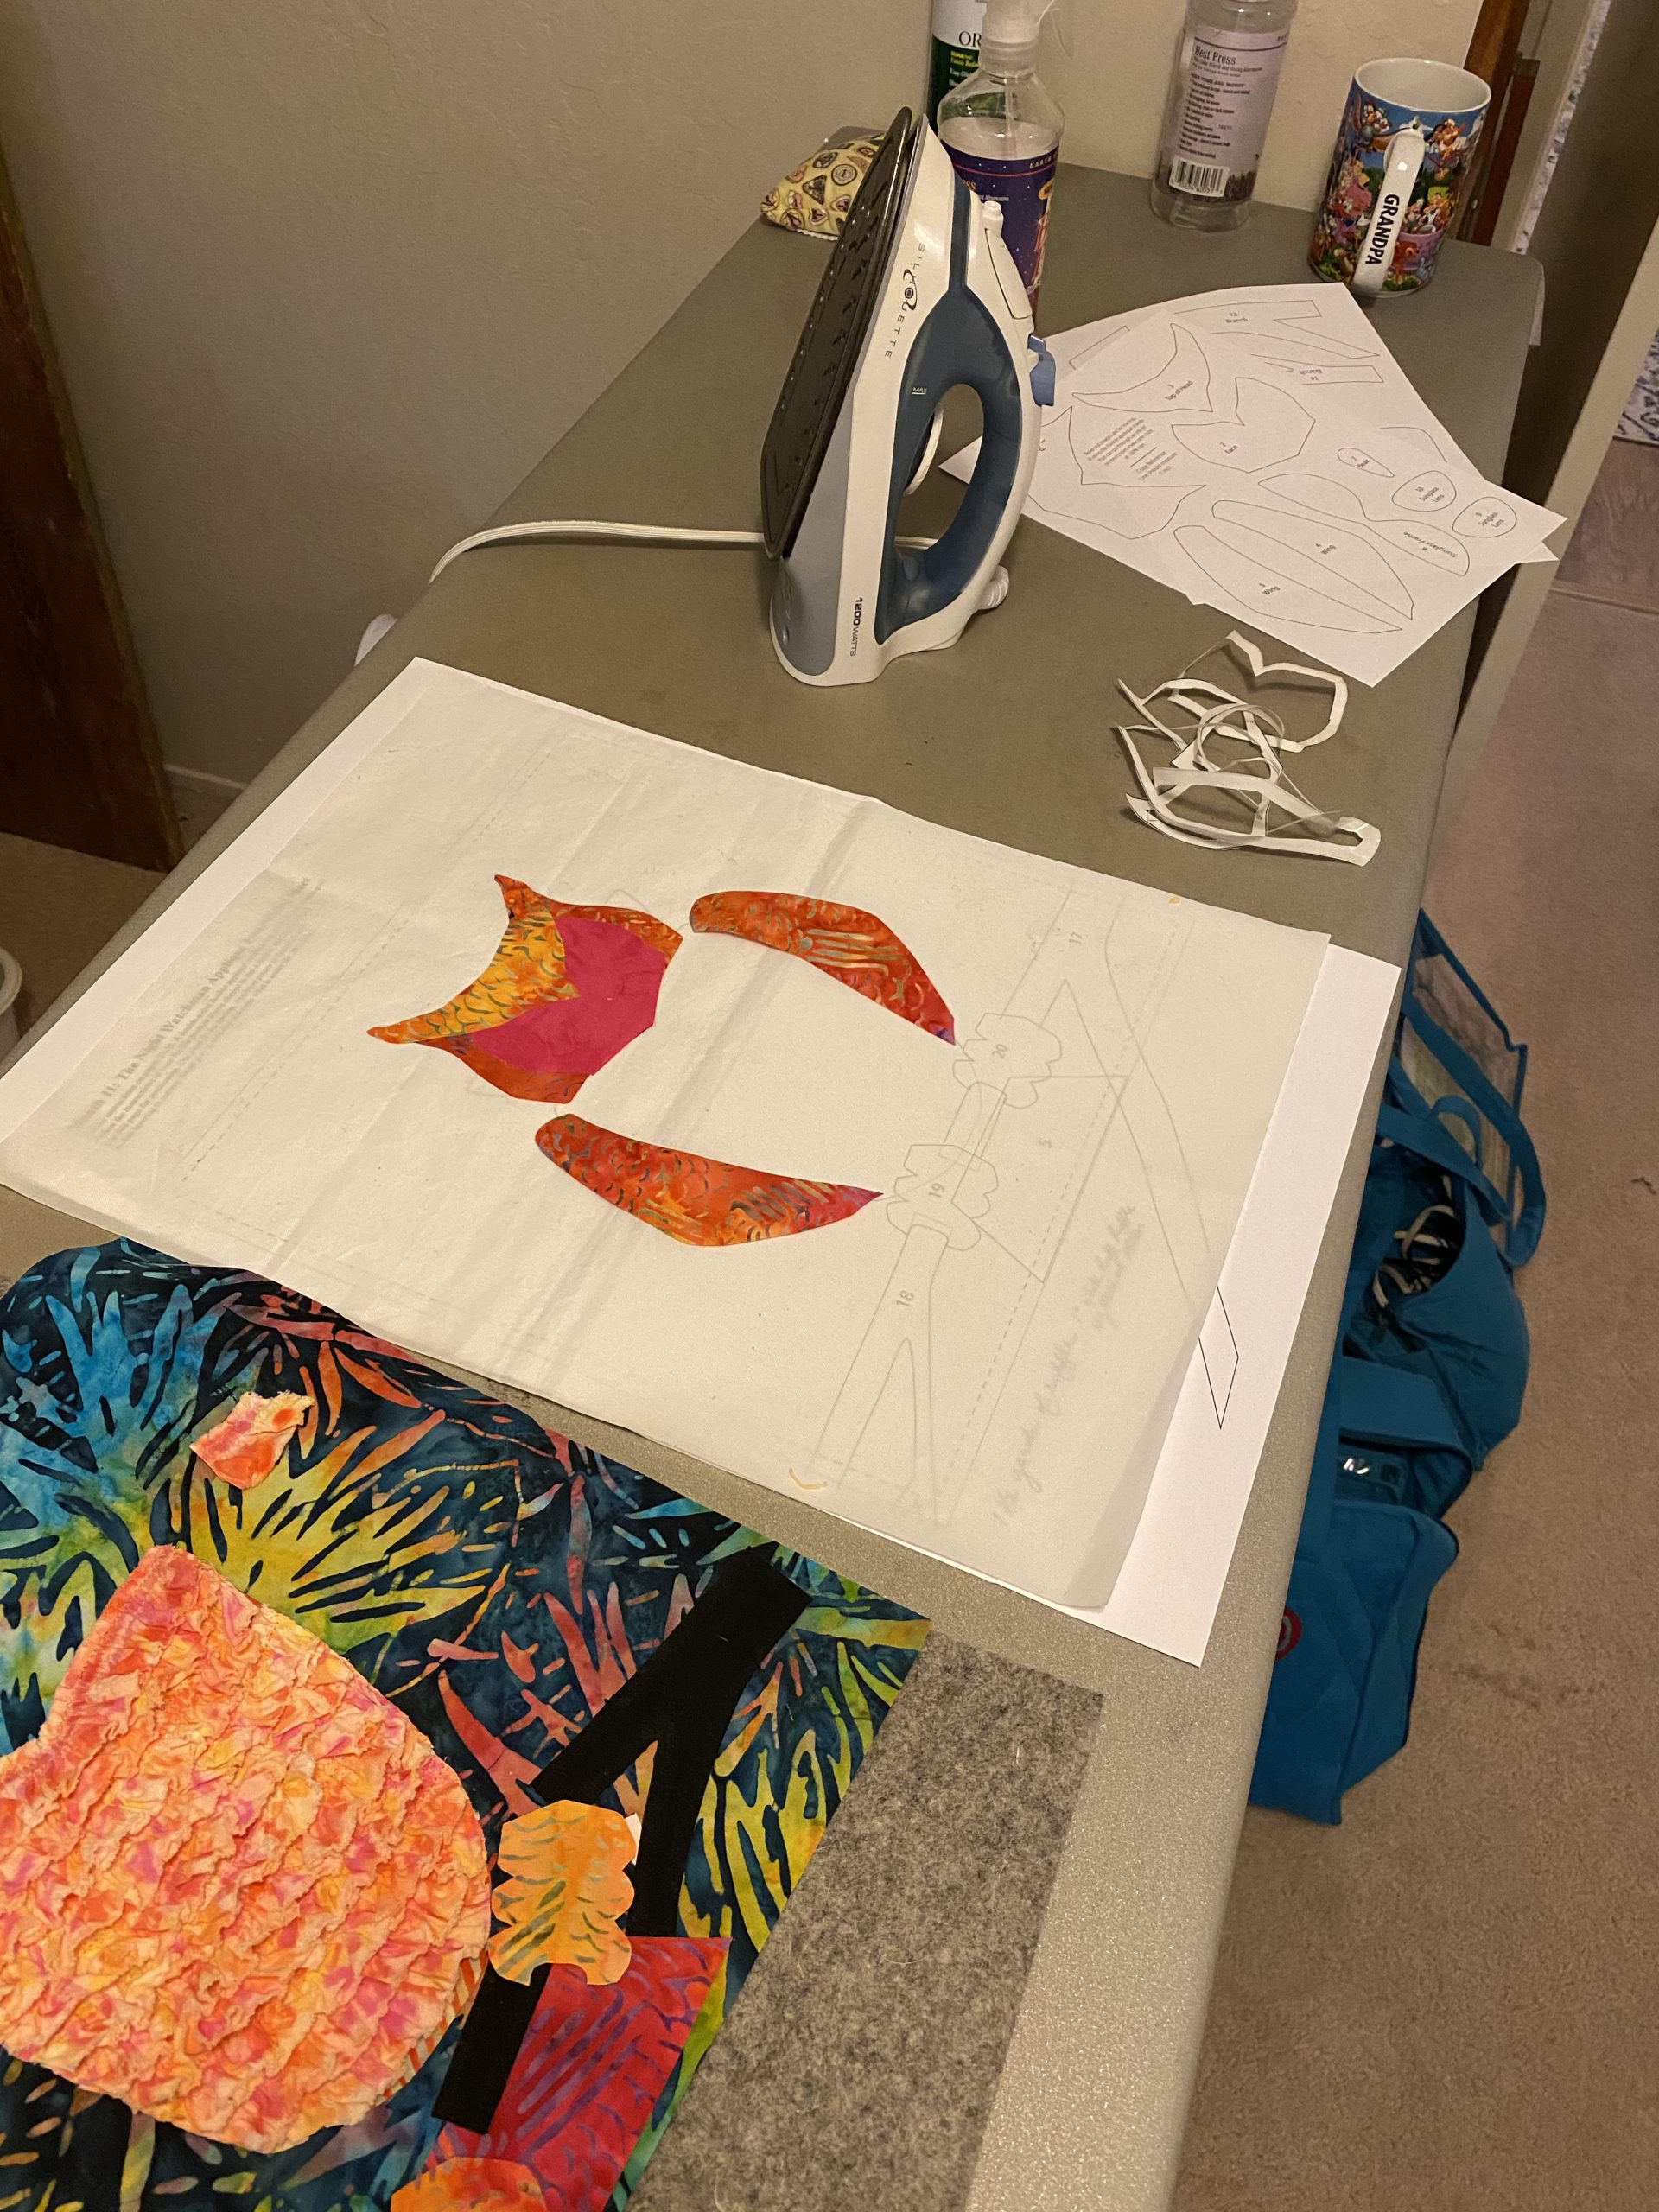
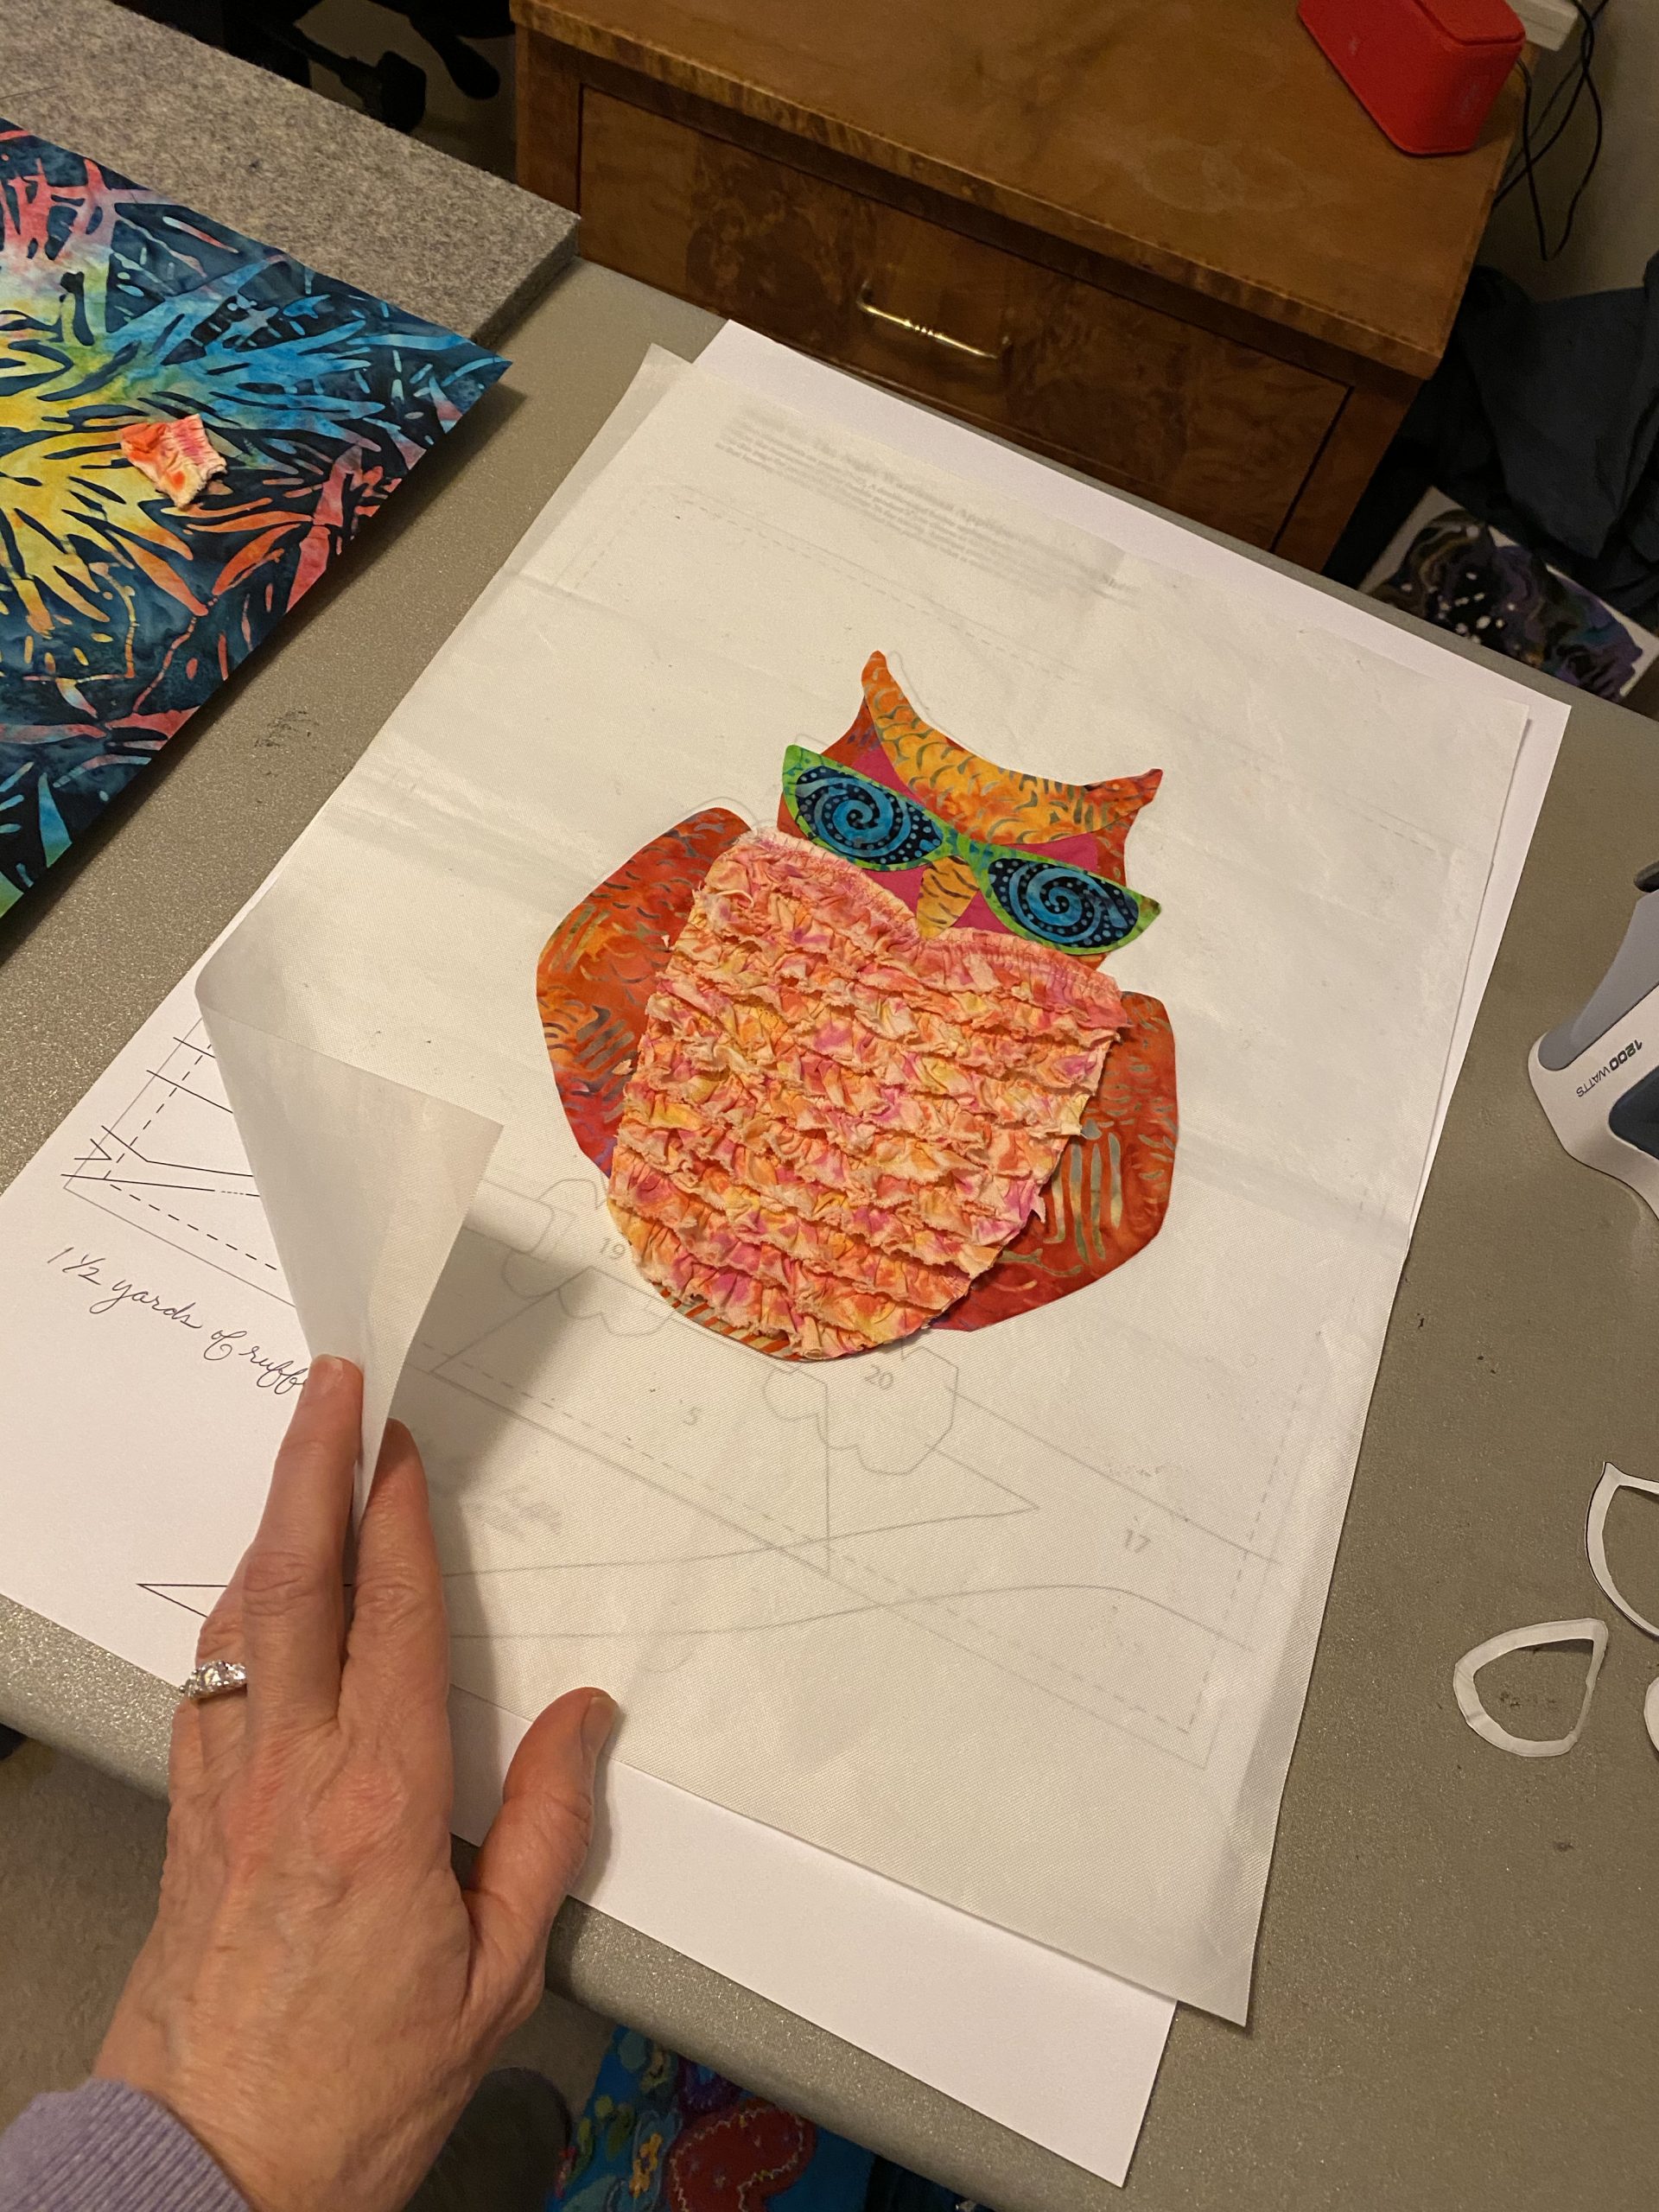
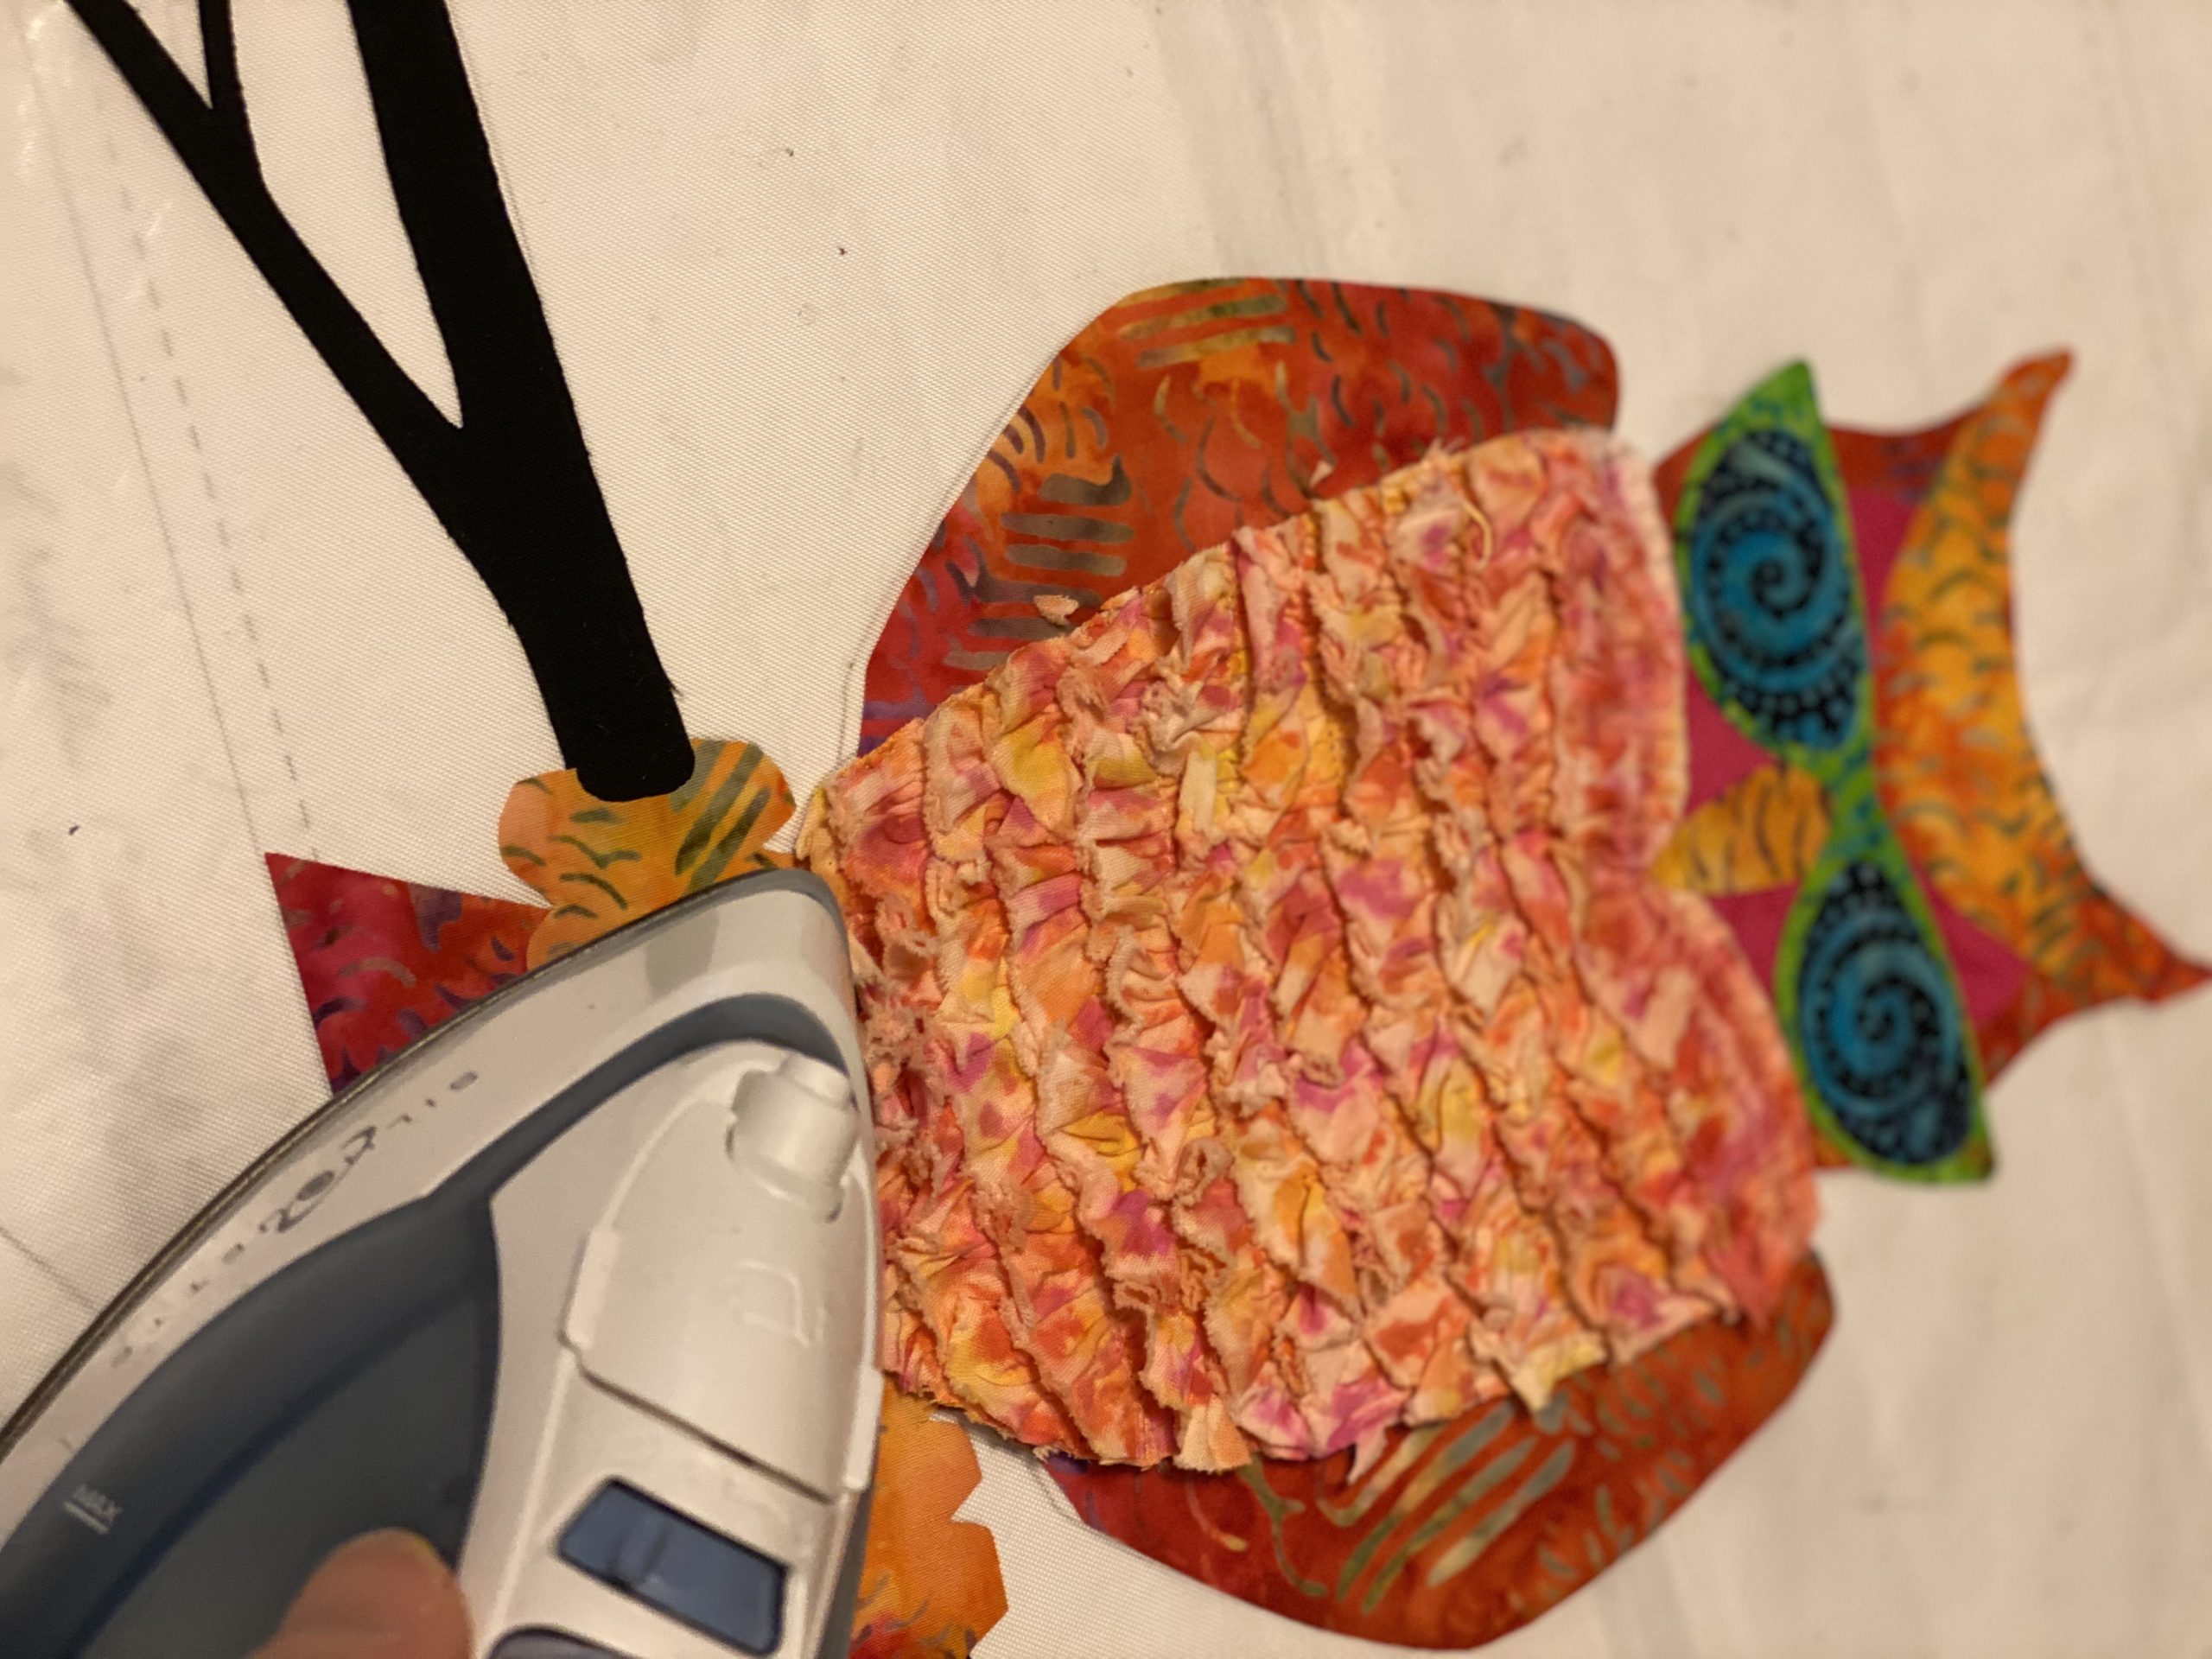
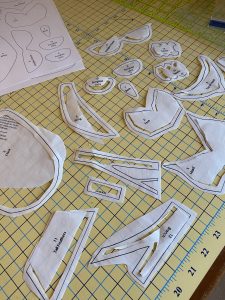
Fuse for just a couple seconds to the wrong side of your fabric. Trim out on the line.
Trim your dyed ruffle just a bit wider than the chest of the owl. Beginning at the bottom, sew a ruffle on about every inch allowing about half an inch of ruffle to show with each layer.  Lora added 11 rows of ruffle. Trim off the excess ruffle on each side. Remove the fusible paper around the edge and it is ready to fuse to your background! 
Since the background is dark, it is easier to layer your appliqué pieces on a white fusible teflon sheet on top of the 12×12 positioning sheet. Position your owl and branch pieces and then lightly fuse the pieces together with a light tap of the iron. Just enough to hold the pieces together. Then peel the entire fused unit off the teflon sheet. Lay on the 12 1/2″ square and fuse into place.

Add a blanket stitch in coordinating threads around the edges of the appliqué pieces.
Yes, Lora put the 12 1/2″ square on her long arm. Quilt as desired, bind and enjoy on your wall or stand or make into a pillow or tote!

Too much fun! Yes, I suppose we’ll have to order more fabric for the Sew Along, but I’m okay with that.

Absewlutely,

Lisa Norton

I Have an Idea

“I have an idea,” Lora said.

My first thought was with a smile, is it going to get us in trouble?

Lora and I are identical twins, but we’re not ‘two peas in a pod’; instead, we are like ‘two sides of the same coin’. I’m Heads and she’s Tails. I know how that sounds, lol. I don’t mean I’m the brains of the operation, nor does Lora follow me around as a tail. I’m a Starter, and she’s a Finisher. I do most of the design work. We both piece, and then Lora finishes the quilt with her amazingly artistic, free-motion quilting. When Lora says she has an idea, I take note. Even though she doesn’t design often, when she does, it’s brilliant.

“What’s your idea?” I asked. We had just finished Lisa’s Finishing School at In Between Stitches. It is a fun, Open-Sew-with-Help, type class, every first and third Saturday evenings. While unplugging irons, checking doors, and turning off lights, we were discussing my “Design To-Do” list. Or mostly, I was discussing, and Lora was politely not listening.

“I have an idea,” she repeated. “Just a sec.” and she runs off into the already darkened quilt shop. She finds a paper towel and pen, and after a moment of sketching, she hands me the paper. I laughed right out loud, “This is fantastic! Too funny and very cute. I’ll keep this and draw it up into a Christmas Bite Size pattern.” It didn’t take me long to re-draw her sketch and write up the instructions. At our first opportunity, we sewed it up.

Lora’s quick sketch

Re-drawn by Lisa

Drawn again on the computer with Illustrator by Lisa

Lora worked on the elf appliquéOops! I almost sewed it right.

Deciding on the hat embellishment. Pom-pom all the way.

If you’re not familiar with the naughty elf tradition, you’ll want to google “Elf on the Shelf” and “Elves Behaving Badly.” They are the inspiration for this funny block. The skinny elf causes mischief when you’re not looking or when you’re asleep. I almost sewed up the Variable Star the correct way. Lora caught me before sewing it correctly wrong! That little elf was up to no good! Lora quilted this 12″ Bite Size quilt on her long-arm. Yes. She. Did.

On December 15, 11am-4pm, Lora and I will be teaching a lecture/project class called “How a Quilter is Pieced” at In Between Stitches. The light-hearted lecture and small trunk show are about the different quilting personalities, and then we will sew up this cute naughty elf block. The pattern and kit (just like the example shown) are included in the class fee. Join us! Last time I checked there was about 6 seats left.

We had never offered a digital download pattern before so we thought this would be a good one to try. We are calling this naughty elf “Christmas Mischief Bite Size Pattern” for $4.95. Lora posted a few pictures online, and the digital pattern orders were astounding! Lora is brilliant. Don’t worry, if you prefer to have a hard copy we can get you one of those too.

Time to bust out the Christmas decorations and some nog. Christmas is just around the corner. I hope you enjoy a little Christmas Mischief too!

Absewlutely,

Lisa Norton