Making My List, Checking It Twice, part 2a

by Judy White

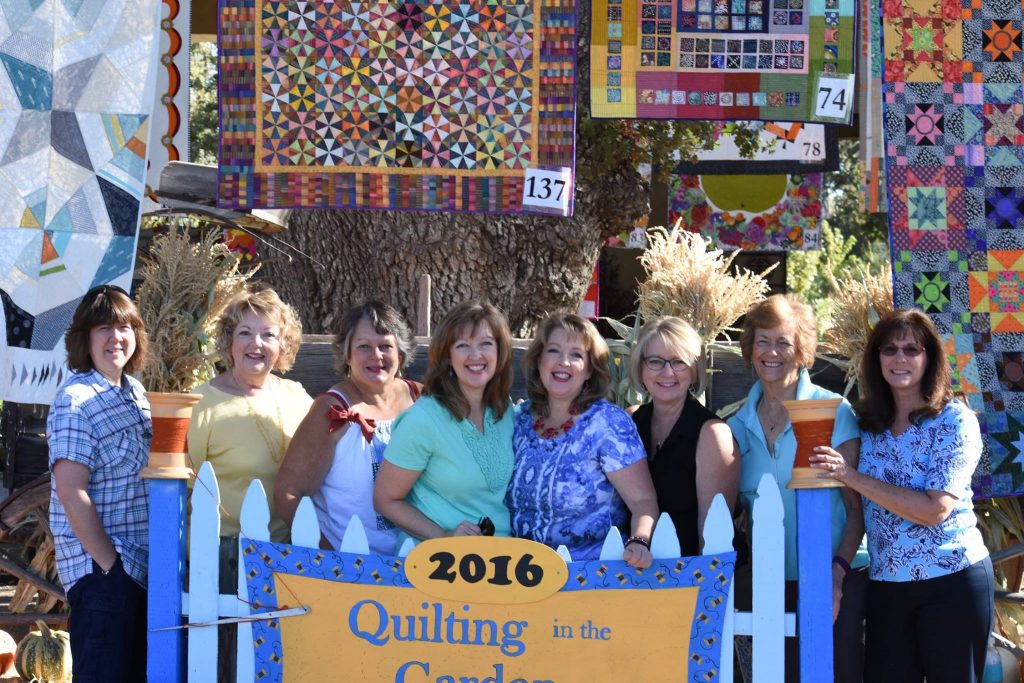
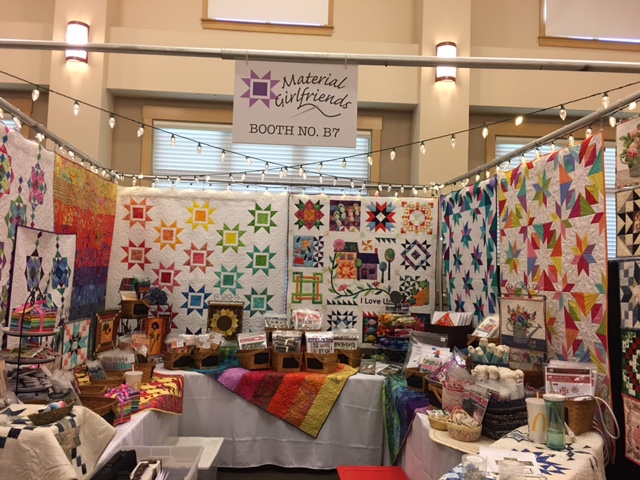
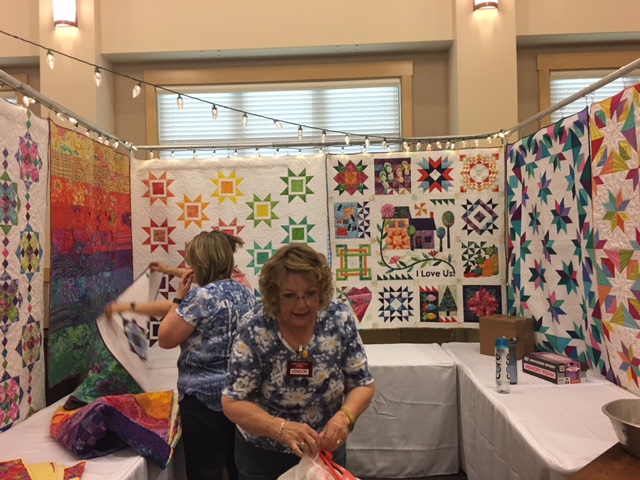
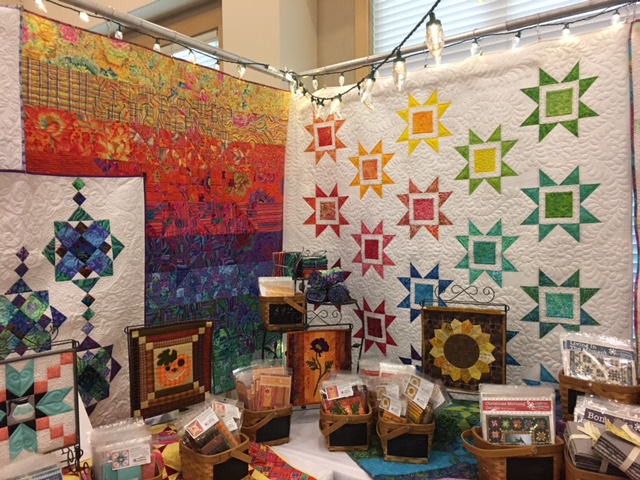
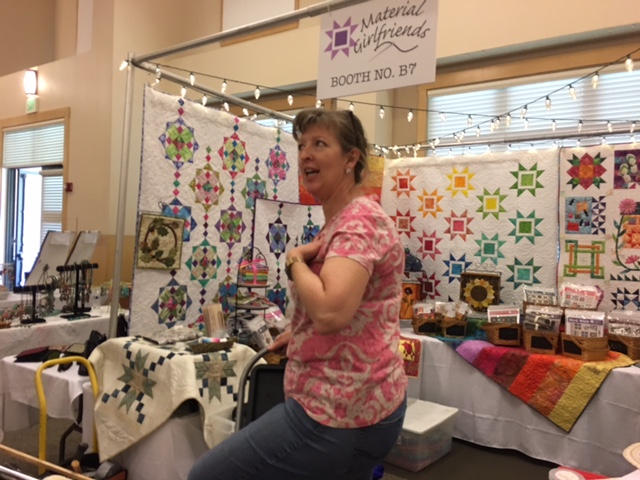
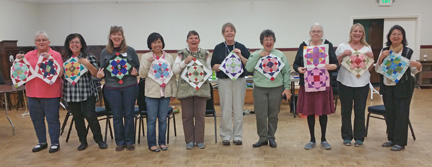
Quilting in the Garden September 2016 (Judy is third from the left)

Oh my…Lora and Lisa, the founders of Material Girlfriends are each such incredibly talented women, but they just wouldn’t be where they are and sewing a straight ¼ inch seam if it wasn’t for their village!  I know they’ll admit it and laugh, but it’s true…there is a LARGE village behind them, cheerleading and bragging (Carolyn and Doris), proofreading patterns* (Judy, Teresa, Katheline, Diana, Dianne, Jennie), testing patterns (Georgette, MG Slave Weeks), feeding them (retreats and MGSW), it goes on and on.  After reading “Making My List, Checking It Twice”, parts 1 & 2, I was thumping my head and wondering if they’d paid attention in the featherweight class at all?? 

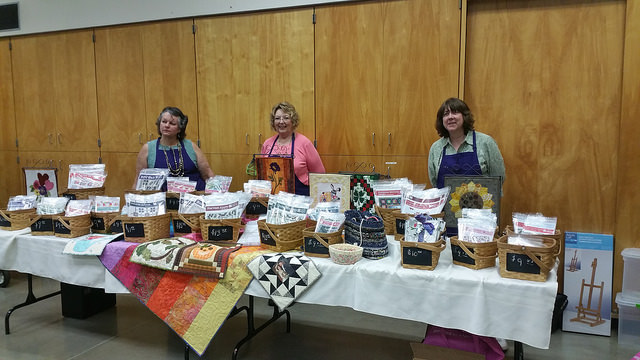
I should probably tell y’all, I’m their Judy. (The one on the left.) I’m that woman, no, not THAT woman who finishes every project and has it to show at the next class or guild meeting (and by finished, that’s the top, with all the applique, piecing and embellishments attached, quilted, bound AND labelled!).  No, I’m the other one…that woman who has a little of everything, including the tools, to fix stuff.  The other one you want to sit next to because she’ll help you solve…Stuff.  Stuff, like the sewing machine that’s got an attitude and has a thread in her crack that’s really uncomfortable!  When we meet for Material Girlfriend Retreats (or Slave Week), they bring their tired, their poor, their huddled masses of thread nests, gears and flywheels yearning to breathe and run free…Ok, just a little literary license there…So after being their Judy for years, they told me I should teach a class on maintaining Singer Featherweights…And they all came!  We had fun, but did they listen and remember to put some basic sewing machine tools on their ‘Making My List’ List??  No…Oh my thumped head!

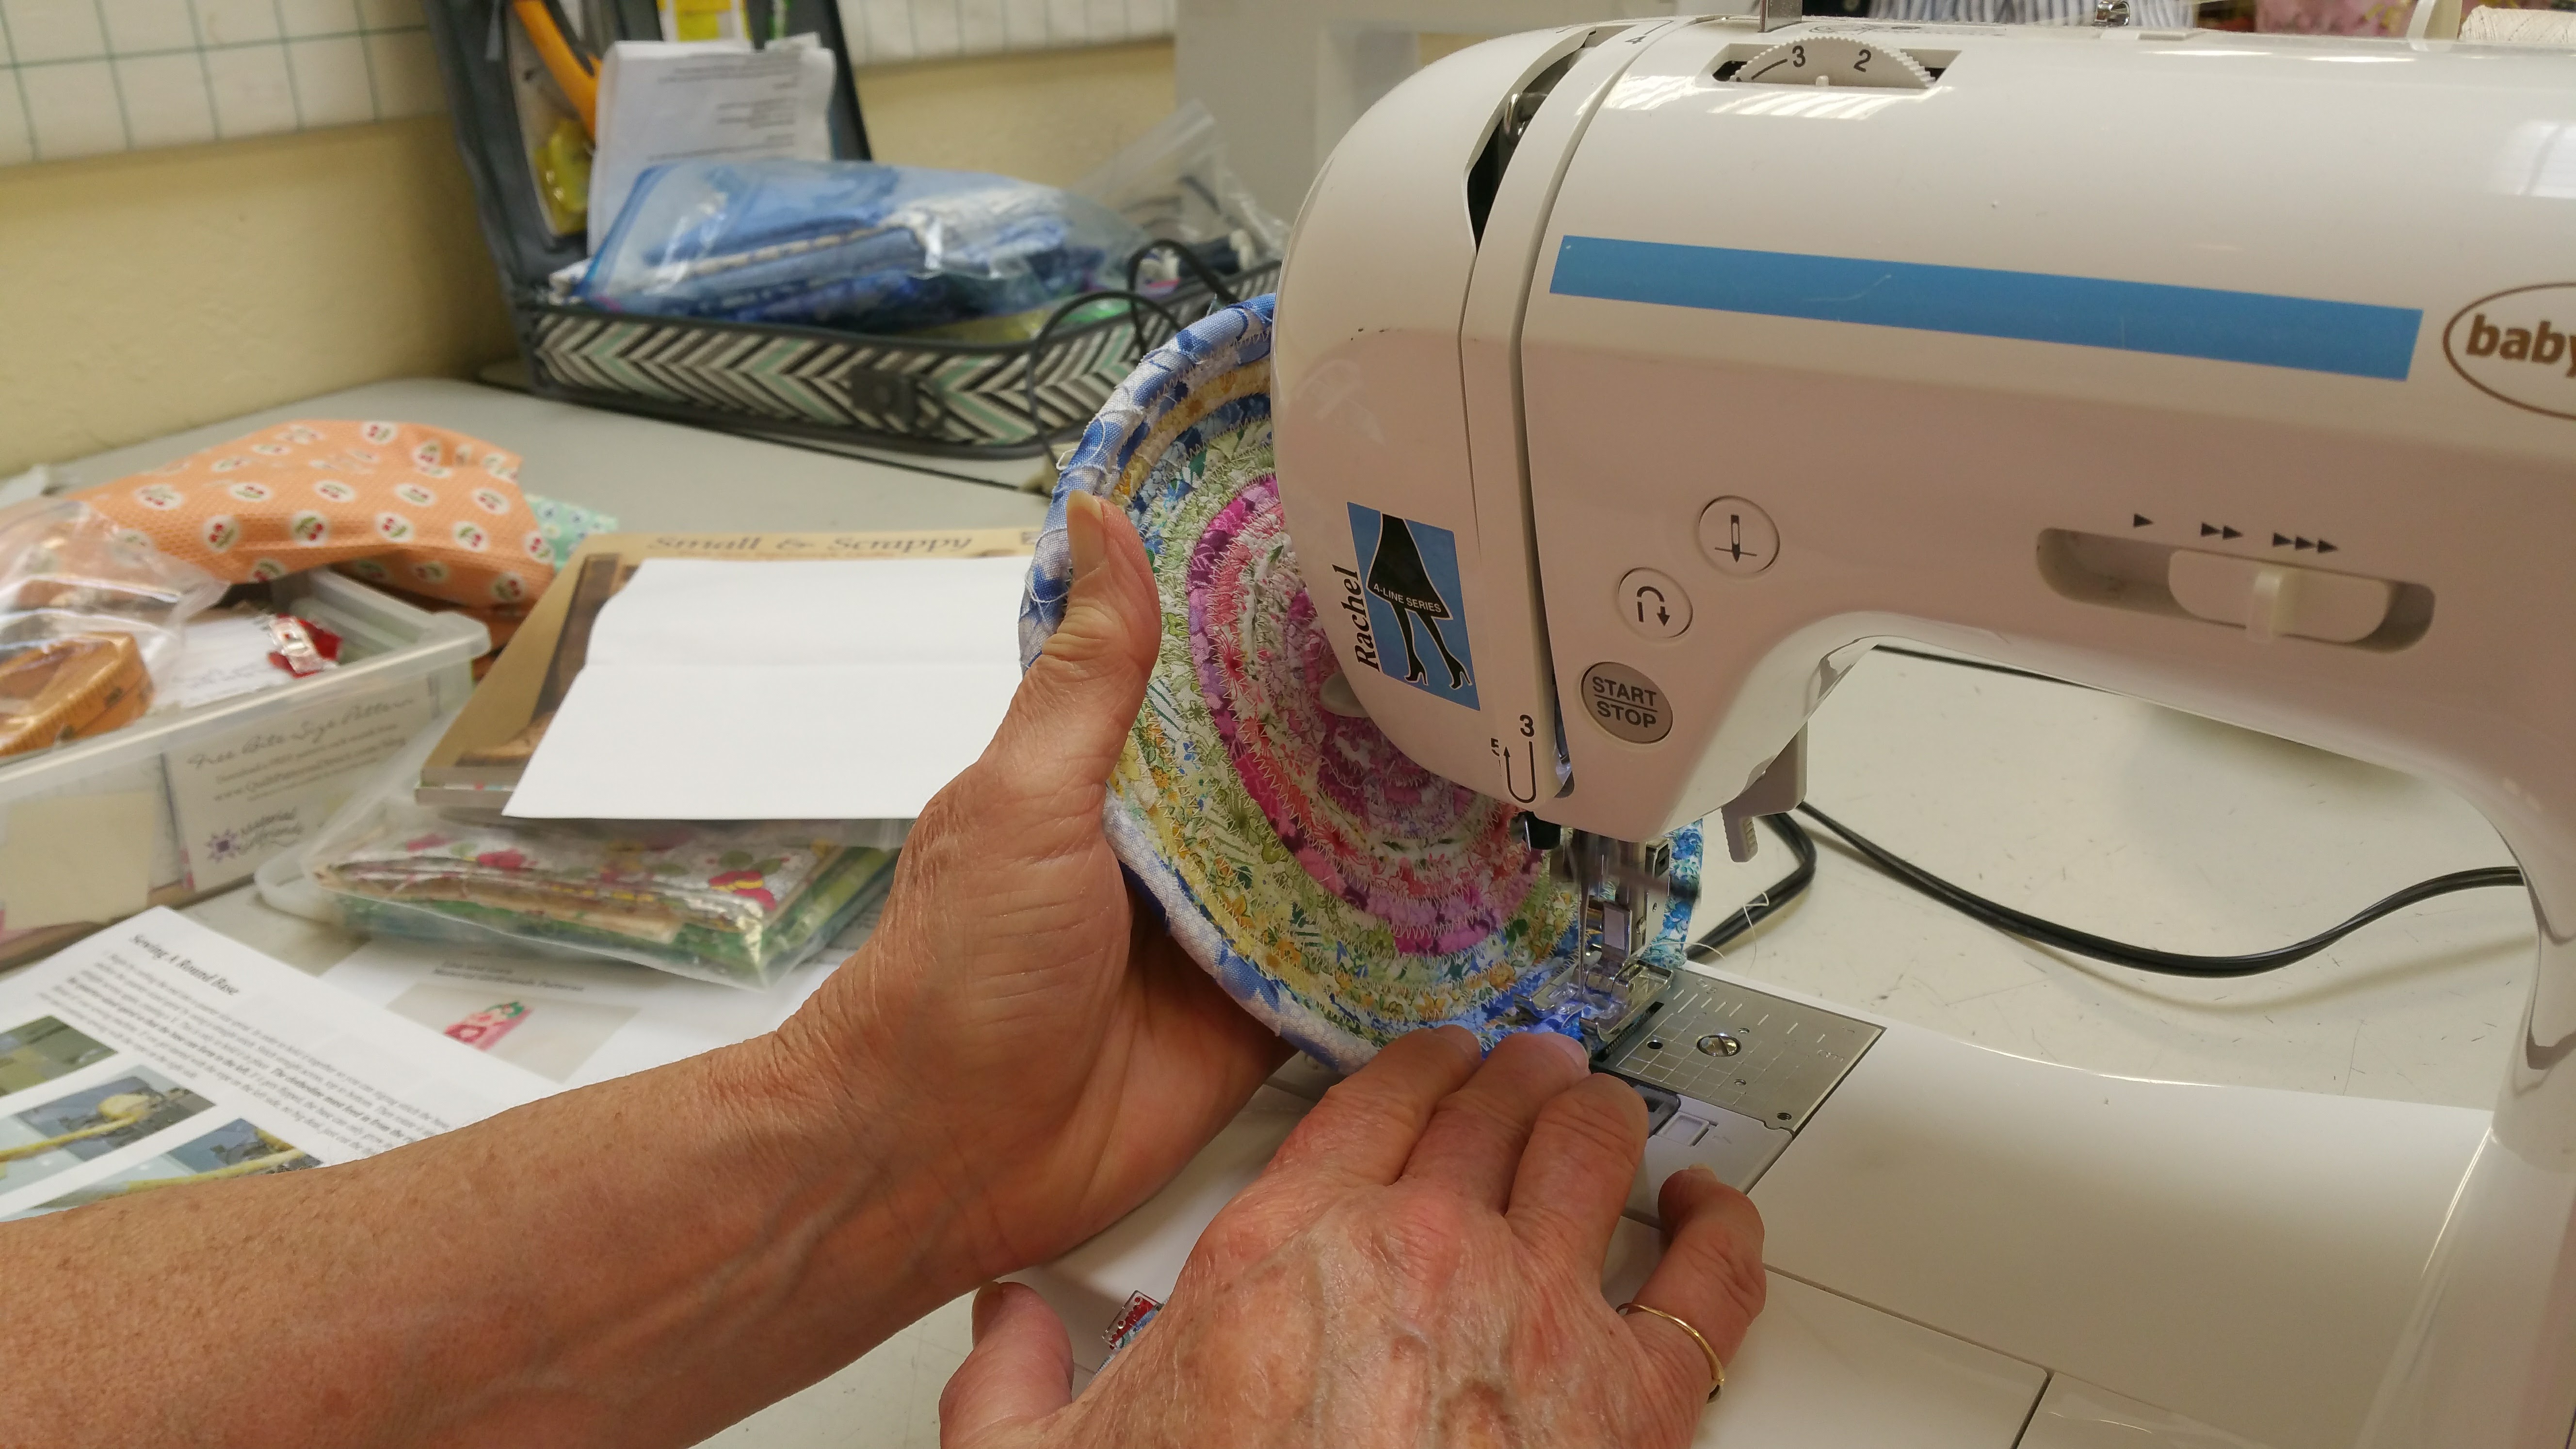
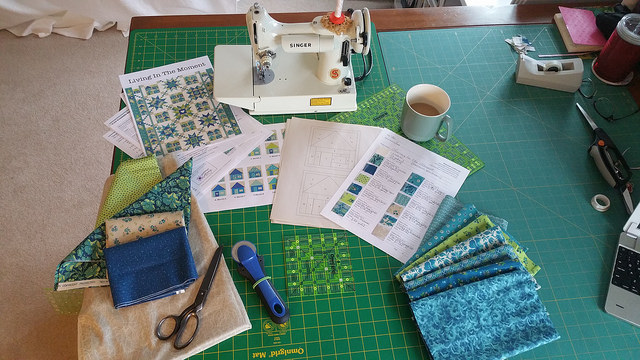
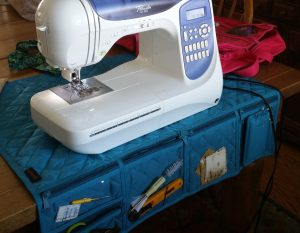
Sew Sewists**, take care of your machine!  Especially if she is a vintage girl, like a Featherweight.  (If you have a newer machine, follow your manufacturer’s directions for maintenance and cleaning!)  She is your main tool in this quilting process, and deserves a little attention at class or retreat (or Slave Week)!!

Judy’s Bare Essential Tool List

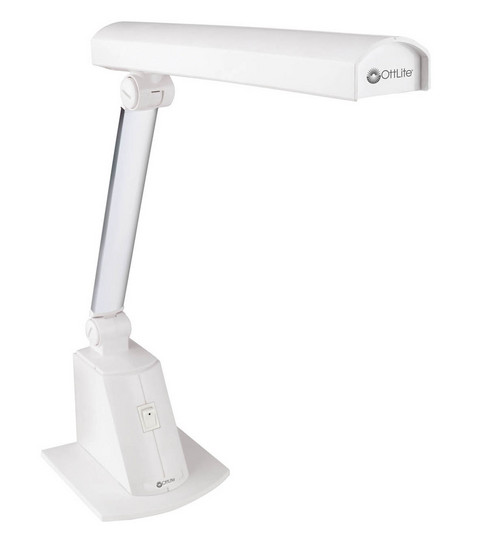
Reading glasses and a cleaning cloth:  If you can’t see that bit of thread stuck in that crack, how are you going to get it out?

Screwdrivers:  Good quality blades that FIT your machine’s screws, usually a 3 or 4 inch and a micro screwdriver for changing bobbin tension (YES, you CAN do that!)

Brush:  A double ended sewing machine brush, bristly on one end and paintbrush shaped on the other end, for cleaning DRY linty places.  Use a rag or q-tip for oily or greasy places.

Tweezers or a hemostat:  For when your fingers are too short or won’t fit.

Dentist’s pick:  Yup, just ask at your next cleaning…the hygienist will scowl and ask what you’re going to use it for?  And you answer, of course, that you need it for cleaning your sewing machine.  (She’ll be relieved that you’re not scraping your own teeth.)

Makeup mirror:  Makeup?  Naw, sew in your jammies.  Use it to put under your needle shaft when you can’t find the hole to put the needle into.  Or better yet, a Mechanic’s Mirror…That little mirror with a swivel on the end of a stick…so you can see in and around and chase little bits of thread and lint.

A spare lightbulb:  Unless you have a LED light.

Bright flashlight:  No the flashlight on the iPhone is not enough to see into the dark crevasses of sewing thread knottiness.

Sewing machine oil:  In a refillable oil pen.

Extra needles:  Shall I tell you a story about the needle that was rusted into the needle shaft?  Change your needles!!!!

Bobbins:  6 of them.  Wind 6 bobbins with the thread you’re going to be sewing with and clean and oil your machine after they’re gone.

Chocolate:  Duh!

Corkscrew:  One with a bottle opener also, so you can choose.

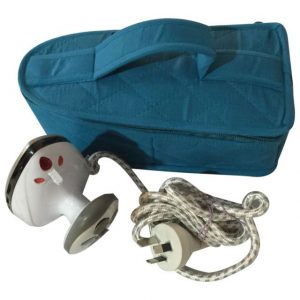
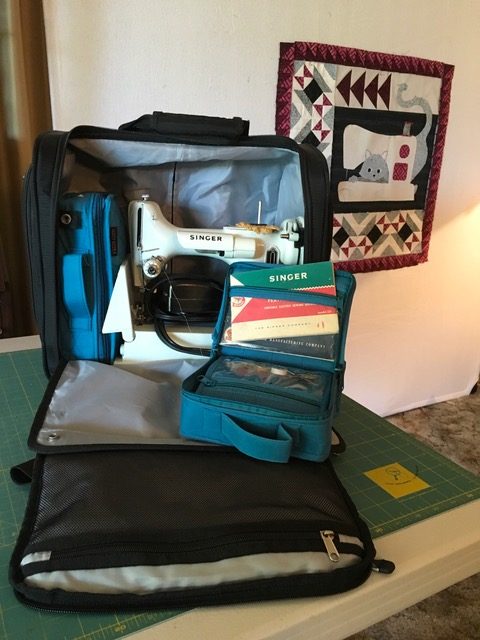
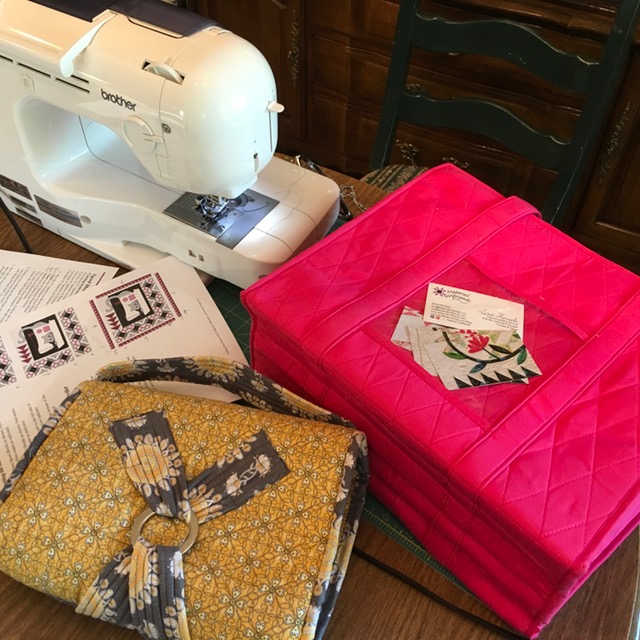
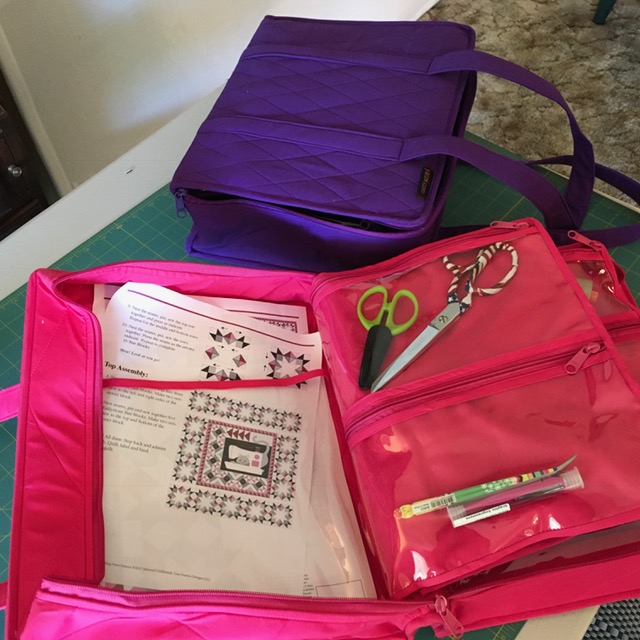
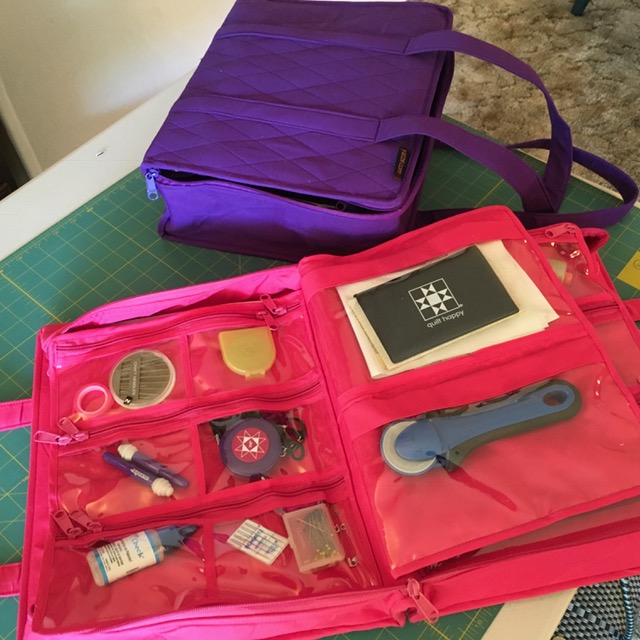
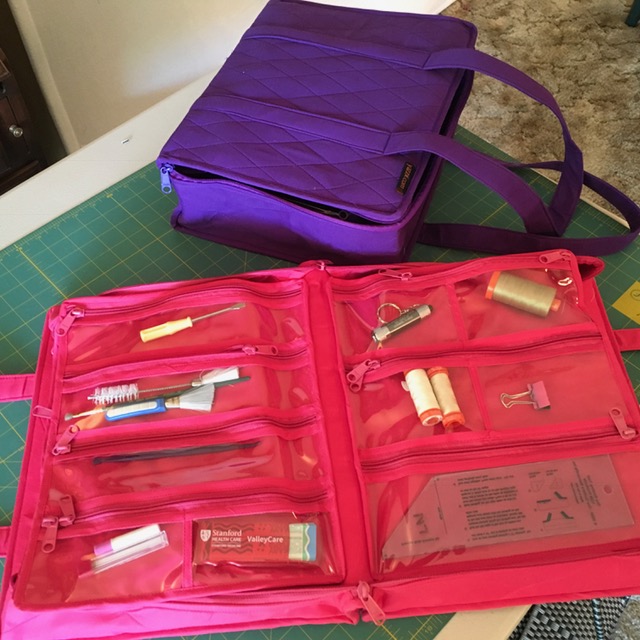
Makeup Bag:  NO, not for foundation and mascara, that stuff stains fabric!  Put your tools in a pretty makeup bag and it’ll be a pleasure to pull it out after using 6 bobbins to clean up your most faithful sewing buddy.

Happy Machine, Happy Sewist.  May all your seams be nested, and not your thread!

Your Judy

The Featherweight Whisperer


*Did anyone else notice that we should remember to bring a peddle to class to use with our sewing machine?  Yup…They might peddle Material Girlfriend patterns, but I’ll pedal my bike back to pick up the pedal to use with my sewing machine!  Proofreading is SEW hard!  I’d rather SEW!

**We used to see SEWER when referring to a person who sews, but that can just come out all wrong and confusing if it’s pronounced in plumbing way…Sewist is SEW much nicer!  But alas, the spellchecker wants to make me a sadist, sexist, or just sweet.


Making my List, Checking it Twice, Part 2

Checking it twice – Part 2 

by Lora Zmak

I attend Lisa’s Finishing School for Wayward Quilters twice a month. It is a 6 hour class, that goes until 11pm! Here are a few other things that my classmates have added to their tool bags:

Aspirin and Tylenol especially helpful for those long workshops in front of our sewing machines. And for those headaches brought on from a miss behaving sewing machine, and/or excessive seam ripping.

Bandaids – We work with lots of sharp things!  Don’t bleed on your quilt!

An extra pair of reading glasses – You can only sew as well as you can see. More often than not, I loan this pair out!

Task lighting –  Again, you can only sew as well as you can see.

A few extra dollars for the ice cream or latte run.

Refreshments – You need to stay hydrated for a long sew! Bring your water. Our sewing class room has a Kuirigg machine.  I always pack a few extra decaf coffee pods. Last week, Irene pulled an extra set of plastic silverware out her tool pack!  And they were needed! Pack little snacks, like a package of nuts.  When I get too hungry, it is hard to focus on what the Instructor is trying to tell me! Consider packing something quiet to munch on…

A seat cushion.  Sometimes, we only have metal chairs to sit on and sometimes we are lucky and have nicer chairs.  A seat cushion can give you a bit more comfort for a long workshop.  Look into adding a Gaian Balance cushion to your class supply list. These are fantastic for keeping your core muscles engage and will really help relieve sore backs! Or keep an eye out for a new class and pattern by Material Girlfriends The Tushie Cushie. You’ll be the envy of your quilting classmates!

Hair clips and pony tail holders.

Zip lock baggies to keep all the pieces for a block together.

A small personal iron (Yazzii has such a cute case to store it in!!!) and ironing pad.

Tool mat that my sewing machine sits on.  I’m forever chasing down my seam ripper and snippet scissors.  My Yazzi tool mat keeps them at my finger tips and not rolling across the table.

A variety of thread.  You’ll need white, tan, medium grey and black or charcoal.  Use the thread color that closely blends in with your project.

A little spray bottle of spray starch and/or water, for pressing or removing your blue water erase pen marks.

What else…what am I forgetting??

What ‘different’ item would you pack for class? What would you recommend adding to our packing list for either a long workshop or quilt retreat?

We’d love to hear your suggestions!

Lora

Making my List, Checking it Twice

You know when you’re just going along… minding your own business… when suddenly it hits you. You remembered something you forgot. Eyes get big, quick intake of breath, heart jumps in your chest. The older I get, the more this happens. I’ve wrecked two pans on my stove just this year because I left the kitchen, got sidetracked and forgot I was cooking! Now I have a rule that I can’t cook unless I STAY inside the 10’x10′ kitchen space. Why didn’t someone tell me I forgot to post July’s tips and tricks for the Bird Walk BOM?! So sorry for my distractedness! I’ve added month 11 if you’re following along.

But I DID remember to add a page for Guilds. I added a new block of the month page for Living In The Moment and uploaded a paper piecing tutorial. But, wanna know what else I forgot? Lora wrote the next blog and I forgot to post it. *sigh* (Sorry Lo). Below is what she wrote.  Hmmm. I think we’re a lot alike!

Making my List, Checking it Twice, and then sit next to my sister. 

I always sit next to my sister when we go to Quilting class or quilt retreat.  It’s not because she’s my best friend. Well she is, but that’s not the reason.  It’s because I always forget something and I’m going to need to reach over to her tool bag and borrow it. I’m always leaving something behind. Just last month I left at home an entire suitcase of free motion quilting tools that I needed. I know I’m not alone in this. One of our students forgot all her fabric and another forgot the peddle and power cord to her sewing machine. Frustrations.   Make a list, check it twice and then sit next to my sister….That’s pretty much my basic plan.

Part 1-

Make a list: What to bring to quilting class? 

I have a new Yazzii bag with all these LOVELY pockets…. As I was transferring my tools from my old bag to the fancy new one I thought…What shall I fill them with?  What do I need for class? What should I NOT forget this time?

Usually when you sign up for a quilt class, you are given a supply list and a list of the basics. But on top of that list, add:

-Sewing Machine, foot peddle and power supply, and manual and a variety of feet. I bring my featherweight to class.  She fits in a lovely carry on flight bag and easily rolls across the parking lot.  I have a small Yazzii bag that holds all her tools, oil, manual and bobbins and feet.  She is my class sewing machine.  She’s light weight and mobile.  I don’t like crawling under my desk and unplugging and packing up my fancy, big and expensive computerized sewing machine.  When I am home my featherweight is stored in the down stairs closet and waits patiently until I am ready to go to class again.

-Rotary cutter, spare blades, rulers.  (Big rulers for big cuts, small rulers for small cuts) Any other rulers? Square ups? Specialty rulers? ¼”ruler?  That will usually depend on what project you are working on.

-Cutting mat.

-Marking pens/pencils.  My favorite is the one with blue water erase on one end and the purple air erase on the other. Plus, pencil, pen and sticky note paper to label and make notes on my progress. I have a tiny highlighter that I pack to mark my pattern too.

-Seam rippers. I usually bring two, because one will roll into hiding for the entire duration of class and will only make an appearance when I start to pack up to go home.

-Shears and scissors. One large and one small.

-Pins, needles and needle threader.

And of course, your pattern and fabrics and co-ordinating thread.

These are pretty basic class necessities.  And hopefully you have these all gathered and ready to go.

I’ll see you in class!

Sew fun,

Lora

Lora has written part 2 and part 3 of Making my List, Checking it Twice.  Sew stay tuned!

All The Cool Quilters Have Them

“But I think they’d really sell well!  All the cool quilters have them!” Lisa whined.

She eventually won, and ordered a box load of Yazzii bags from Australia for our quilt show booth. But I wasn’t really sold on them.  My first thought was that they are rather expensive and I really didn’t need one.  That tool bag I had spent so much time constructing was holding together.  Kinda. (see blog post Jan. 2015)

The challenge is that Quilters have lots of tools and we schlep those tools back and forth to class.  We also have a huge problem, on not being able to find our tools.  Even though Lisa and I are identical twins.  We are different in SEW many ways.  For one, I am naturally organized and Lisa is not.  I usually know where my tools are.  I also have a sewing room with cabinets and organized drawers.  Lisa does not. So I caved and let her order the Yazzii bags.  Anything to help her organize her life!

It was not very long before I started singing a different song.  WOW!  No wonder,  these bags are a Quilter’s new Favorite! They are a fabulous value.  I spent $60plus and three days on creating my little tool bag, (the yellow one in the photo below). I love that little bag.  However I have bloated, over filled and torn the little plastic storage bags. The Yazzii bag that is the same size – the mini craft organizer large– is $39.95.  Really?  My favorite one is the little teal bag, the mini craft organizer petite, for $29.95.  It is filled with all the accessories, manual, tools, and oil for my Featherweight. I LOVE it sew much!

Lisa’s favorite bag is Yazzii’s Universal Companion with four sleeves and 28 pockets of different sizes (see photos below).  It is the largest tool bag that we ordered for our show booth. This bag is so cool and is $119.95.  Honestly, I have spent more on my Vera Bradly totes and bags that are not nearly as useful. Lisa emptied her various stashes of tools and organized all her gadgets in one place.  Sturdy, double zippers, clear pockets to see and find thing, and fun colors too.  Mine favorite is the teal!

Another awesome feature is the beautiful wool work that you can add to personalize your Yazzii bag.  Sue Spargo has instigated quite a creative fervor in leading quilters to customize their own Yazzii bags by adding embroidered wool felt. Check out In Between Stitches’ class schedule for Wool Appliqué Club meetings with Suzi Dillinger!

I love the clear pocket on the outside of Lisa’s new Yazzi bag.  Perfect for a quick grab for a business card, or tag to identify it as yours!Take a sneak peak at the new pattern Lisa and I are working on.  Yes, it will be a bit bigger – more rows.  An there will be a puppy version. Love the pattern pocket in the front.  Ohhh?  And what pattern is Lisa working up??How about that?  Lisa found two of the same seam rippers….in different places.  Now they are together 😉
Bandaids, Tylenol and Kleenex are great to have in the tool bag you take to class. All those little square up rulers in one easy to find location!
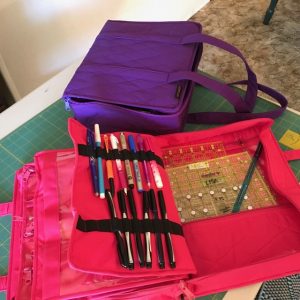
A collection of black fine tip permanent markers that had collected at the bottom of a bag.  An two more pockets in the back to hold more rulers.  Big rulers for big cuts, little rulers for little cuts.

Sew fun to have Lisa all organized!

Lora


Our American Heritage

Charles80Today is my father-in-love’s 80th birthday. He is a big John Wayne fan so being the Photoshop wiz that I am, I created this image for him for his birthday. Isn’t it cool?!! I was really pleased with how it turned out. The handsome cowboy in the middle is Charles. (Shh… it’s a surprise so don’t tag him if you are Facebook friends.) I will give this print to him when I see him. Charles is a wonderful man. I respect, honor and love him so much. He is also an American history buff… but not about the history of quilt blocks! November2015BiteSizeBlockToday I’m sharing a free pattern. It’s the Log Cabin. VERY American block. Throughout American history, women sewed the Log Cabin block all across America. The antique Log Cabin quilts made during pioneer times are stunning. But, did you know that this block was actually discovered in an Egyptian tomb? A bagillion years ago, this block was a quilt that wrapped a CAT. Weird.

Traditionally the log cabin block had a shady side and a sunny side. The very center block was red to represent the hearth or heart of the home. In my example above, my shady side is the dark blues and my sunny side are the bright pinks. So here are the instructions to make EASY Log Cabin blocks ILoveUsYearRound.all pages34-35. It is strip piecing and you can make more than one at a time. These instructions are to make 4 at a time but you can easily adjust.

This would be so cool in red, white, and blue! In fact, I just googled red, white, and blue log cabin quilts and hundreds of images popped up. Wow. I’m ready to pull out my bins of red, white and blue fabric stash!!!

Enjoy your American heritage this month, whether through your favorite westerns, reading history or making some historic American quilt blocks. You know which I will choose!!

Absewlutely,

Lisa

Quilting Thought for the Day

Several years ago, I had a student in my Start Quilting class that wanted to quit because she just couldn’t get it right. I talked her out of quitting that first class. She came the second week and was in tears (literally!) because she wasn’t “getting it”. I talked her out of quitting again.

I worried she’d throw in the “quilted towel” in the next class. That week, I came across a thought provoking quote on Pinterest. So for Week Three’s class, I wrote the quote on the write-on/wipe-off board and we briefly talked about implementing the quote as we quilted. My student finally stopped worrying about her results.LiveCreativeLife“To live a creative life, we must lose our fear of being wrong.” Joseph Chilton Pearce. I don’t know who he is, nor what he has done to be worthy of quoting, but his words gave me a lot to think about. I’ve thought over his quote for over a year now.

  1. Live a Creative Life – just that portion of the quote can make you think. What have you done to live a creative life lately? Sewn, gardened, painted, drawn, written, sang…? To me, these things are the ability to play. Don’t let life rob you of playing and limiting your creative time.
  2. Lose our fear – What are we afraid of if we’re wrong? Being criticized? Scorned? Rejected? Embarrassed? Want to know what my new acronym for FEAR is? Face Everything And Rise.
  3. Being wrong – Being morally wrong isn’t what the quote is referring to. Let’s talk about the “being wrong in our creative life”. Playing that sour note, planting a garden only to have it die, or sewing a block only to have it turn out not as anticipated. Sew what? Comparison will quickly kill the joy of leading a creative life. Who defines, “wrong”? Not me. You do. Check out Freddy Moran. I’m glad she learn not to fear being wrong. She has more wonky blocks: star points that disappear, colors that clash, yet her quilts are gorgeous!

Here is my challenge: stop comparing your efforts with someone else’. Lean on your own uniqueness and take risks. For example, if you’re working on a Block of the Month pattern and there are fabric choices made for you in the instructions and kit, change something. If one of those prints just isn’t what you want, pull something from your stash or buy something new and lose that fear of being wrong. Make what is right for YOU.

For me, Living a Creative Life is more about enjoying the creative process, not just the results.

Visit my Pinterest page if you pin and check out my Words to Live By board for more brain itching quotes. And don’t forget to play today. “All work and no play, leads to very little quilting.” – Lisa Norton. Okay, maybe I’m not so quotable.

Absewlutely,

Lisa

Fake It, Till Ya Make It

IMG_8056Look. Look. Look. I’m so excited! The booth looks professional, like we know what we’re doing! We’re faking it, of course. We’ve no idea what where doing. My Momma always said, “Fake it, till ya make it, girls.”

We were fortunate to get an early unload time at the Robert Livermore Community Center, and stayed over 4 hours setting up and primping our FIRST TIME EVER booth. If it was just Lora and I, you could almost understand why it took so long. But, I am every so grateful for Kel (Lora’s husband), Katheline (Material Girlfriend), Carolyn (Mamma) and Dave (Dad). They hauled, stacked, unstacked, stood on ladders, arranged lights, counted, clipped, primped, piled, pinned, sorted, and tagged. It took a team of 6 people most of the day to put up one 10’x10′ booth. Whew! We celebrated our victory by going to the Alehouse for some cold Alaskan Ale and huge portioned meals.

Over the ice cold ale, we came up with our AVQ Show Deal #1 and AVQ Show Deal #2. Deal #1, Buy a pattern and a kit and receive a second pattern of equal or lesser value for 50% off. Deal #2, Buy two patterns and receive a third pattern of equal or lesser value for 50% off. It’s crazy Lisa’s lay-off-the-ale sale!!  The show starts tomorrow, Saturday, April 22 at 10am. The kits are wonderful! Lots of small kits for Bite Size patterns and Lo made fabulous kits for the Wrapped Up Basket Totes, plus a lot more. You must come see. The sale might be one day only. (We’ll know for certain when the ale wears off).

Katheline took these great photos of our booth building process.

IMG_8041

Got the frame up and began hanging the quilts.IMG_8042

Oh yeah, Kel can you add lights?IMG_8045

Katheline and Lora did most all the arranging because Momma and I had to go back to the rental place for rod reinforcements and to pick up cold ice tea.  IMG_8048 IMG_8049 IMG_8051

Lora demonstrated her yodeling.

We hope to see you this weekend at the Amador Valley Quilters Show. I think we ‘faked it till we made it, Mamma.’ Looks good. Looks real good.

Absewlutely,

Lisa

First Timers

As my boys would say, “We’re total newbs.”  First timers at putting together our First booth, for the First time at the Amador Valley Quilters Show this weekend, April 22 and 23.

We’re nervous.

Do we have enough product? How should we display all this schtuff.  We decided to do a mock-up of the 10’x10′ booth space in my dining room. We didn’t hang the quilts up so you’re looking at my walls instead of the lovely quilts. What do you think? 20170420_205922 20170420_210126 20170420_210138

We’ve made new kits and we have TWO new patterns, Party Lights and Living In The Moment, to share. I will be demo’ing the Wrapped Up Baskets pattern. Lora is going to demo the Confetti Star and yodeling. The Confetti Star has a fabulous technique that doesn’t require Y seams and is made from 10″ squares. Her yodeling isn’t as pleasant.

So PLEASE come see us. We’ll need lots of encouragement. Tell us the booth looks great even if you have to lie. Where? Oh, click on Amador Valley Quilters to find out ALL the details! It is in Livermore at the Robert Livermore Community Center on East Avenue.

It really will be fun. Lots of beautiful quilts to see. We will be located in the ballroom, booth B7 or just listen for the yodeling…

In stitches!

Lisa

Are we there yet?

20170310_123252“How much further? He’s on my side. I gotta go..”

Oh, but aren’t road trips just the best? I love visiting all the quilt shops along the way. Or rather, as many shops as my husband and boys will let me!

It is Spring Break for my youngest son, a sophomore at Granada High. We plan on taking advantage of the beautiful weather and hit the road for some adventures. With a driving permit in my son’s wallet, I plan on sitting in the back seat and let my husband co-pilot. (I’m sure Josh will do fine. He really is ready to take is driving test.)

I’ve packed an encyclopedia of quilt blocks, my notebook and color pencils. Best of all, I’ve a large baggie stuffed full of new fabric swatches! Marcus Brother’s Textiles just sent me their brand-spanking-new batik lines. They are so new, they’re aren’t even on their web page yet! I can’t wait to start designing!

Back to road trips. Thank goodness for Google Maps, right? Takes the stress out of driving – no getting lost. And if you tell Google Maps to find the quilt shops along the route, you won’t accidentally miss one!

Road trips are a wonderful break. We run run run in our daily lives that having a break in the car, is so relaxing. We have the best conversations in the car too (if I can get the ear buds out of their ears). On long road trips, Mike and I will take turns reading to each other, then discussing what we read. It is just a great break. I get to slow down (even at 70mph).

When you just can’t take a road trip, you can still take a break and slow down. Sometimes we get project saturation with our big quilt project. Take a break and make something small. A different block with different colors, or a rope basket, a Bite Size block, etc.

I taught the Easter Basket class the other week. We had such fun putting together the adorable baskets! Check out the pics. Everyone’s baskets turned out great!20170312_145245 20170312_145253 20170312_145300 20170312_150042 20170312_150056 basketI hope you get the chance for a little road trip during Spring Break too. Whether you’re getting in the car and driving or just a break from your large quilting project by doing a small project. Enjoy!

Absewlutely,

Lisa

You Choose

20161212_154811_31750668845_oWhich fabrics? Which colors? Does this go together? You choose for me. Some quilters just agonize over their fabric selections. Which baffles me. Selecting the colors and prints is the fun and easy part of designing a quilt…right?…at least to me. But we were all designed individually and we were all designed with different strengths. I was designed with a strength in color and graphic design. If you struggle in selecting fabrics, let me see if I can help you a bit.

I love teaching a class called How to Choose Color, so I thought I’d share with you a few simple tips on how to put together fabrics for a scrappy quilt. Using our new Material Girlfriend pattern, Party Lights as an example, I hope to give you some tips on selecting fabrics from your own stash or fabrics from your local quilt shop. I designed Party Lights, but my sister, Lora turned the Party Lights on and ‘brought down the house’ with fantastic choices from her stash. She took my black and white print-out of the block, iffy cutting and sewing directions, and plugged in all the beautiful colors and prints.

20170105_121434_32126982695_oThis beautiful 12″ block is called Diamond Ring, first published in 1906 by Clara Stone, Practical Needlework. The block has also been published as Fanny’s Favorite, Linda’s Favorite, Old Favorite, and My Favorite. Seems to be a favorite block! And soon to be Your Favorite too, when you find how fun it is to create!

First: Choose a Feature Fabric

The Feature Fabric is the focal fabric and the fabric that bridges all the other colors together. This fabric should have several colors. Choose this fabric first. Many times the Feature Fabric is used as a border in a quilt. However, in Party Lights, the feature fabric is the center square of all 18 blocks, thus only requiring a fat quarter of fabric.

Second: Choose Matching Colors to the Feature Fabric

Match all the other fabrics to your Feature Fabric. If your Feature Fabric includes four colors, collect fabrics in those four colors from your stash (or line up bolts in the quilt shop).

Third: Select Light, Medium, Dark and Variations of Print Size

Organize your matching fabric choices in a light/medium/dark arrangement. What are you missing? Select a few more prints to fill in where you don’t have enough variety. Now look at them again. This time note the size of prints. Have you picked all small prints? A variety of print sizes give interest to the quilt top.

For me, the more prints the merrier. For the Party Lights pattern, you only need a total of 2 3/4 yards of color fabrics [about eighteen 1/6 yard cuts or fat eighths] plus a fat quarter of the Feature Fabric. Background yardage required is 4 3/4 yards. A Cheating Hint – a Layer Cake works great with this pattern!

20170222_140522_33059626285_oParty Lights is almost ready for press. It has been thoroughly proofed and tested (Thank you Tuleburg Quilting Guild! partial class pic shown above). All I need to do is add the UPC code and a final picture to the back page and send it off to press. You can expect to see the first patterns available at In Between Stitches in Livermore and Quilters Hollow in Stockton, within the month.

Choosing fabrics is a personal decisions. Everyone has their own tastes. One quilter’s preference will not be the next quilter’s preferences, and sew on. Learning to select your fabrics based on your own style, favorite colors, character or style of print, will ensure a more enjoyable project for you. I encourage you to flex those color muscles. Be bold and courageous and when you begin your next quilting project… You Choose.

Sew on and Sew forth!

Lisa 20170301_212945_32818234810_o20170301_213032_33200735205_o20170301_213045_33200740095_o 20170222_124227_32212963364_o 20170222_140301_32244093533_o PartyLights.Cover.8.5x11.flatOh! A little reminder,  if you’re making the Bird Walk BOM quilt, I’ve added more tips to the Bird Walk program page.